Archive for category tools
Tools – sewing machine
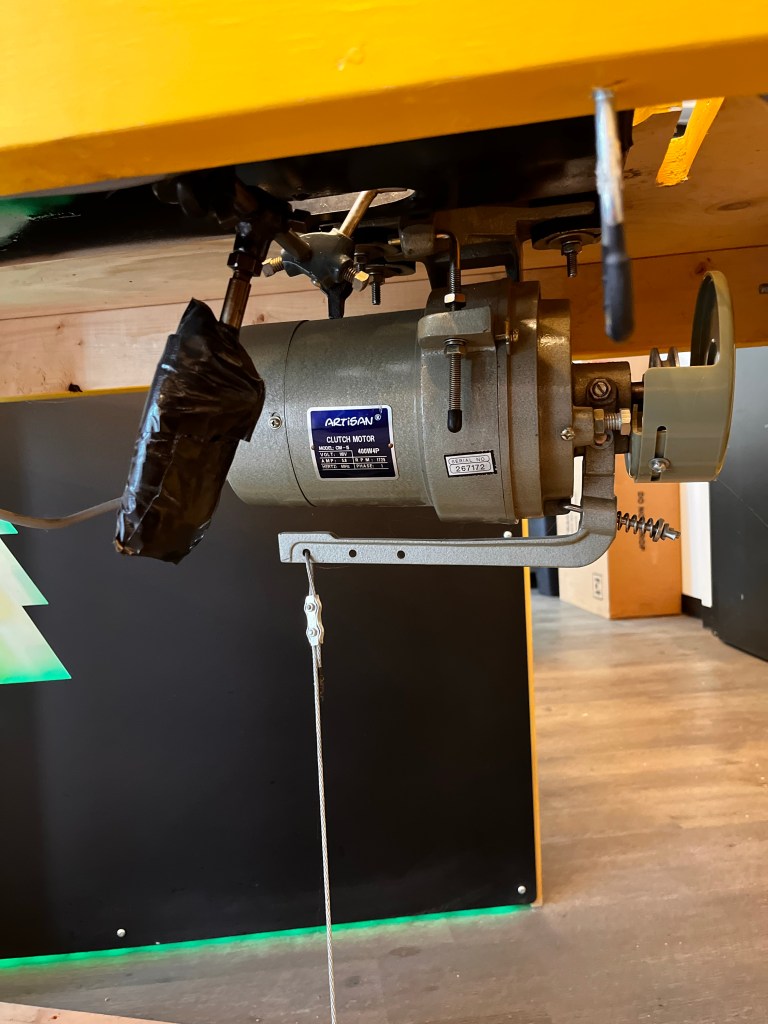
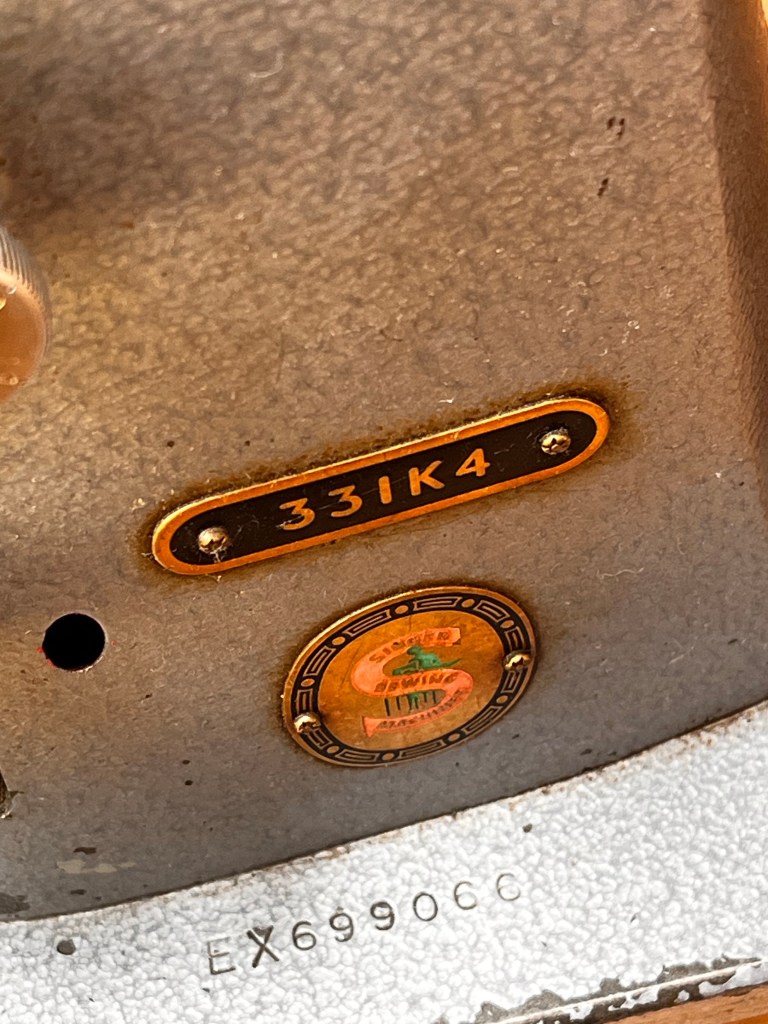
Got this old singer 331k4 to do the canvas work I wanted to do on van. It’s a straight stitch industrial , clutch motor ,very fast.
I got it working ok, and learning to use it. Did I say it was fast? You that know, know that many convert the clutch motor to a more controllable dc servo motor. Or use jack shaft pulleys. Maybe one day, right now I have enough low speed control to do what I want.
Will punch through 1/8” leather even with fabric needle. Low speed control will be very very advisable if I’m going to do more leather. No second chance with leather.


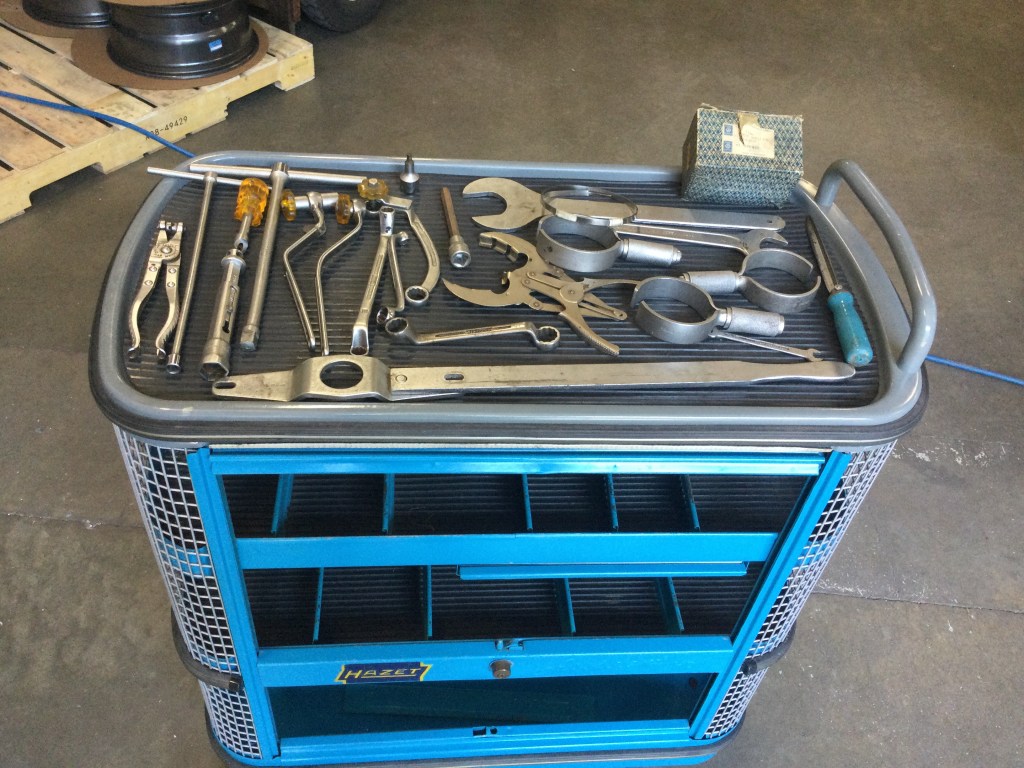
Tools – super rare Hazet
The tool caddy and can caddy, both very rare 🙂
Sitting in not so rare 172hd
Hope you all having time off and fun

Vanagon – engine stand
Decided to make an engine stand a few months ago. Took me a while to finish. The computer model was not quite what I got in the end, I changed as I went.
It’s pretty solid. Since the pics taken it’s bolted to bench. Still not painted though , and still using nits as spacer on that bolt .


Vanagon – Trans Output flange tool
Posted by albell in syncro specific repairs, tools, vanagon on July 23, 2023
A while back good friend Simon needed seals replaced on output flanges on his Syncro. Other good friend Quentin to do the work. My job was to make a tool to make the job easier.
That’s a spare flange there for the fit test. It worked out ok.

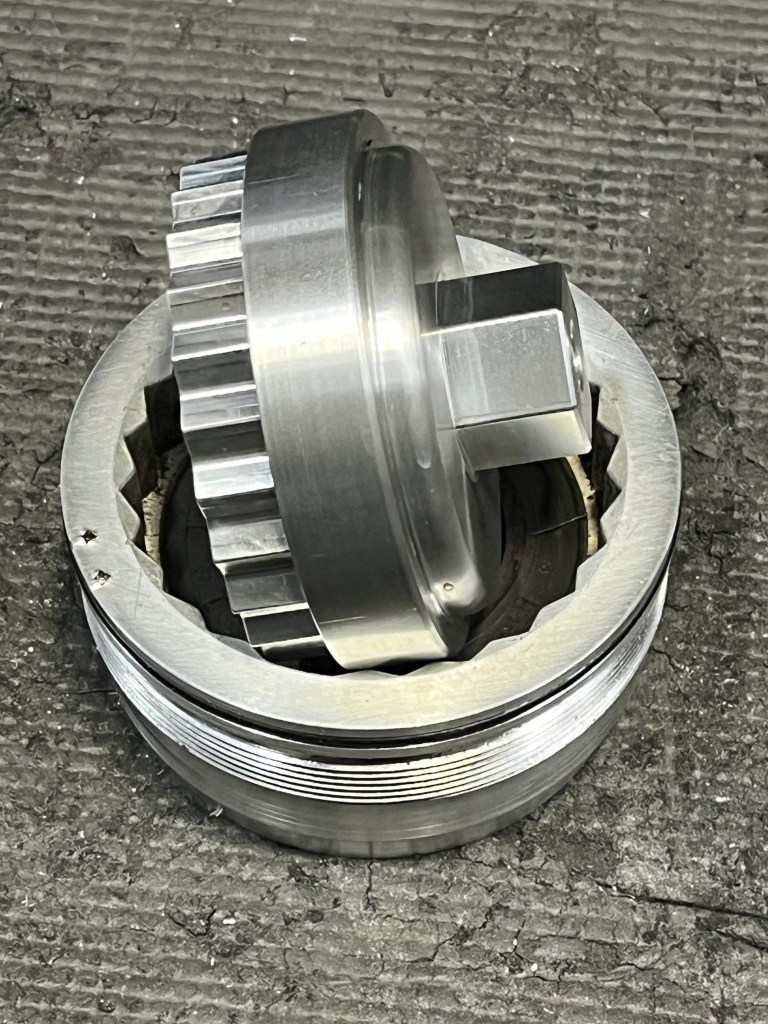
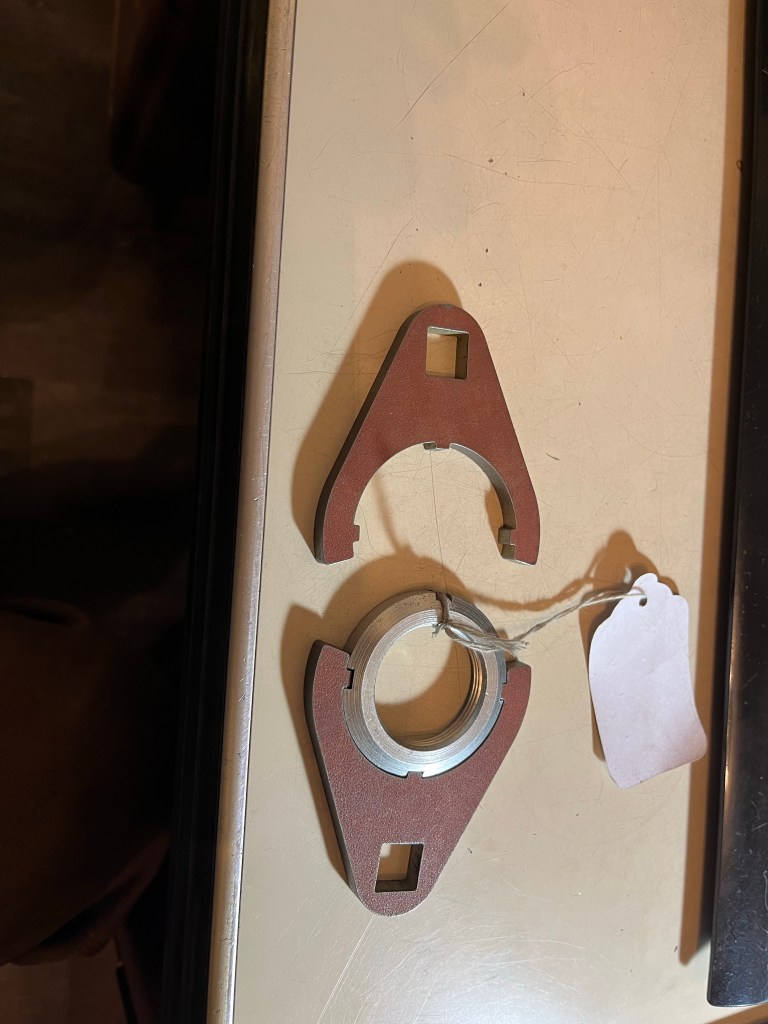
Tools – prototype transmission wrench
Quentin asked me to make a wrench to fit a locking nut, in Syncro transmission. Fits the nut fine, not sure yet if it clears other components in the stack. Has to be tested. The centre of the 1/2” drive hole is 2.000 inches from the centre of the nut when engaged. So you can easily do the calc to adjust torque. It’s a simple thing, waterjet cut 1/4” steel plate.

Just interesting – waterjet cutting titanium
1/4” plate. First time we cut titanium. Was startling, but no surprise to those who do it a lot .
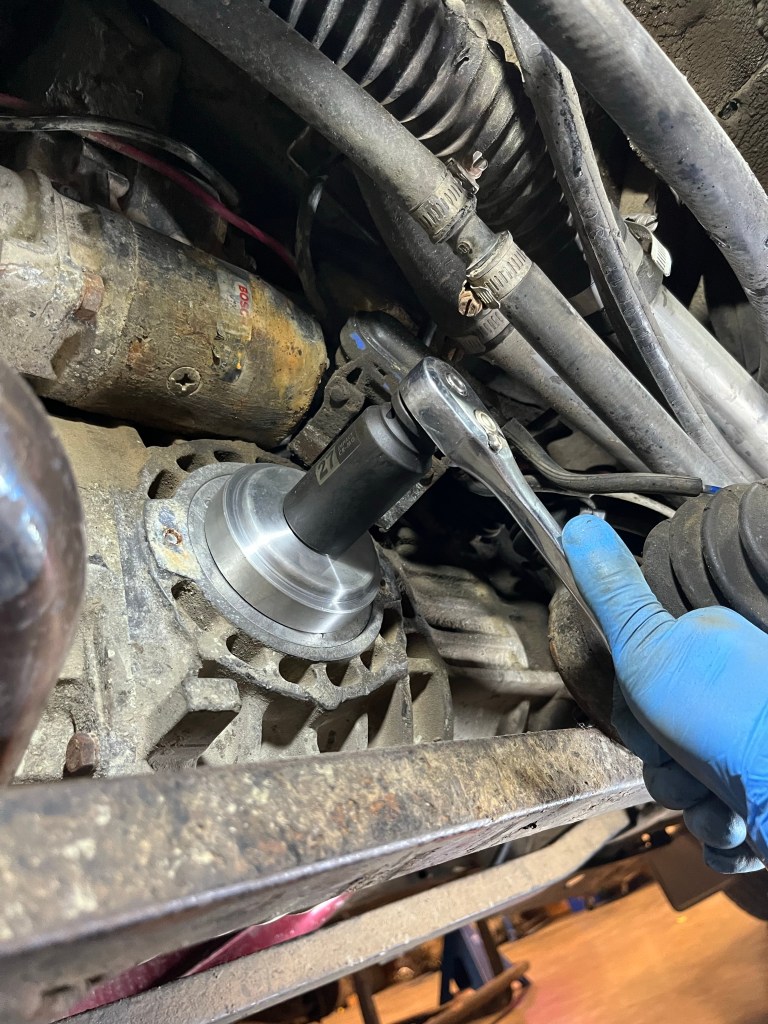
Tools – make a deep socket 52mm
Needed for classic landrover axle nut. Over built solution


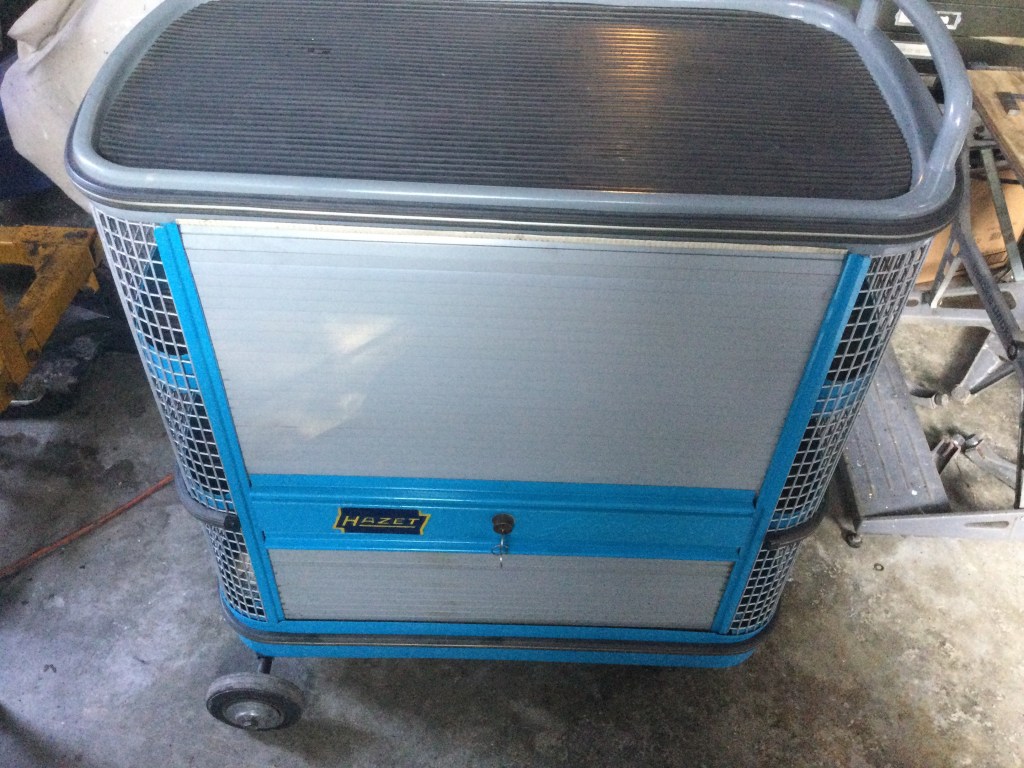
Hazet Assistent 172hd
A bit of a tool gloat, but it’s cool. I think it’s an early 70s model. Came with some VW specific Hazet tools.
I’ve wanted one of these carts for ages, but they are so expensive. This one was a good deal. Believe me, it’s very sturdy and rolls smoothly. Not saying other less expensive carts won’t do the job, but when you see one of these in person and try it out…
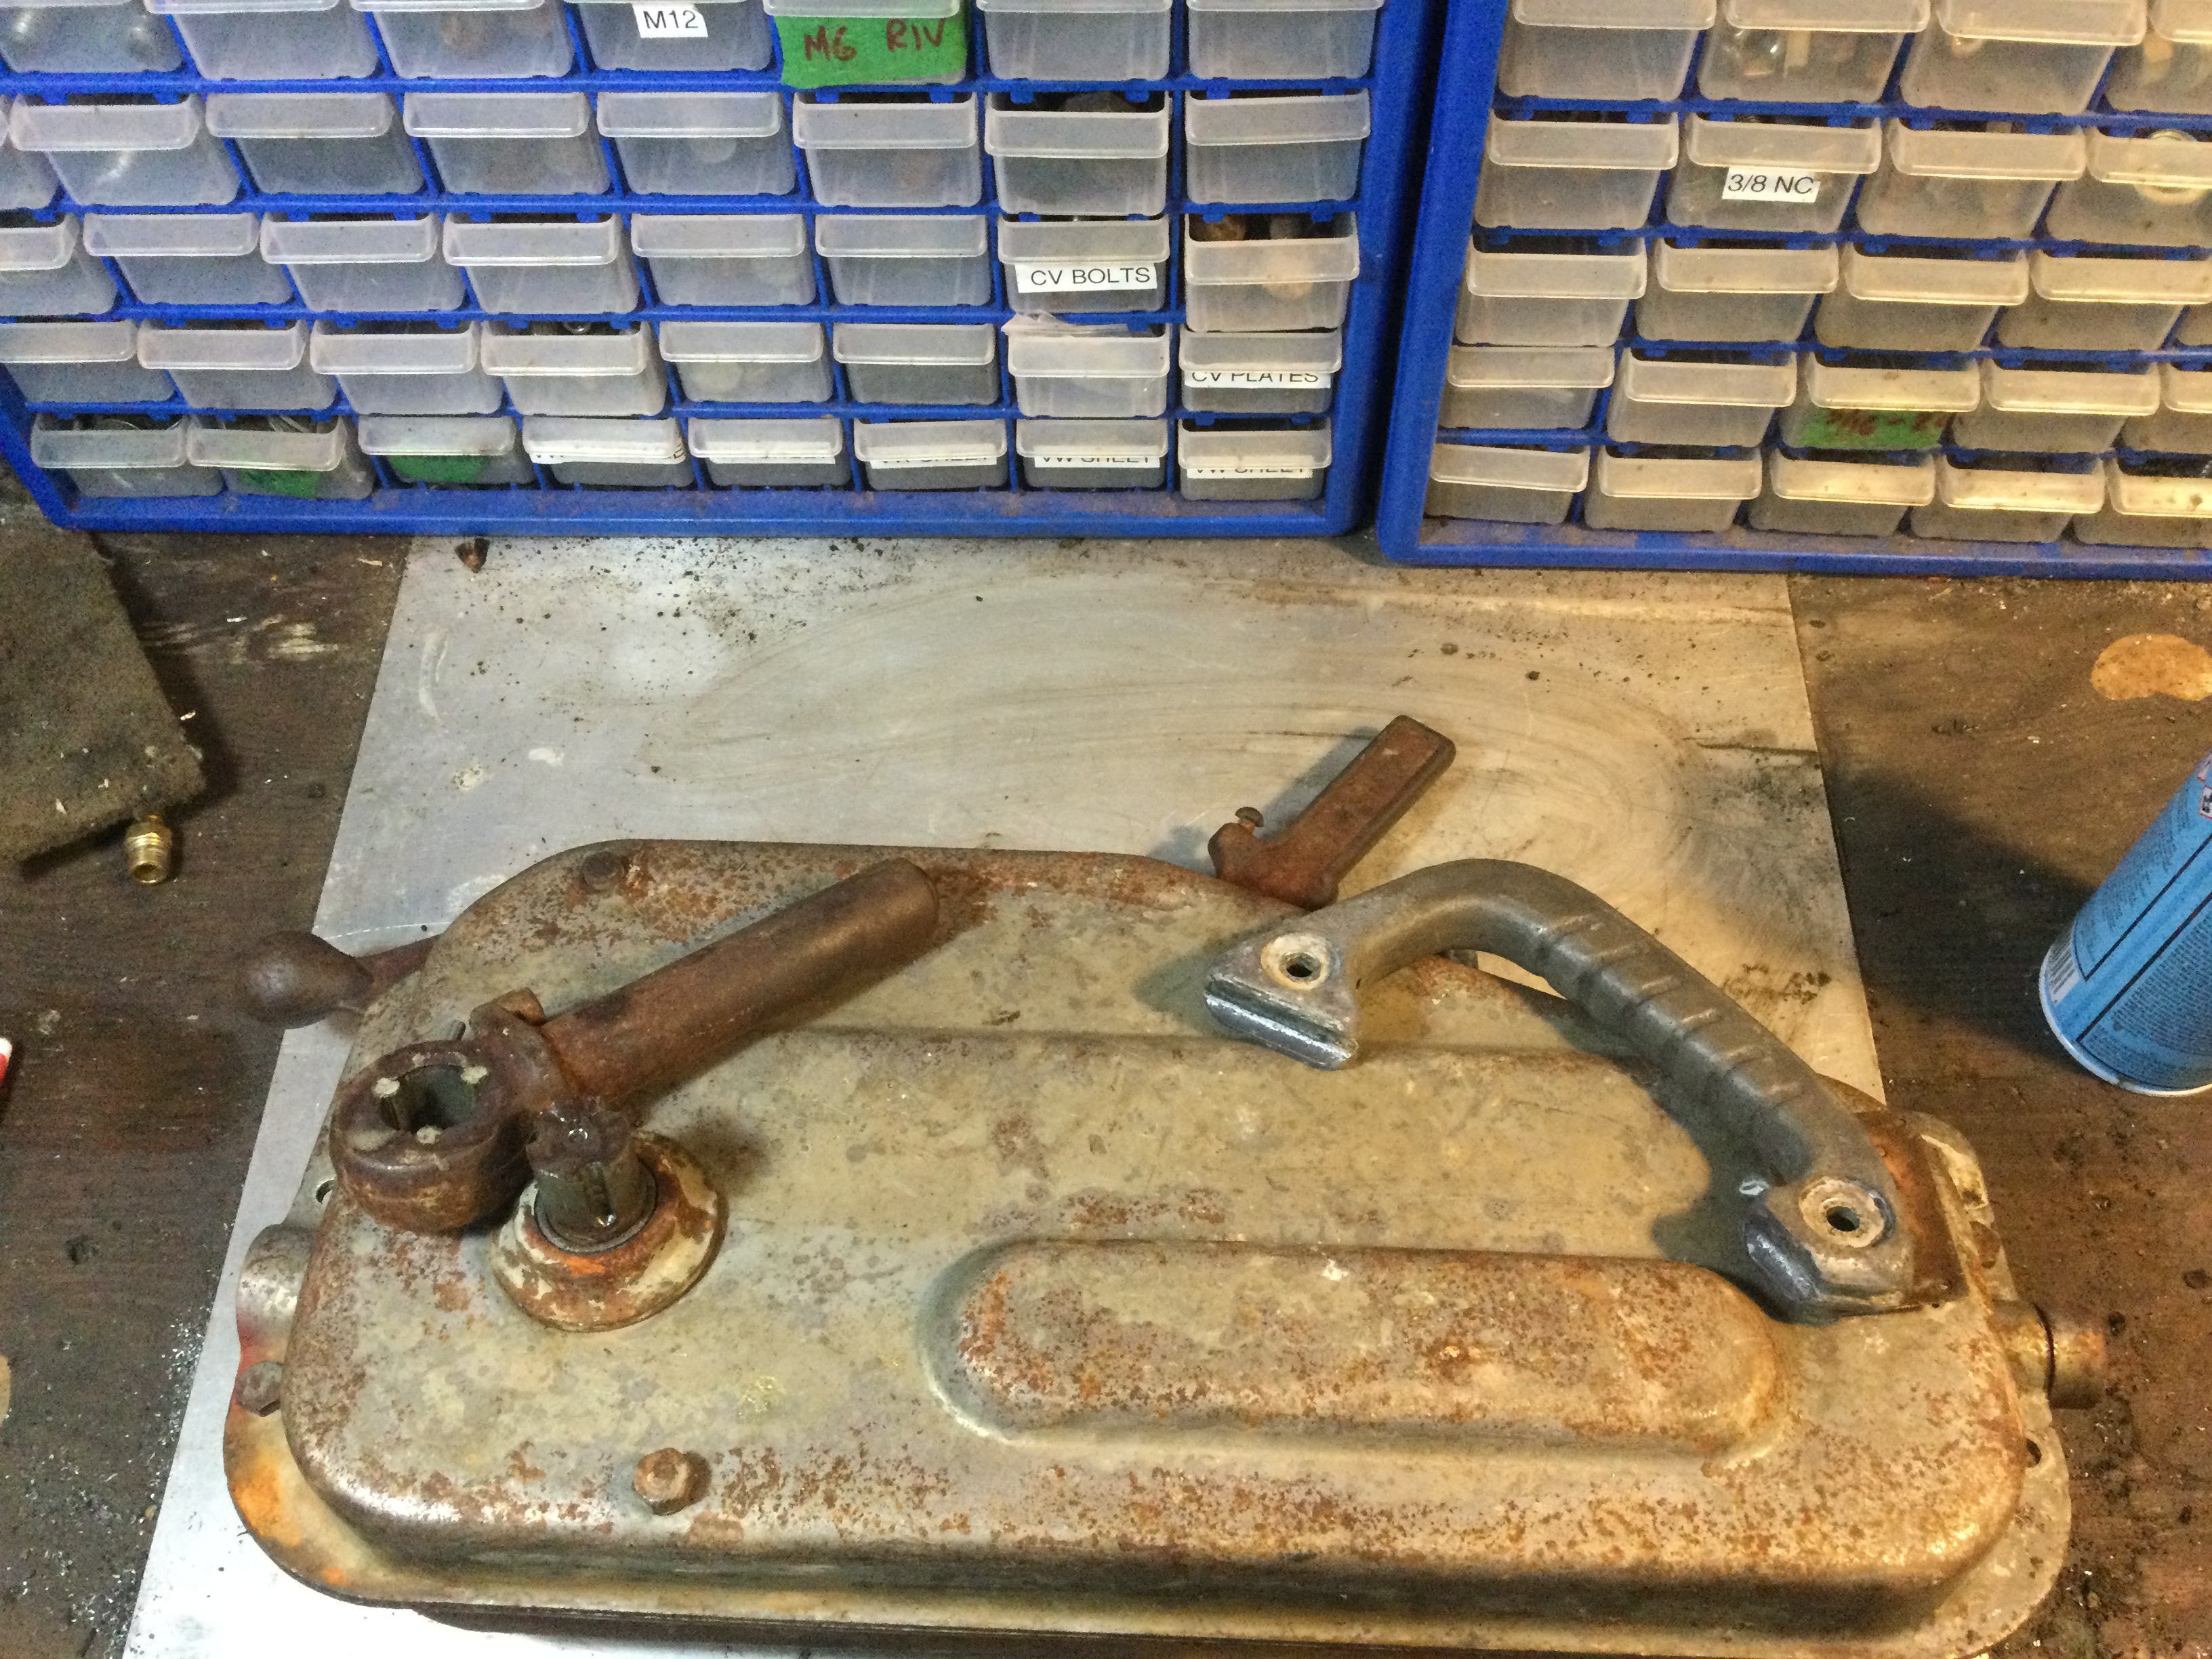
Tirfor Griphoist
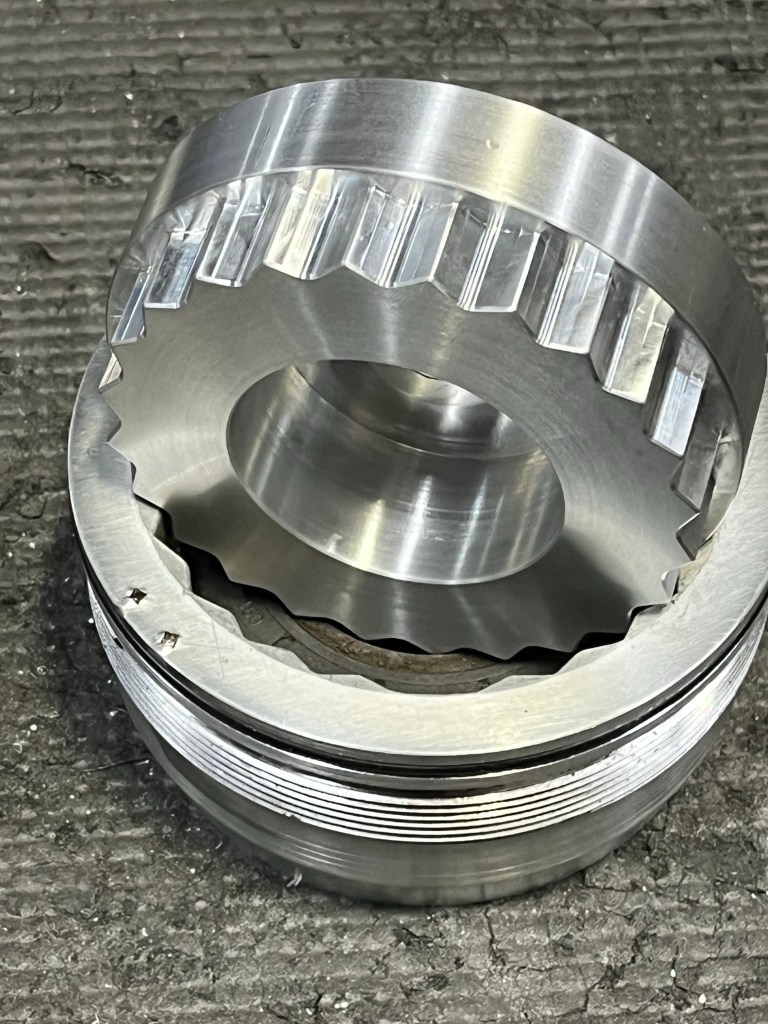
This winter I picked up an old Tu-28 Griphoist for next to nothing. I’ve been intrigued by these type of winches for years.
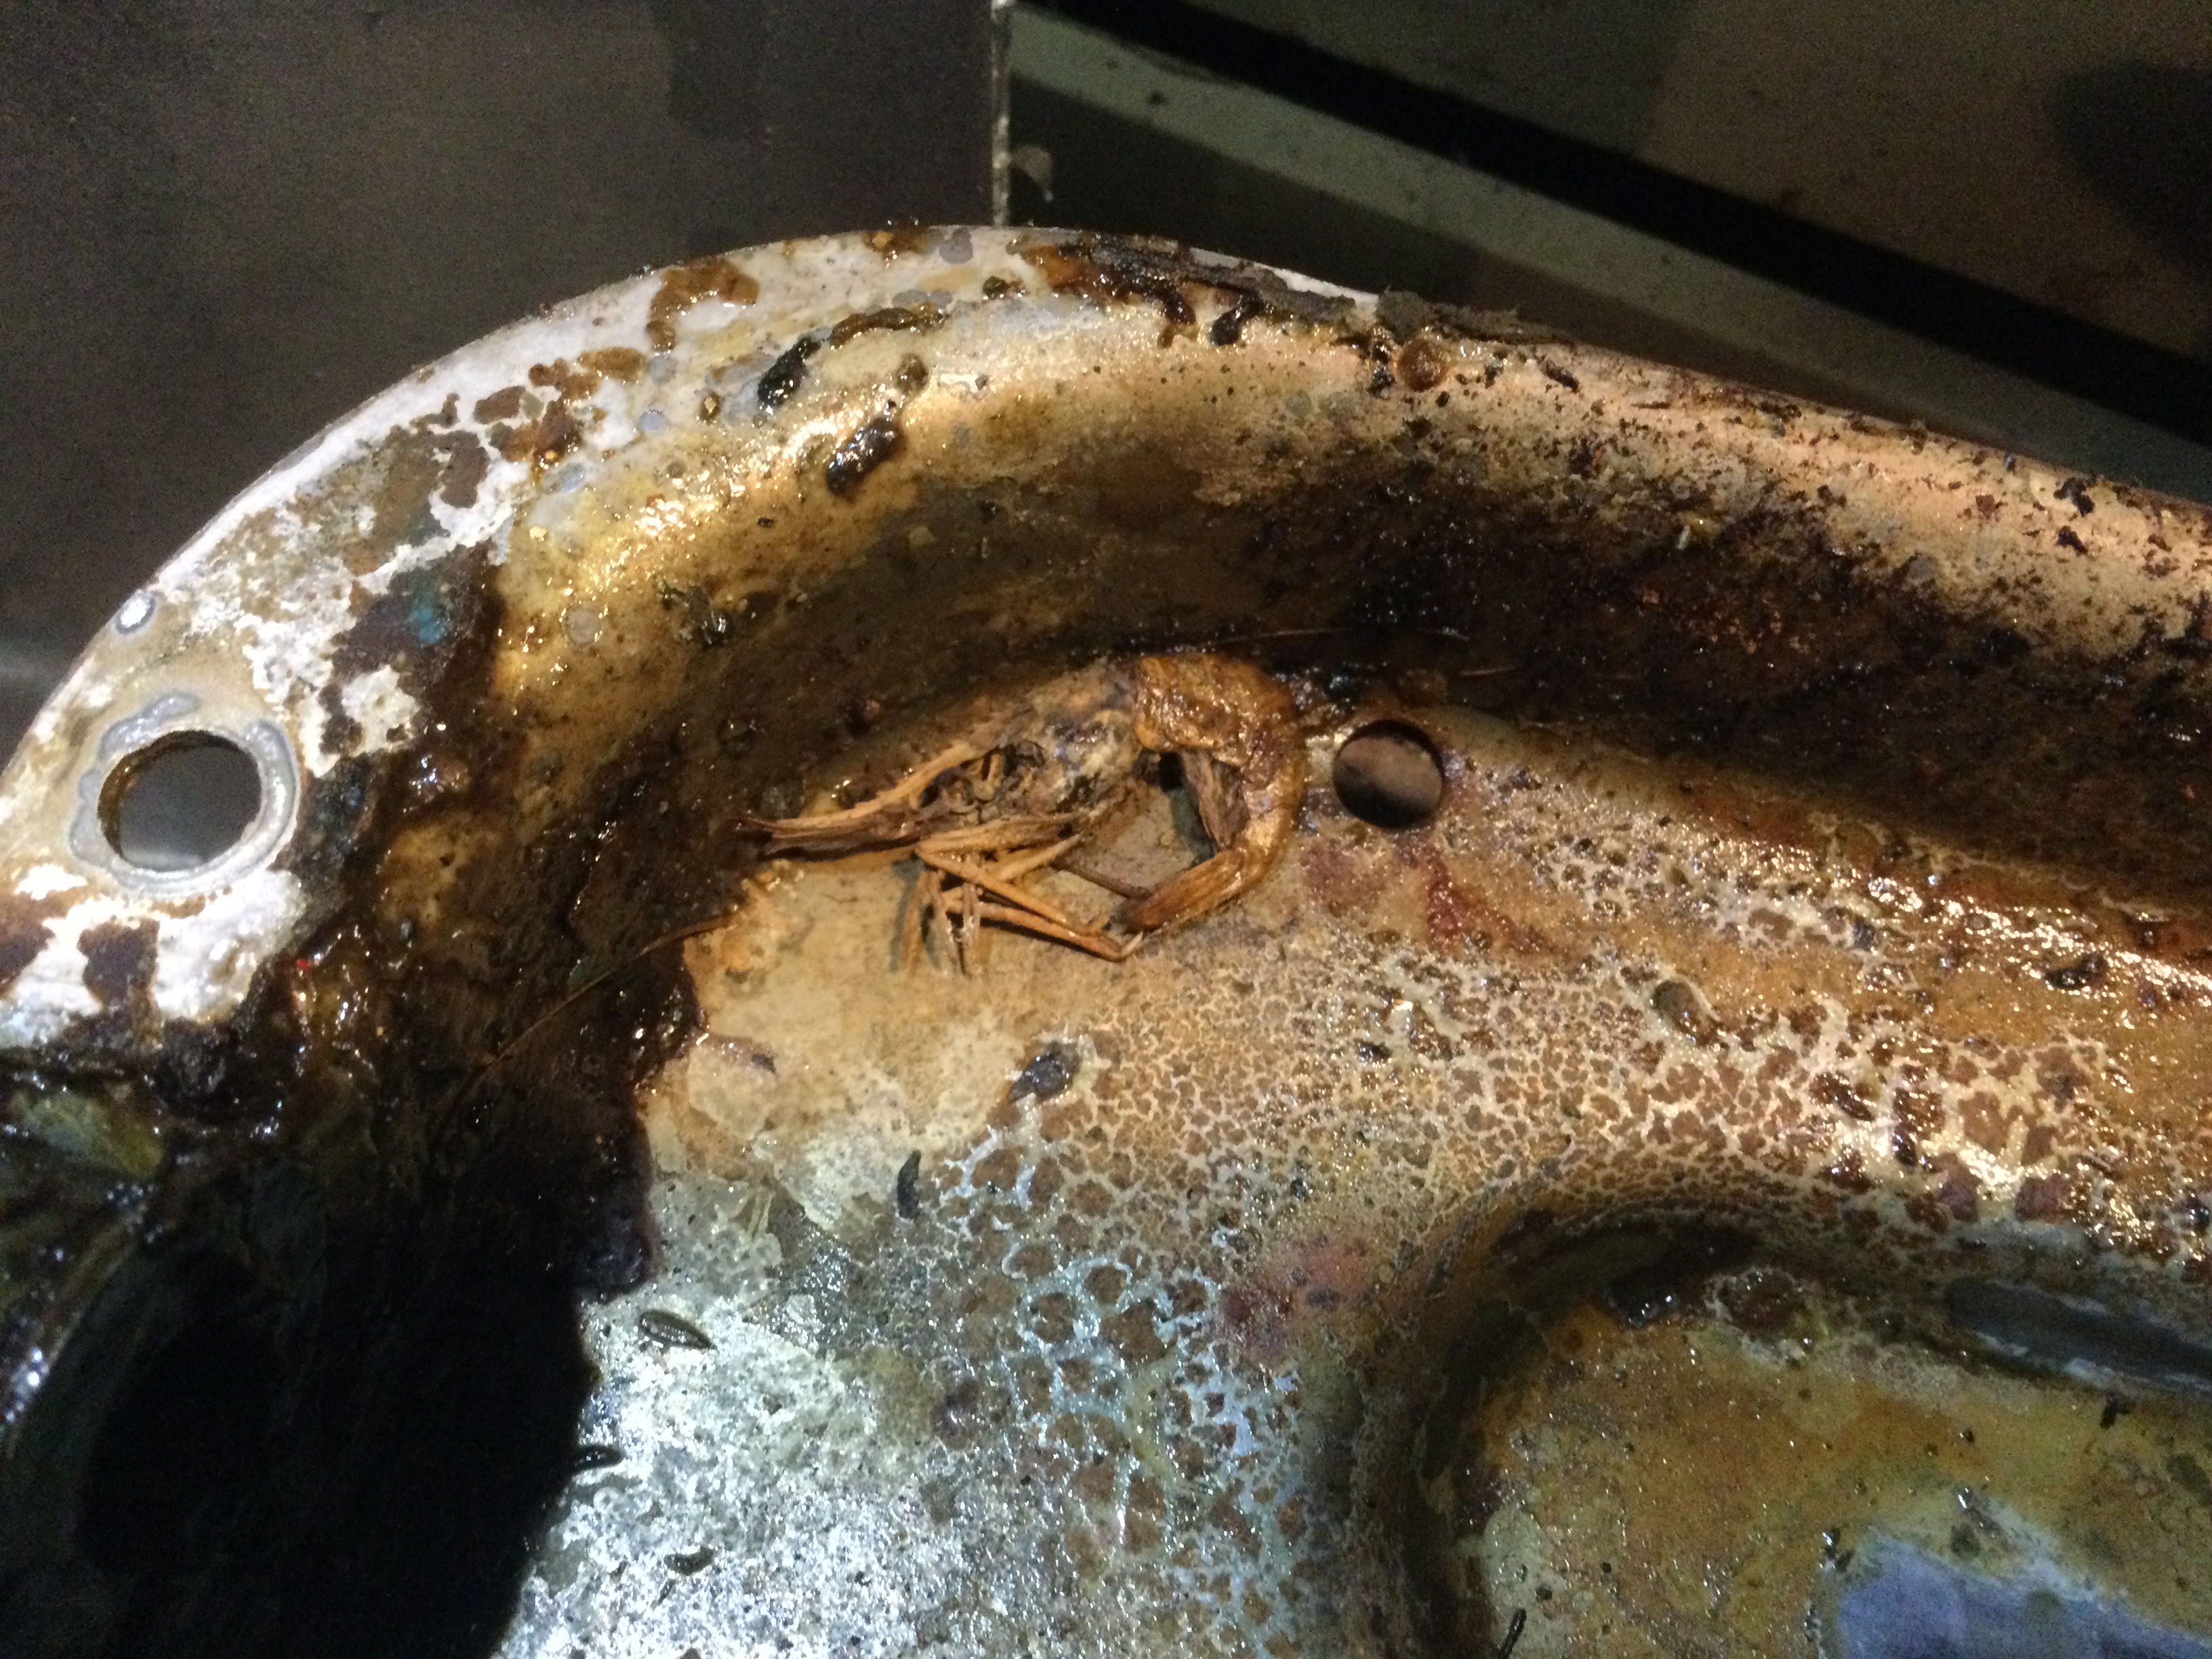
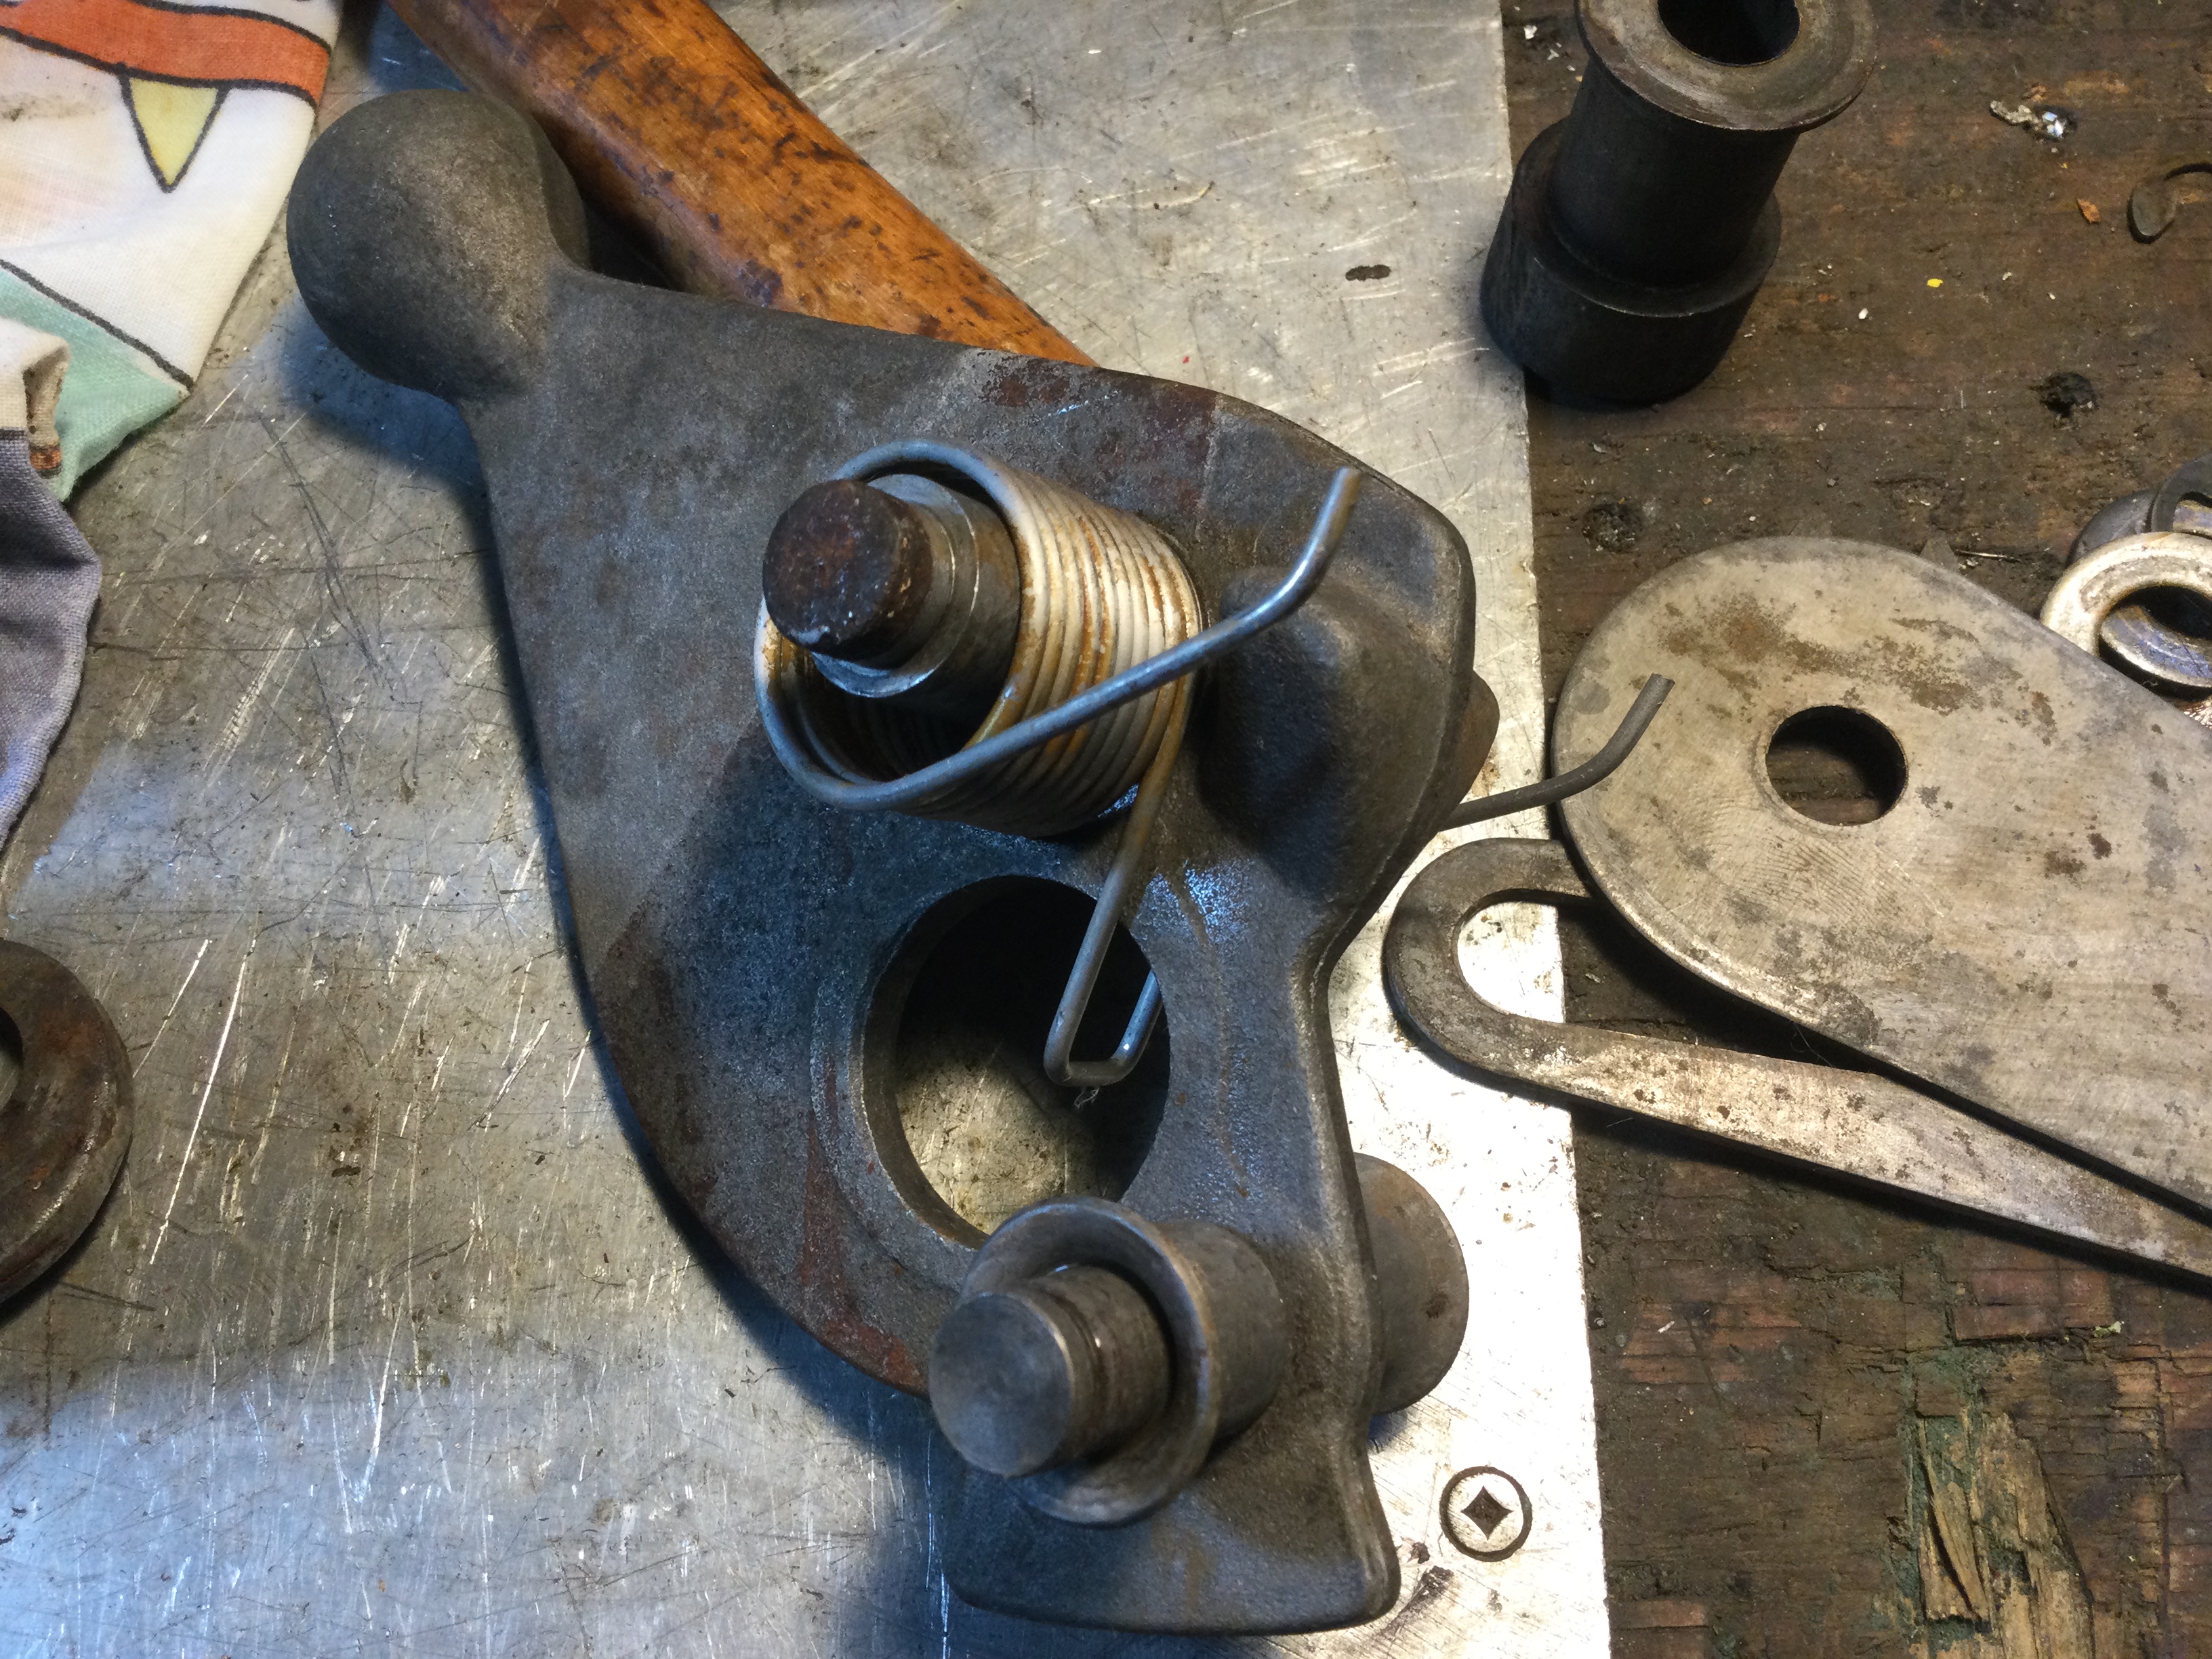
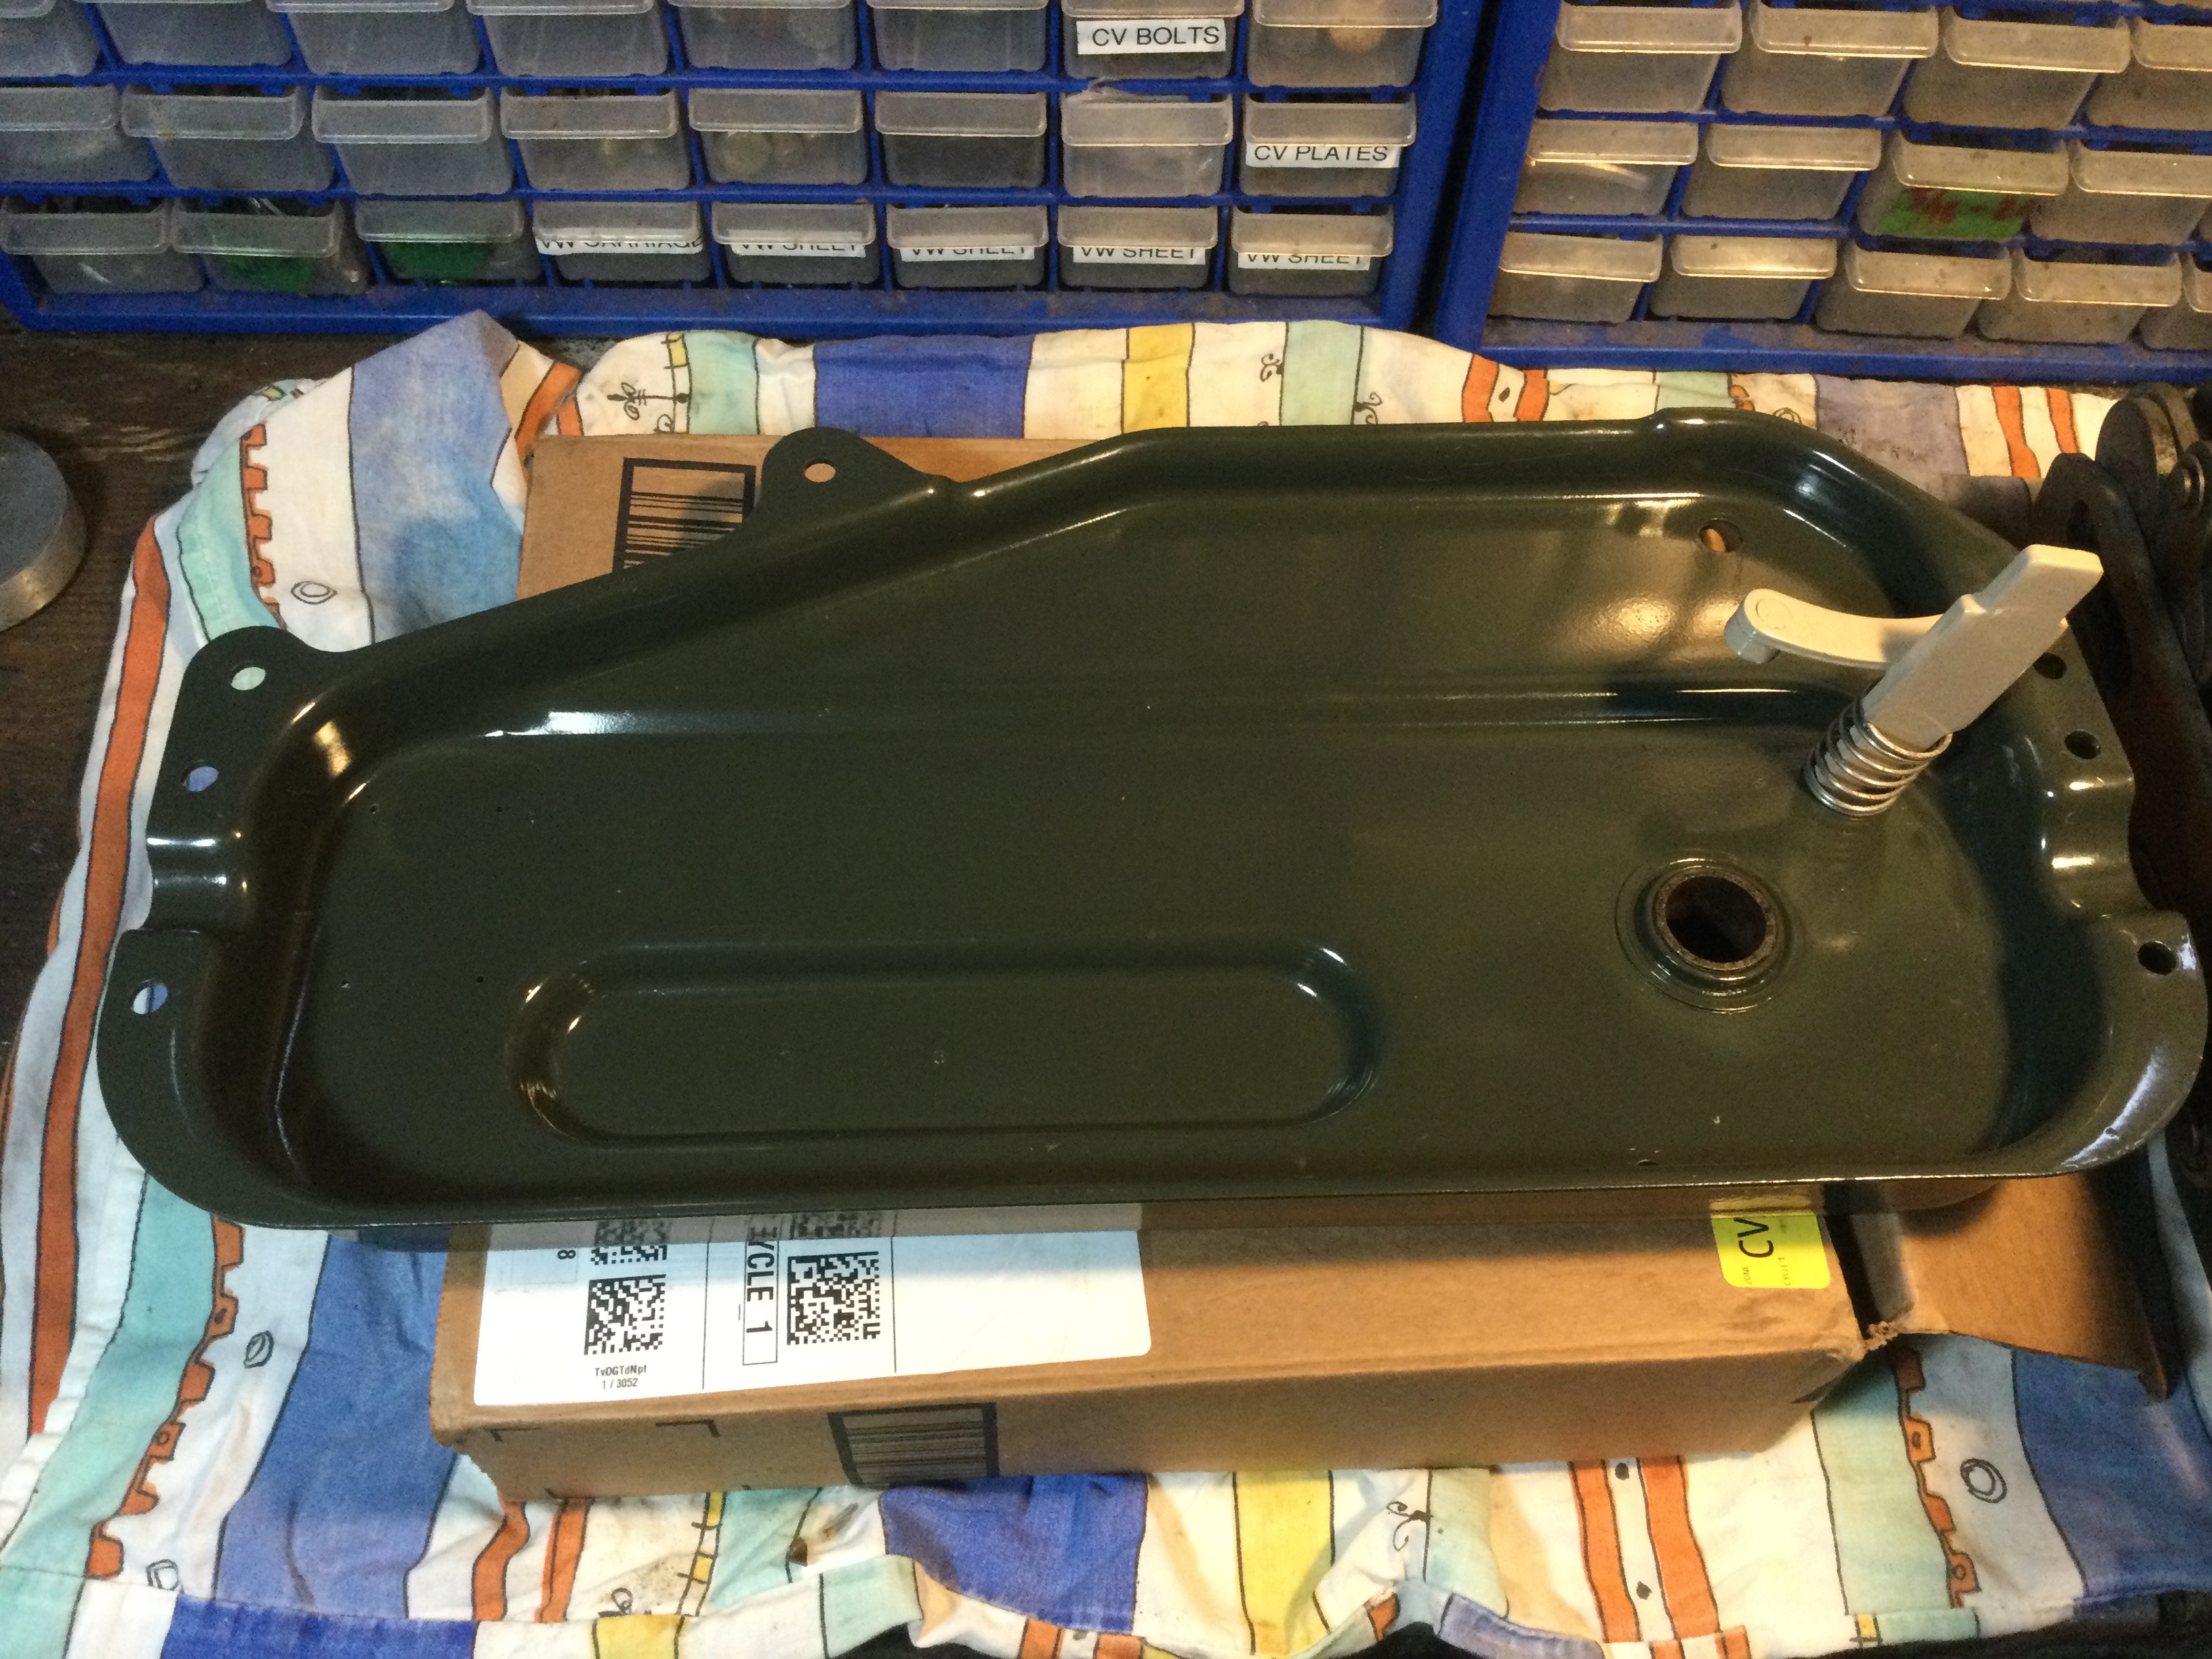
It was pretty dirty and missing the cable and handle. And a couple of the nylon bushings were worn, and one bushing missing. The idea was just to take apart and clean up, but as you’ll see I had the case and levers powder coated. And I made new plastic bushings.
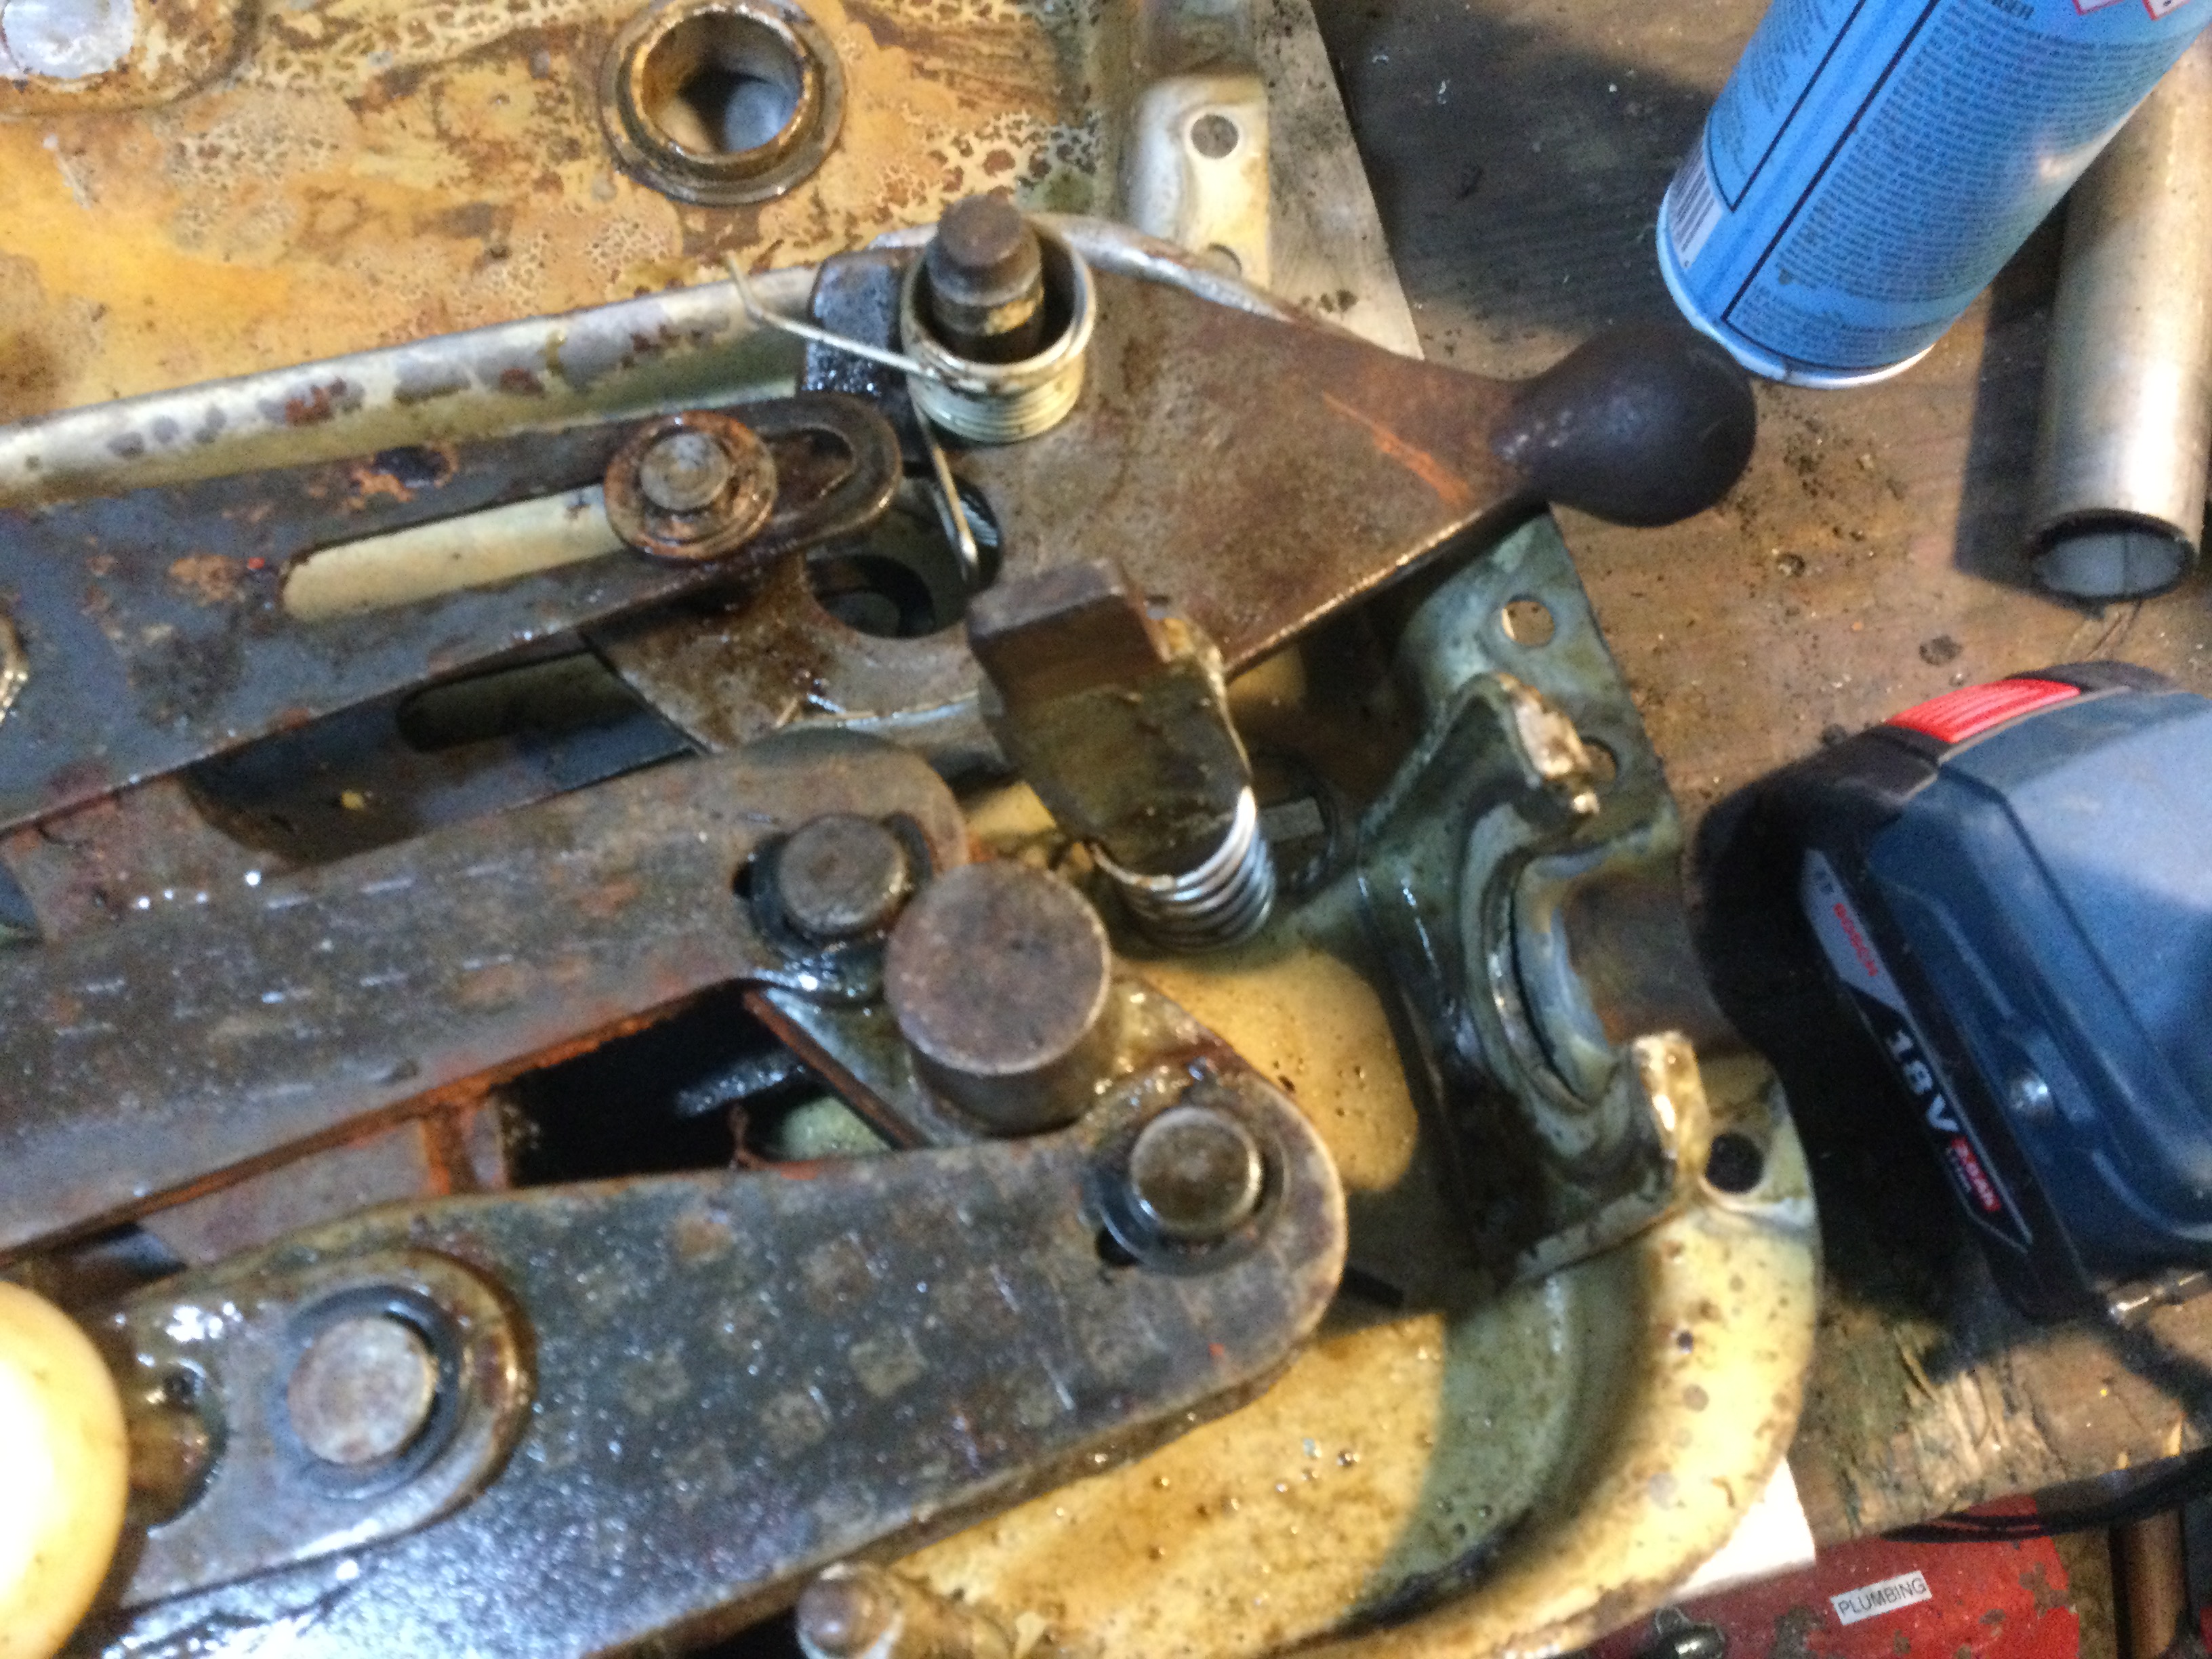
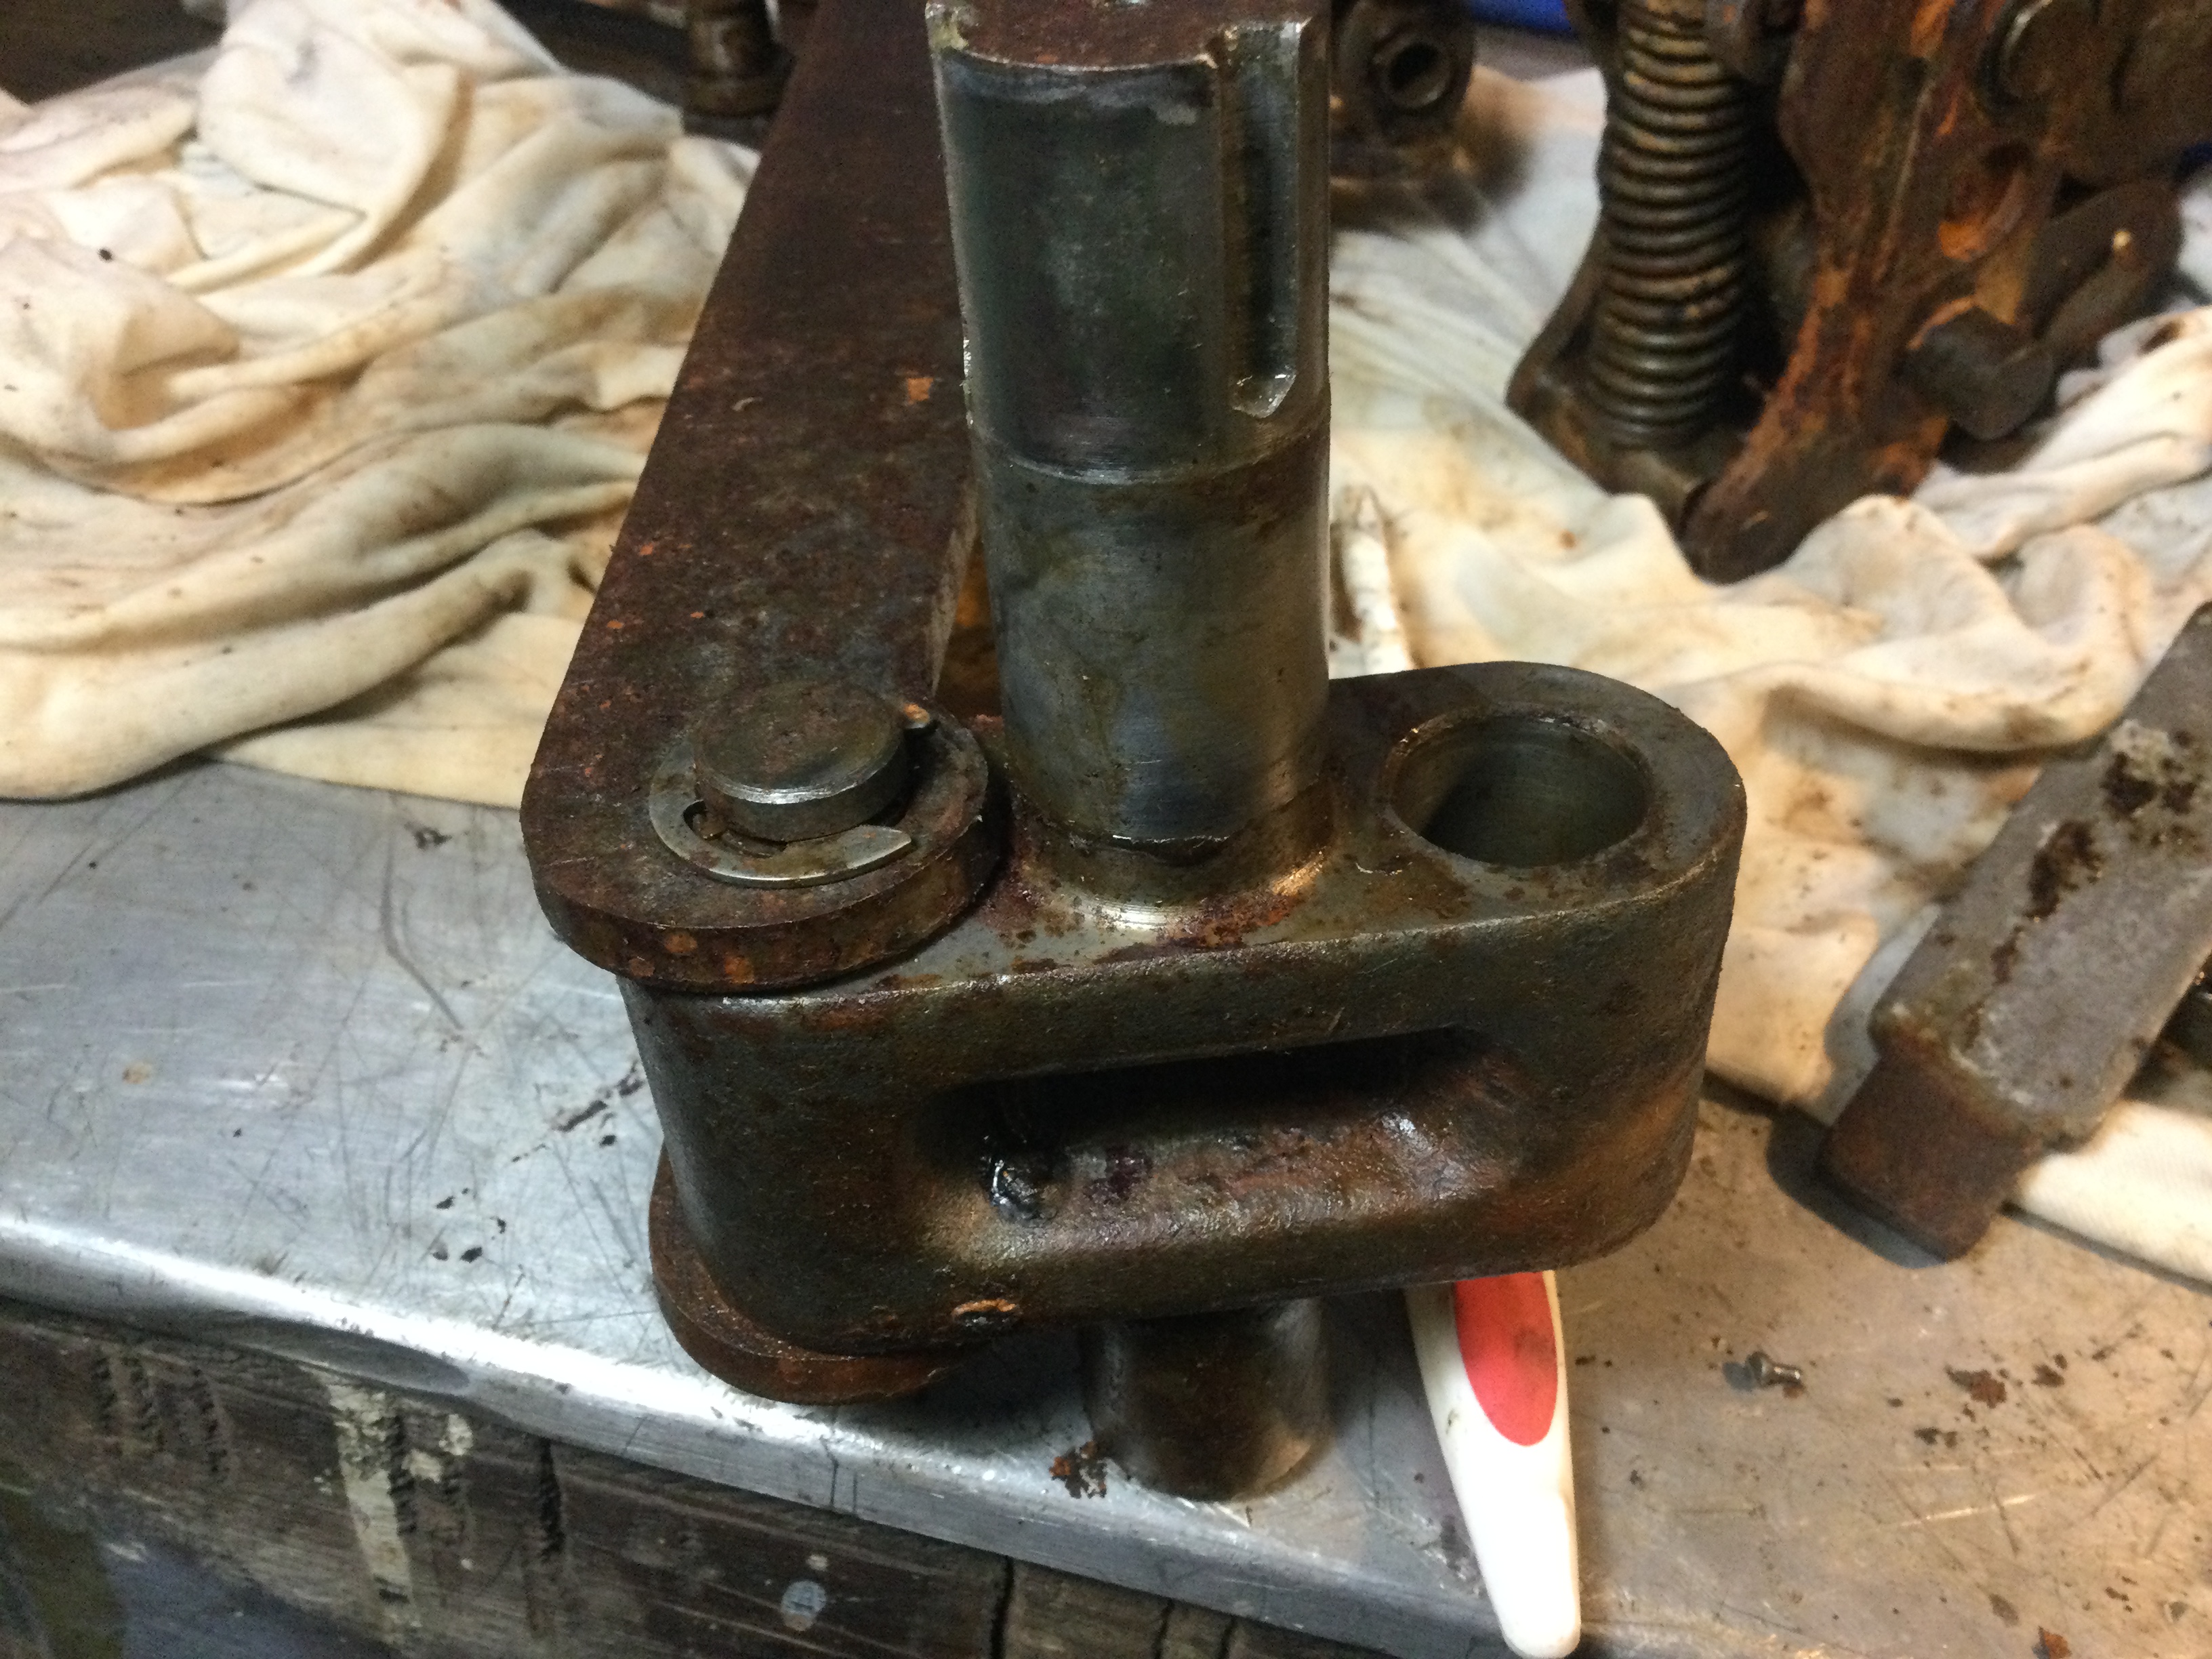
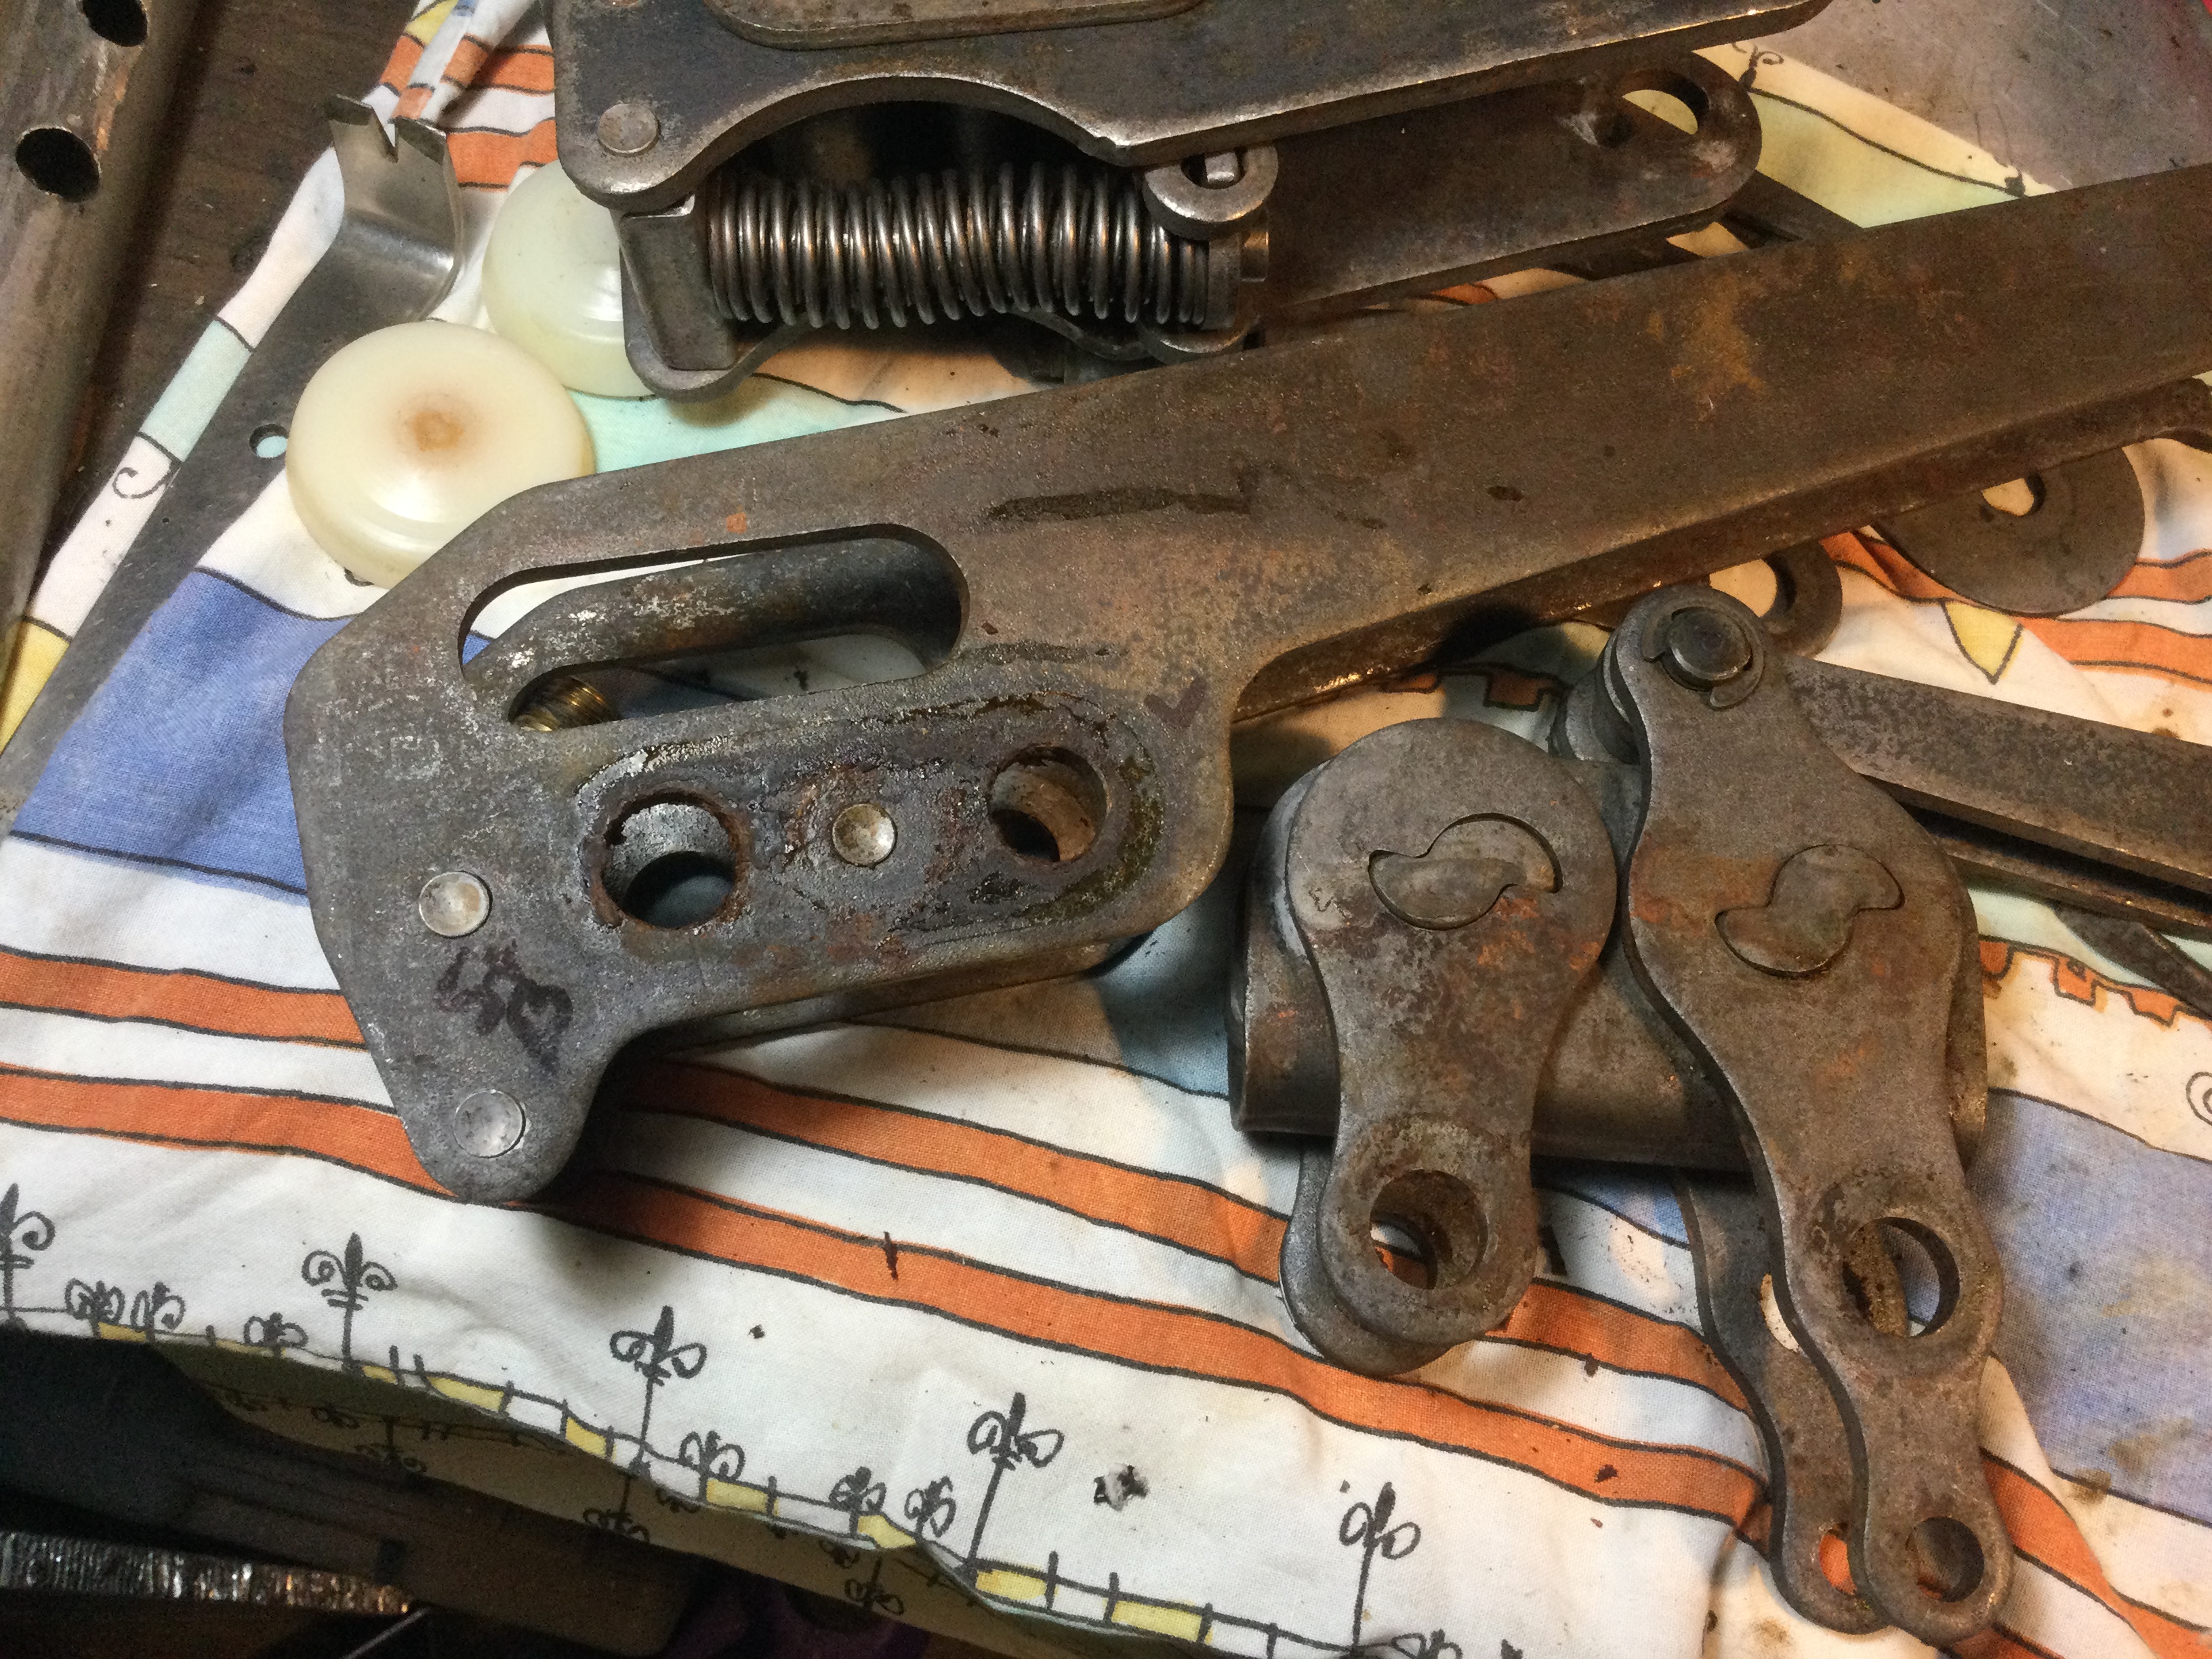
The pics are pretty poor, I was just taking snaps to help me remember how things went together.
This guide helped me a lot
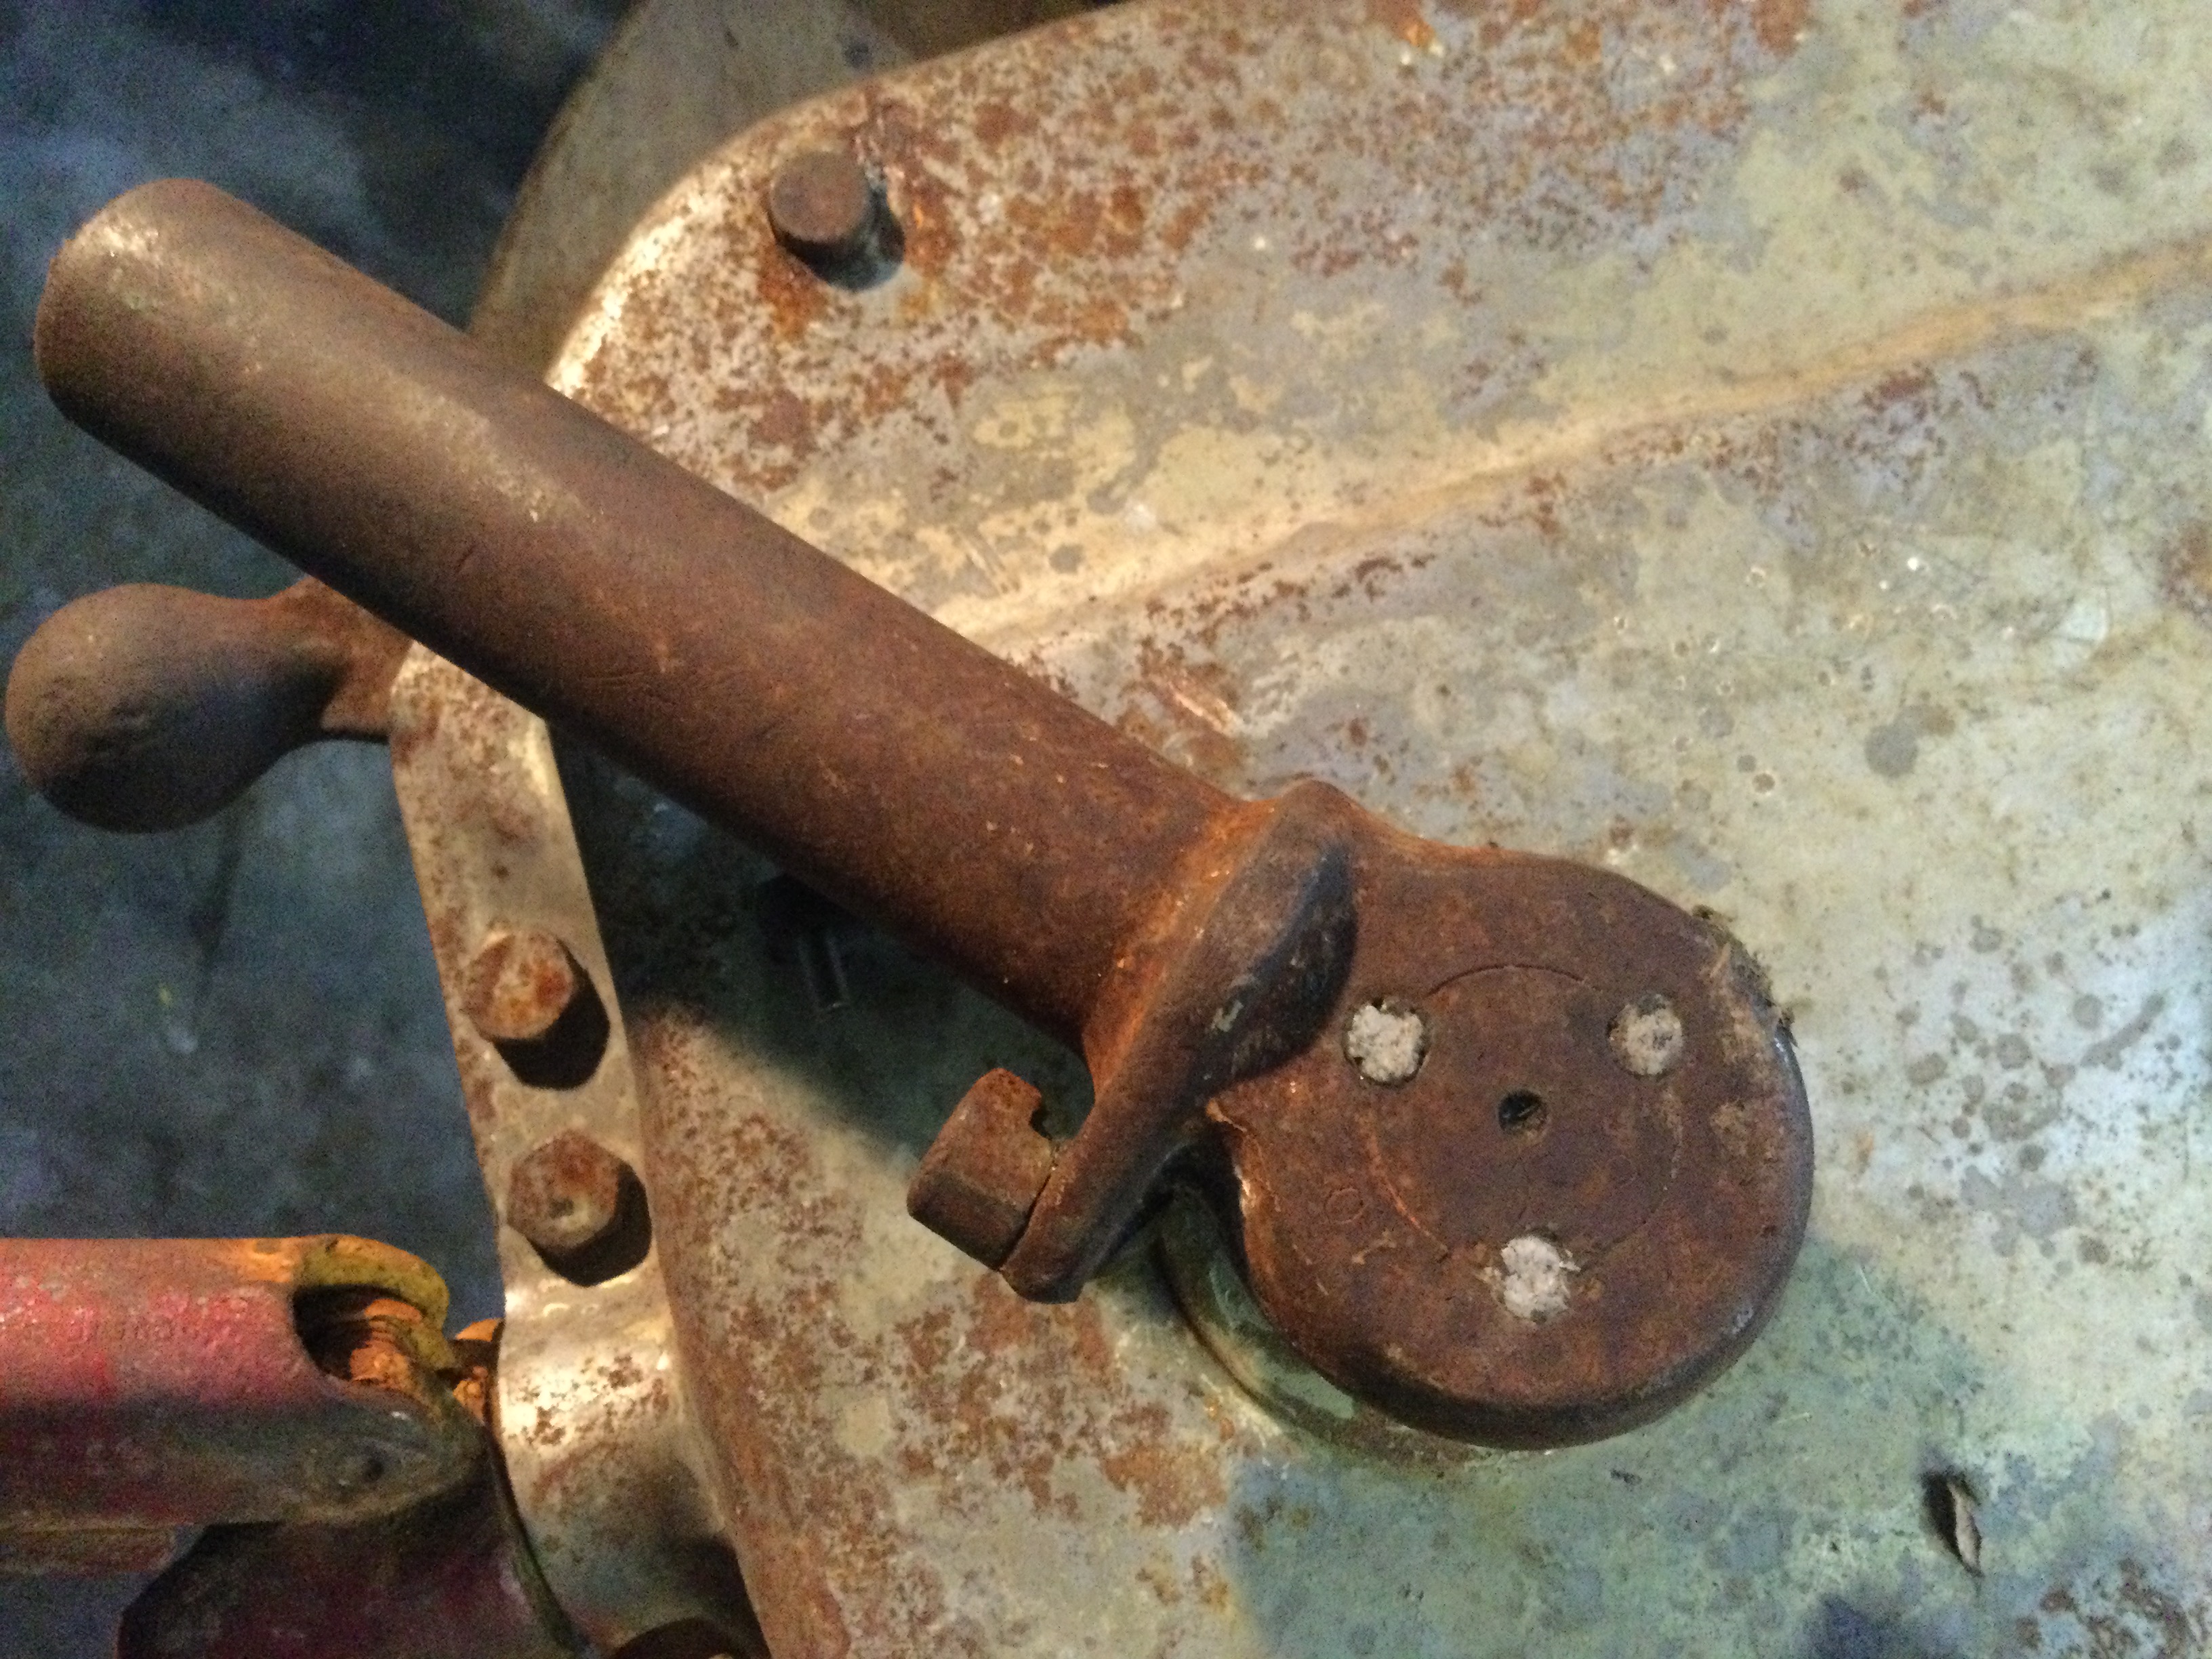
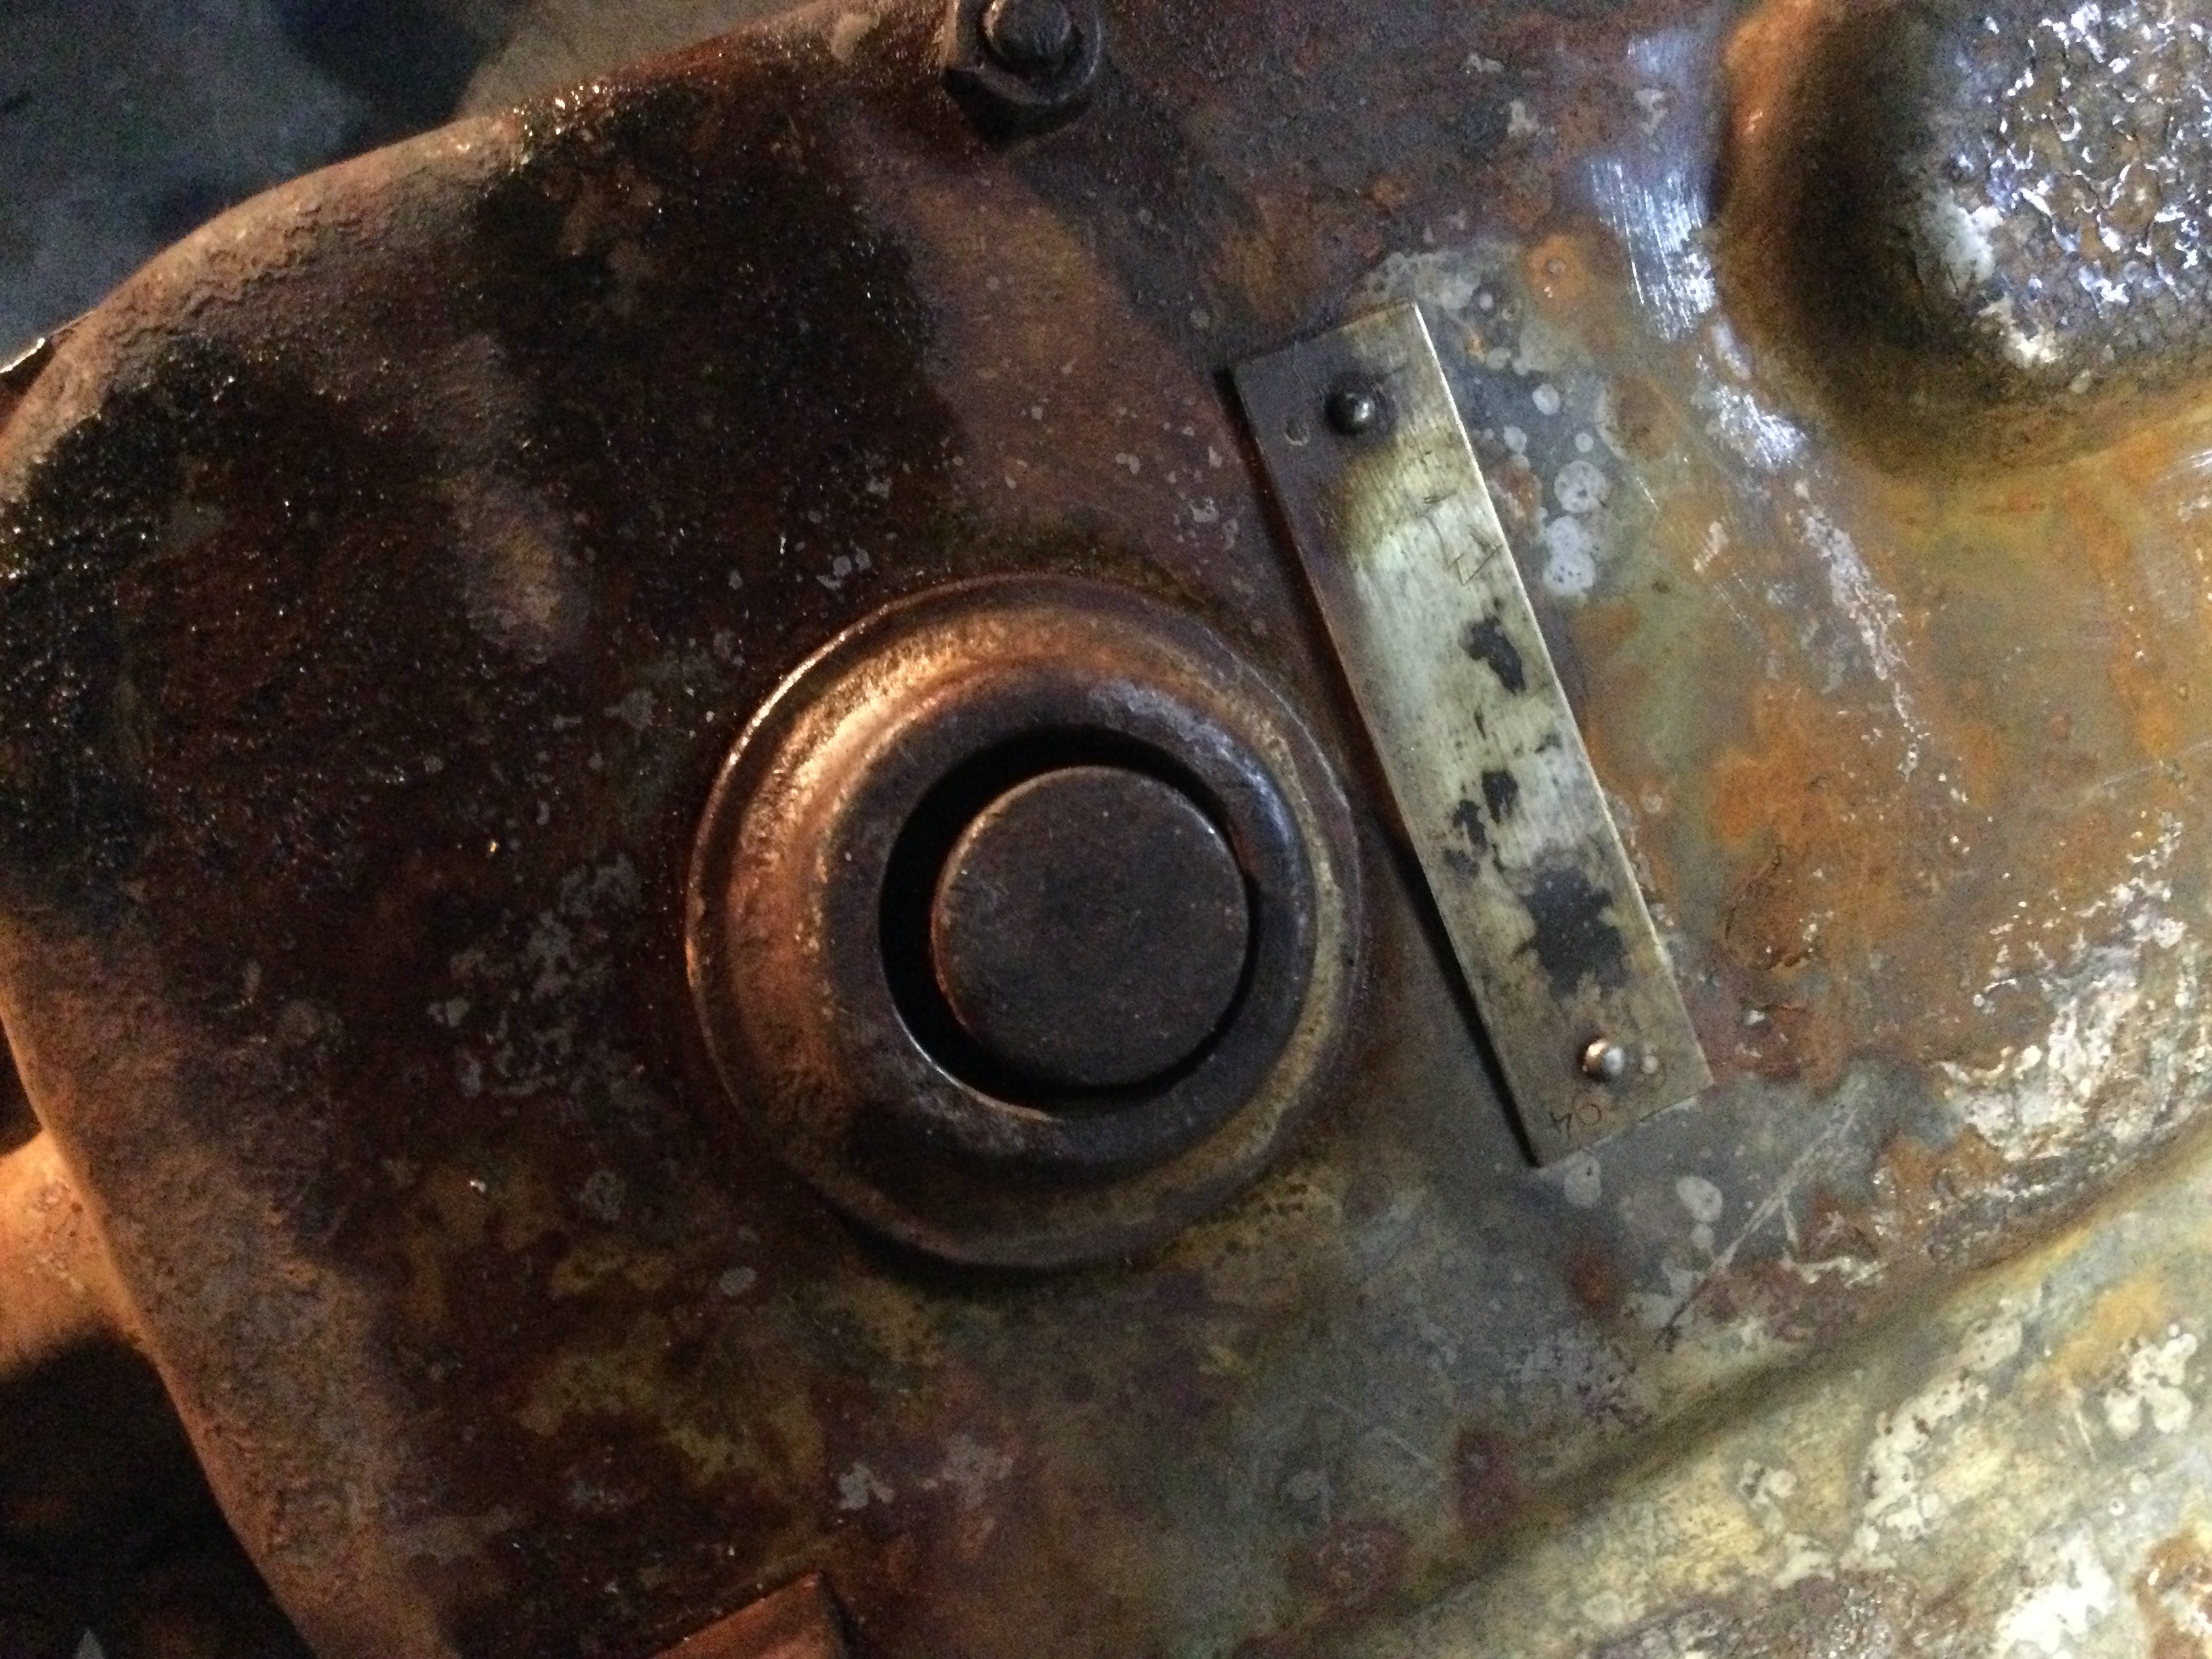
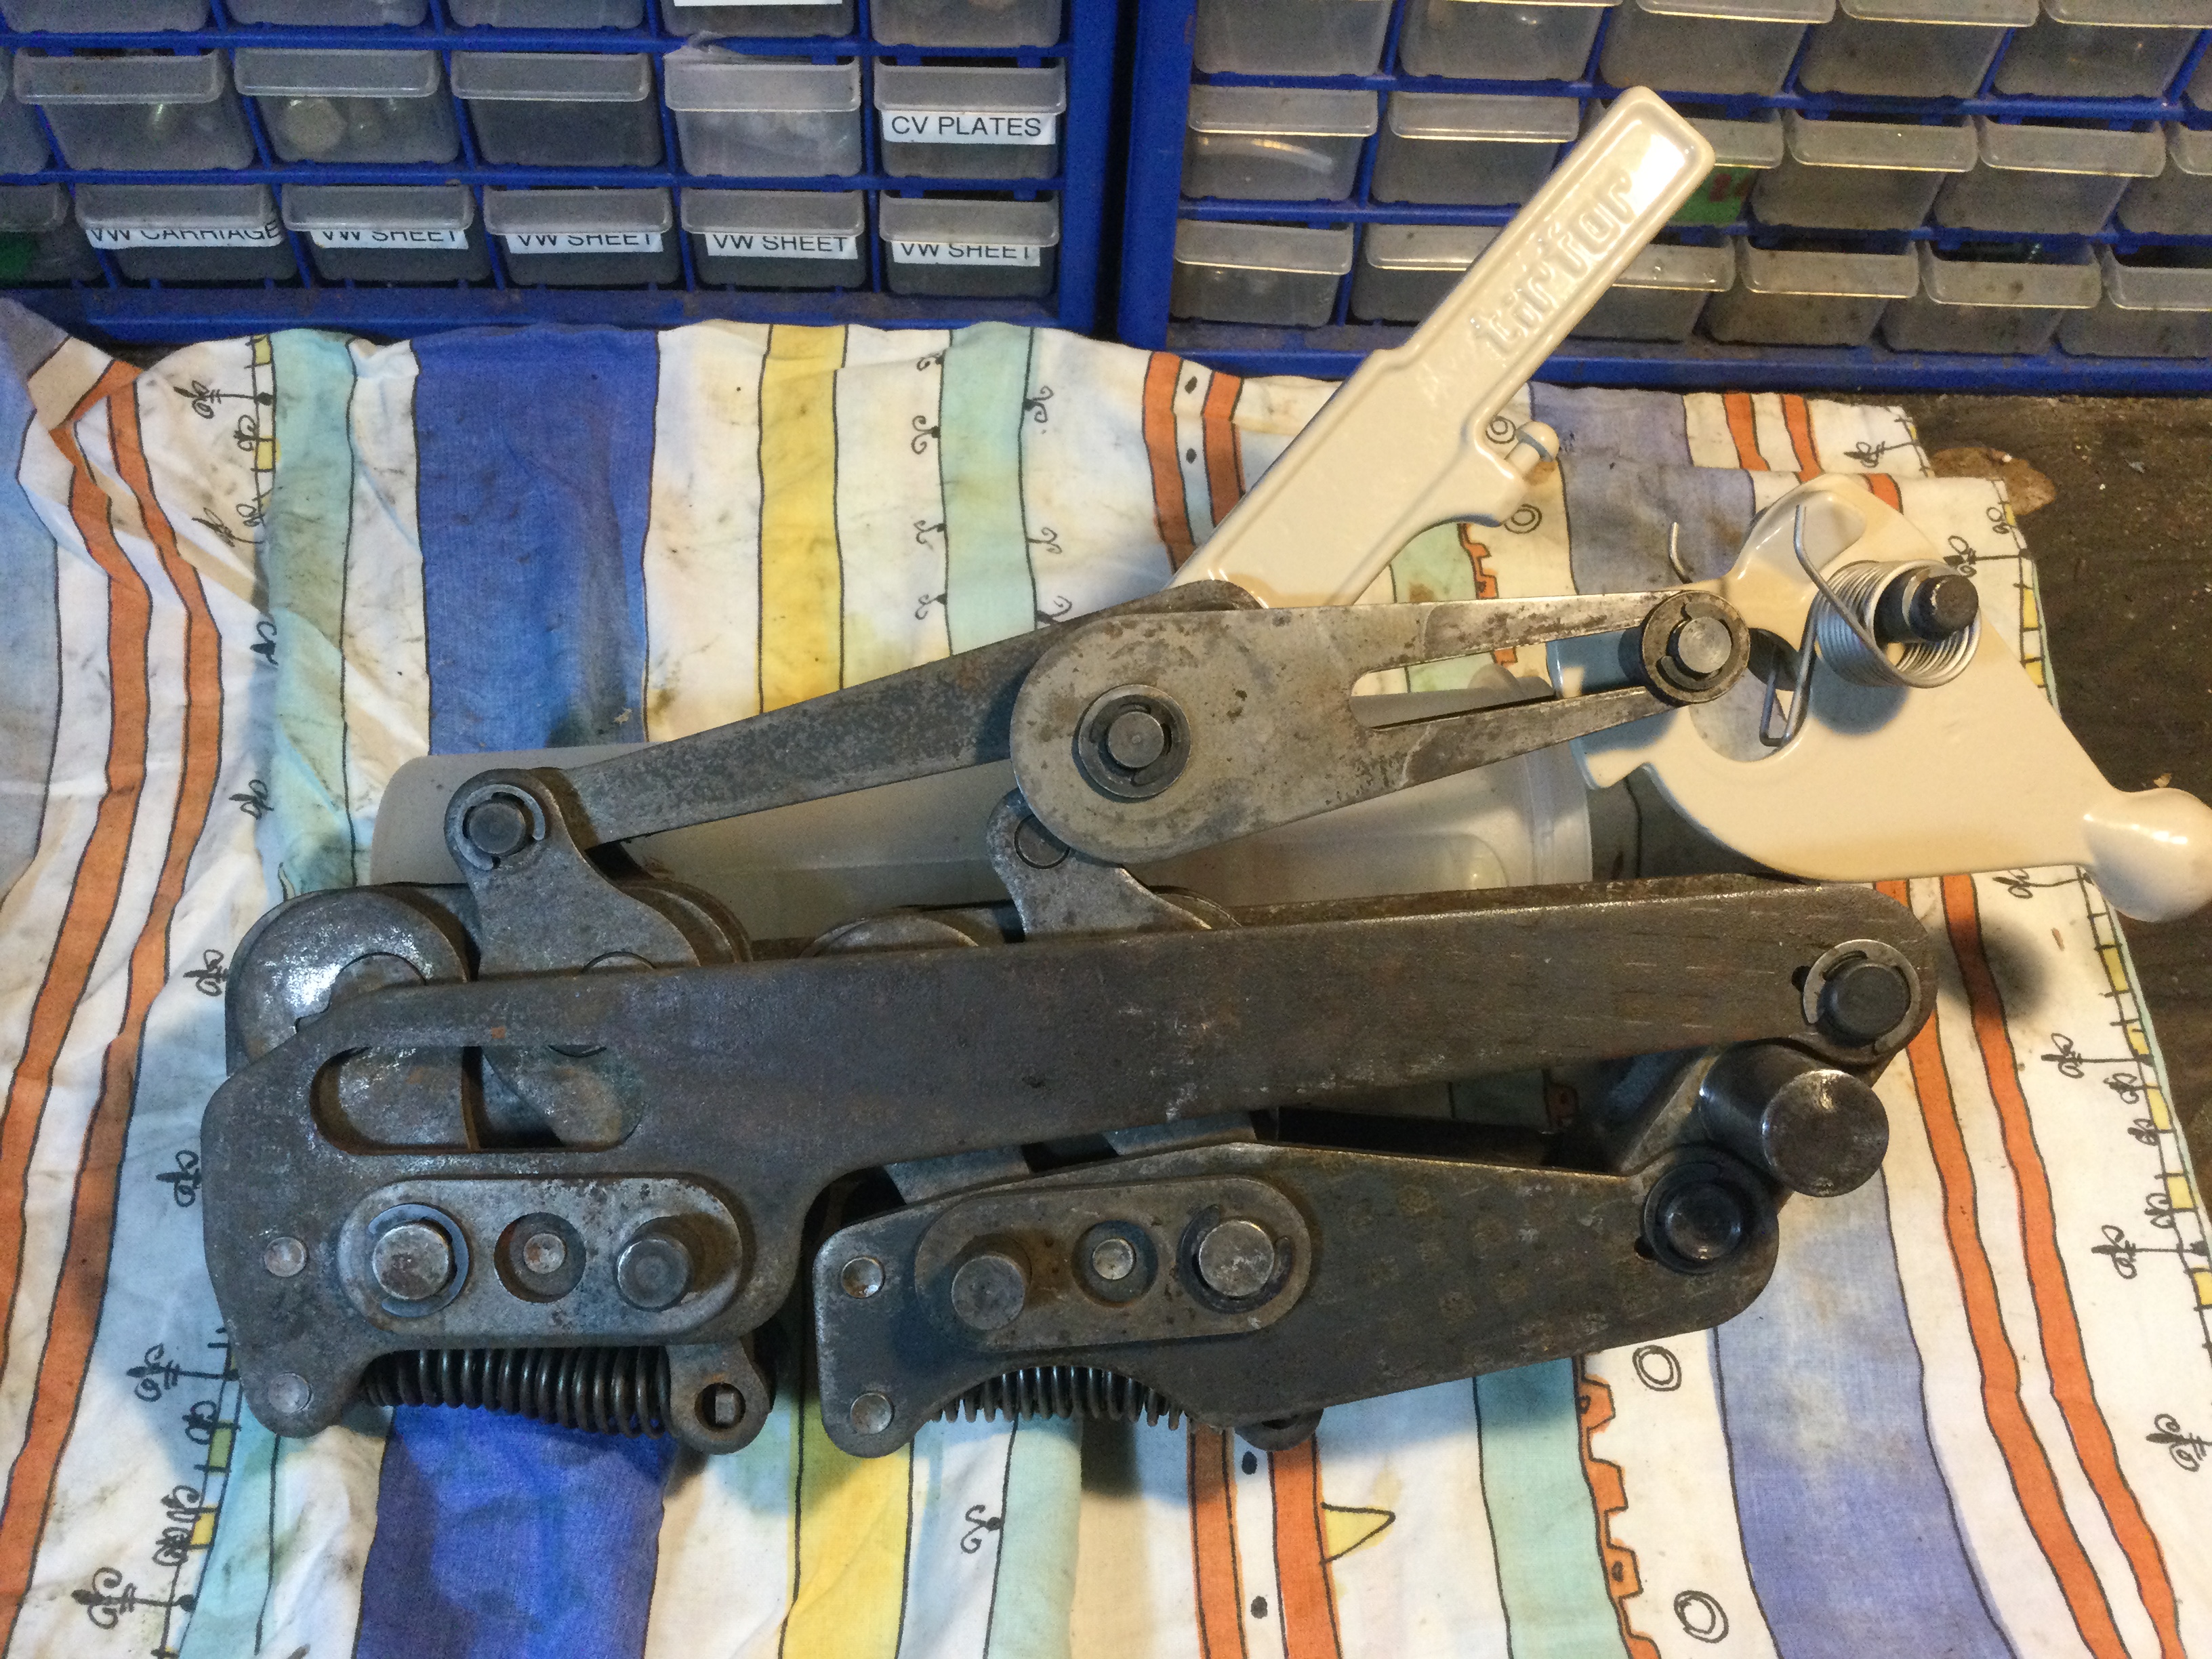
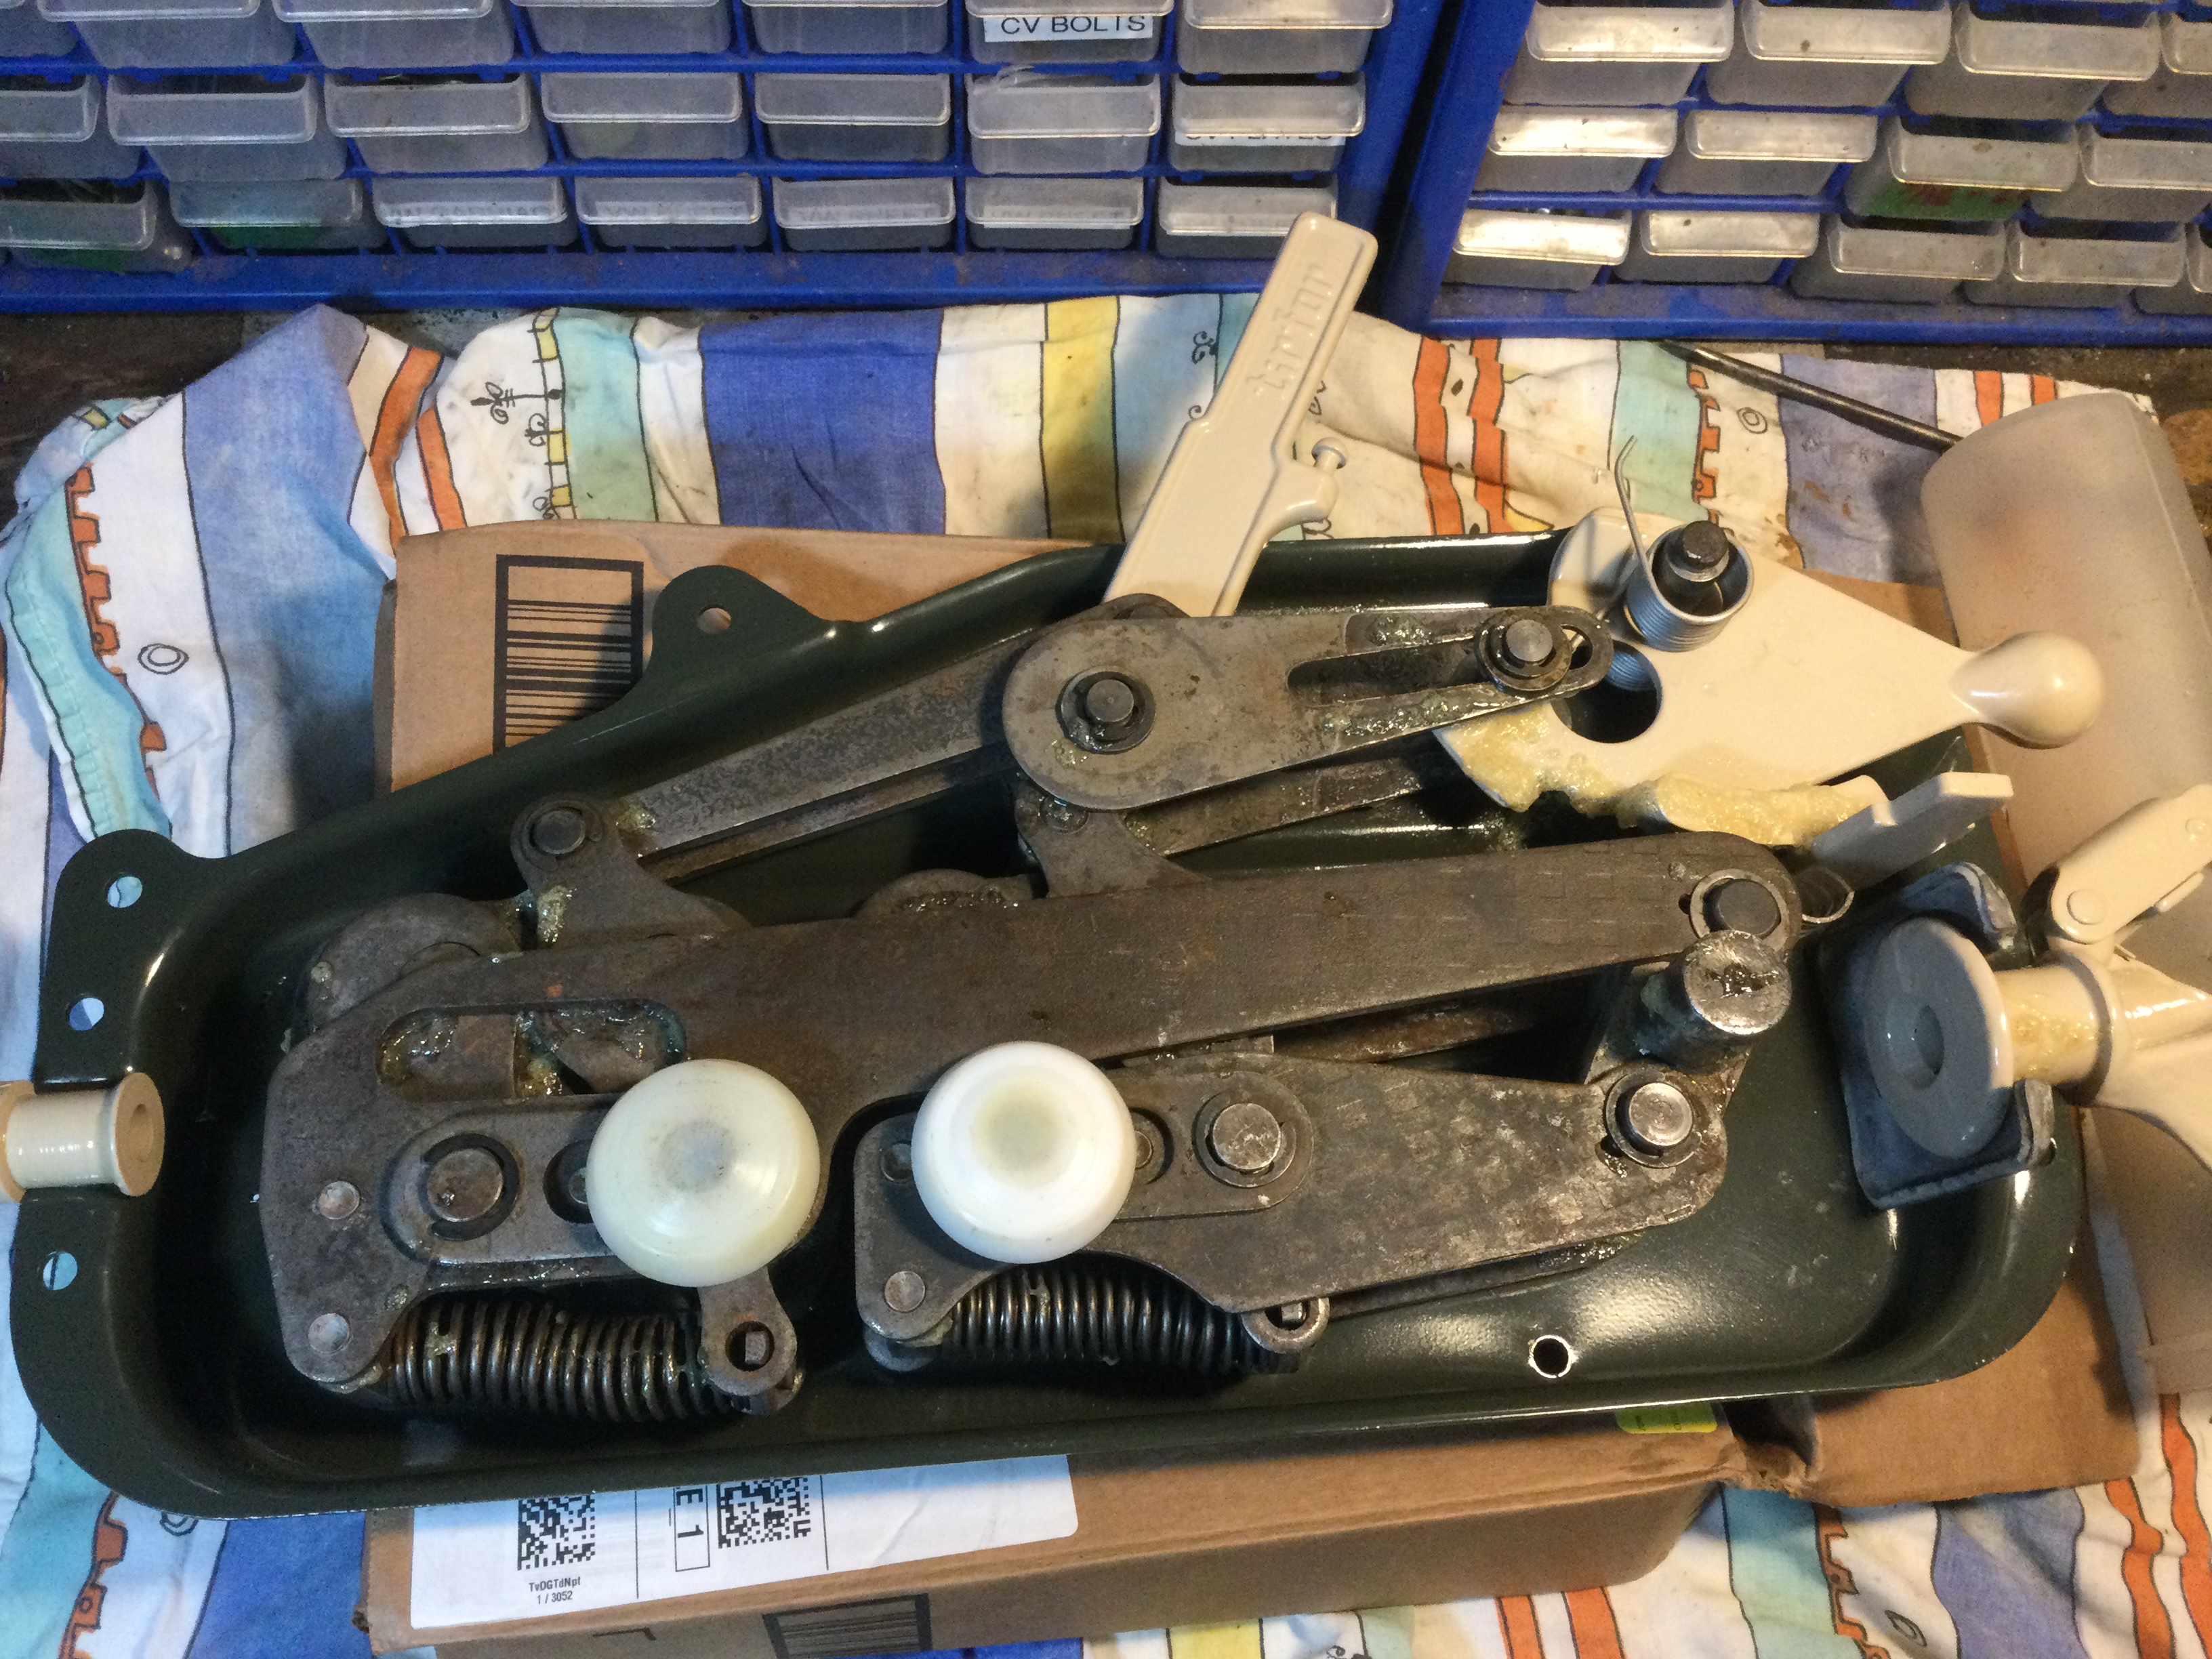
Couple of notes to add to the pics. You can see the three aluminum shear pins in the handle lever. Two sets of spares were packed in grease inside that handle. Might also be able to make out where the missing plastic bushing was supposed to be. And how the heck did a shrimp get inside the case?
The last pic is the hoist mostly assembled, I’ll get a better finished pic. And I’ve been absent from wordpress for a year and the changes to the editor has me a little stumped. I’d like the images in the gallery to be linked to full size… I’m trying … got it… clicking on image takes you to carousel of images.
Maybe dumping the images here might help anyone who decides to rebuild one of these hoists. For sure you can have things backwards on reassembly. I did, a few times.


Tent pegs – German WWII era, really?
Back in the 90’s I bought some tent pegs at a surplus store, it might have been Herbie’s Surplus in Williams Lake B.C. I thought they looked good and the particular design and overall shape blinded me to the fact that they were obviously cast. That’s cast aluminum, perhaps not the best material choice for tent pegs.
Right enough, I broke three of them in short order. Still have two undamaged examples but I never use them. Found them again when sorting out the (again army surplus) stuff sack I keep for cord, rope, clothes pegs, etc in the van. Still love the shape and thought that maybe I should cut up some 6061 aluminum angle to make rough copies.
Here is what I have left.

And the maker’s mark.

Not finished the copies yet, but I did do a search for the name “APAG” which was cast on the pegs. Try that yourself, the name plus tent peg. I got a few eBay listings, for example this one:


Of course i could be wrong, but the maker’s mark typeface sure doesn’t look like WWII era German. And if it was, would they be using precious aluminum for tent pegs?
Addendum: summer solstice 2017
Made my own two versions of the dubious German pegs. They might bend but I don’t think they will break quite as easily as the originals.

Tool acquisition
I’m not meaning to boast or gloat but I just got a tool I’ve wanted for a long time. Good friend Dave gave me this 24″X36″X 4″ black granite surface plate. It’s in great shape, only a couple of very minor dings, and I’m really chuffed about it.


Trenching tools – East meets West
So I’m searching high and low in the workshop for a couple of things, things I recall putting away but now can’t find. Driving me batty, but there was a silver lining – I found the W.German trenching tool that had gone awol for the last few years. It was a necessary bit of kit for the van and during it’s absence I was forced to use my back-up, an E. German trenching tool.
BTW, the pair are on my old sliding crosscut table on the table saw. It’s what I use when cutting aluminum on the saw.
OK, West on the left, East on the right. West uses a spring loaded push button mechanism to adjust/lock blade angle. East uses a threaded collar.
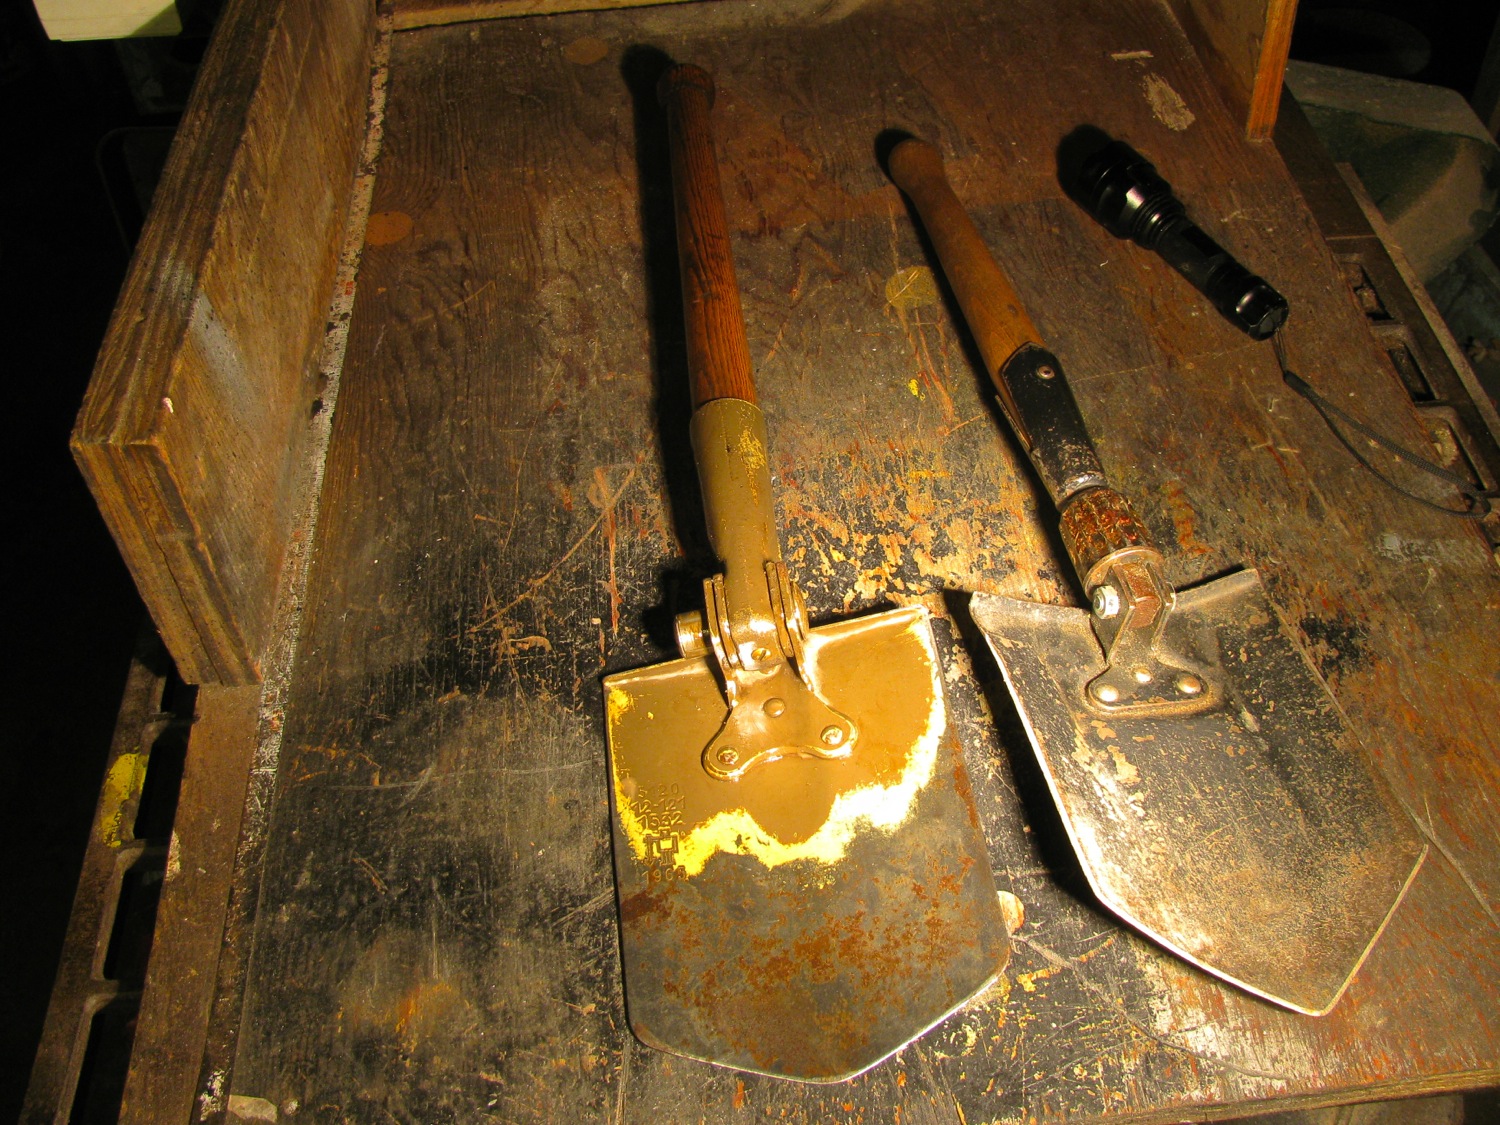
1965? Almost as old as me.
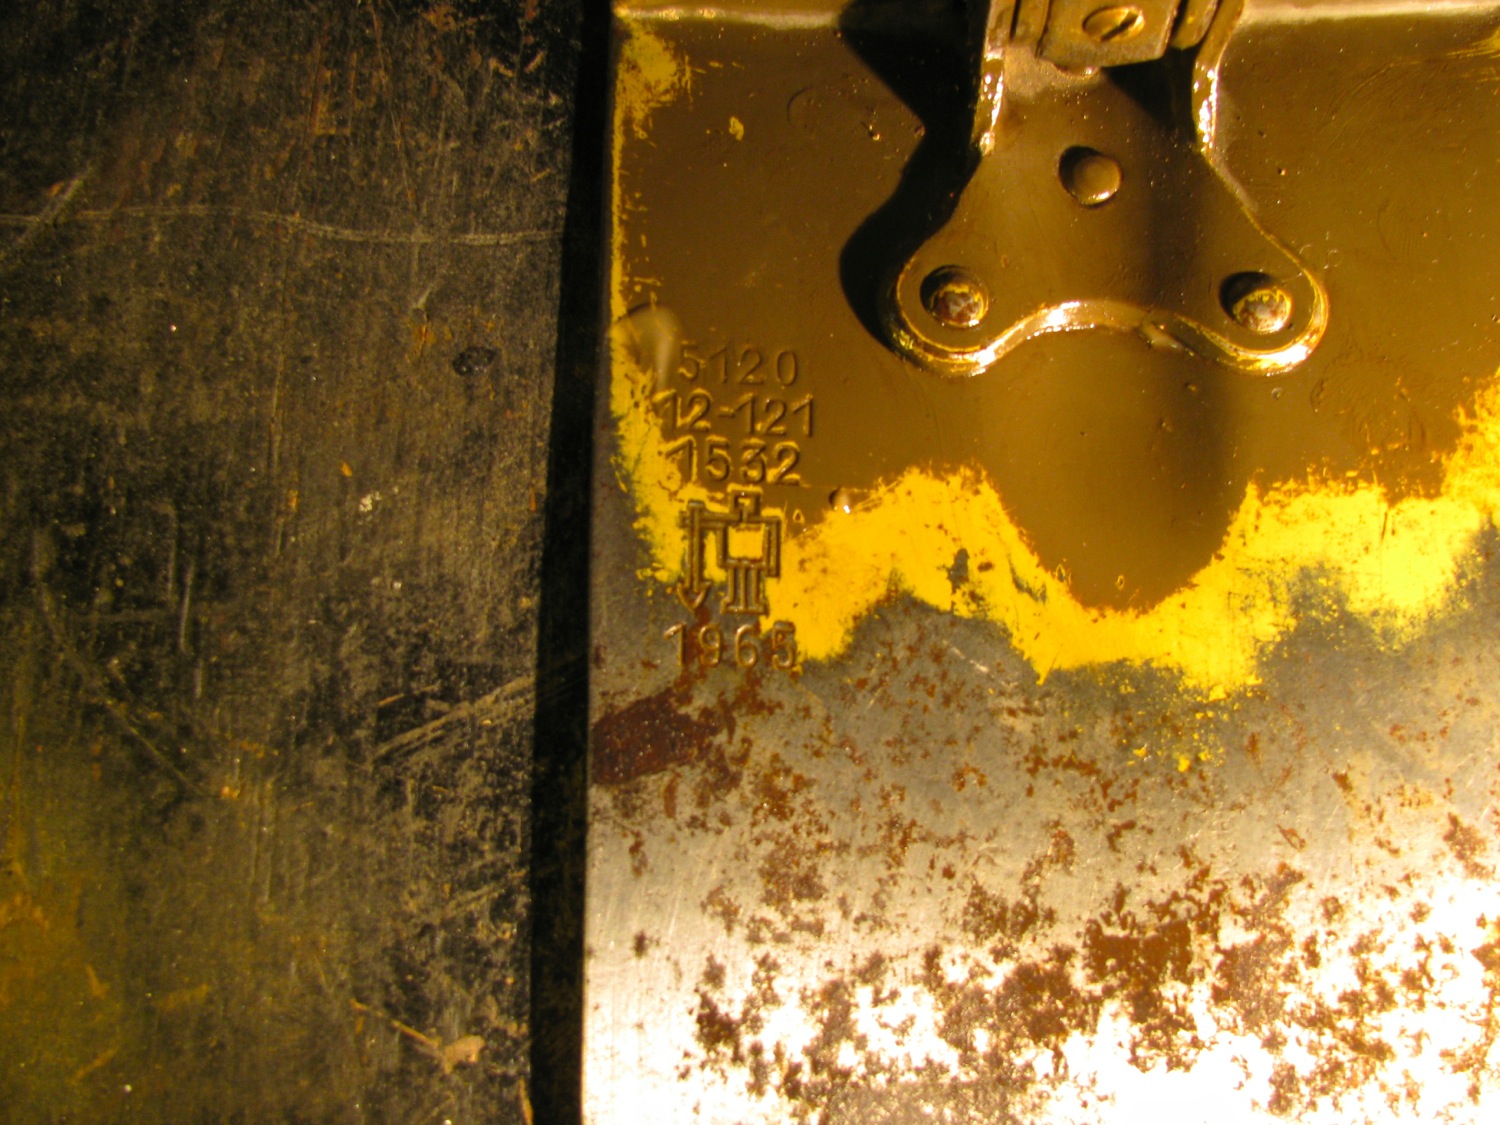
Western tool has an independently adjustable pick.

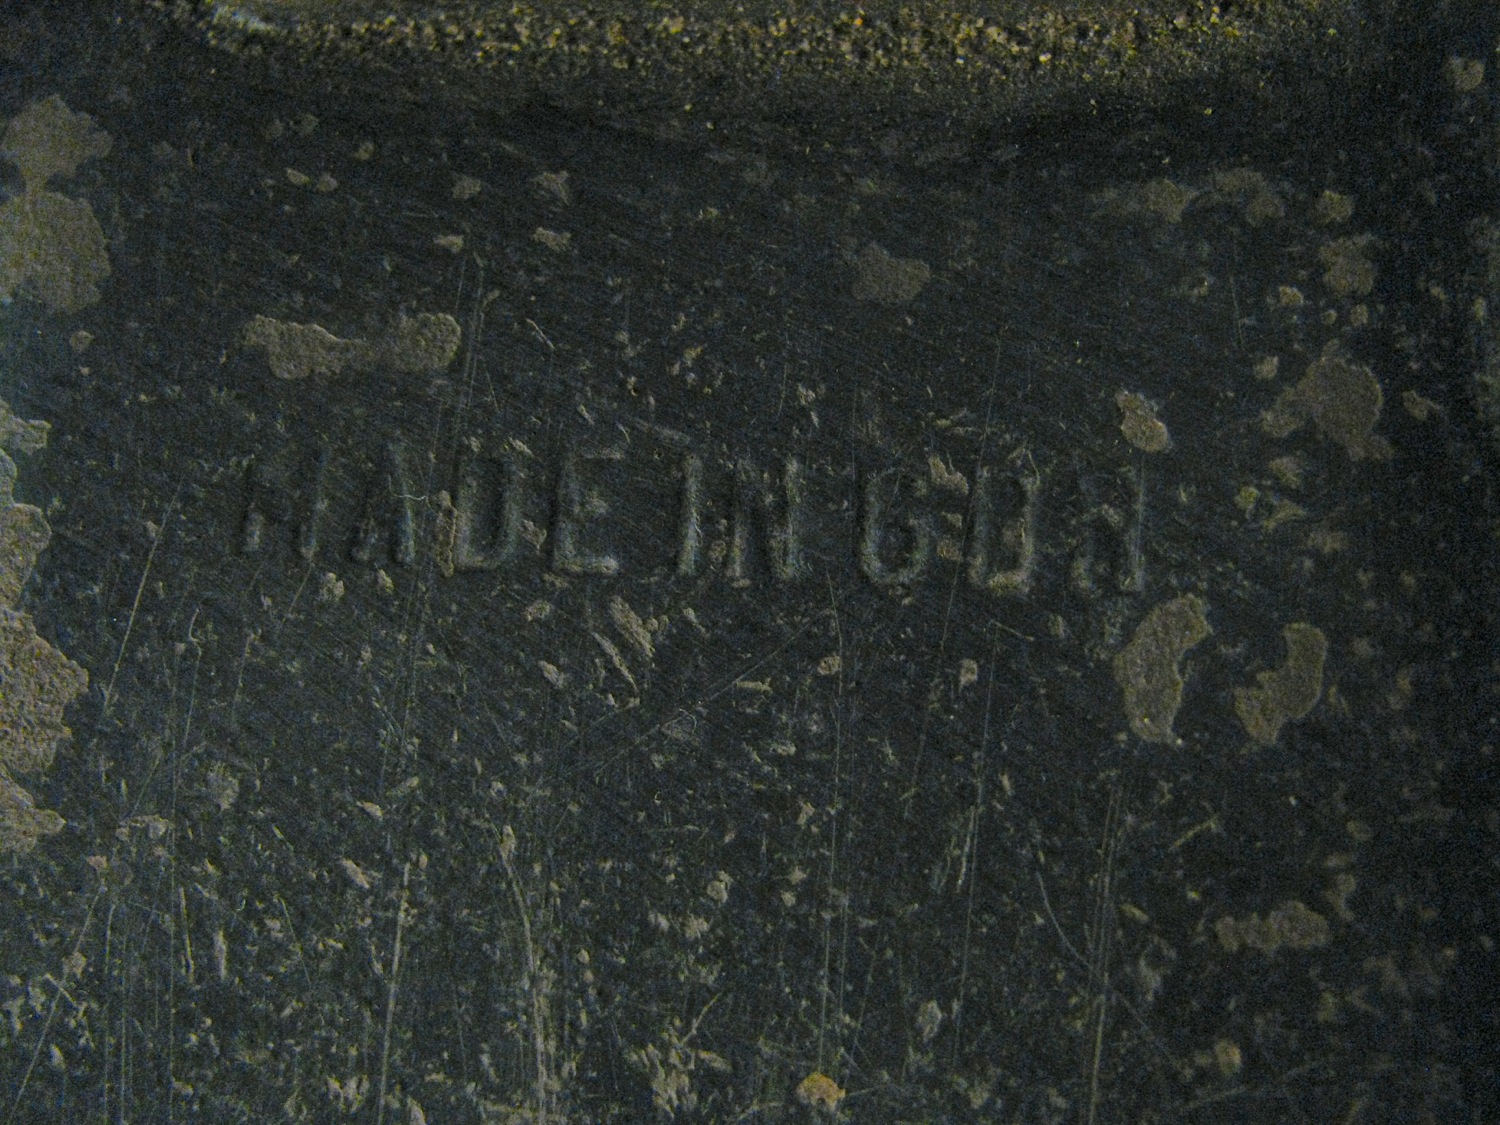
Only markings on the Eastern tool “Made in GDR”. This is strange, why would it be in English? An export model?
The wooden handle on the GDR tool looks like it is Beech. A more pronounced grain on the W. German model, perhaps Ash.
Addendum: for those out there questioning the “MADE IN GDR” stamp, here is a rubbing.

I’m thinking the shovel is an export item, made for the military surplus market.
Vanagon – Fluid Film doesn’t taste that bad
I bought a gallon of Fluid Film, that lanolin based rust preventative, a few weeks ago and I am just in from spraying the underbody of the van with the stuff. I had a bit of difficulty with the applicator I used, it did not spray the as thickly as I’d would have liked. But I think the multiple passes did the job ok. Well I have to confess, I found another applicator during the day and did a re-spray just before dark. I’ll take pics of the results when there is more light, but meanwhile here are pics of the can and the first applicator used. BTW, the consistency of the Fluid Film is a tad thicker than good quality latex paint. And yes, despite my best intentions, I ended up with the stuff everywhere. But is does make your hands baby bottom soft.


Have a look at this, a drop of Fluid Film (one of many around the workshop now) that fell onto the top of the new jerry can. I consider the grinding dust to be evidence of my hard work, not of sloppy housekeeping. Note the creeping wet spot.

Jerry can
Last week or thereabouts, I went to the local metal re-cycling yard to drop off some scrap and I came away with two finds. A nice section of 6″ stainless pipe (will be body of homemade muffler project) and this kinda cool jerry can. At first, and this is an excusable mistake as I am not a jerry can expert :), I thought it was a fuel container. But the internet came to my rescue and I identified it as a water can. Lots of info on jerry can can be found here. As far as I can tell, it is a water can, designed by Cavalier and made by McCord (the McCord part is a guess of sorts). I think 44 refers to the date, 1944. Anyhoo, the can is in pretty good shape and I wonder if I can’t use it for fuel (and use funnel). But I wonder if the inner coating will be affected by gasoline. Anyone know?


Workshop finds
I’ve been cleaning up my stepfather’s workshop and have come across a few interesting artifacts, here are two three to begin with. First is a keg of nails, flooring nails to be specific. Probably from the 40’s.


The other, a British pattern 1876 “Martini-Henry” socket bayonet. Story is that when my stepfather and his family moved into a larger house back in the ’20’s, his father (who was not at all a fan of militaria) threw out all the stuff the previous owner (and army colonel) had left in the attic. All that is except this bayonet which was used a a ground spike for the house electrics.


And finally, something a little younger. Over in one corner of the workshop was a wooden crate with a Woodwards (department store in BC and Alberta until early ’90’s) price tag of $129 . Turns out is was purchased in the ’70’s and had been sitting in the workshop, untouched, since then. We broke open the crate, and removed the rust preventing paper wrap and exposed a very nice vice. Paint job and machining on this vice is first class. We’re going to mount it up on the bench and my stepdad can finally have fun with it.


Starrett back plunger dial test indicator set

A – tool post holder
B – spindle
C – spindle
D – clamp
E – hole attachment (see-saw device to translate movement from one end to the other where the dial indicator can read
F – snug
G – buttons for end of dial indicator plunger
H – back plunger dial indicator
I – internal threaded knurled nut, for extending indicator plunger? No, I think it is an incomplete “shock absorbing anvil”
Update: “Oldfussbudget” lived up to his name by commenting how it would be nice to see the tool in action. So here are a series of pics with the dial indicator mounted on my lathe in 3 set ups.
First up is the tool post holder (A) in my old lantern style tool post. Spindle B is screwed into one of the threaded holes in the bar, the snug (F) attached, and the dial indicator held by same snug. A button has been screwed into the plunger of the dial indicator and is resting on the work piece. The bezel of the dial indicator moves to allow zeroing of the gauge. This set up can be used to check the runout of the work piece, especially useful when trying to center round stock in a 4 jaw chuck (3 jaw chuck shown in pic).

Now the see-saw, hole attachment (E) has been added to the set up and you can see how it can be used to check the run out in an internal surface.

Another view of same.

Better shot, showing button on plunger

And using the clamp (D) a spindle (C) to hold the gubbins onto an old style lathe tool holder mounted in the old style tool post.

And to answer Oldfussbudget’s other request, the only serial number found was on the dial indicator itself. The box had nothing. Oh, and you can still buy this dial indicator.

Recovery Gear
Amazing what you find when you start cleaning up the workshop. If I lash this to the front of the van will it get me in tight with the Landrover guys? 🙂


Battery info
Nice little document with lots of good stuff on lead acid batteries and simple chargers (with schematics).
batterydoc
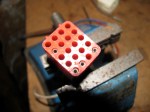
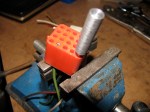
Multi-prong connector tool
Posted by albell in metalworking, tools, vanagon on February 28, 2010
Another trivial lathe job…
My ’86 Vanagon fuse box has multi-prong connectors in back. Some are spade, but most are the round prong variety, very similar to “Molex” brand. The individual metal connectors insert into the plastic blocks and are held in by “barbs” on the connector shaft. You can’t pull the connectors out of the block without damaging those barbs unless you have the special tool.
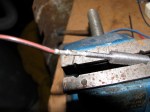
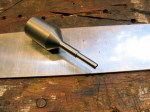
I made a couple of the tools for each size of connector. I used a large nail (spike) for stock and I have to admit to not really having confidence that the idea would work, so the you have to forgive me for choice of material and final finish. I am pretty sure there are commercial versions of this tool, better made and with a nicer finish.
As it turned out, the tools work perfectly well. You just insert the tool into the block, the barbs are pressed back into the body of the connector and the wire can be pulled out from the back of the block. The pictures below show the smaller sized tool. Jeez, I didn’t notice the rust on the little vice until I took the pictures. Winters on the west coast, damp and the workshop is not well sealed….


Update: Google “Molex pin remover” to see some nice and inexpensive commercial and home made versions.
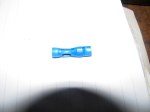
Crimping butt connectors
Fellow Vanagon list member Neil queried me on my use of an un-insulated crimp on an insulated butt connector. I find it works ok with the long handled old school crimper I have, if you align the butt connector in the tool so that the divot making portion of crimper is 180 degrees opposite the seam in the metal portion of connector. Pictures show 2 types of simple crimping tools, the long handled all steel one is my favourite. Also shown are 2 crimps on each end of a butt connector, one made with yellow handled crimper in the “insulated” labelled crimping die, the other with the long handled tool.