Archive for November, 2015
Syncro – propshaft with intermediate bearing support
Posted by albell in syncro, syncro specific repairs, vanagon mods on November 22, 2015
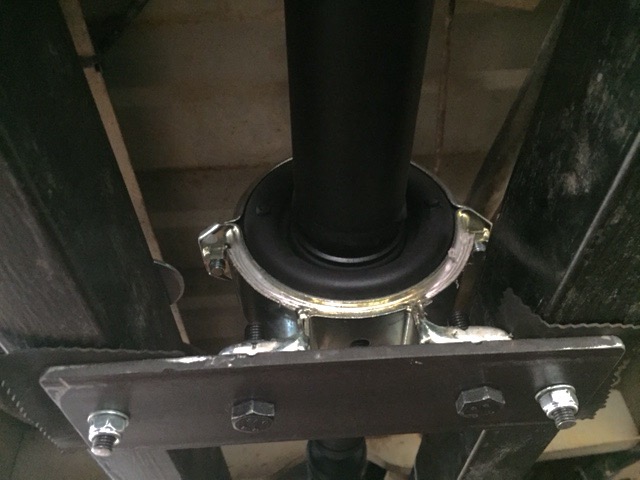
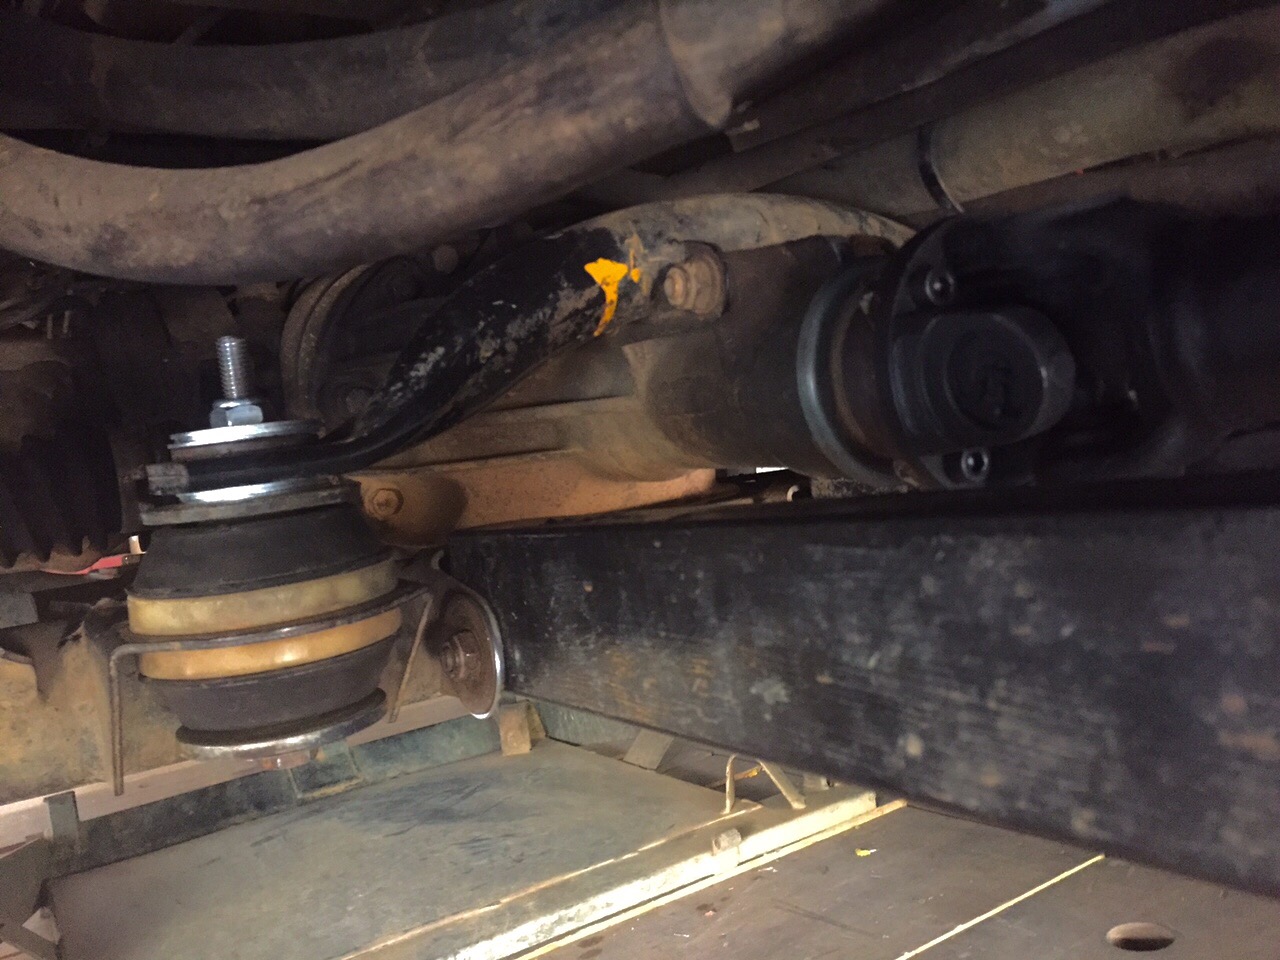
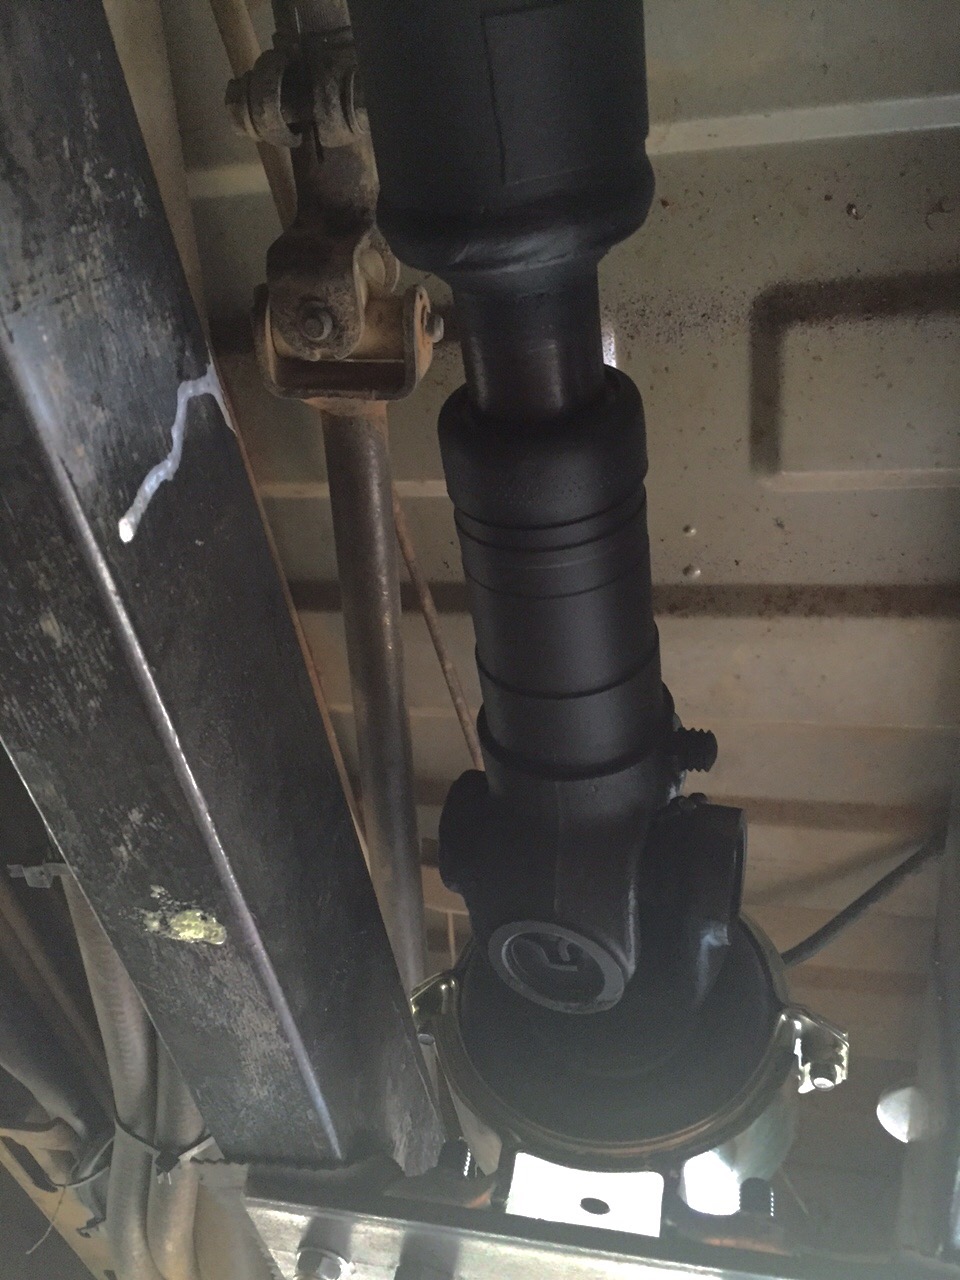
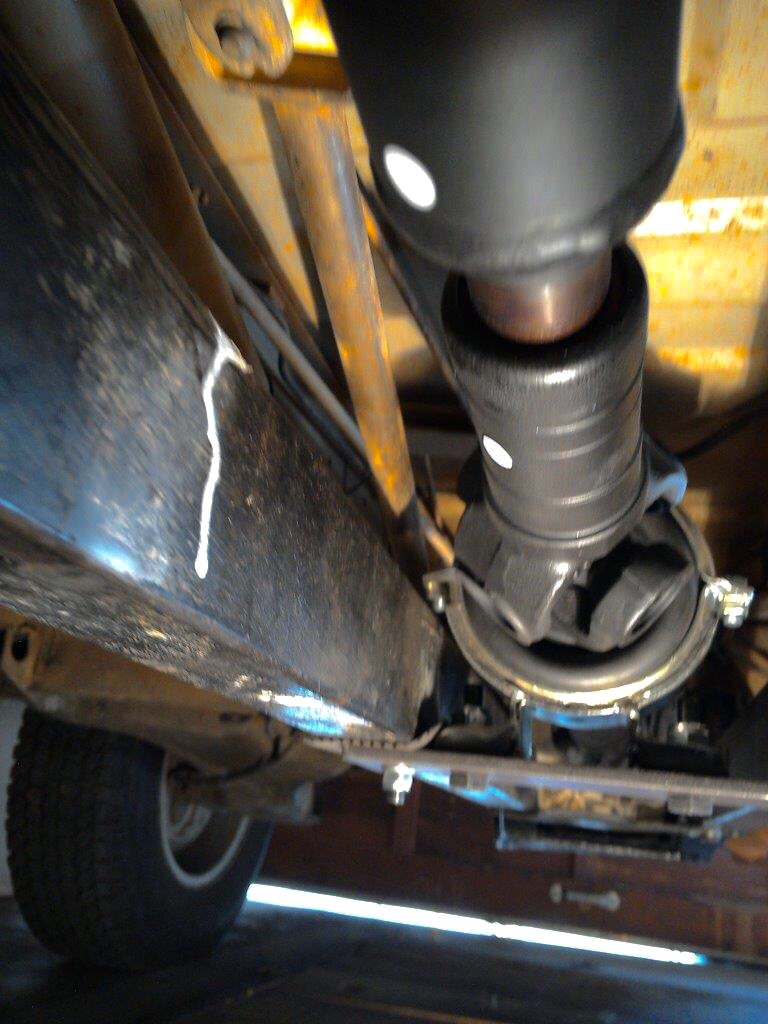
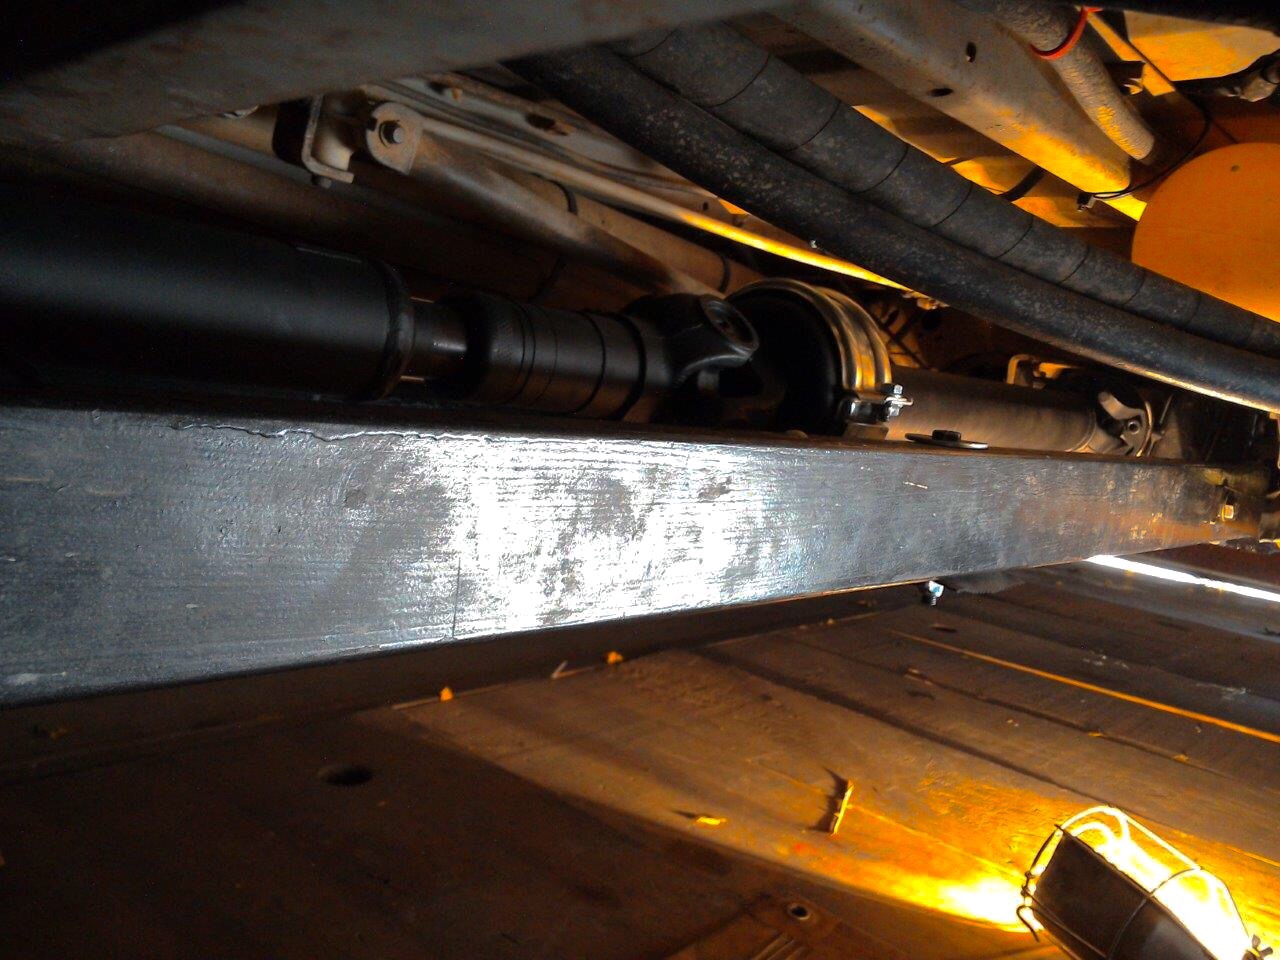
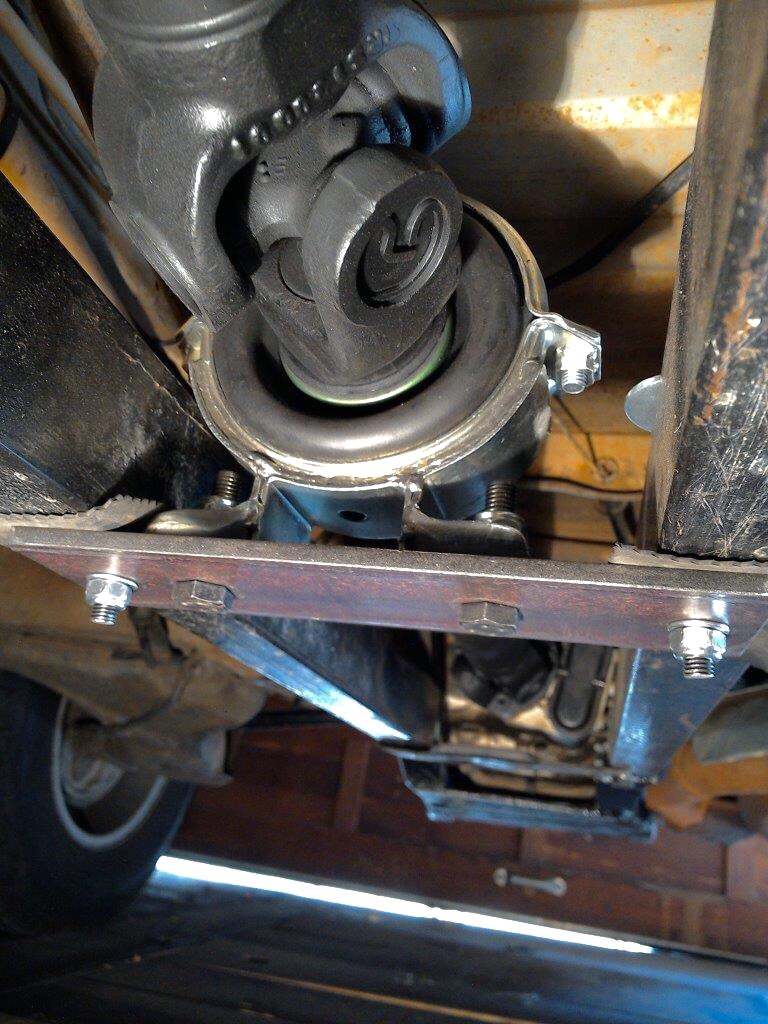
John B. sent along some pics of his new propshaft. He was having some difficulty in getting the stock set up running vibration free so he went this route.
Due to some errors on my side, I can’t find his emails where he described the set up. Until I get that info I’ll post the pics as is.


Addendum.
In reply to Hans’ comment about CV jointed prop shaft. A couple of pics. First is the flange of my spare propshaft. Approximate measurements make it a 74mm bolt hole circle, the recess is 47mm diameter and about 2.5mm deep.
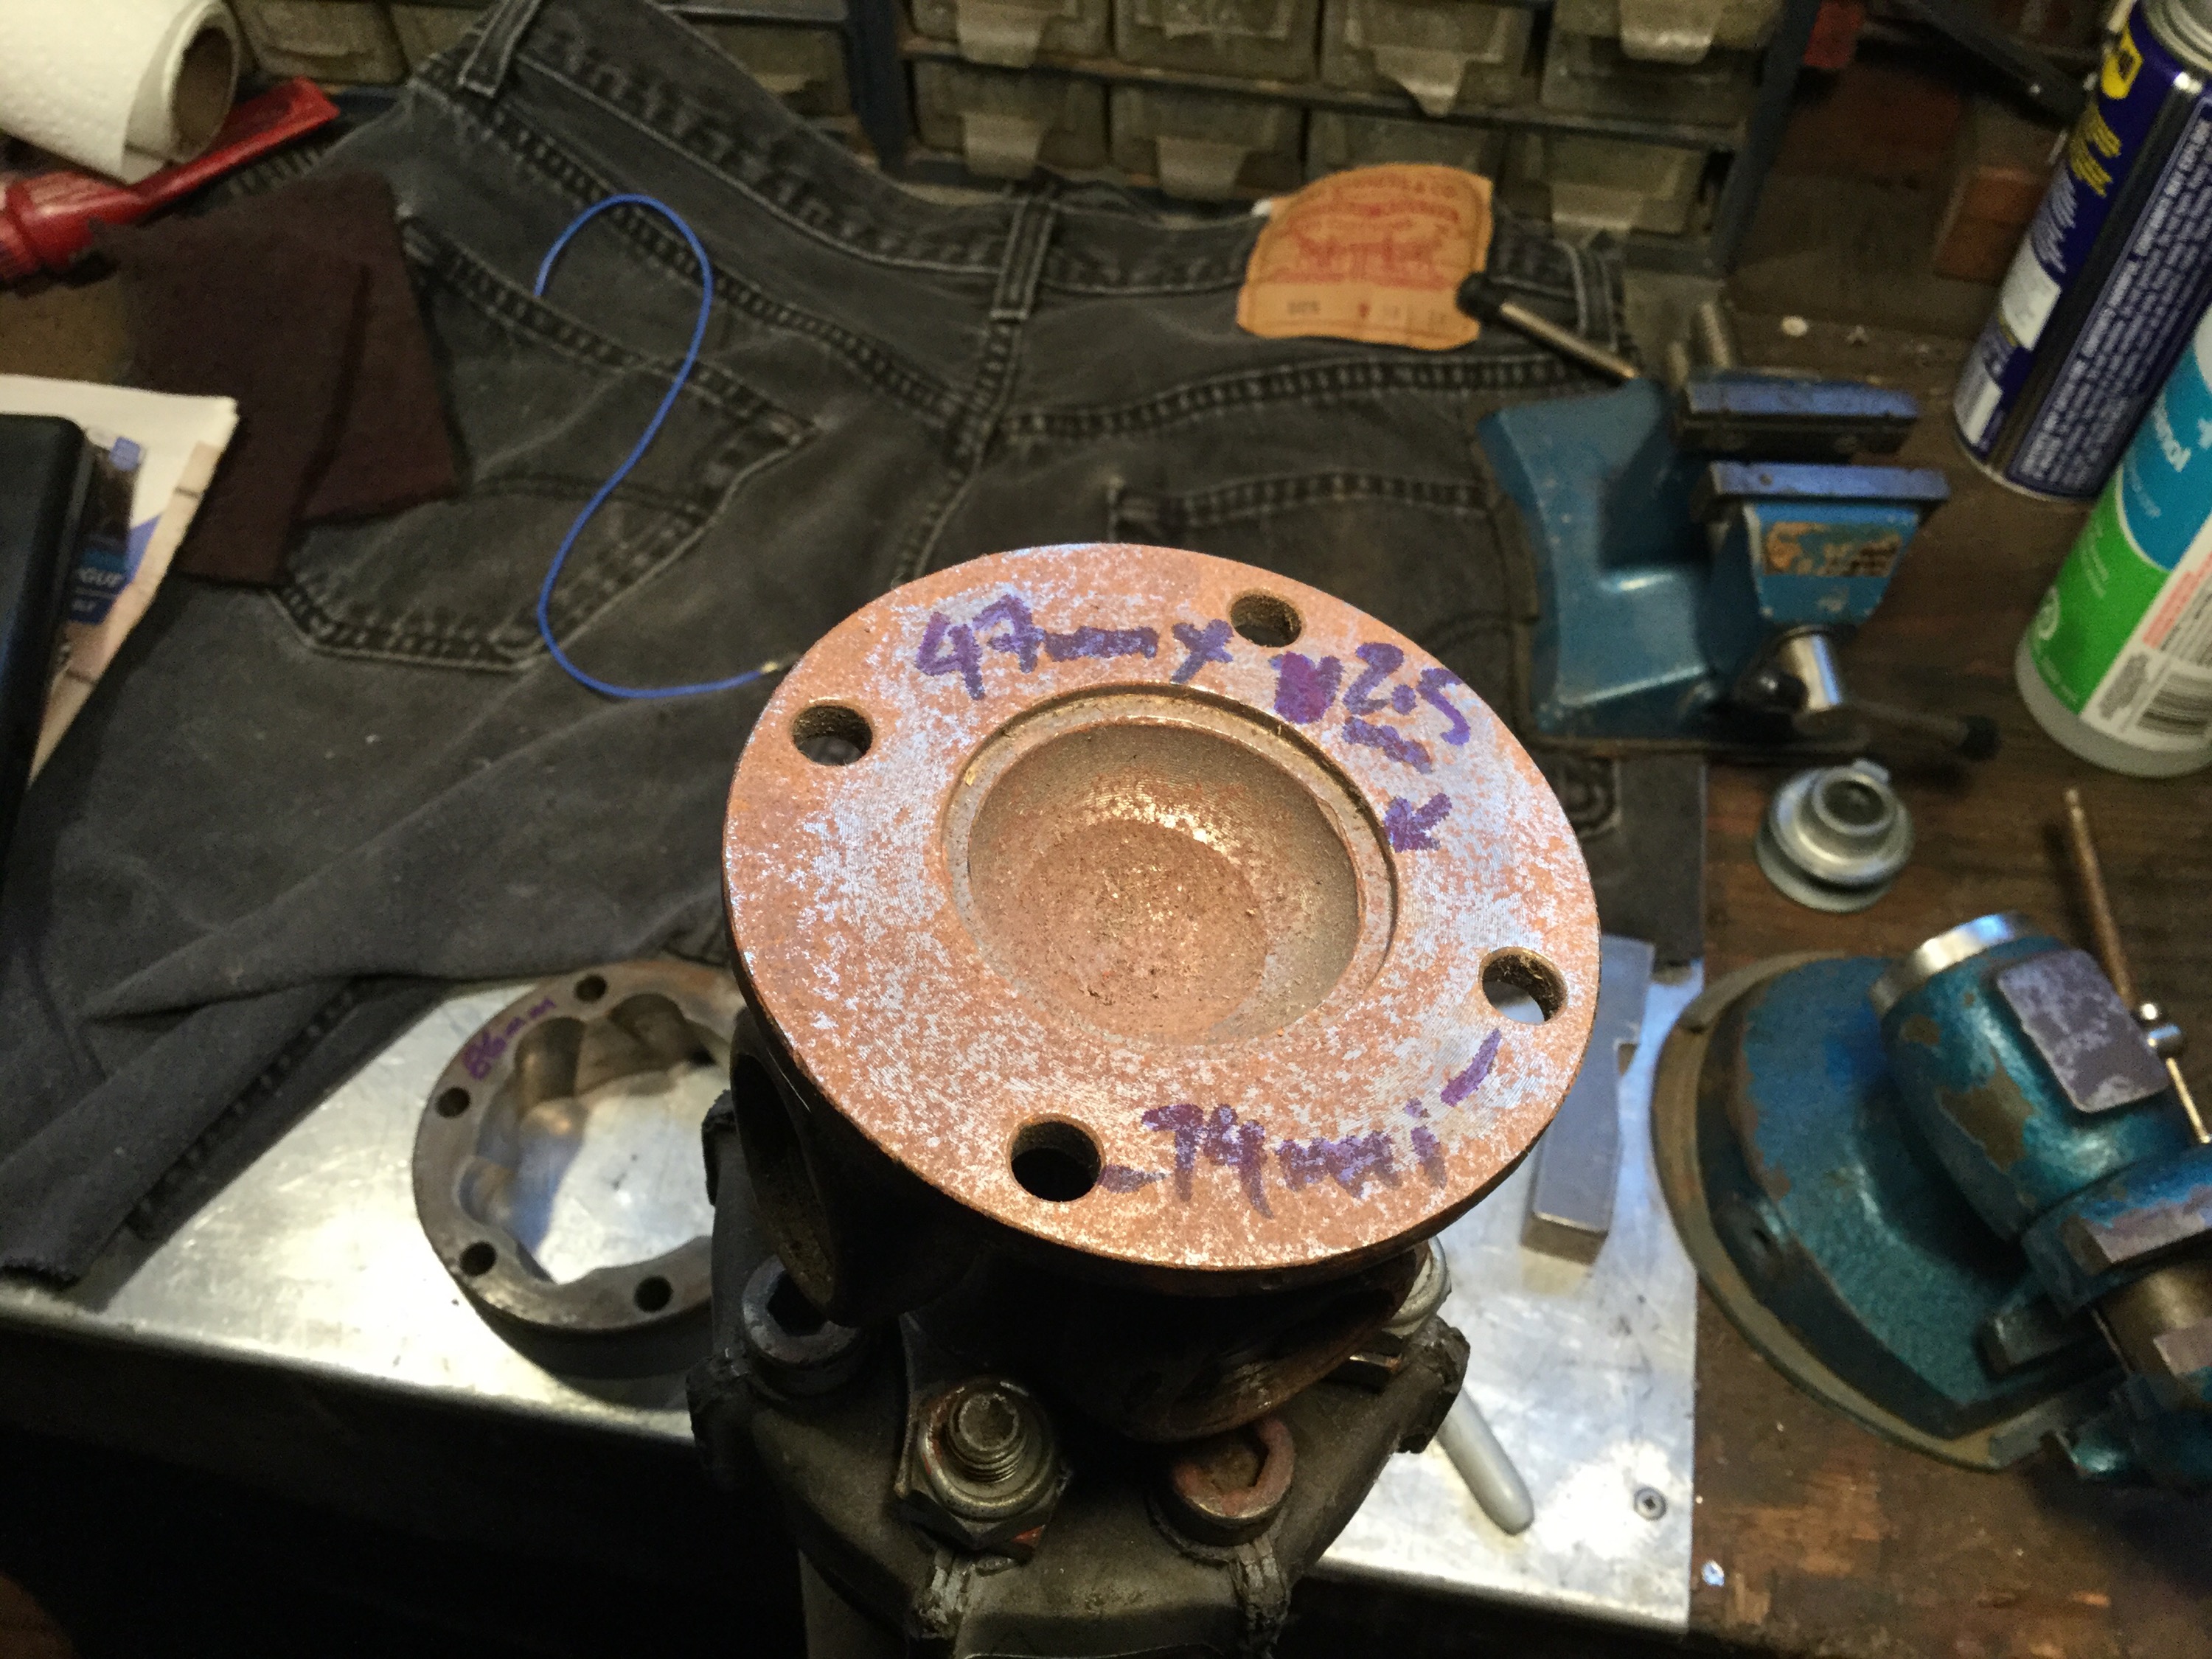
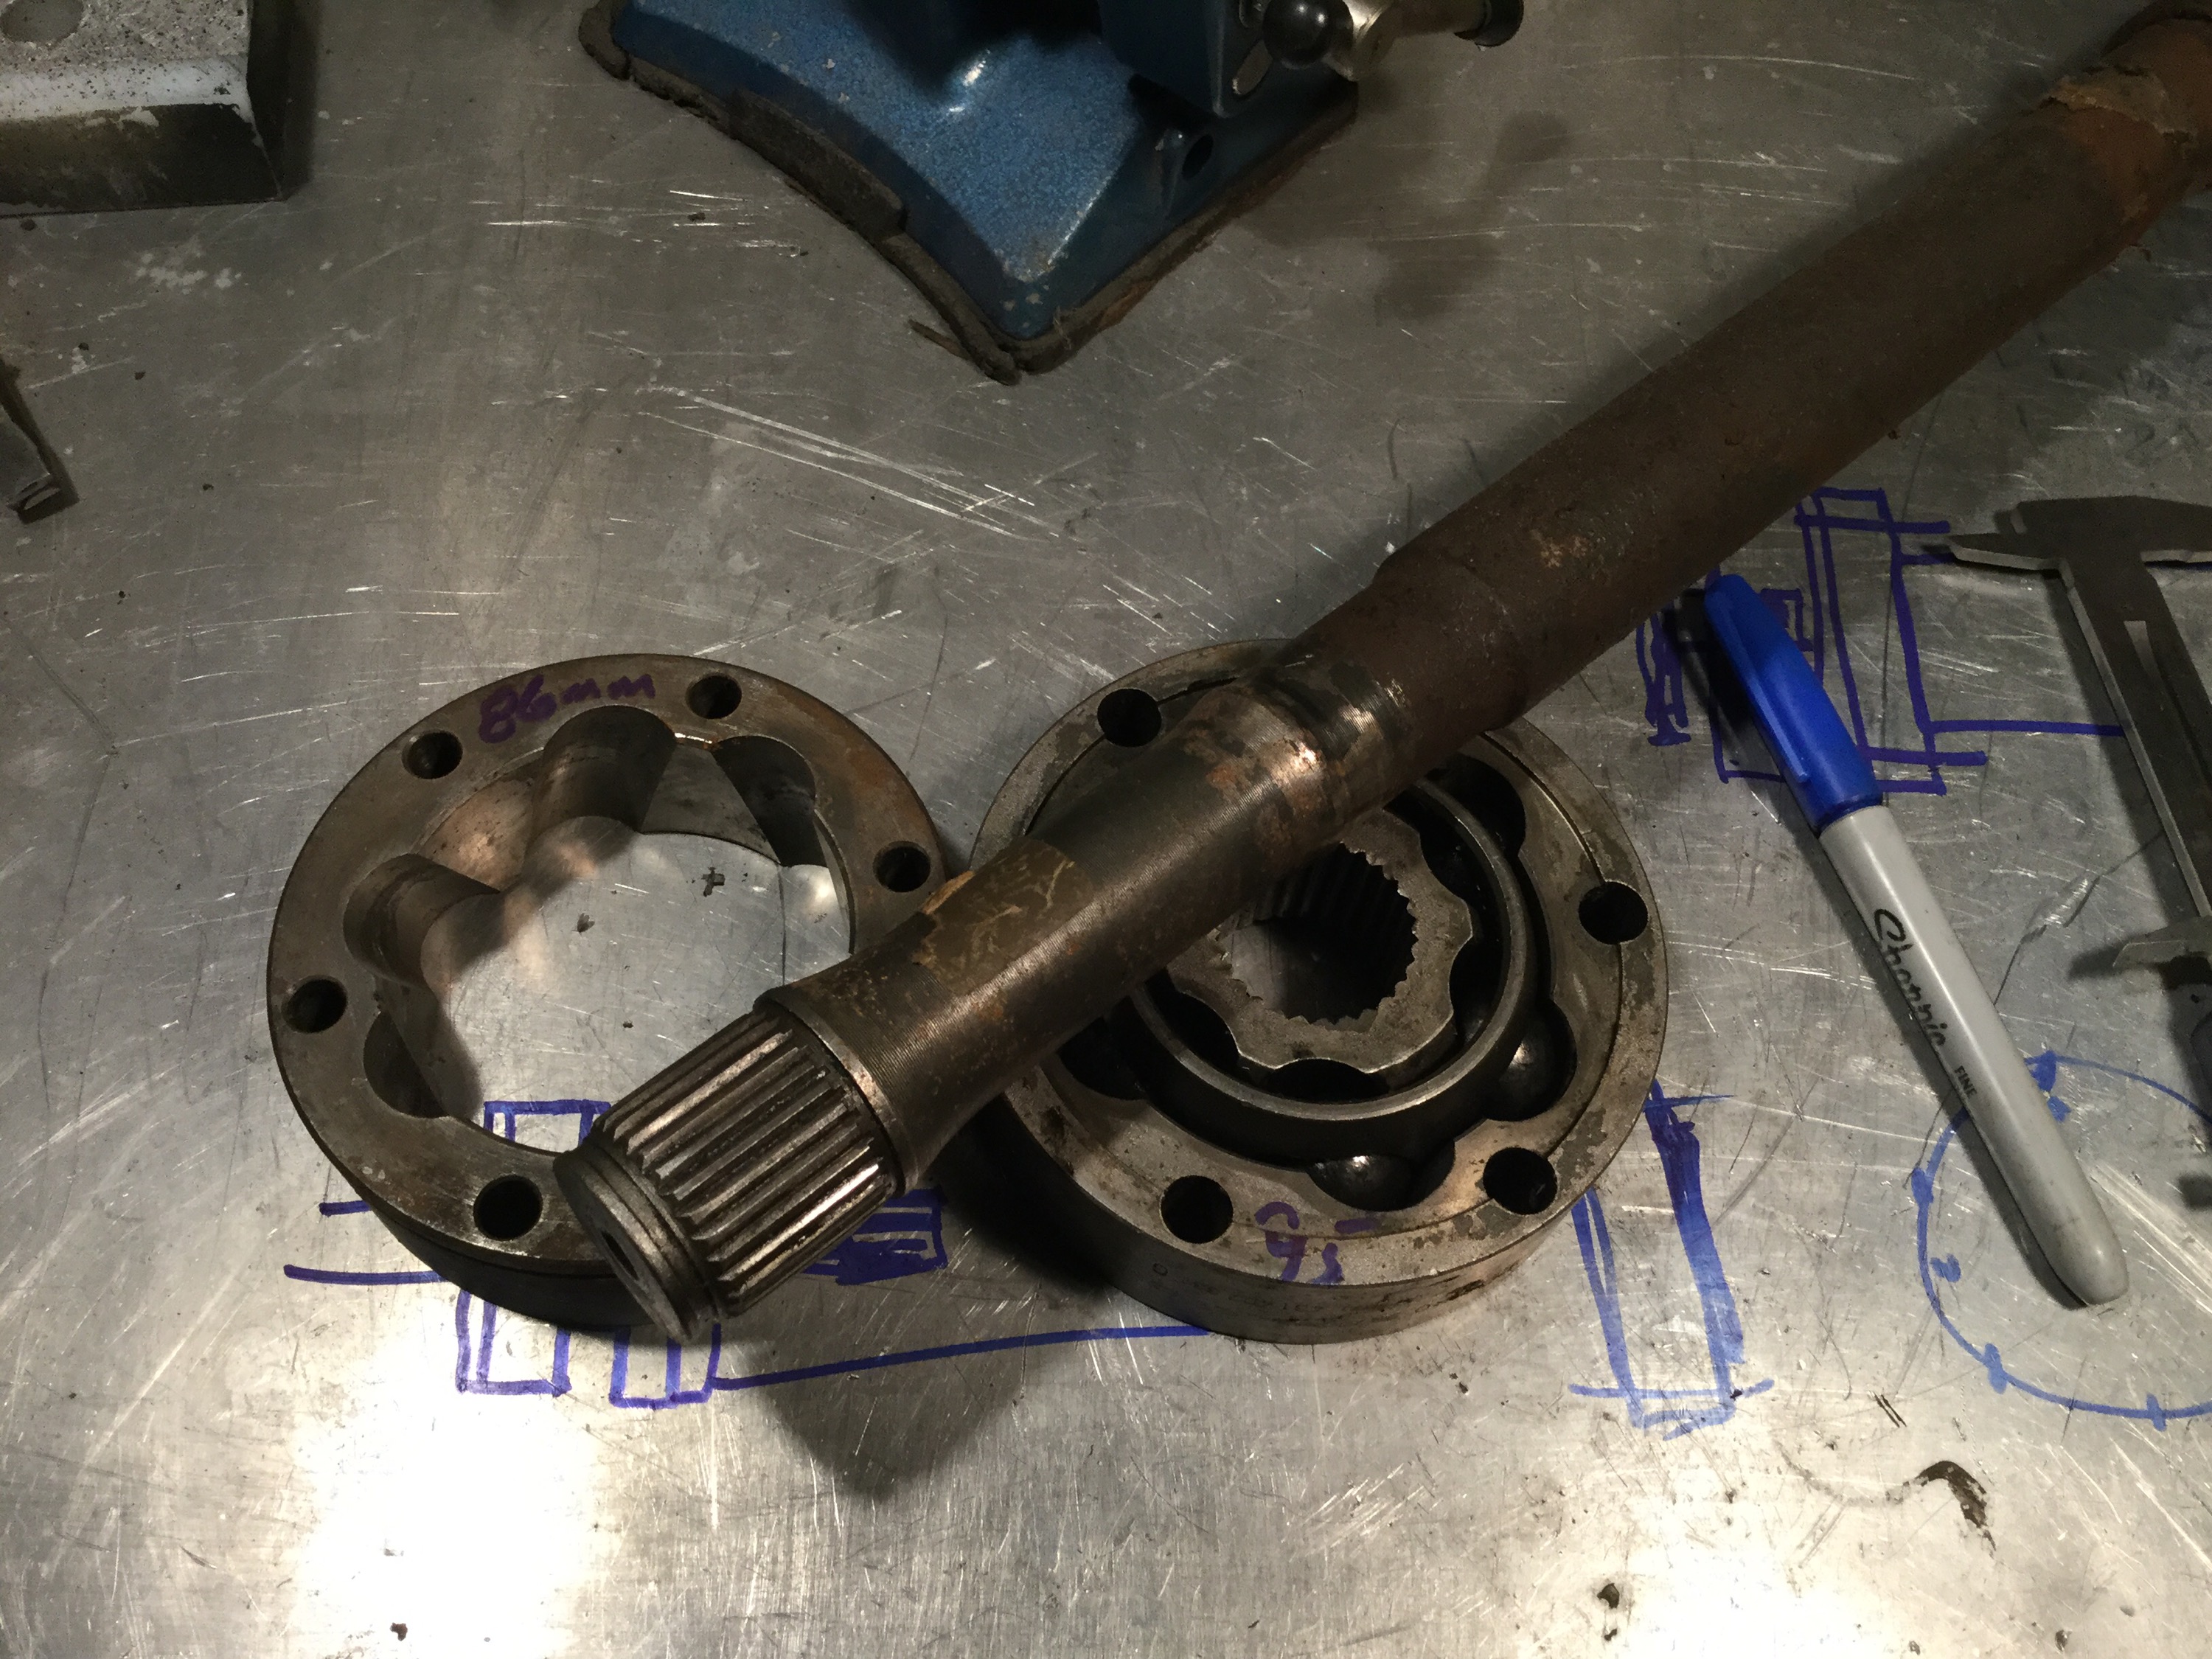
Stock 100mm diameter cv joint has a 6 on 86mm bolt hole circle.

A 108mm diameter CV joint, has a 95mm bolt hole circle.

I have the half shaft for that 108mm diameter CV joint. One could imagine cutting the spline section off and mounting it to a flange that mimics the stick propshaft flange, then the slides connecting to the 108mm diameter CV joint bolted to the propshaft. I hope you understand this is all just free thinking, just for discussion.
Vanagon – Doka heater box refoaming
But before the heater box work, I had to drill out the two broken heater box mounting bolts. I’m not an expert on this, and believe me I seldom have a good time doing this job.
The pedal assembly is still out of the van so I had much better access to the broken bolts. Sometimes I grind the stub of the bolt flat so I can pop a good centre punch mark, not this time though.

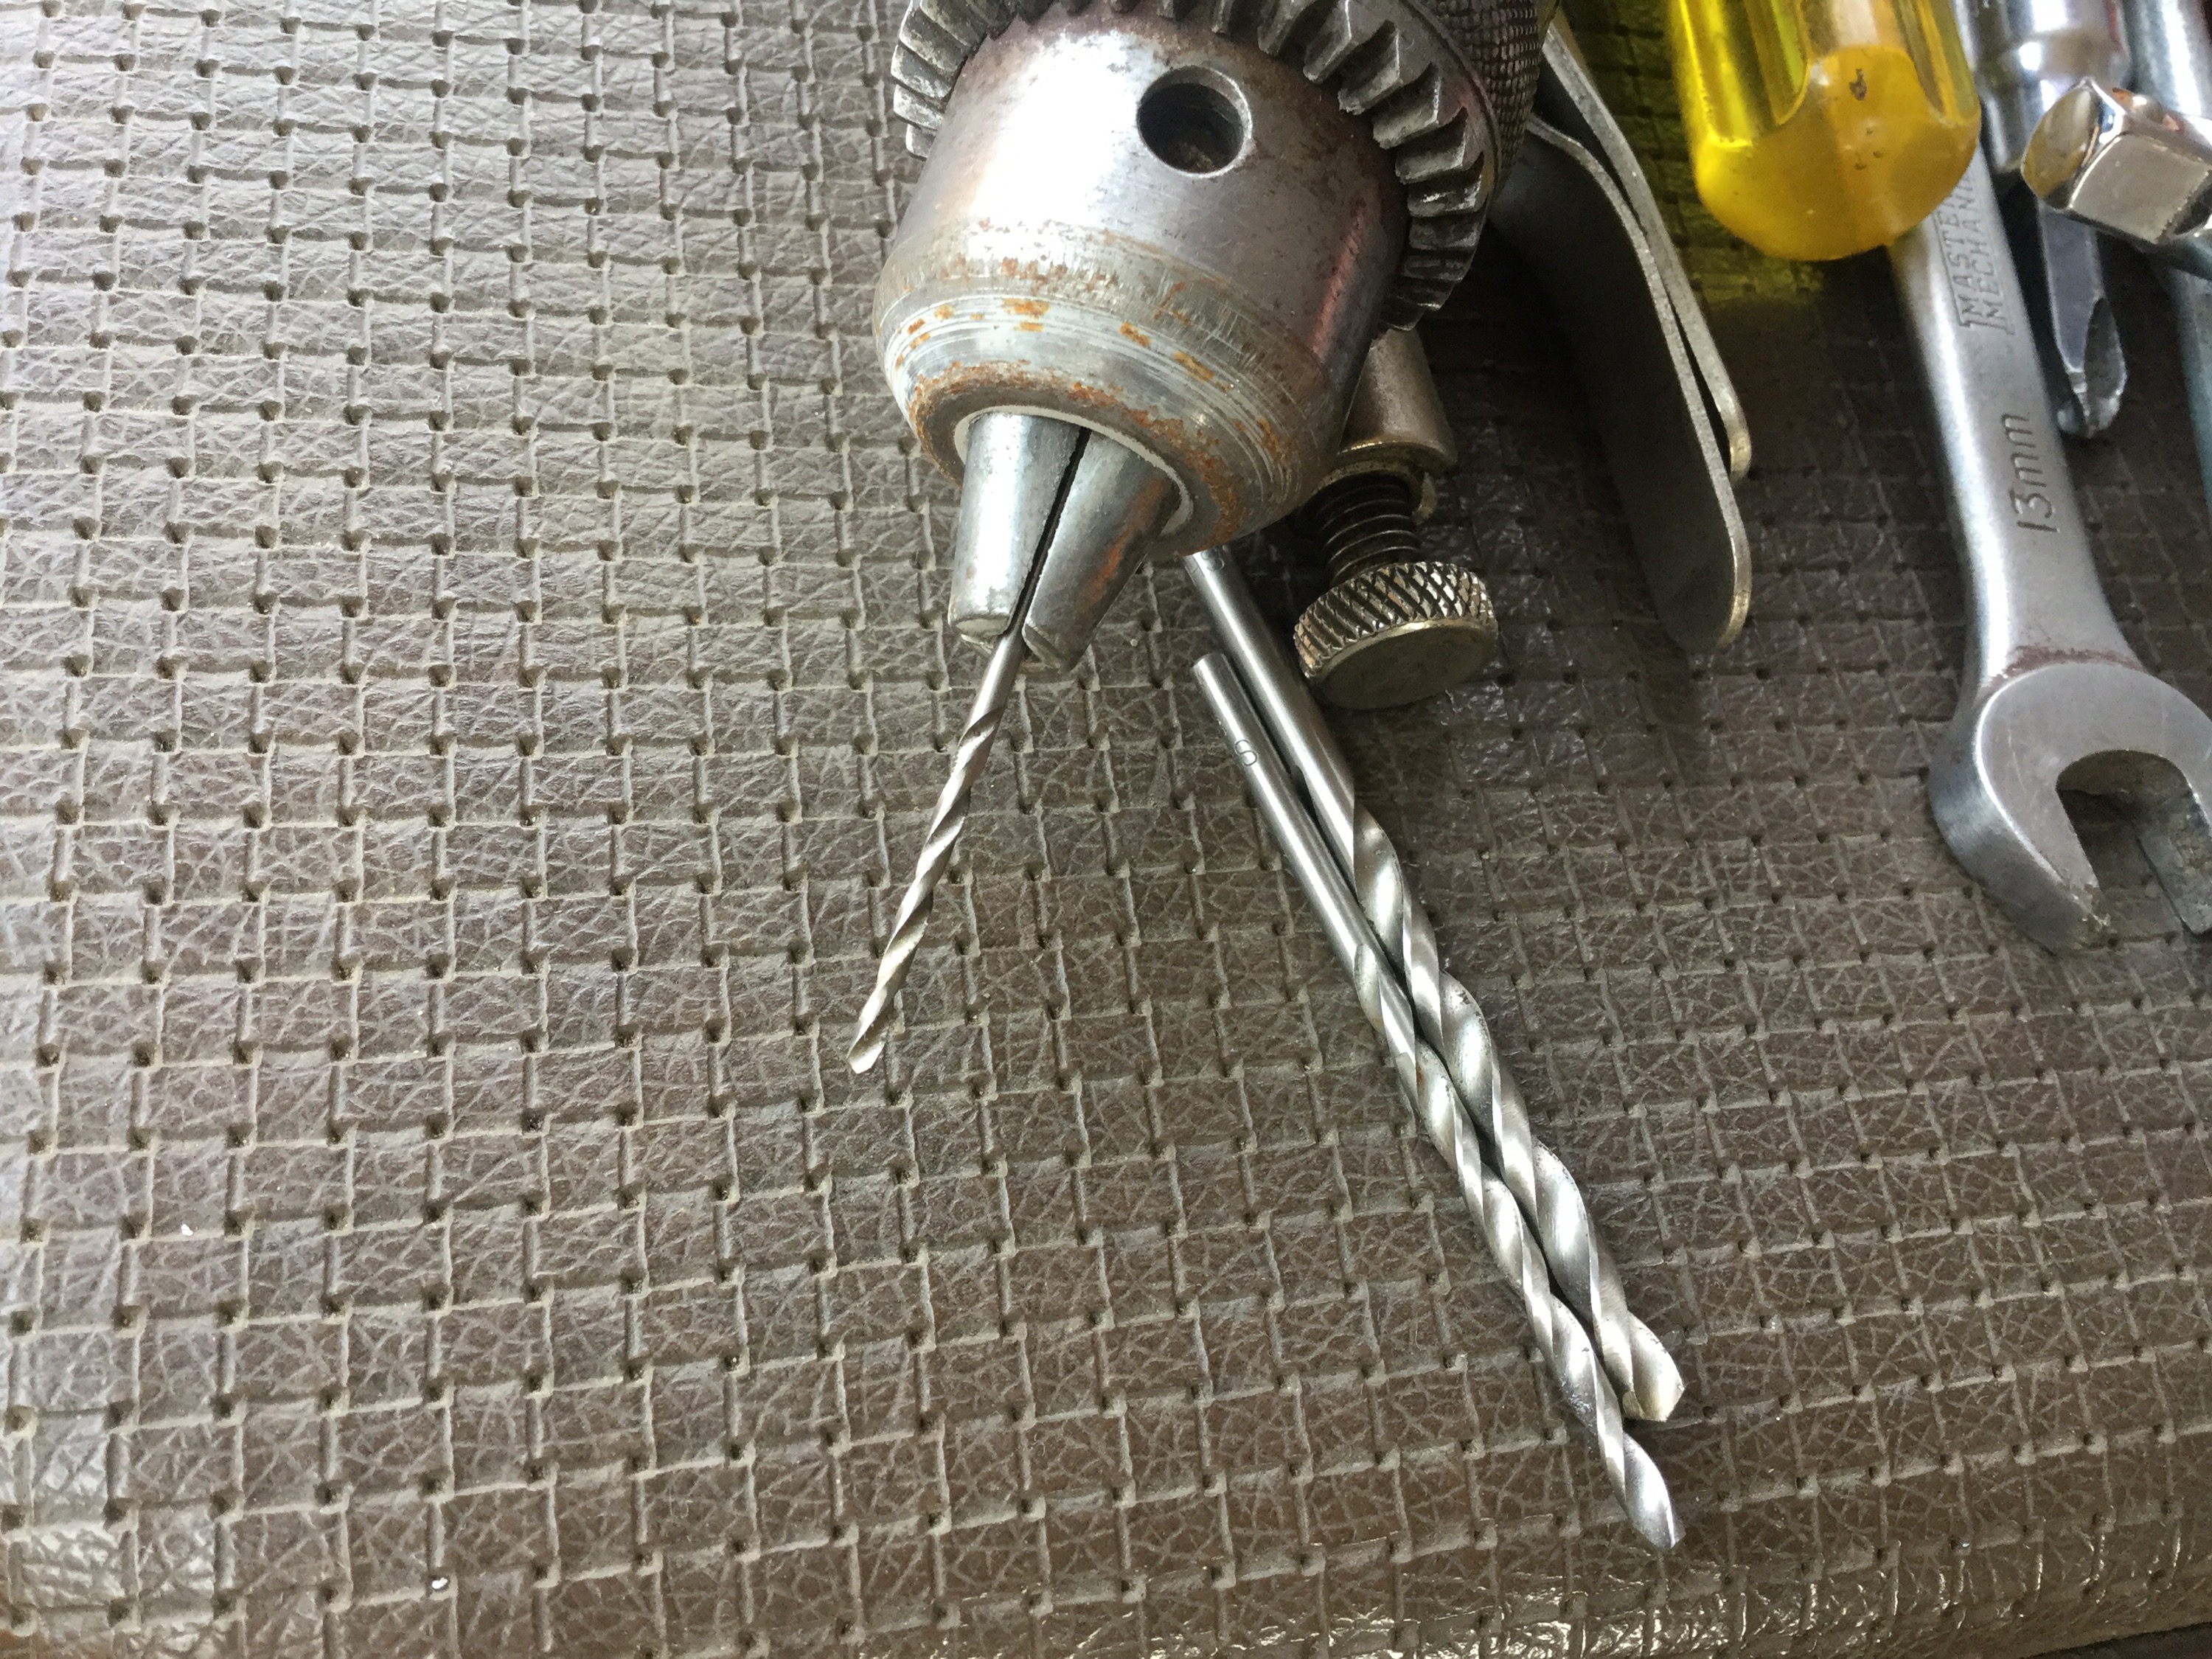
I’m pretty close to the centre of the bolt. The bolt stub is not centred in the middle of the sheet metal. When I am hand drilling ( as opposed to using the milling machine and having the work held firmly) I like to enlarge the centre punch mark with a small drill bit. No need to drill deep. The small drill easily finds the centre mark. Then I drill with a larger bit, right through. Finally I use a bit just slightly smaller than the bolt diameter, in this case it’s a 6mm bolt and the largest bit in the is pic is 7/32″, or 5.6mm.
There it is. Some of the bolt still clinging to the hole. I poked around the edges with and awl and I got the remains out. At this point I would use a tap to chase the threads, but I had taken my metric taps to work…
So I used one of this self tapping 6mm bolts, actually one from the pop top hinge to body connection. I had a couple of spares. 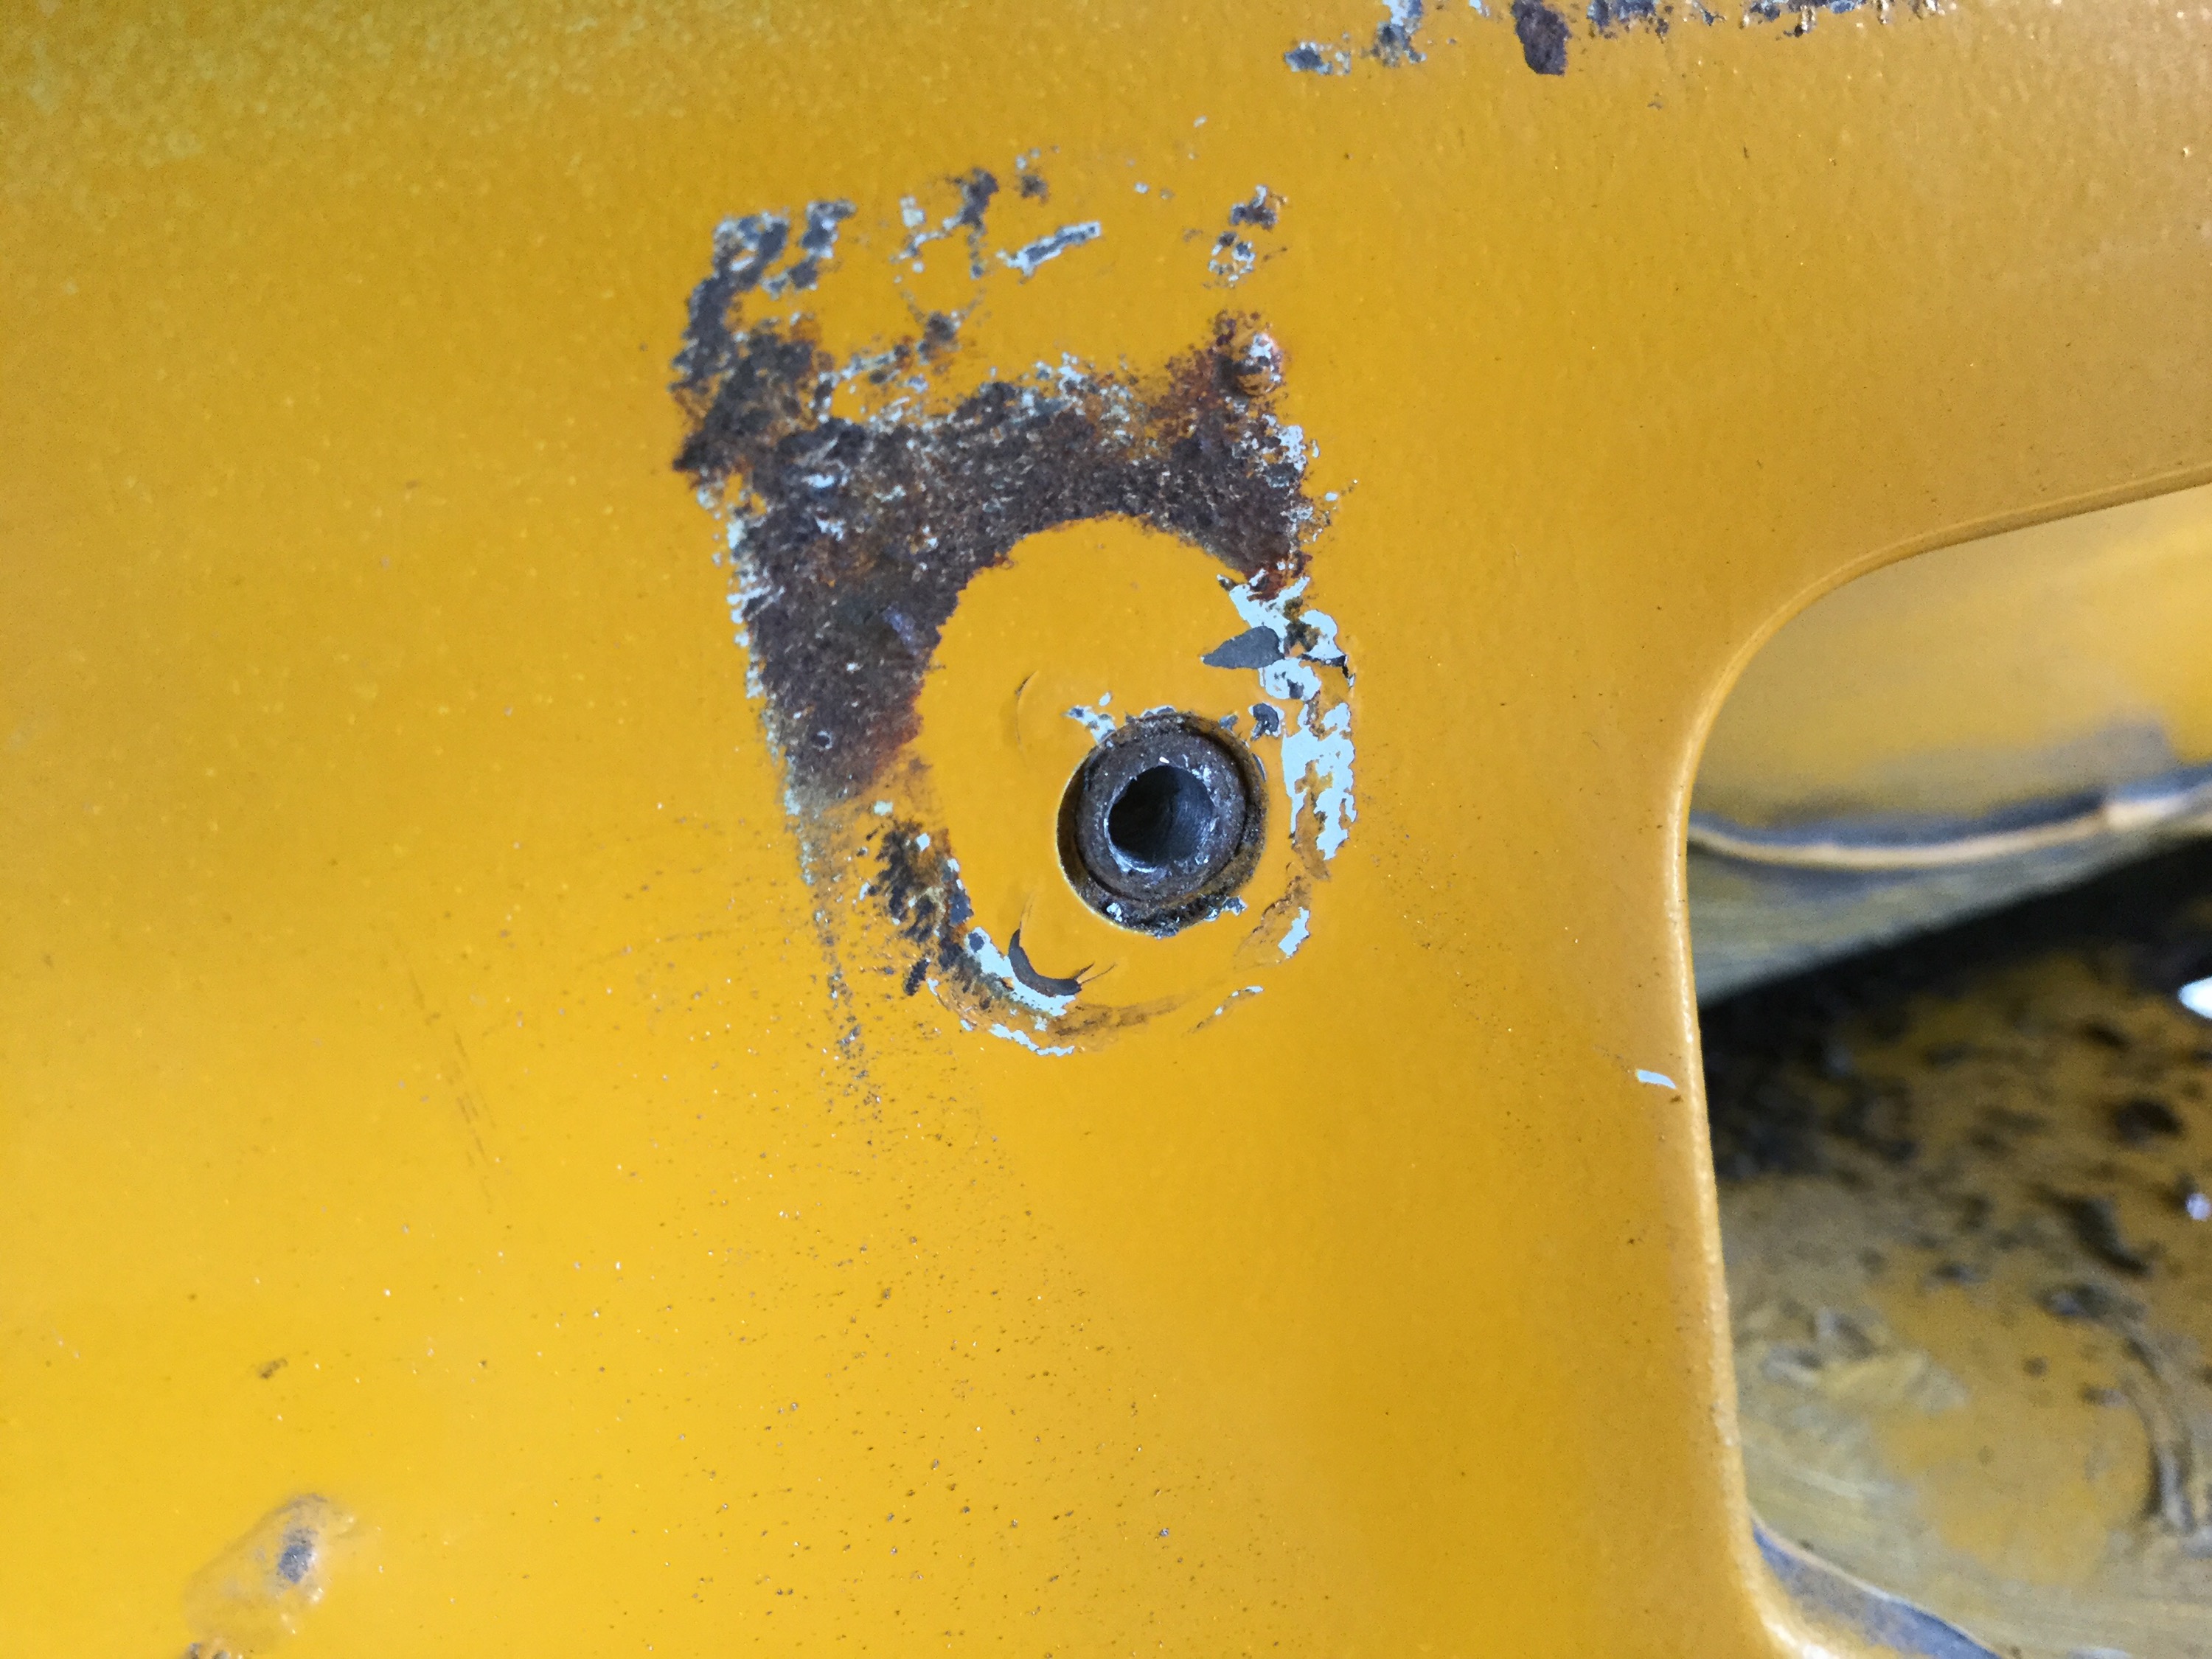
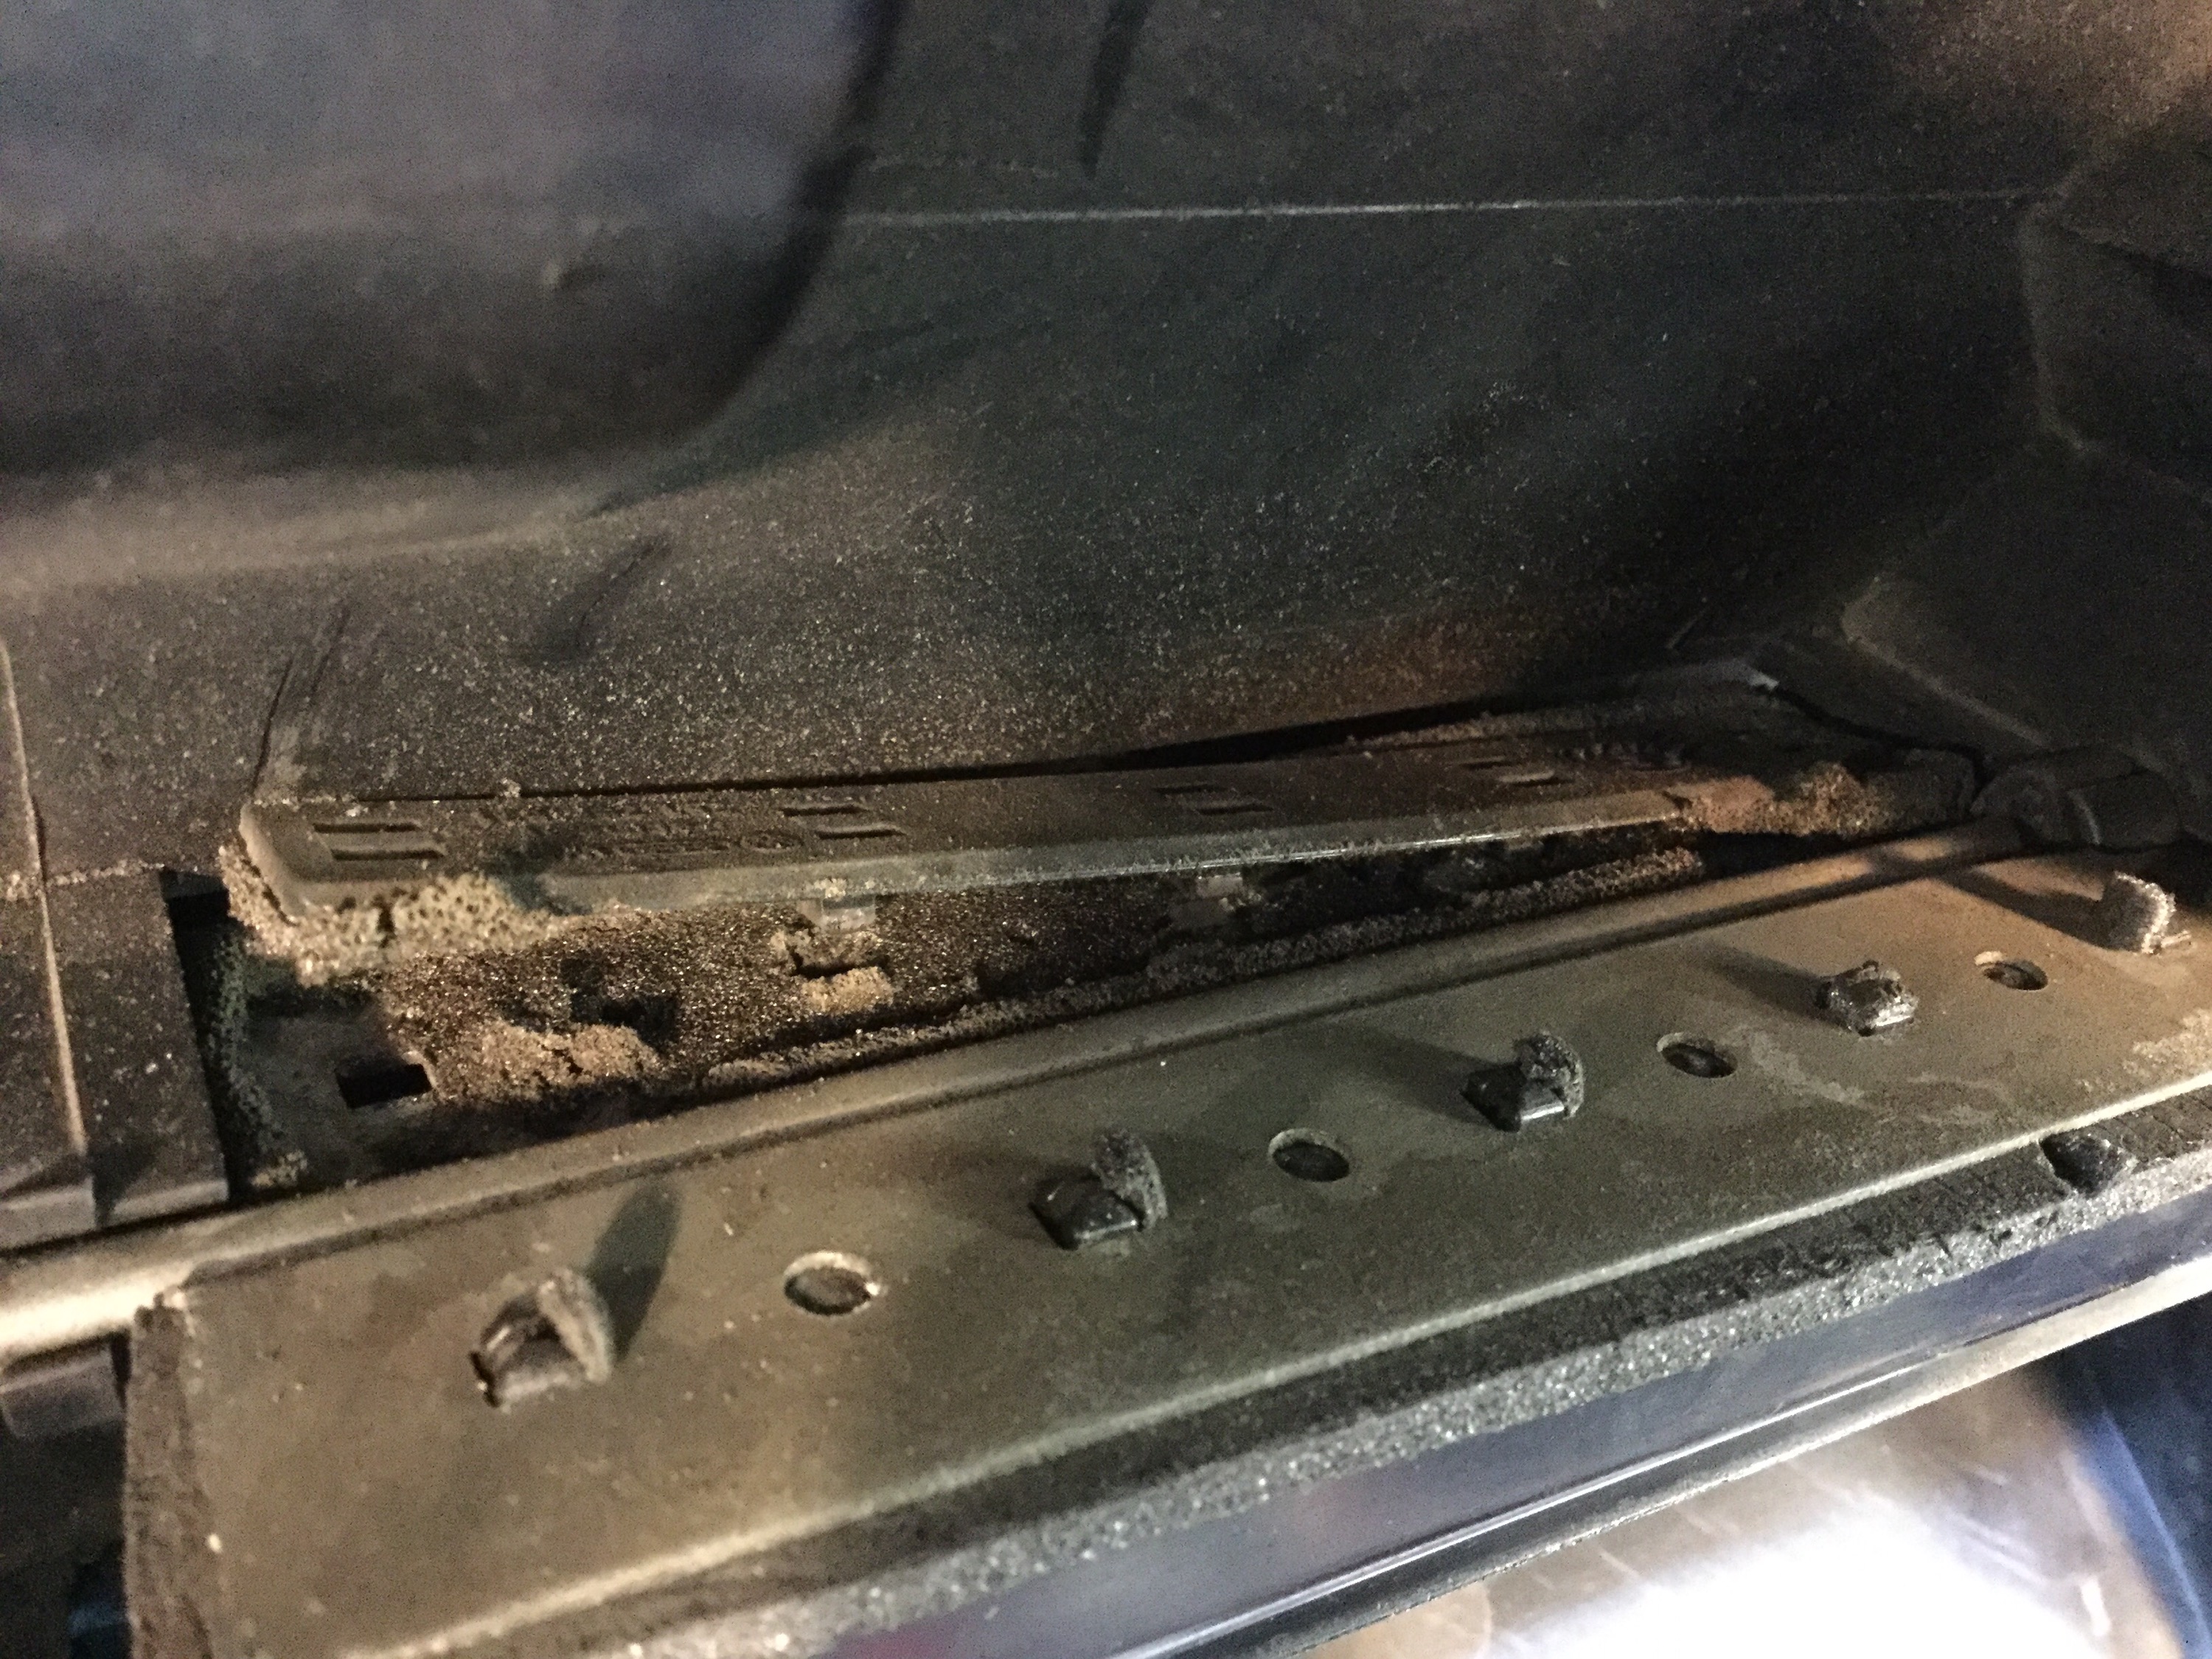
Now on to the heater box. Recall that I had split the box earlier. I washed the heater core and gave the internals a one hour soak with CLR brand rust and lime remover ( lactic acid, gluconic acid, and a surfactant). I started the refoaming on the upper half of the box.
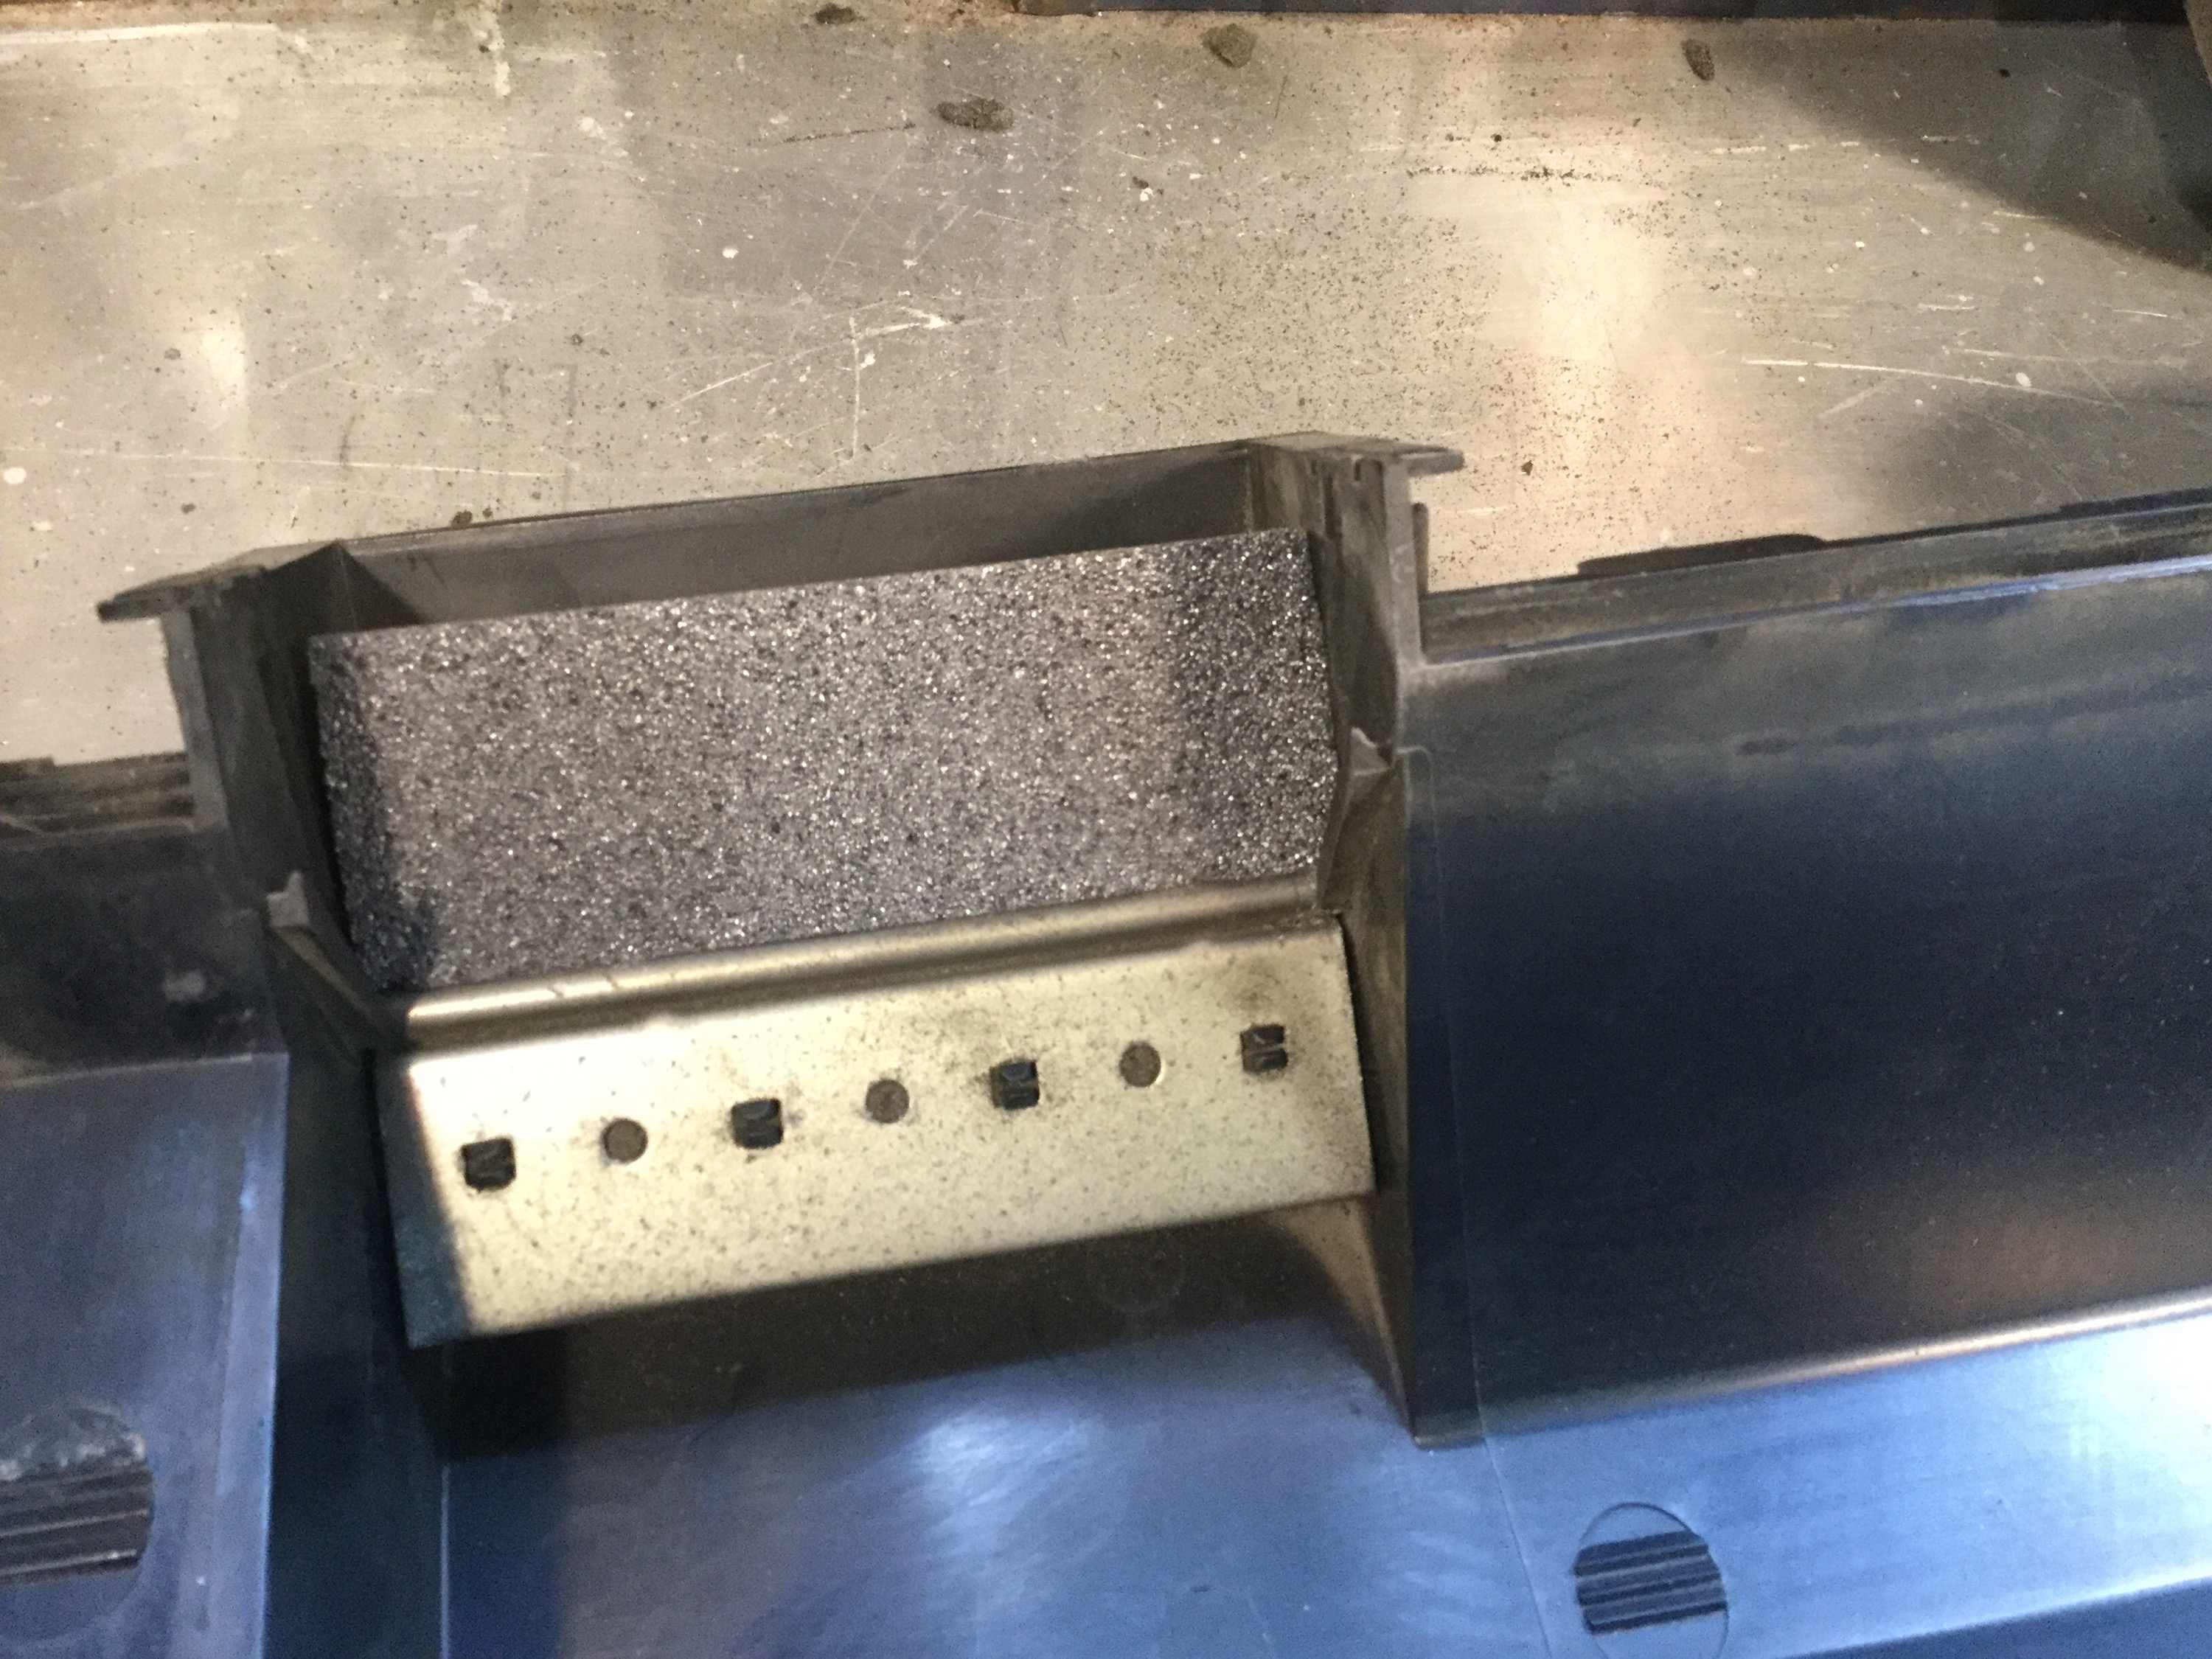
The factory foam is pretty well gone. You can see how it is held, sandwiched between a plastic bit and the actual flap.


The foam I used to replace the rotten stuff is 38mm wide, 5mm thick adhesive backed open cell foam. It has a shiny plastic face which can, and was, peeled off. I got this foam at a local RV store. Oh and it has and adhesive backing which helps hold it in place when the plastic part is press back into place. It’s important to use a very compliant foam. You want the flaps to seal with little effort. If the foam is too stiff then the heater control lever and cable system isn’t really able to close the flaps fully.
New foam in place, plastic part not I’m place yet.
And here the plastic is in place. You can push the plastic part on, the little tabs will poke through the soft foam.
I cut the foam just large enough to fit the opening, if you do this job you’ll see just how big to cut. 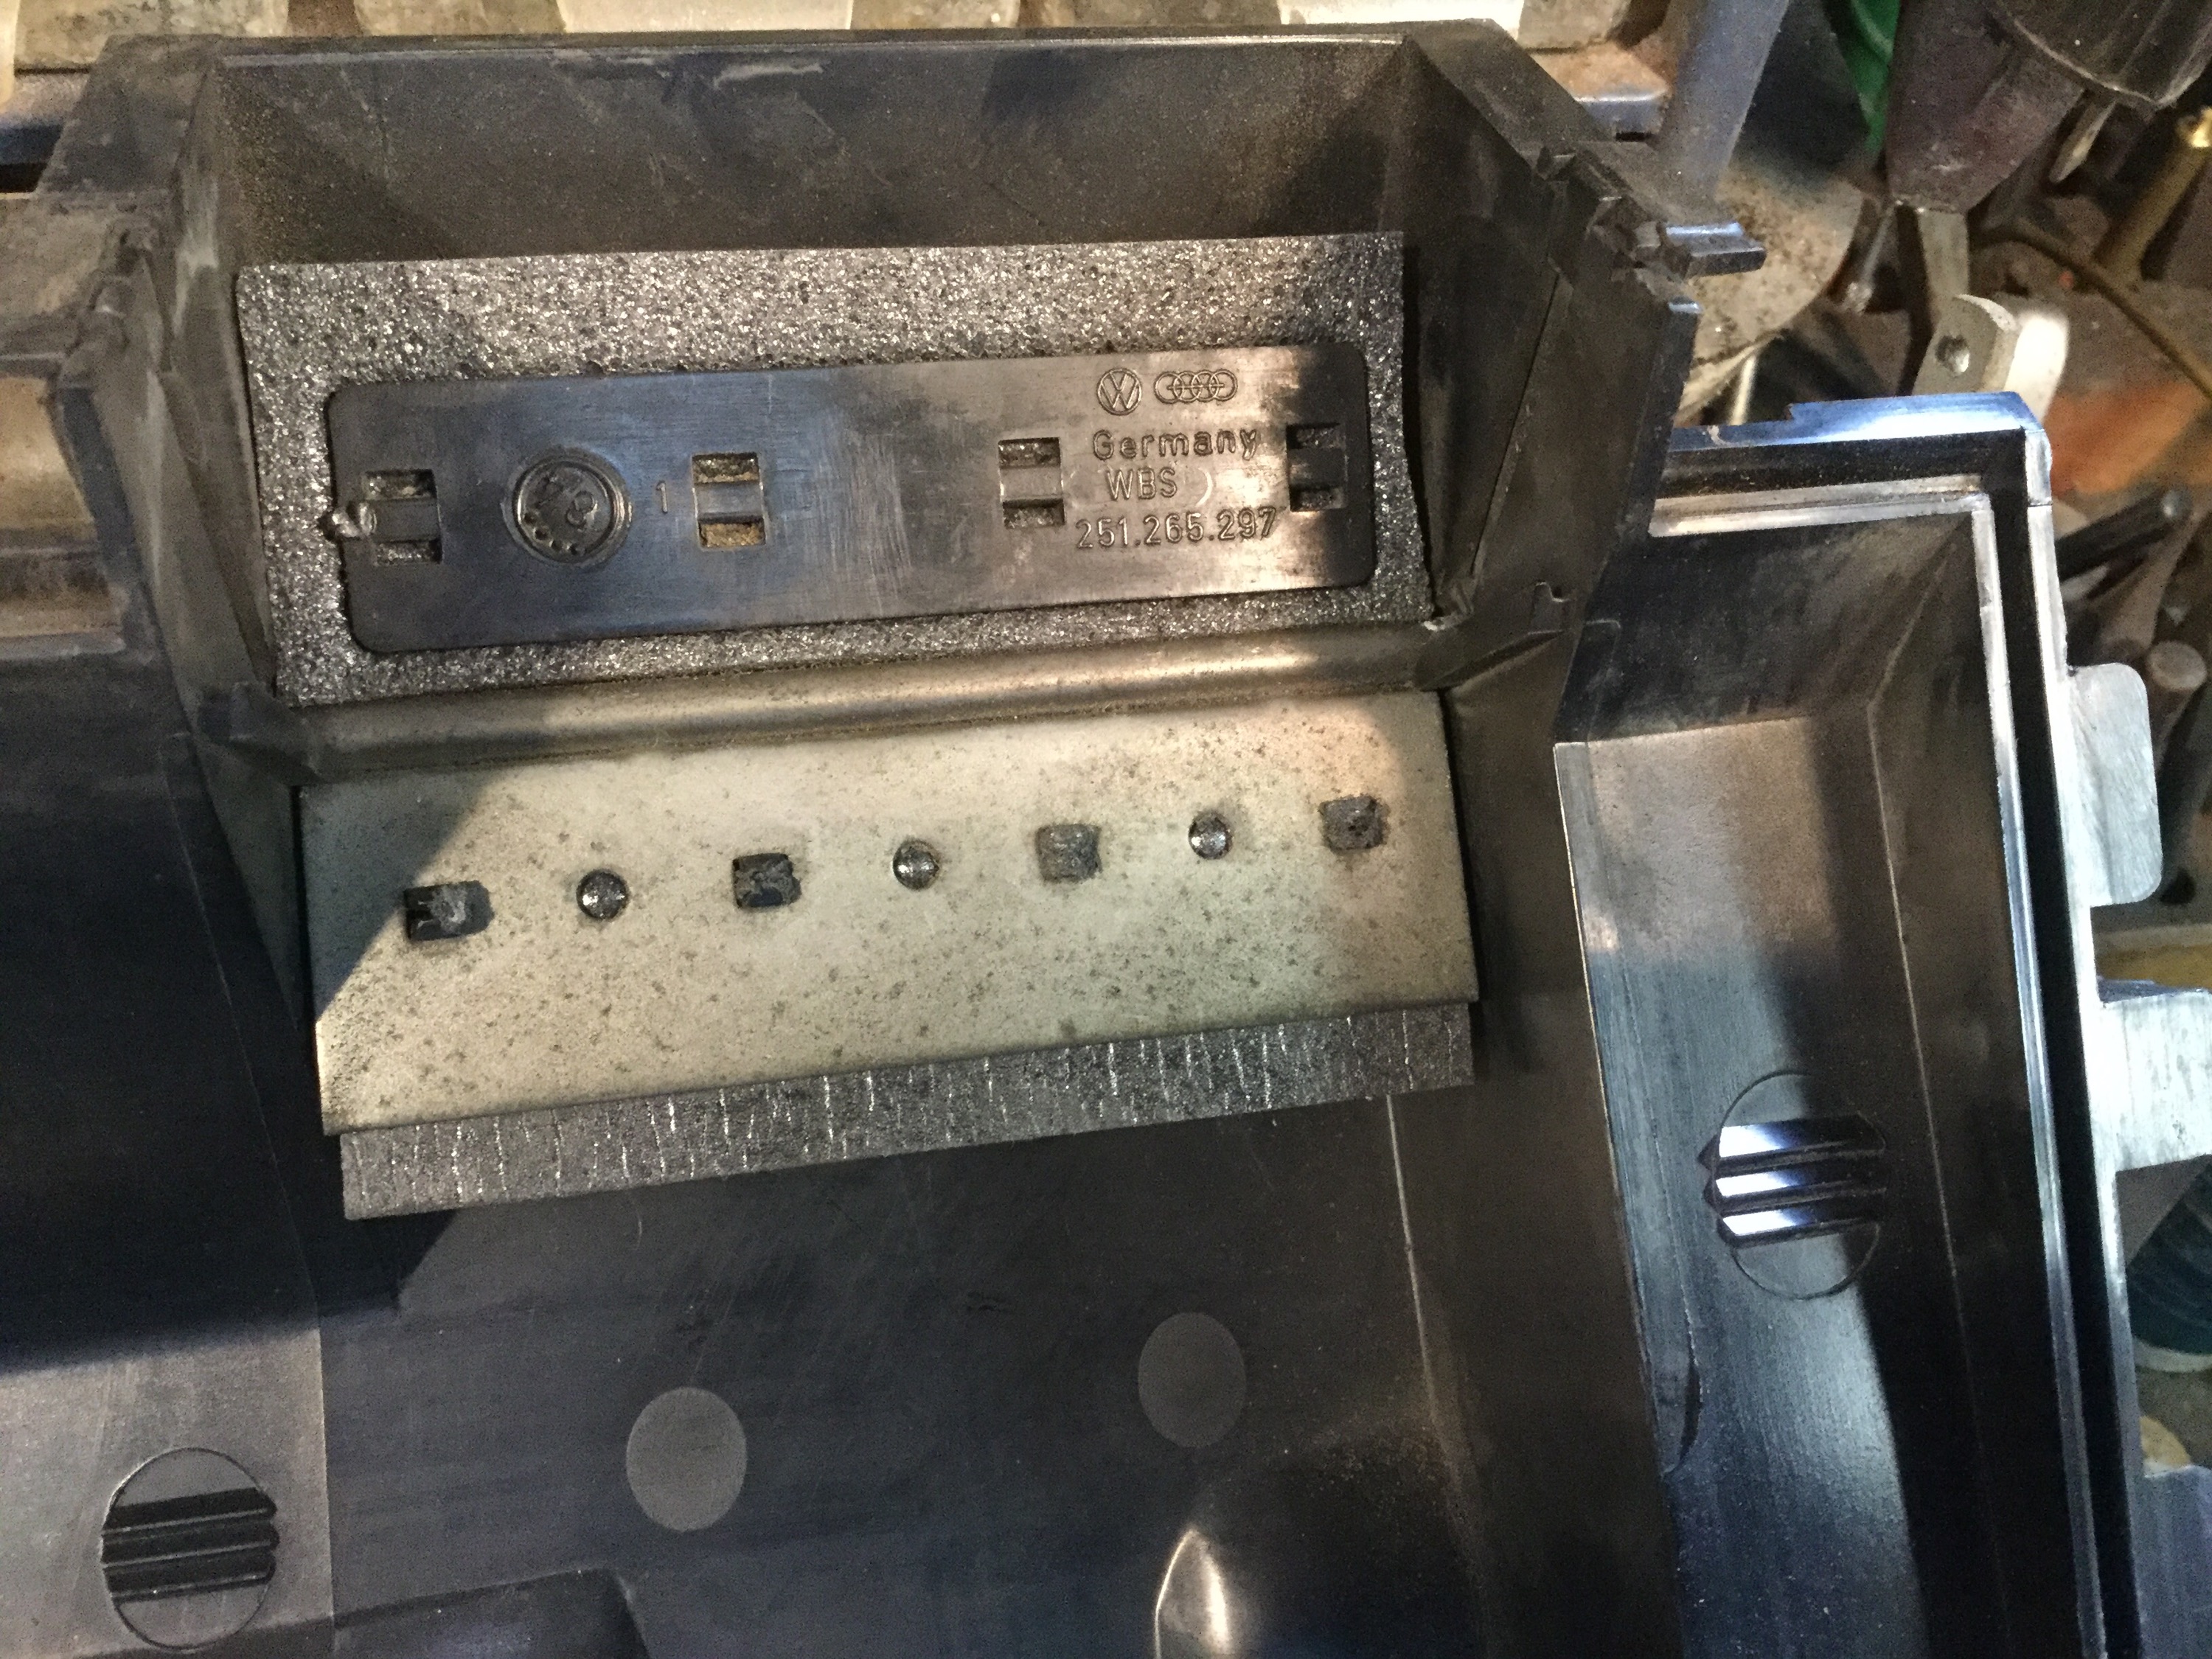
All the other flaps are similar. There are a few different heater boxes used in the vanagon, but the the refoaming principal remains the same.

On this box the passive flaps located on the blower and core side, didn’t have a plastic retaining plate. The foam was glued to the flap. I removed as much of the crumbling foam I could, and then was he the flap with 99% isopropanol. Then I played a heat gun on the flaps and noticed that the residual glue in the flaps became sticky again. I like that, it will add to the stick of the self adhesive foam.


You see how I had to us two strips on these flaps, and I didn’t quite get them aligned perfectly. The foam tape grabbed the flap. But who will see? Too late.
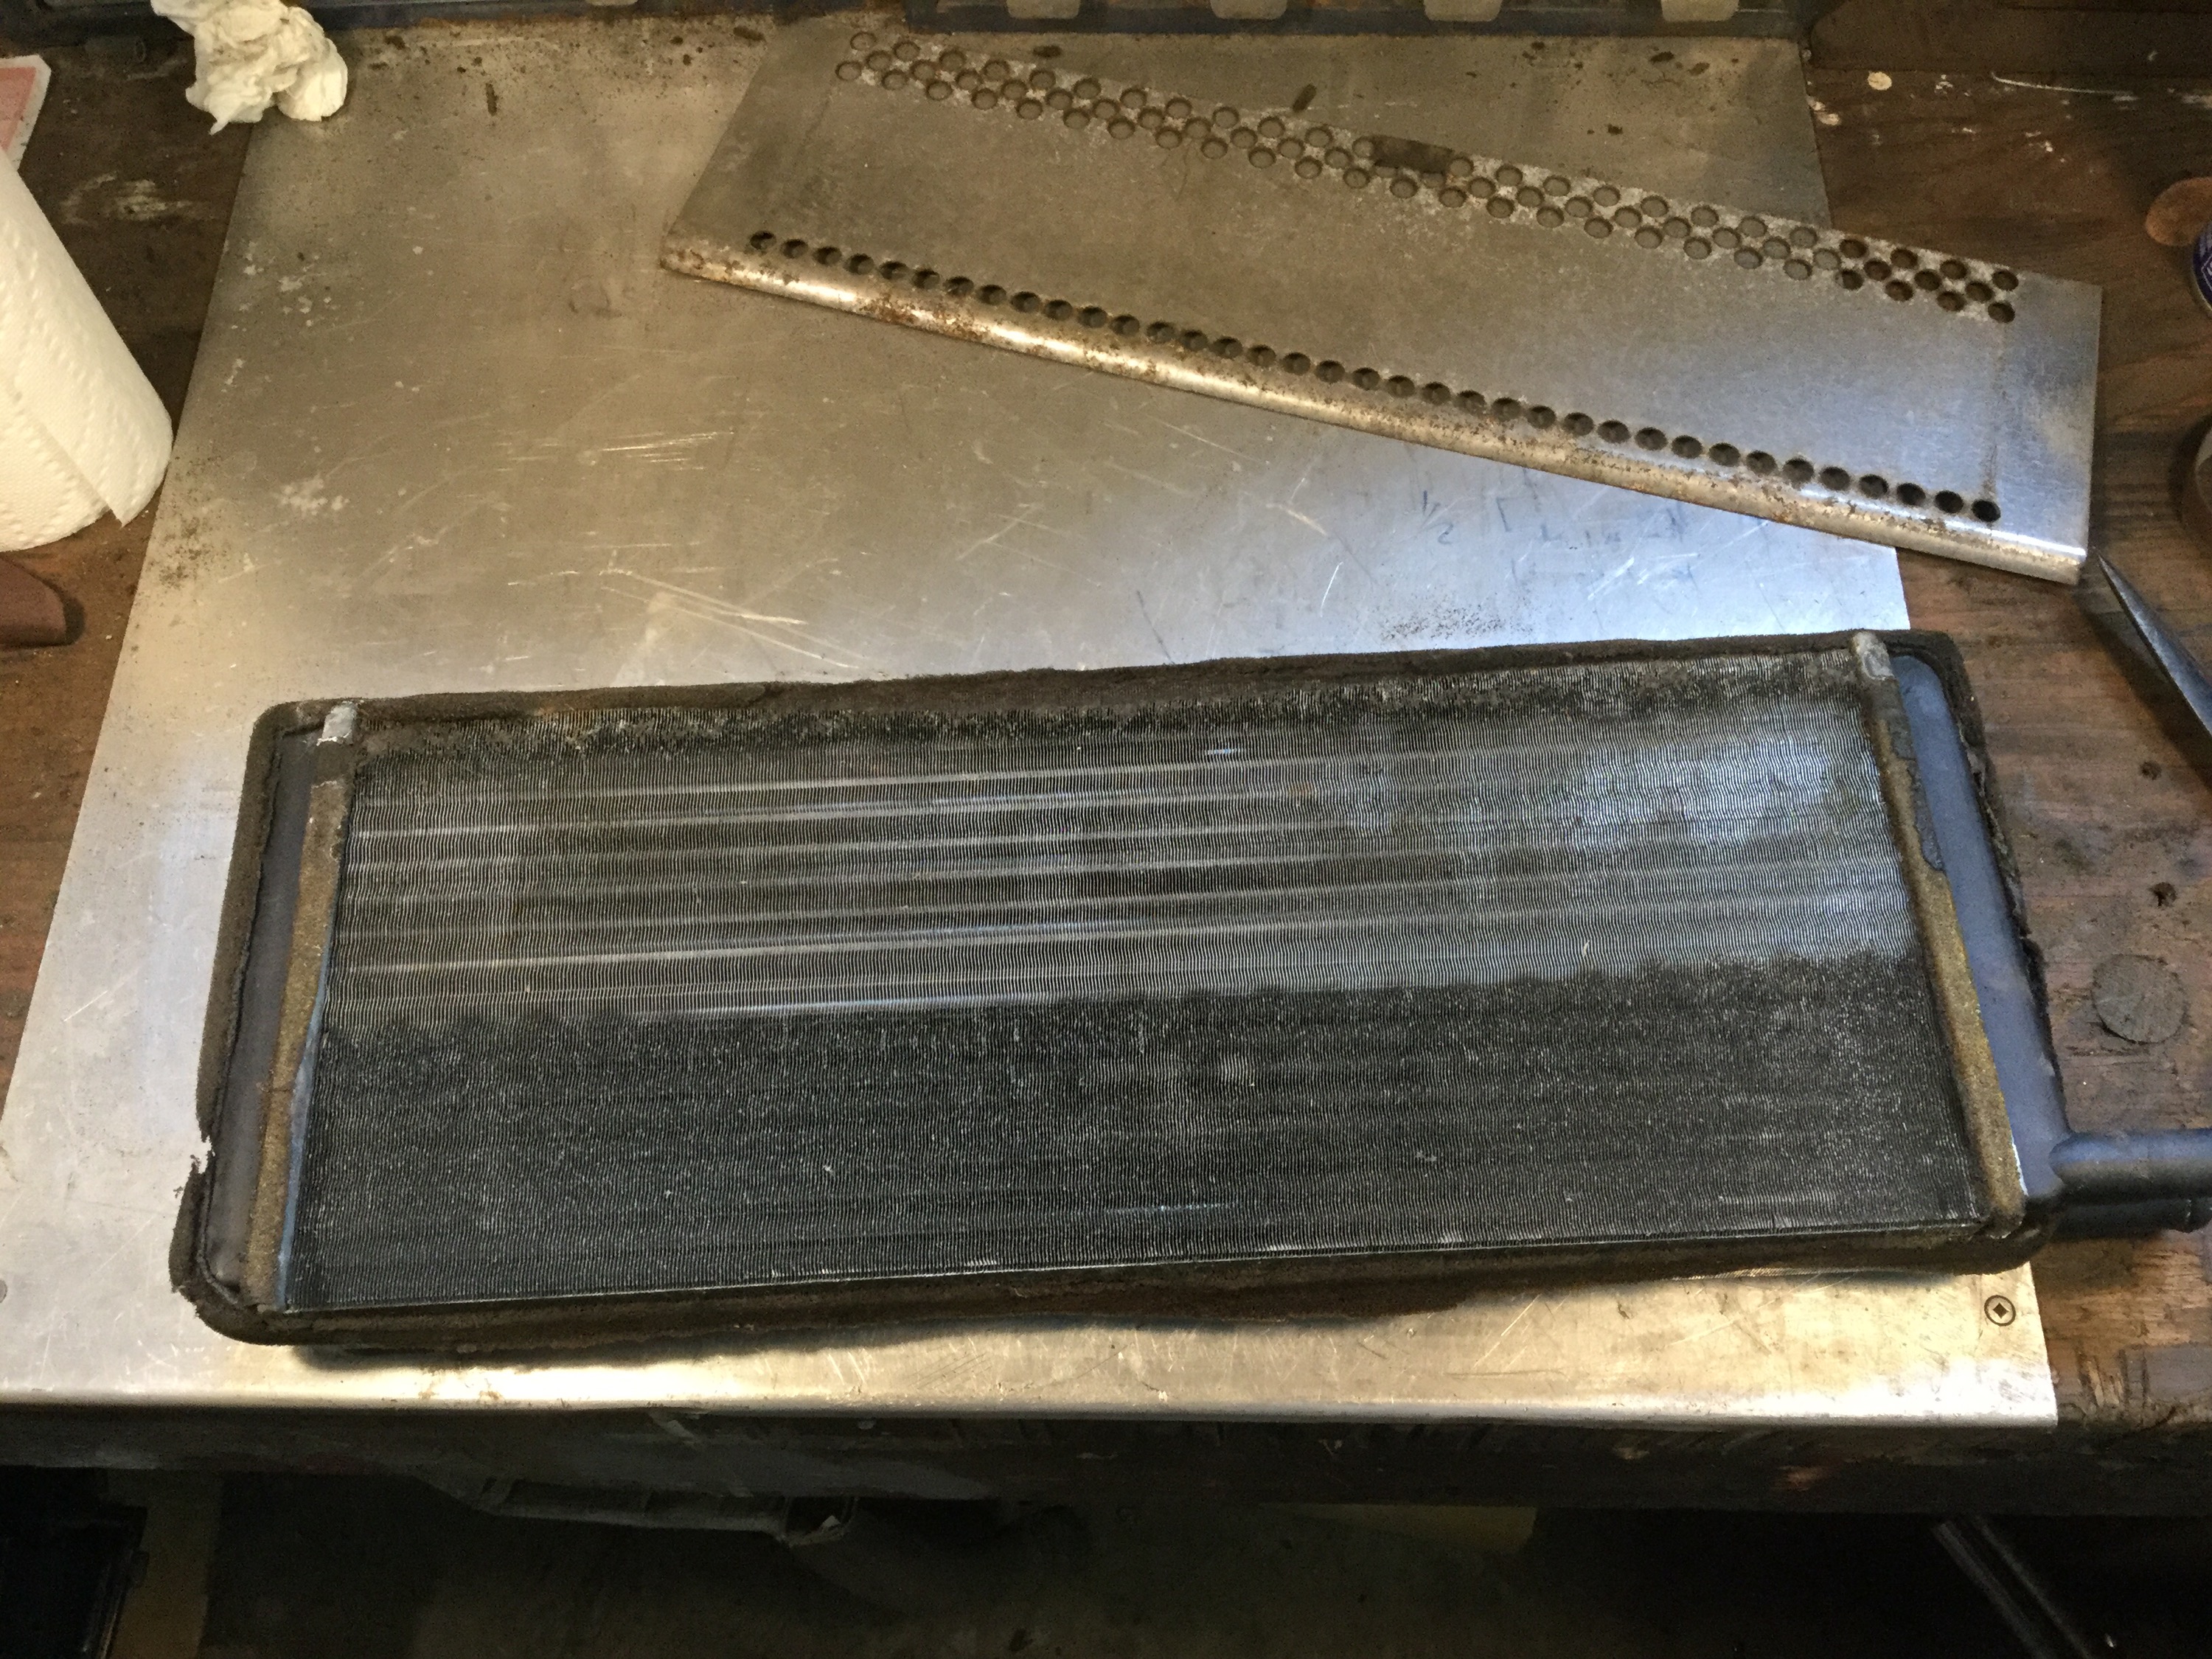
The heater core has a bit of foam around the sides and ends to seal it into its place. The old foam was, like the rest of the foam in the box, rotten. And I couldn’t get rid of the black on the core.

I used a good used fan, cleaned and lubed. Then finally the box went back into the van.

Phew!
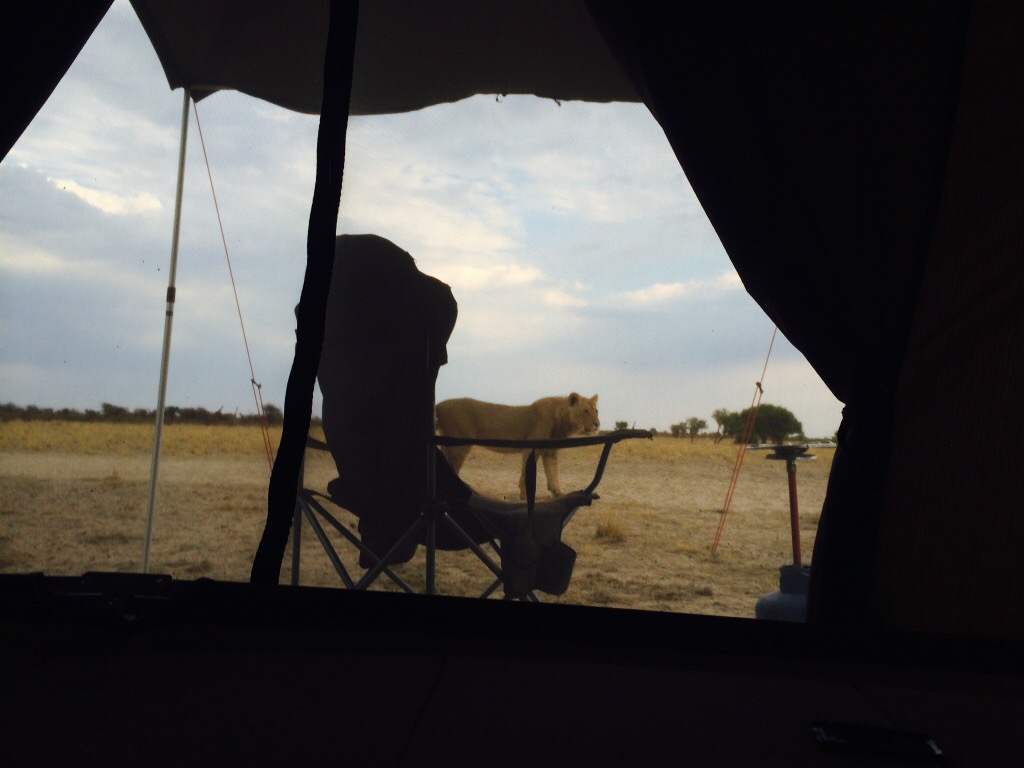
Syncro and lions in Botswana
Some more great shots from John B. in South Africa. Pictures a friend of his took while in Botswana.


Vanagon – Doka pedal assembly
The Doka has a clutch that engages approximately 5 Angstroms above full pedal. Some work has to be done, but I noticed when I was mucking around with the dash off that there was a lot of play in the clutch pedal.
I’ve posted about clutch pedal play before, right here. Indulge me as I go through it briefly again.
damn wordpress, I’m still composing this post…
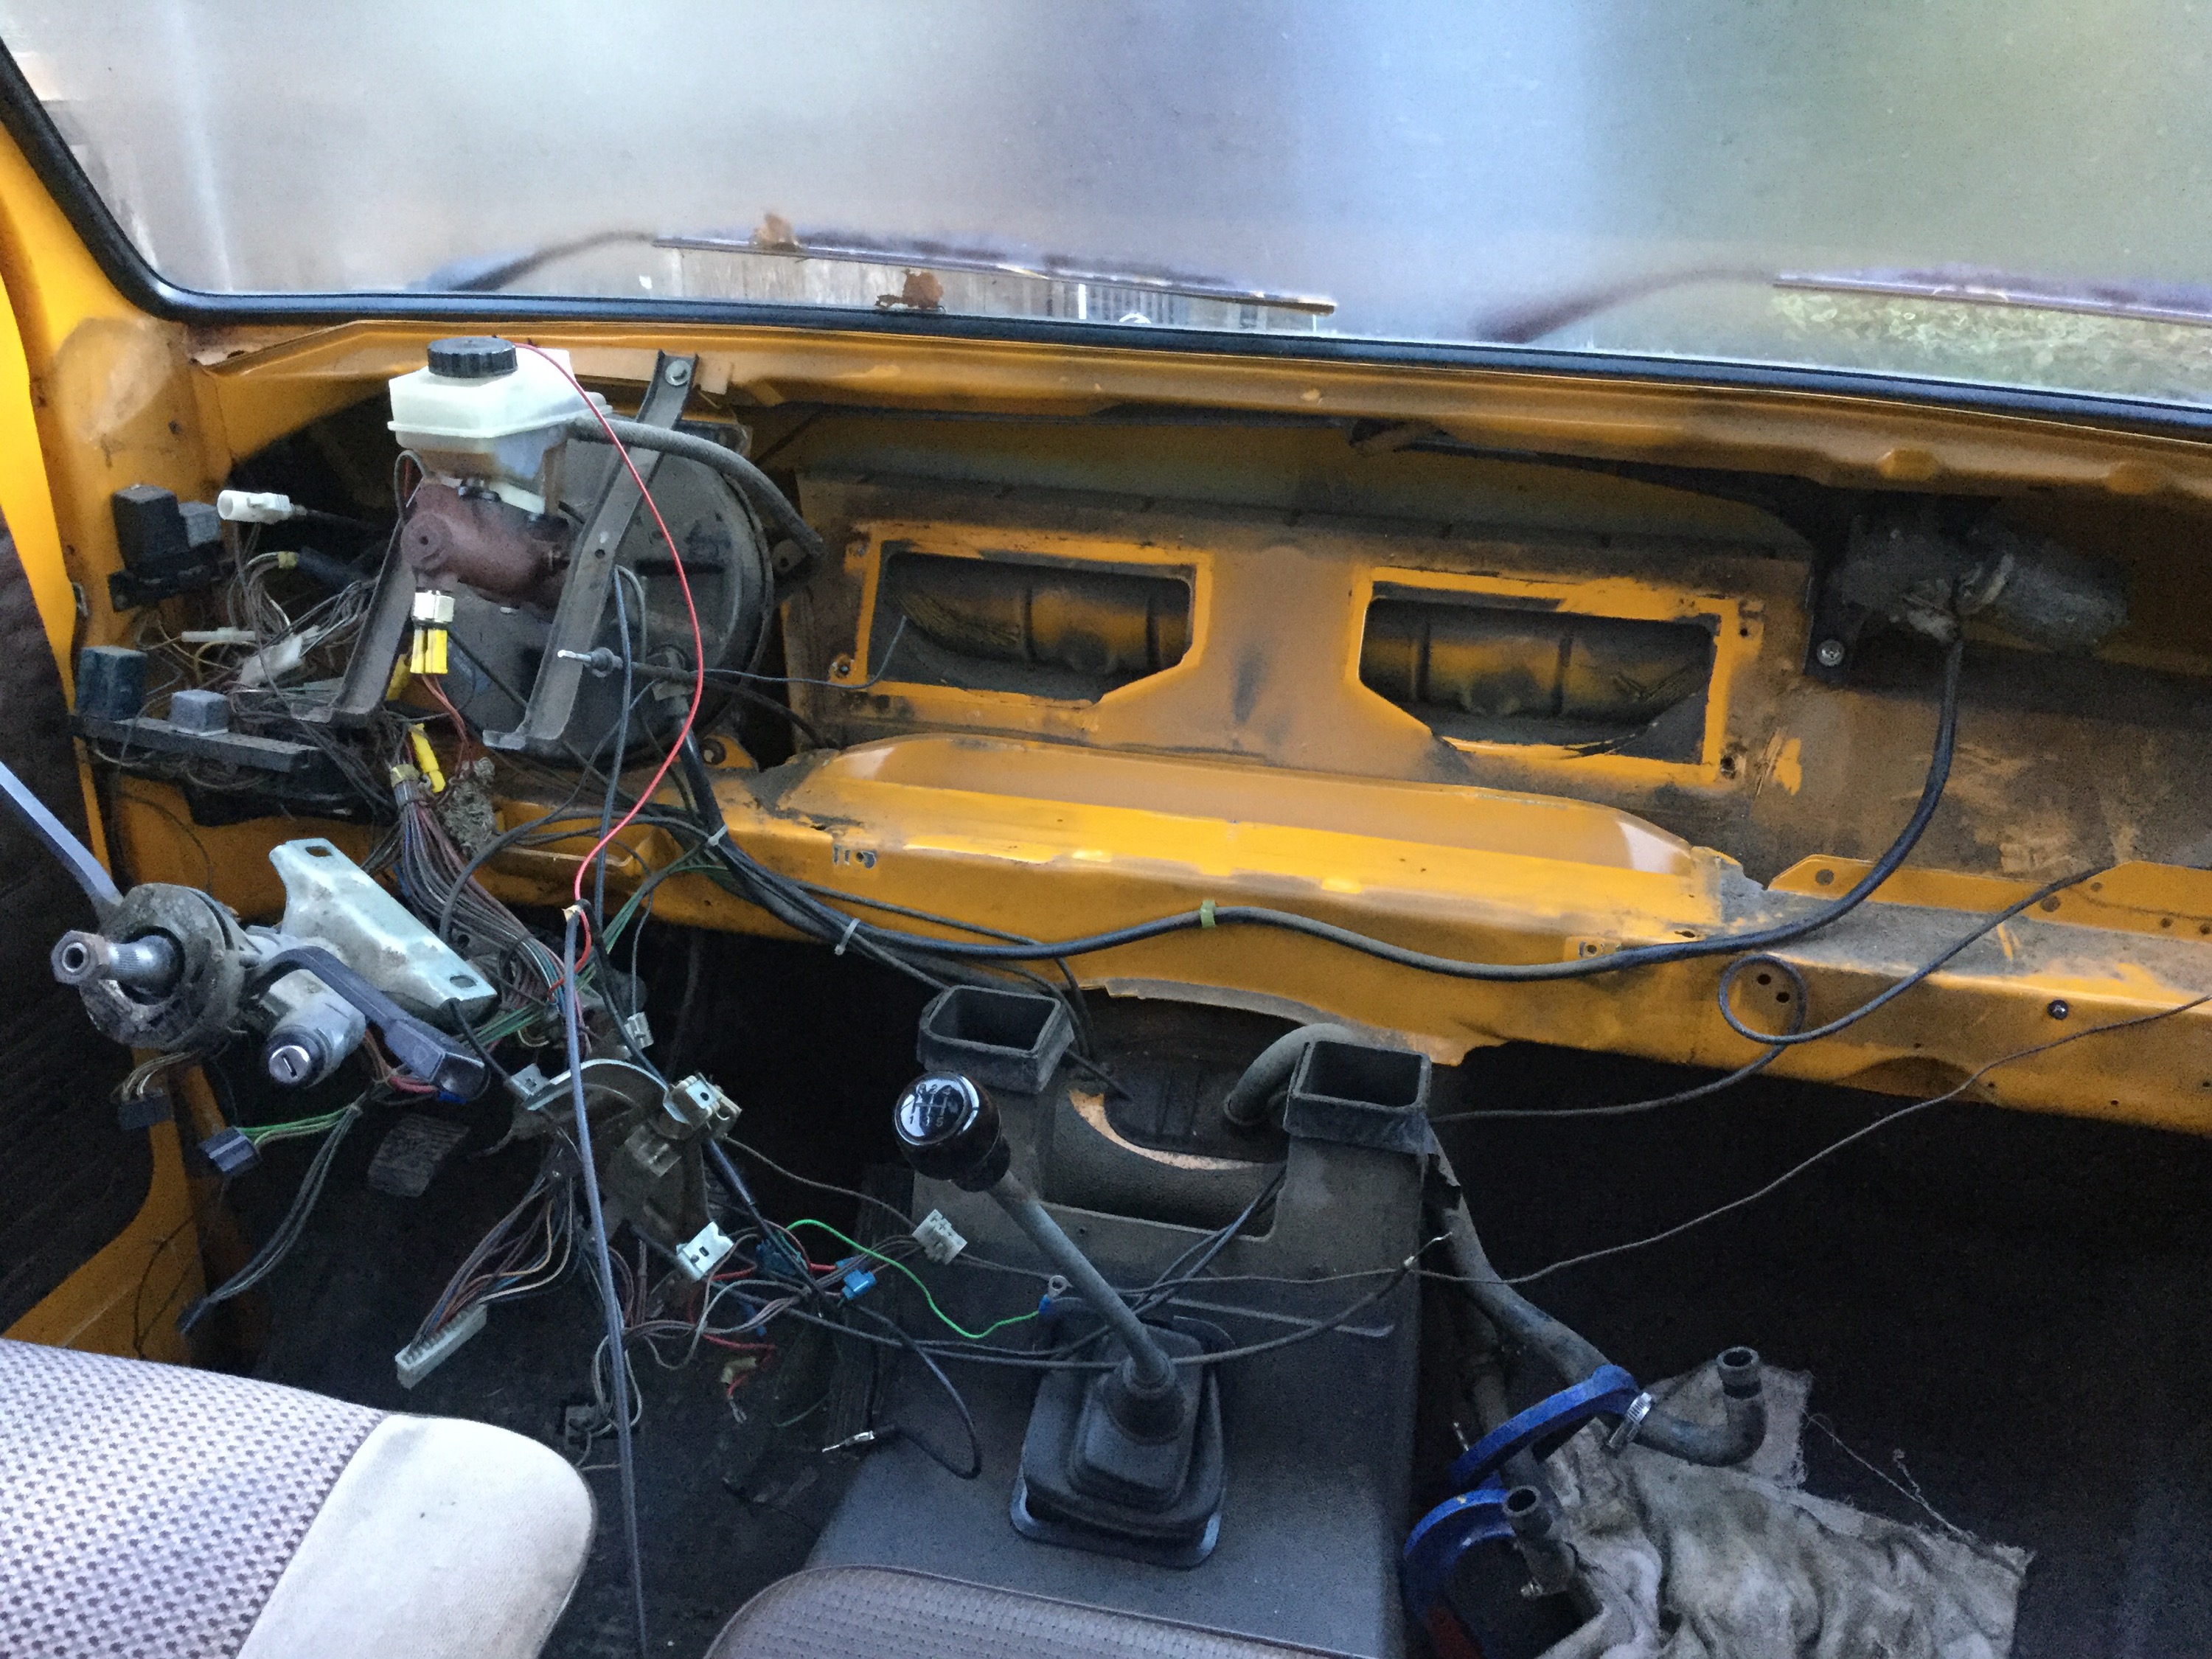
Ok, some say you can get the pedal assembly out with the dash in place, coming straight up out where the instrument cluster sits. Perhaps, but you have to bend a wrench to get the forward two bolts that hold the straps that run from dash to body. Might as well take the dash off. Oh, and taking the rubber pedal pads off the pedals makes things easier believe it or not.
Pull the brake master cylinder from the booster. No need to disconnect the brake lines, but you have to remove the fabric covered rubber hose that supplies fluid to the clutch master. And also remove the vacuum line to the booster. Pull the elbow from the rubber grommet rather than trying to remove the hard plastic from the elbow.
Disconnect the metal clutch line from the clutch master. Spill more brake fluid. I hate the feeling of brake fluid on my hands.
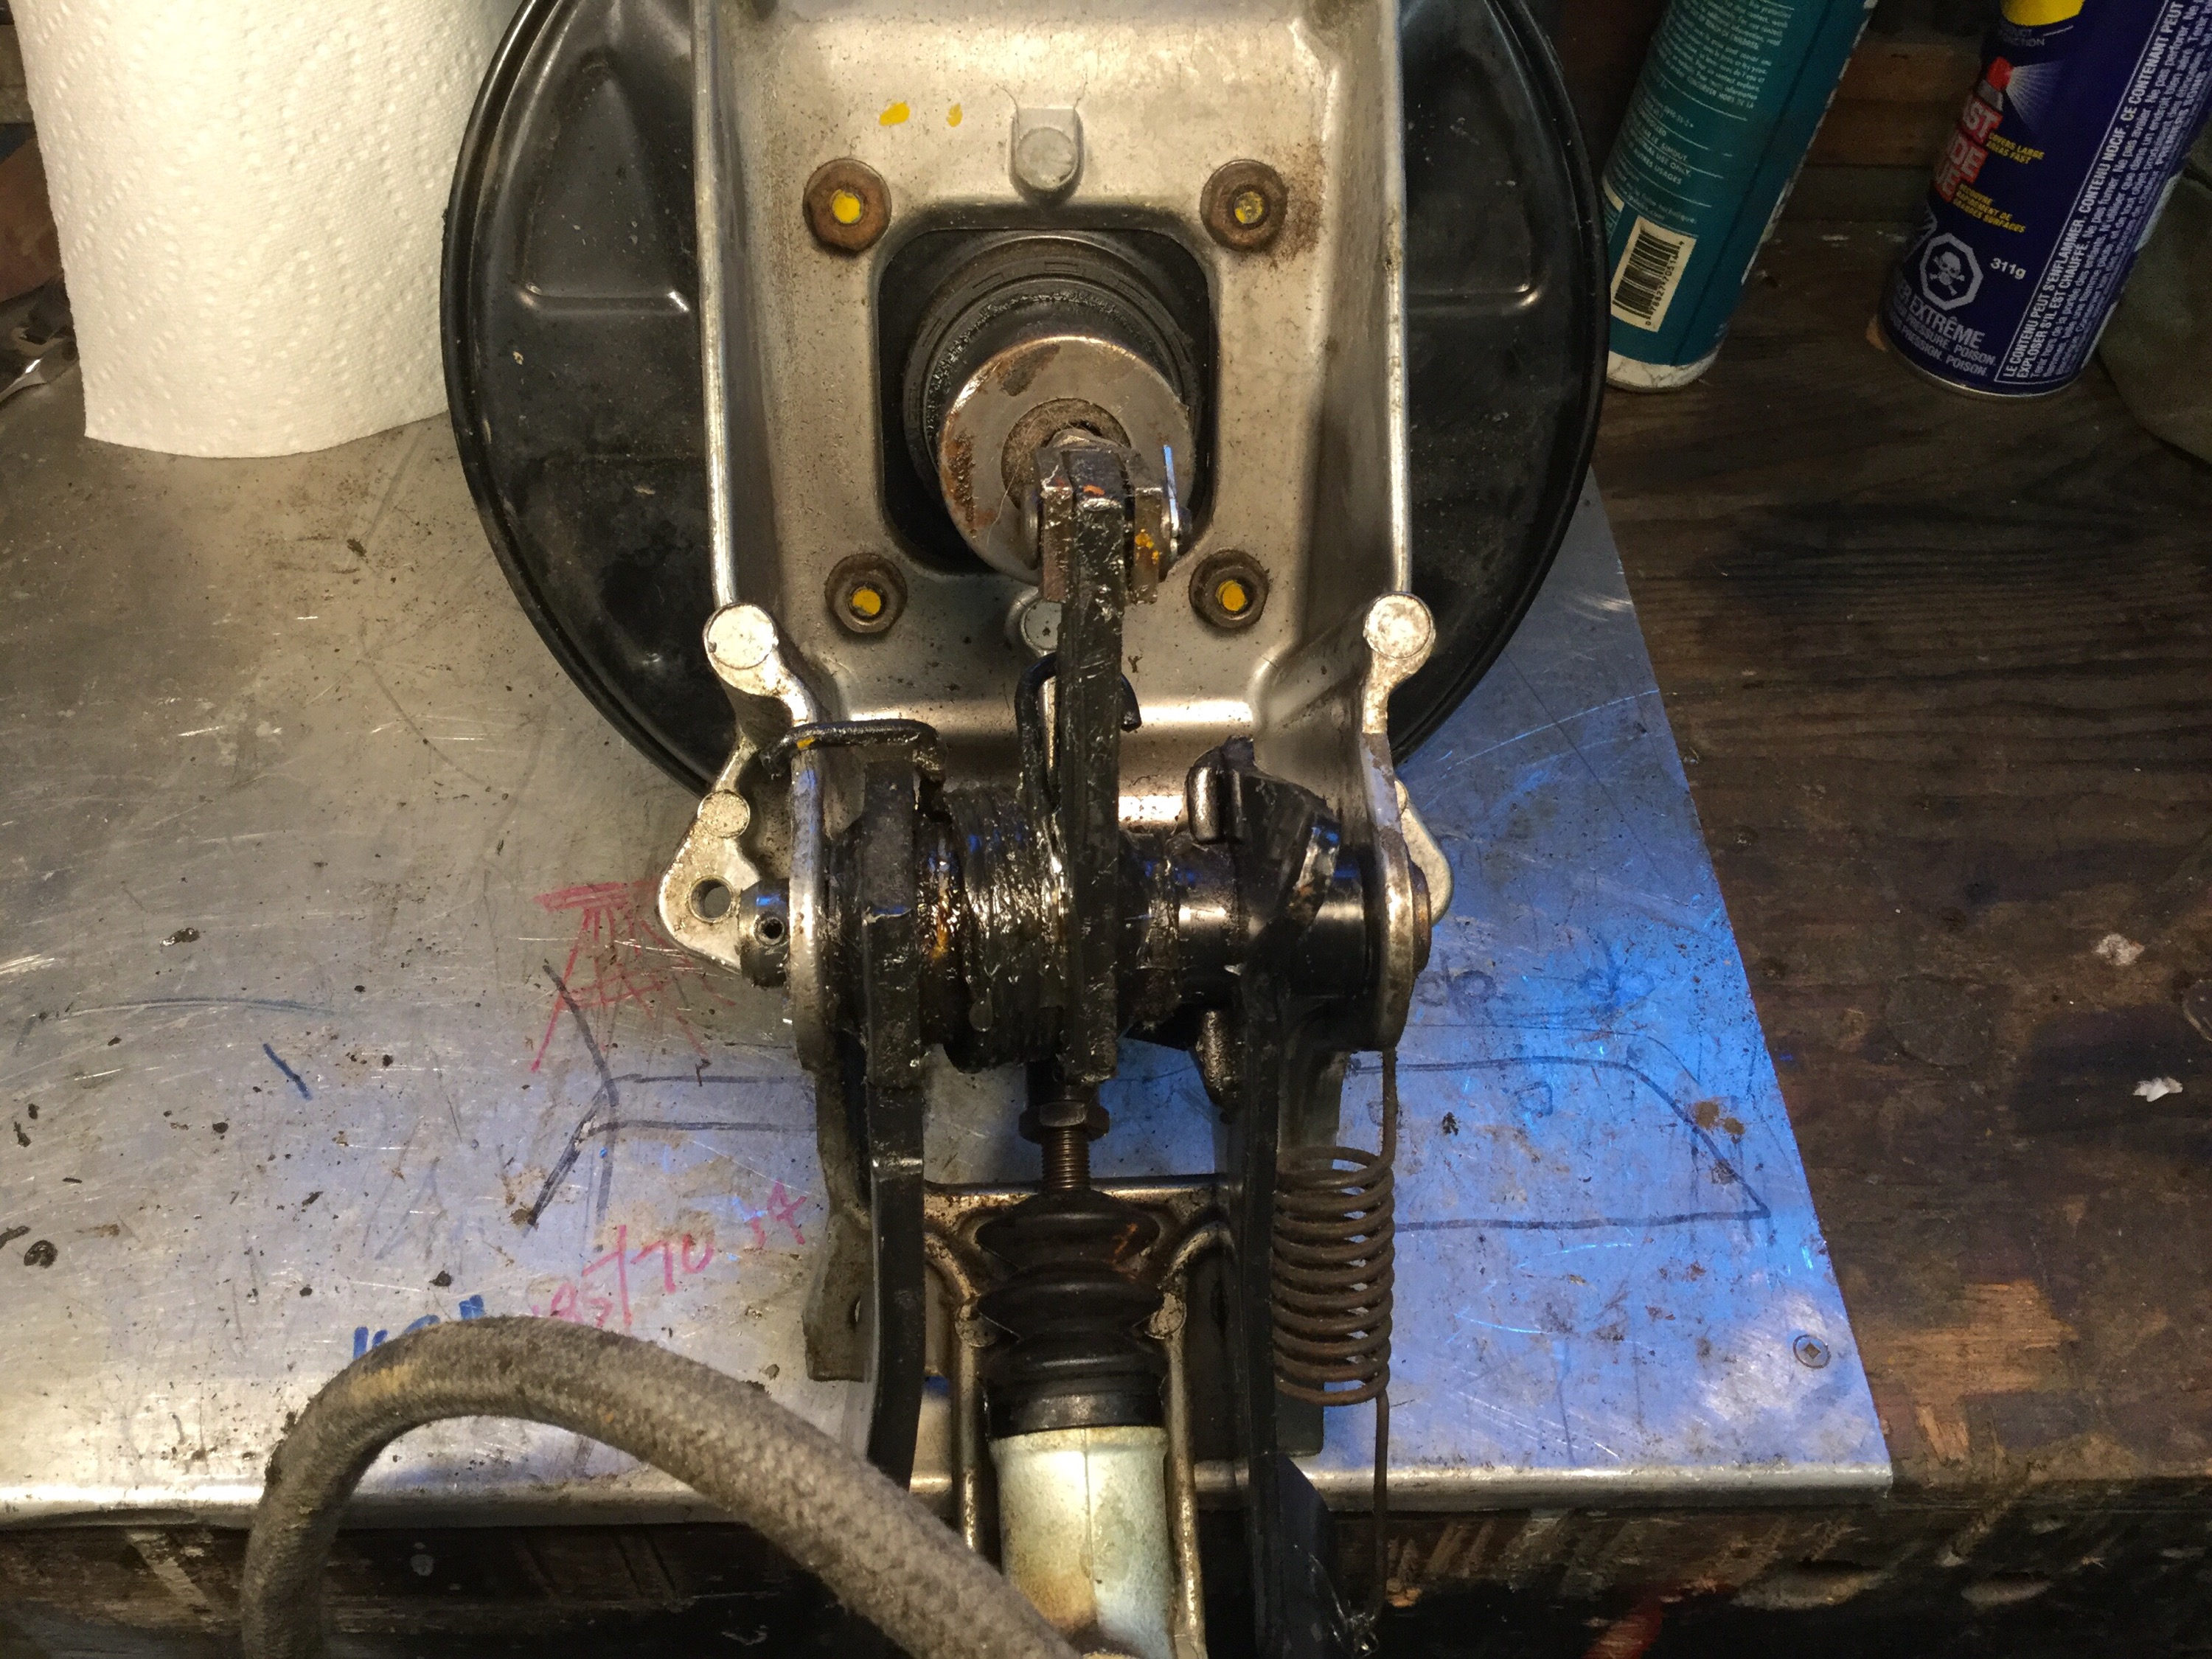
Four 13mm headed bolts hold the pedal assembly to the van. Then it comes up out behind that body beam.
Ok, off to the bench with the messy bugger. How about a clumsy video that tries to show the amount of clutch pedal play?
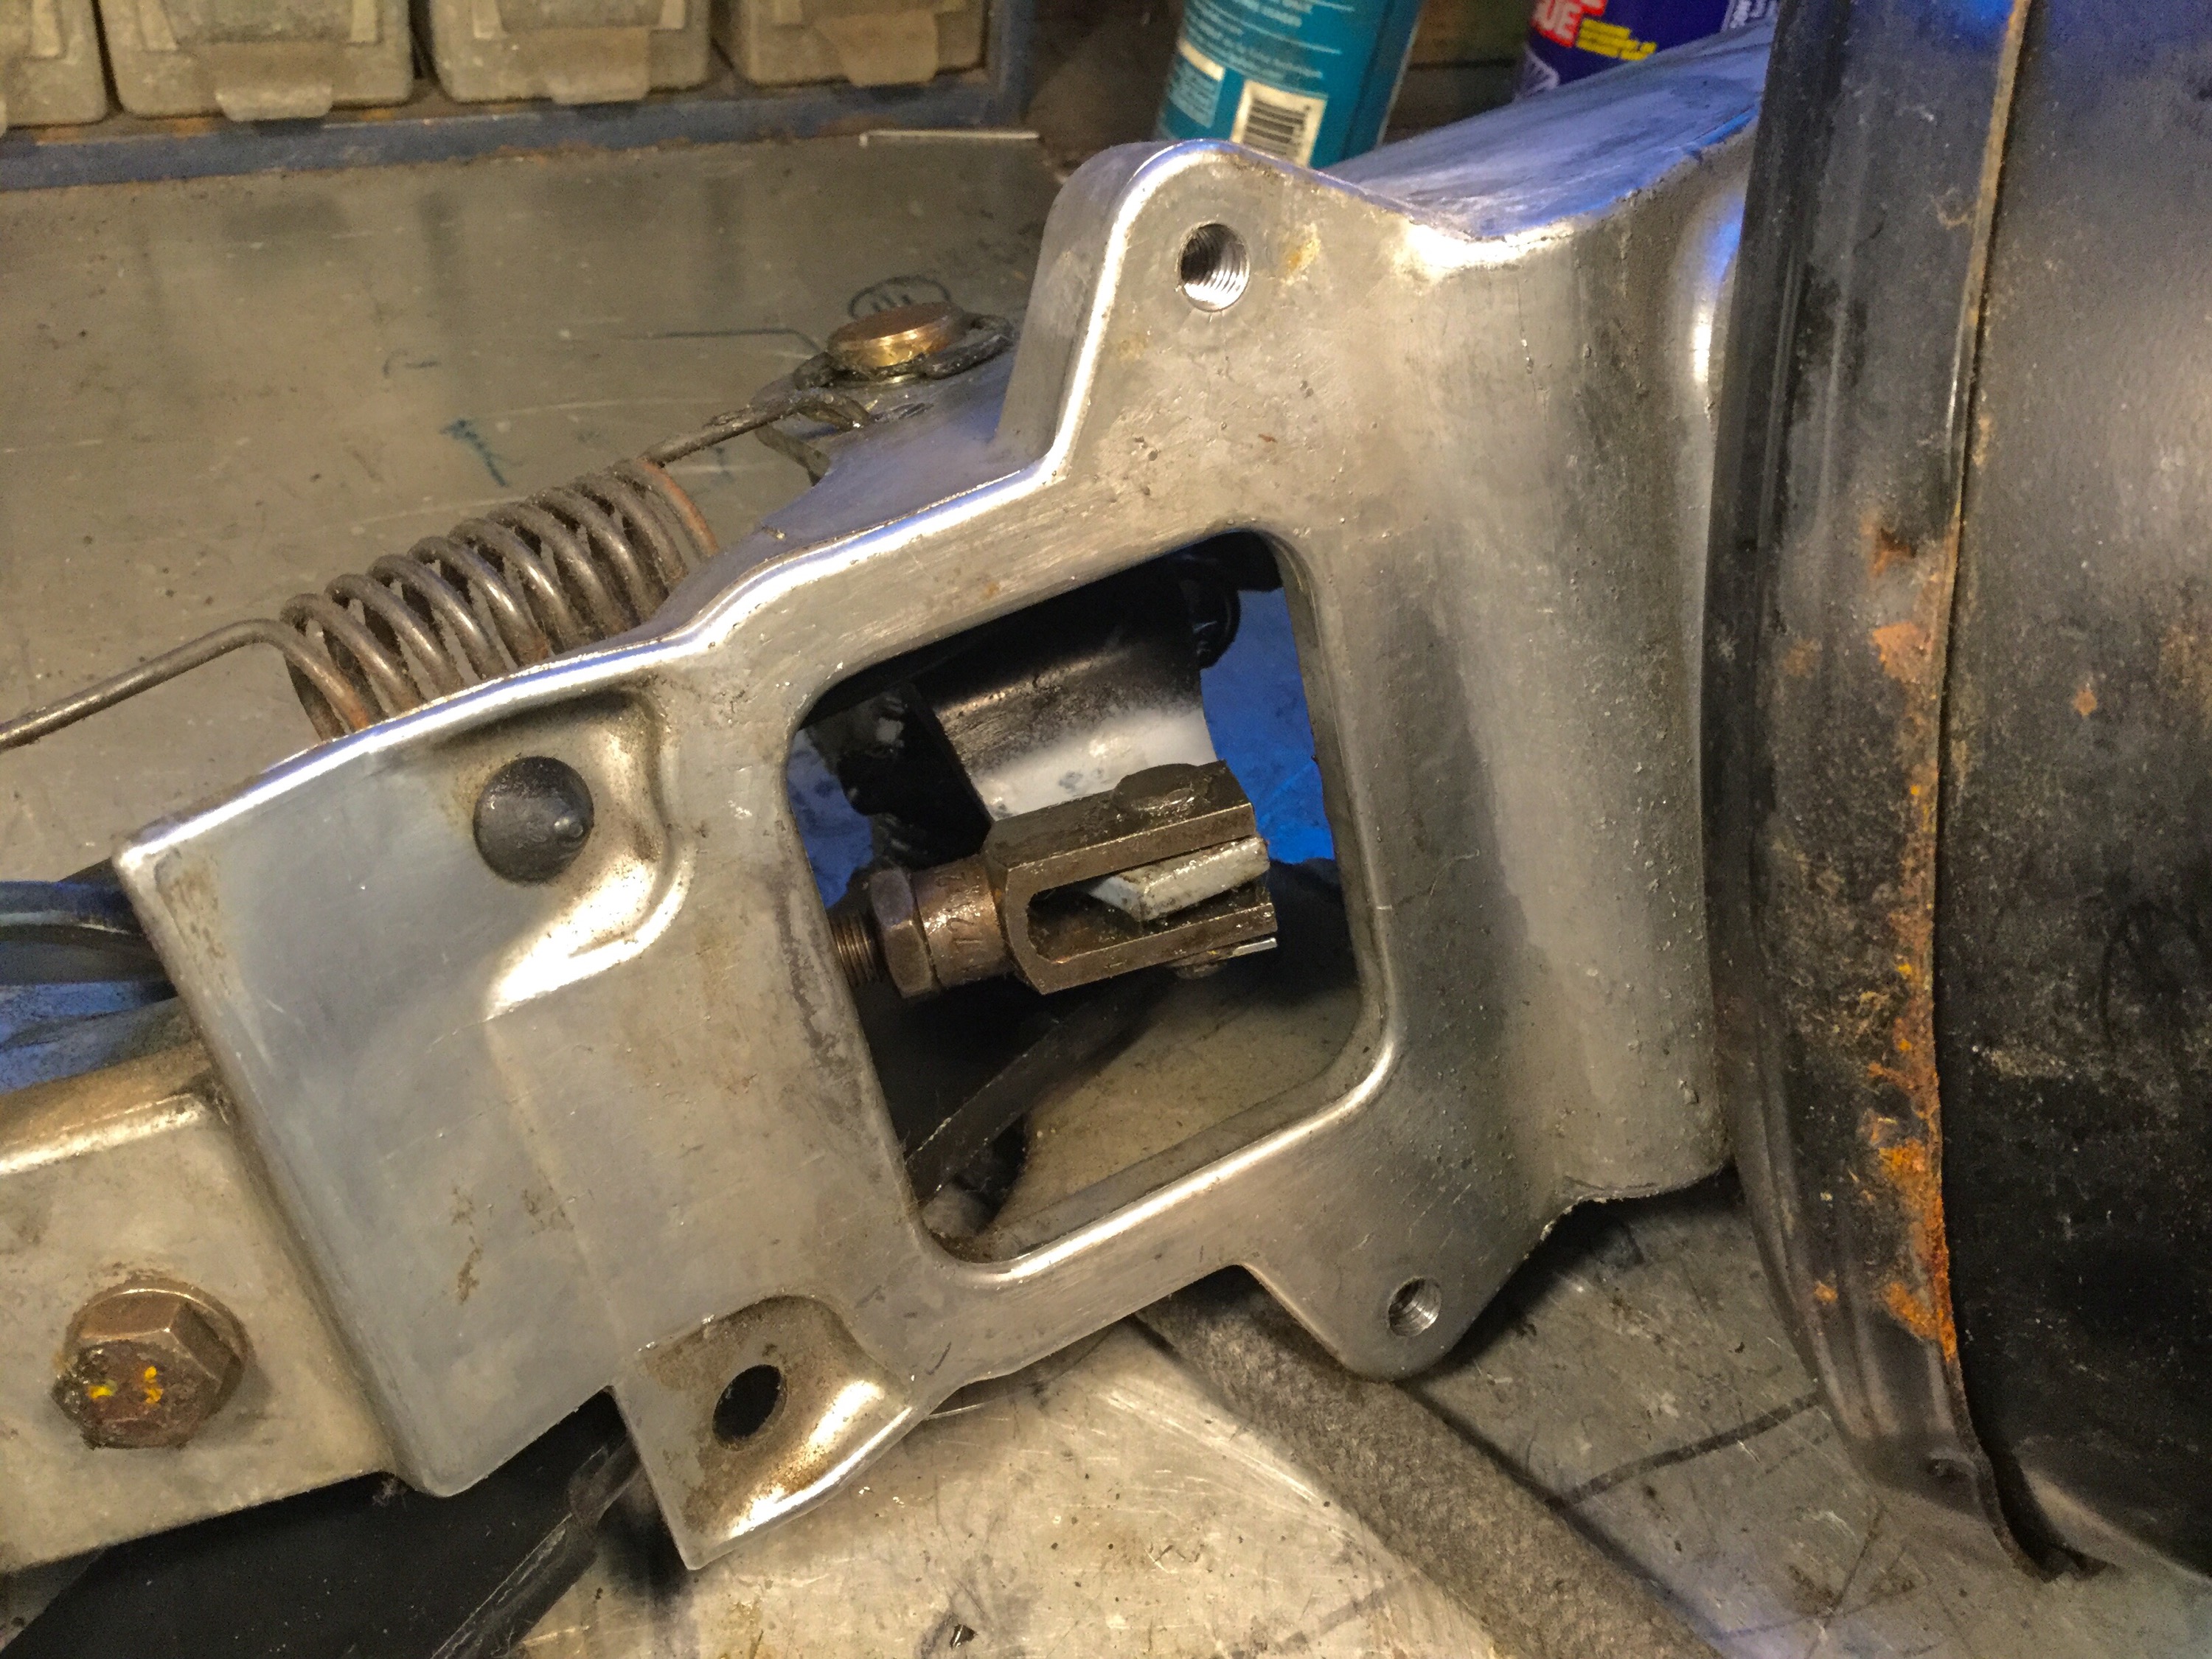
Well there wasn’t as much play in the clevis pin and yoke as I thought there was. But there was a lot of play between the rod that screws into the yoke and the cup it fits into in behind the master cylinder boot. There is that rod in the next pic, the clutch pedal removed from the assembly.

See? The hole isn’t as wallowed as I thought it would be. And the pin is in fair shape. I measured the pin, 7.95mm. I’m supposing the hole would have been nominally 8mm diameter.

Blobbed in some metal.

Filed off. Maybe a 7/10? I left a bit of a hole in the middle on purpose, to give me a hole location.

Believe it or not, I have a 7.5mm drill bit and an 8mm chucking reamer. This entire exercise was worthwhile for just being able to use them.


And the pin fit into the hole just right.

You know, I should have done the same thing with the brake pedal, it wasn’t as loose as the clutch pedal but it was, and is, a little worn.
Alright, put the things back together (cleaned and greased).
Adjusted the rod from the yoke to the master for just a little play and this is the result.
Vanagon – Doka dash off
Last weekend I pulled the dash off the yellow Doka so that I could do a refurb of the heater box. It could have been worse, but of the six machine screws that hold the heater box on, the heads of two twisted off, and another had to have head drilled off and stub removed with vice grips.
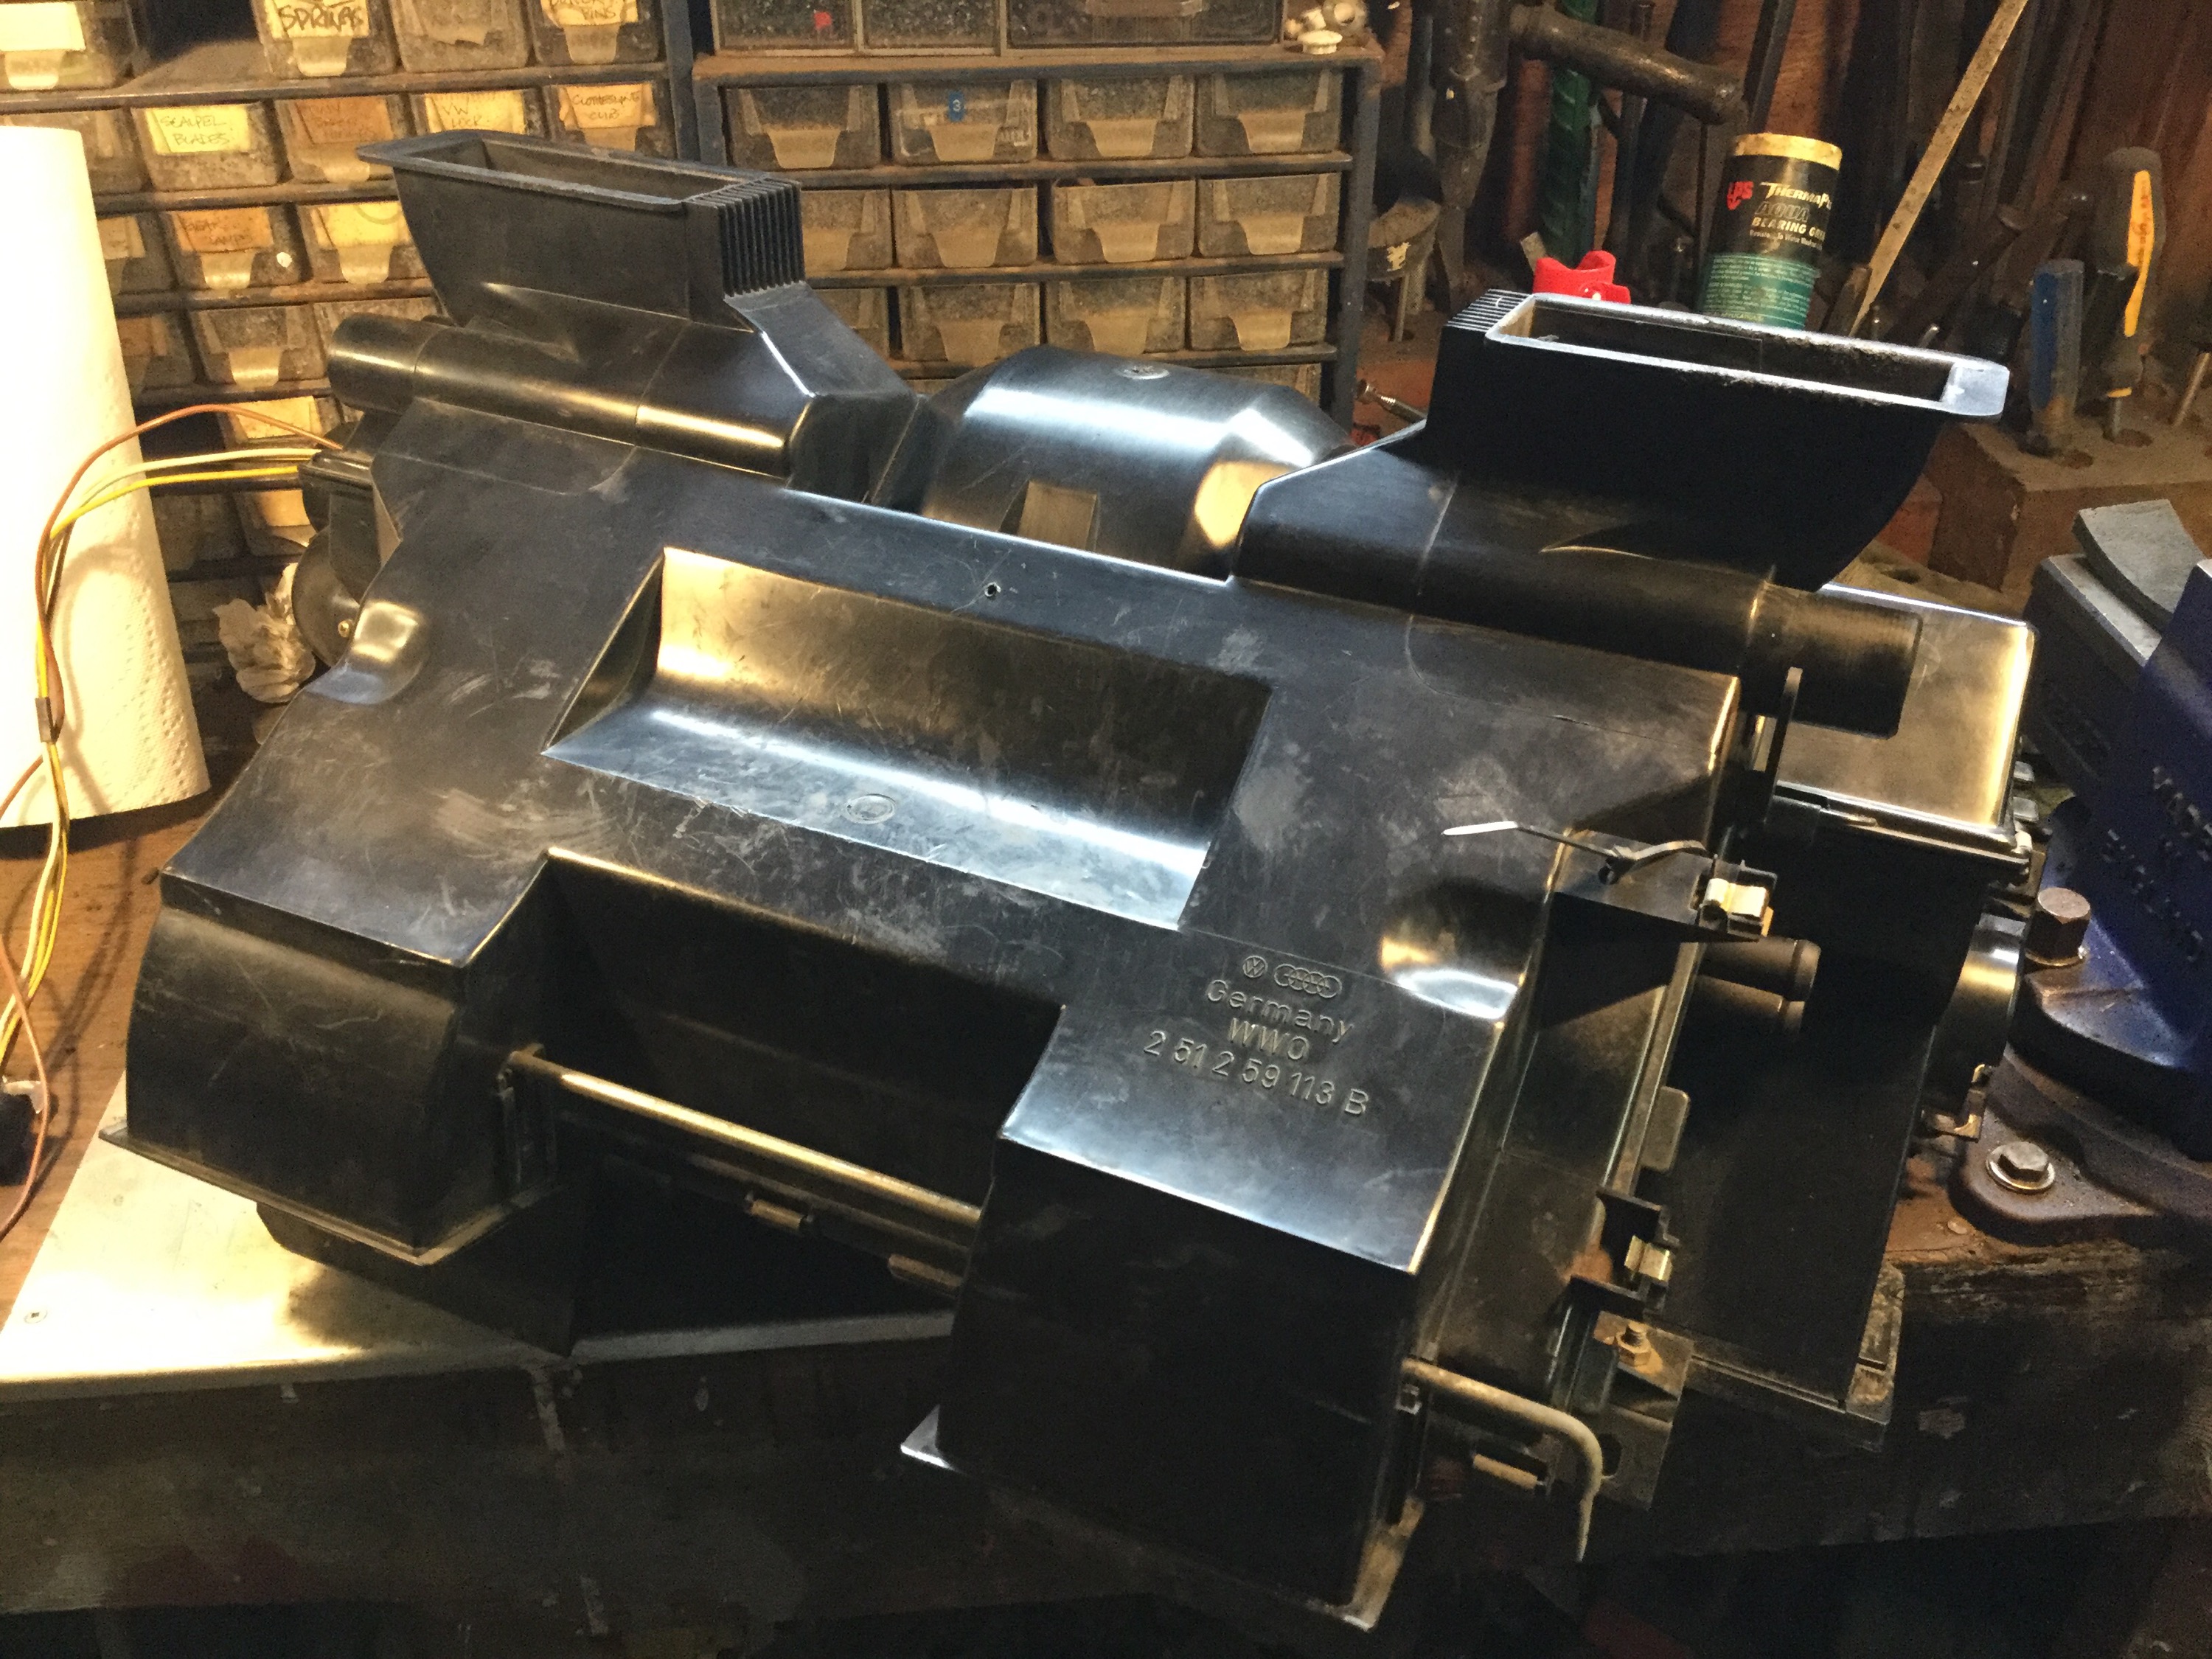
Hey look at this heater box. I think my 82 diesel Westy was the same, and that is the box is not welded together at those tabs. Yeah, there were metal clips, but no plastic welding. My 86 syncro and Simon’s 91 syncro heater boxes had the halves welded together.
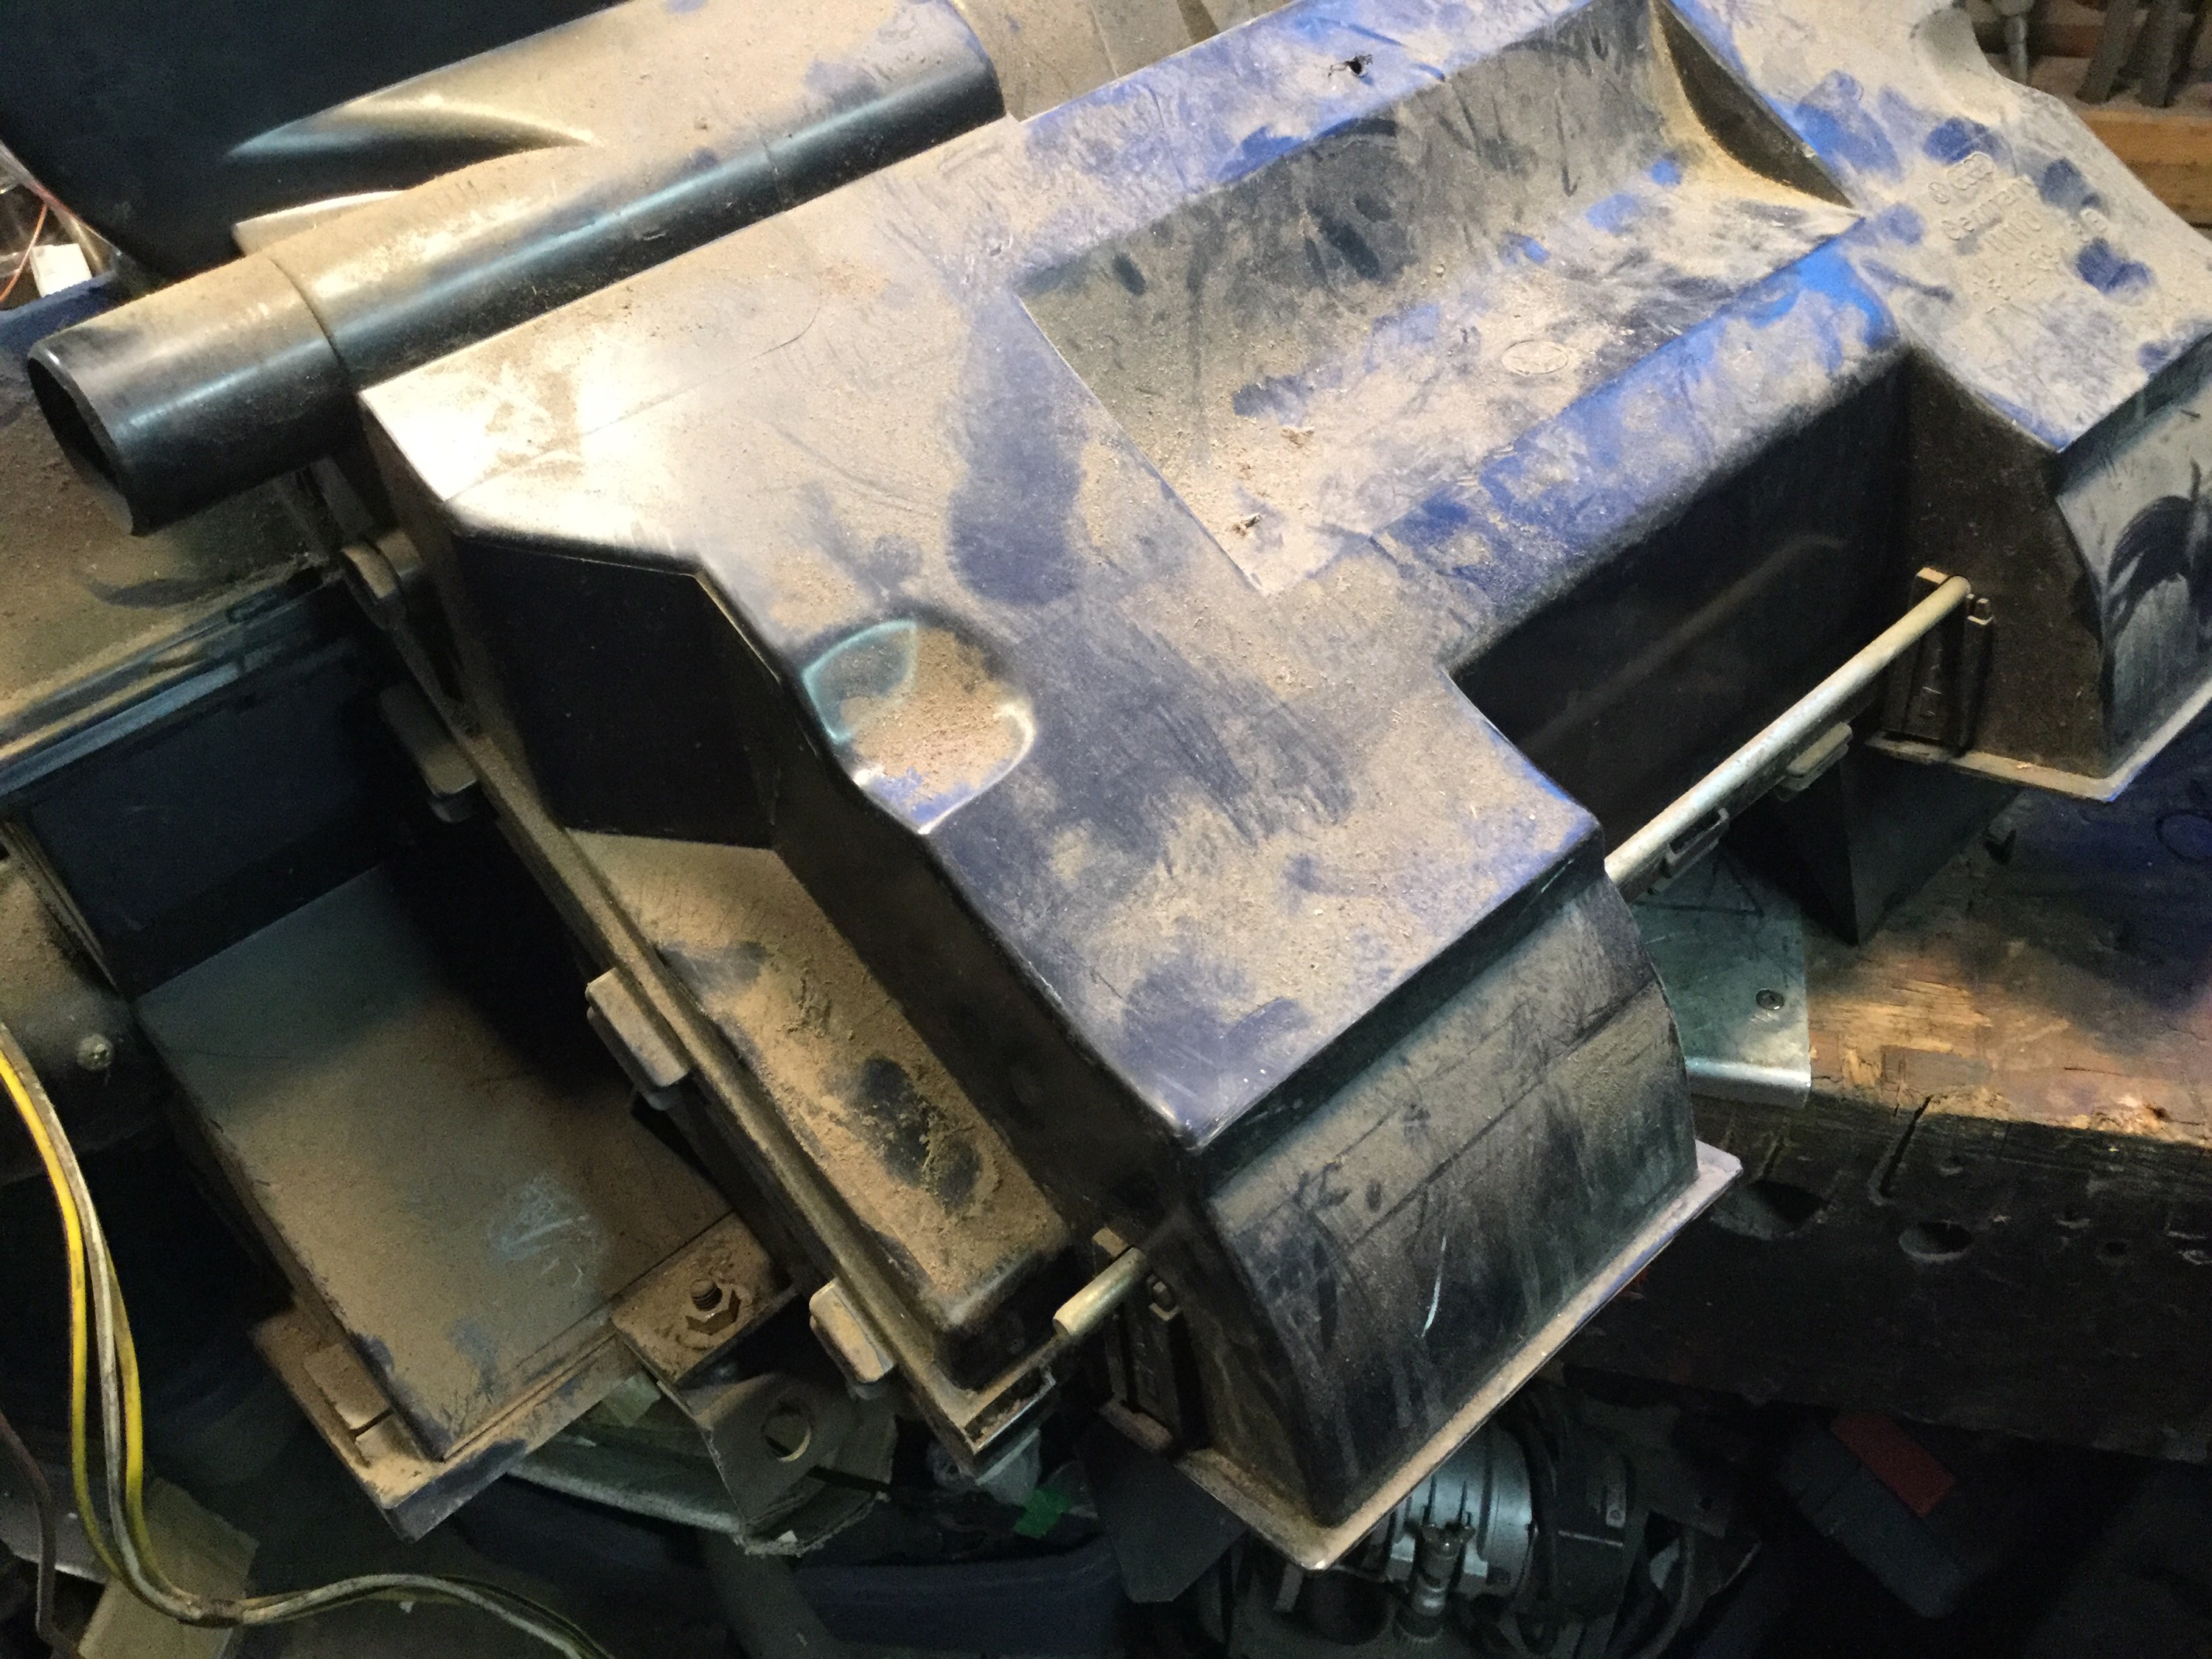
The fan motor was seized. I did loosen it up and I click get it to run, but it will be replaced. The foam on the flaps was all disintegrated. The heater core was dirty but sound. I’ll get back to the box later, next post will be about the pedal assembly.
Apology
Posted by albell in Uncategorized on November 21, 2015

Reasons for radio silence these last couple of months:
– busy at work
– tired when I come home
– rain
– doing yard and house repair type work I should have done before
– idiotic mail dump deletion and slow recovery.
I have outstanding blog post questions to respond too, I apologize for being so unforgivably slow.
And sheesh, forgot one more apology. The Lesotho post from John B. is now unlocked and his commentary posted.
And hey, another mea culpa. The gif of Javier at the top of this post is from the site “if we don’t remember me” http://iwdrm.tumblr.com
Vanagon – diesel Doka work – part one
My neighbour bought another Doka. Yes, same guy that has the nice green Doka that at did some heater work on. Blog post on that here.
This one is an 85 diesel. A private import so it has one or two interesting things not usually found on North American vans. I’ve been talking some pics as I delve into the dash and the previous owner’s work and we start with the wide shots.
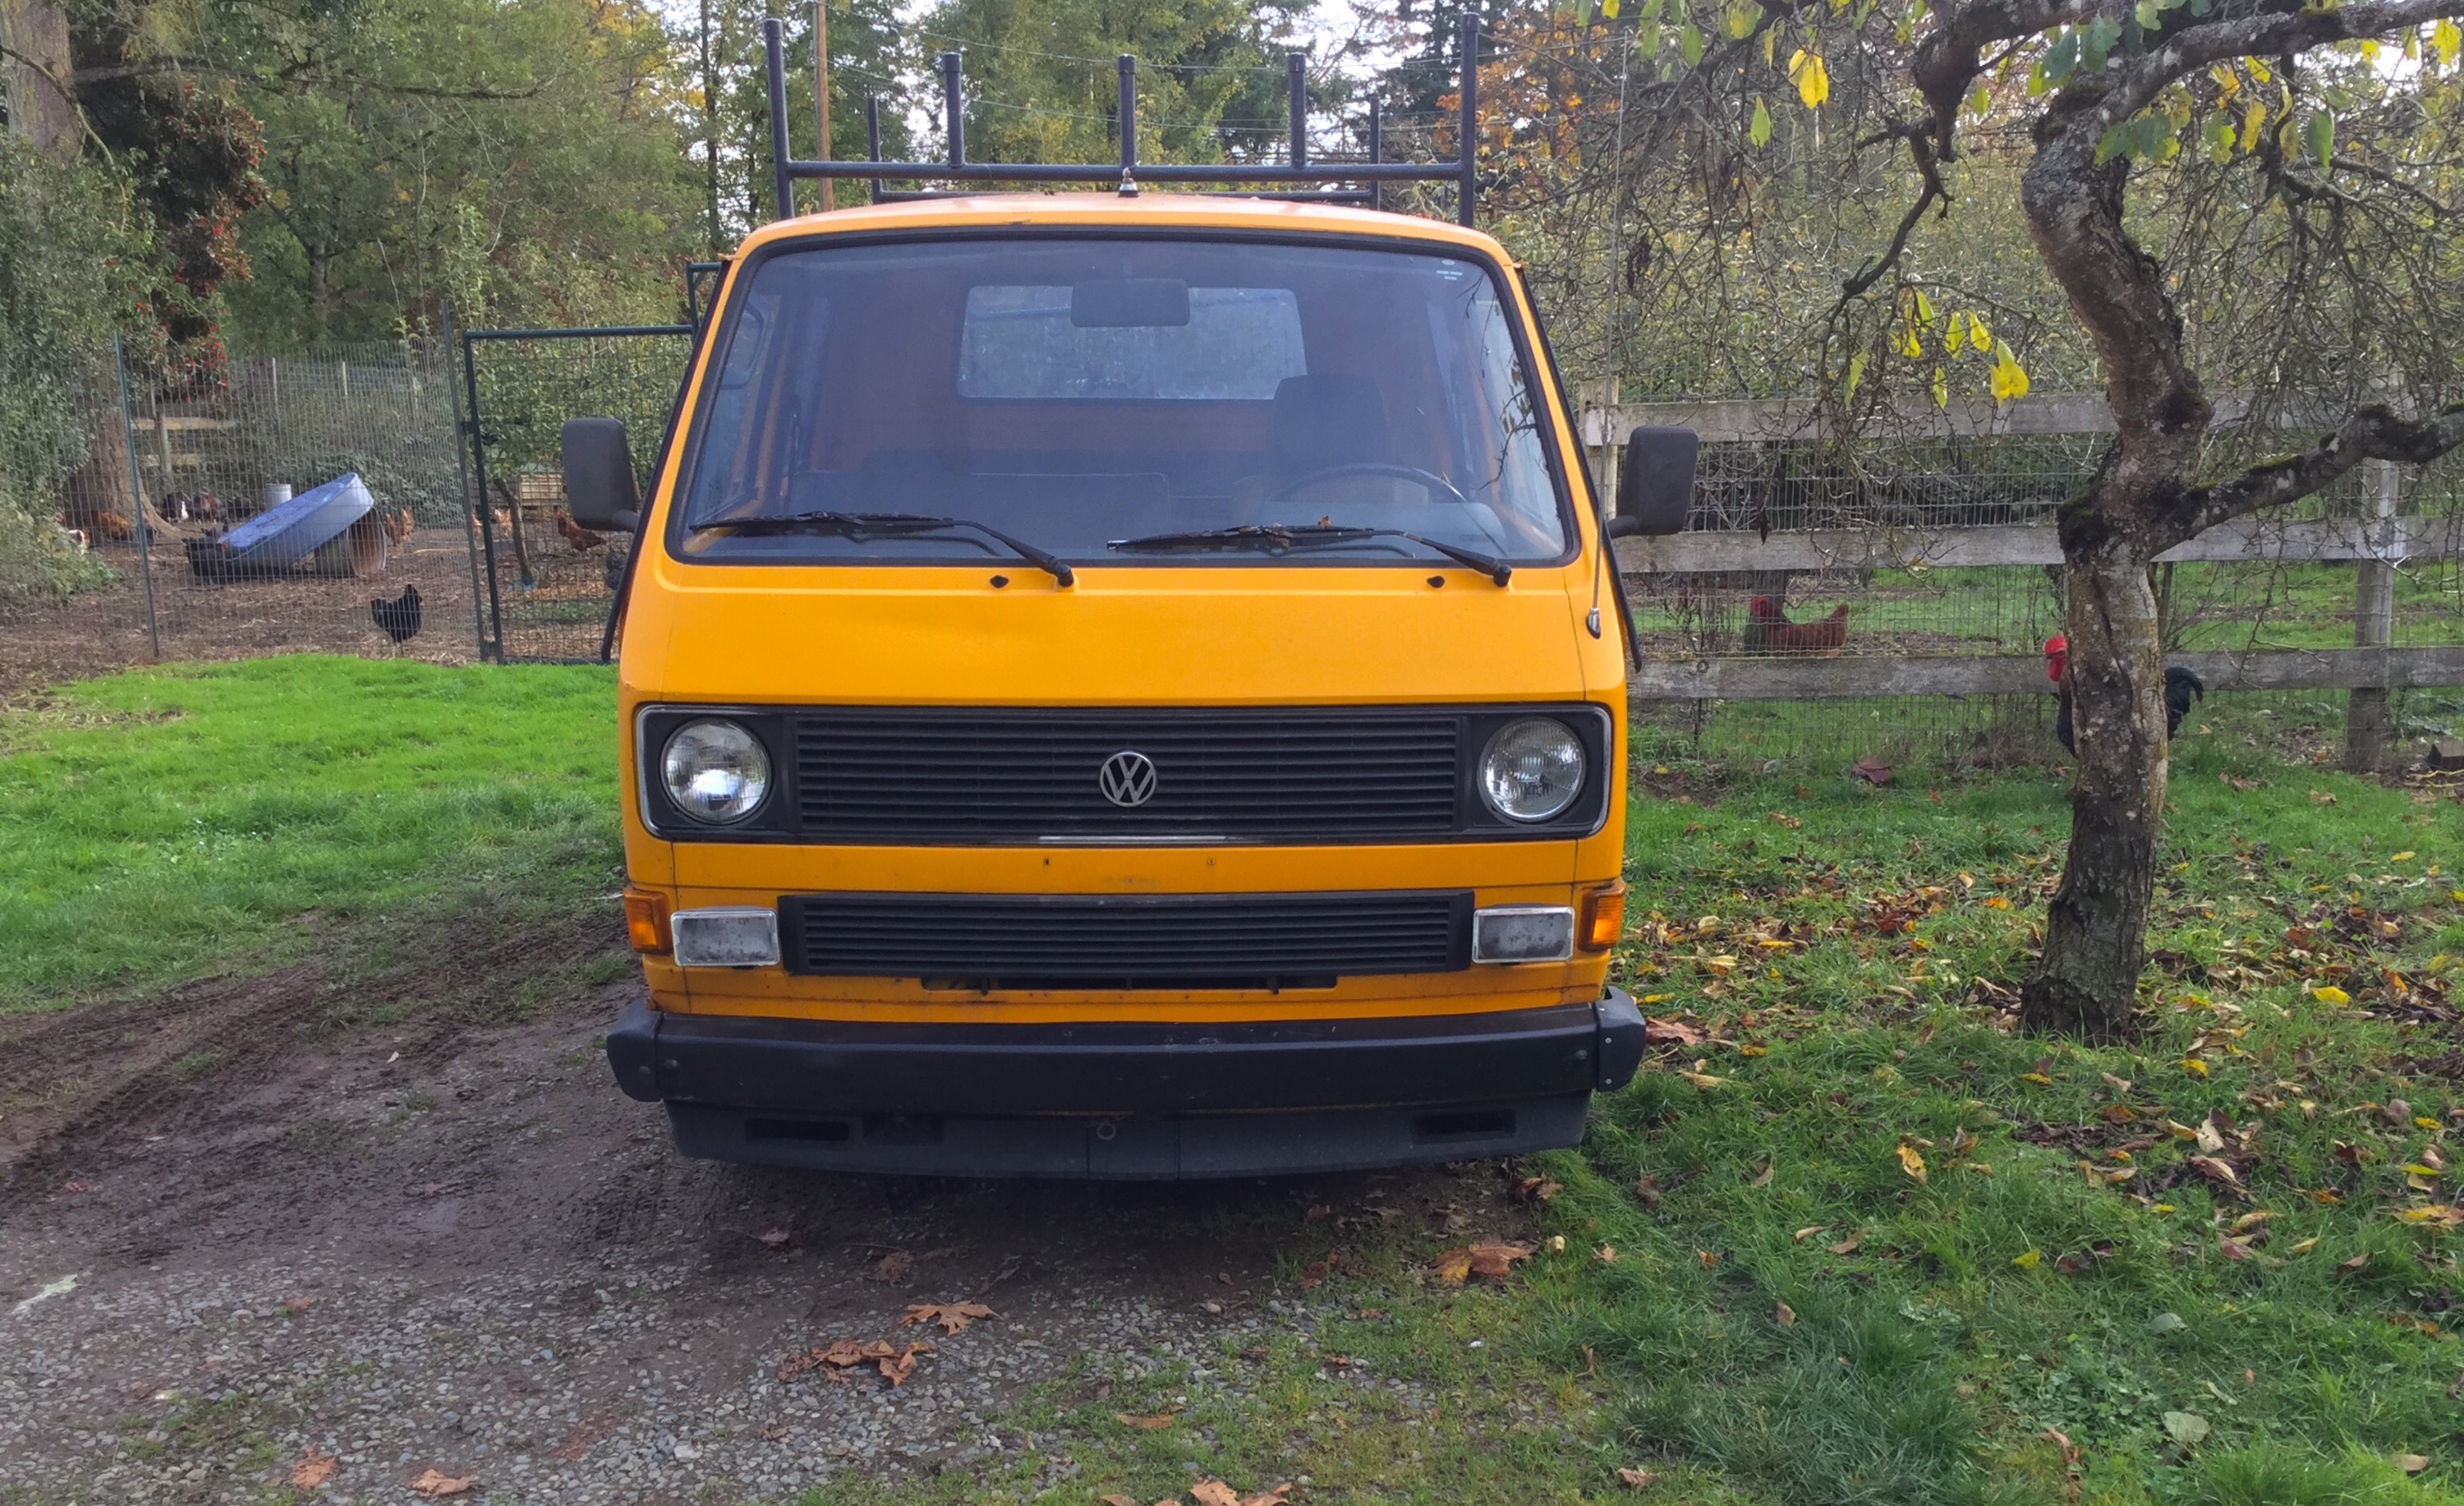

You can see it’s a bit rough around the edges. That rack is bolted to the roof, previous owner was a plumber. Not that there is anything wrong with that.
Fixed vent windows. 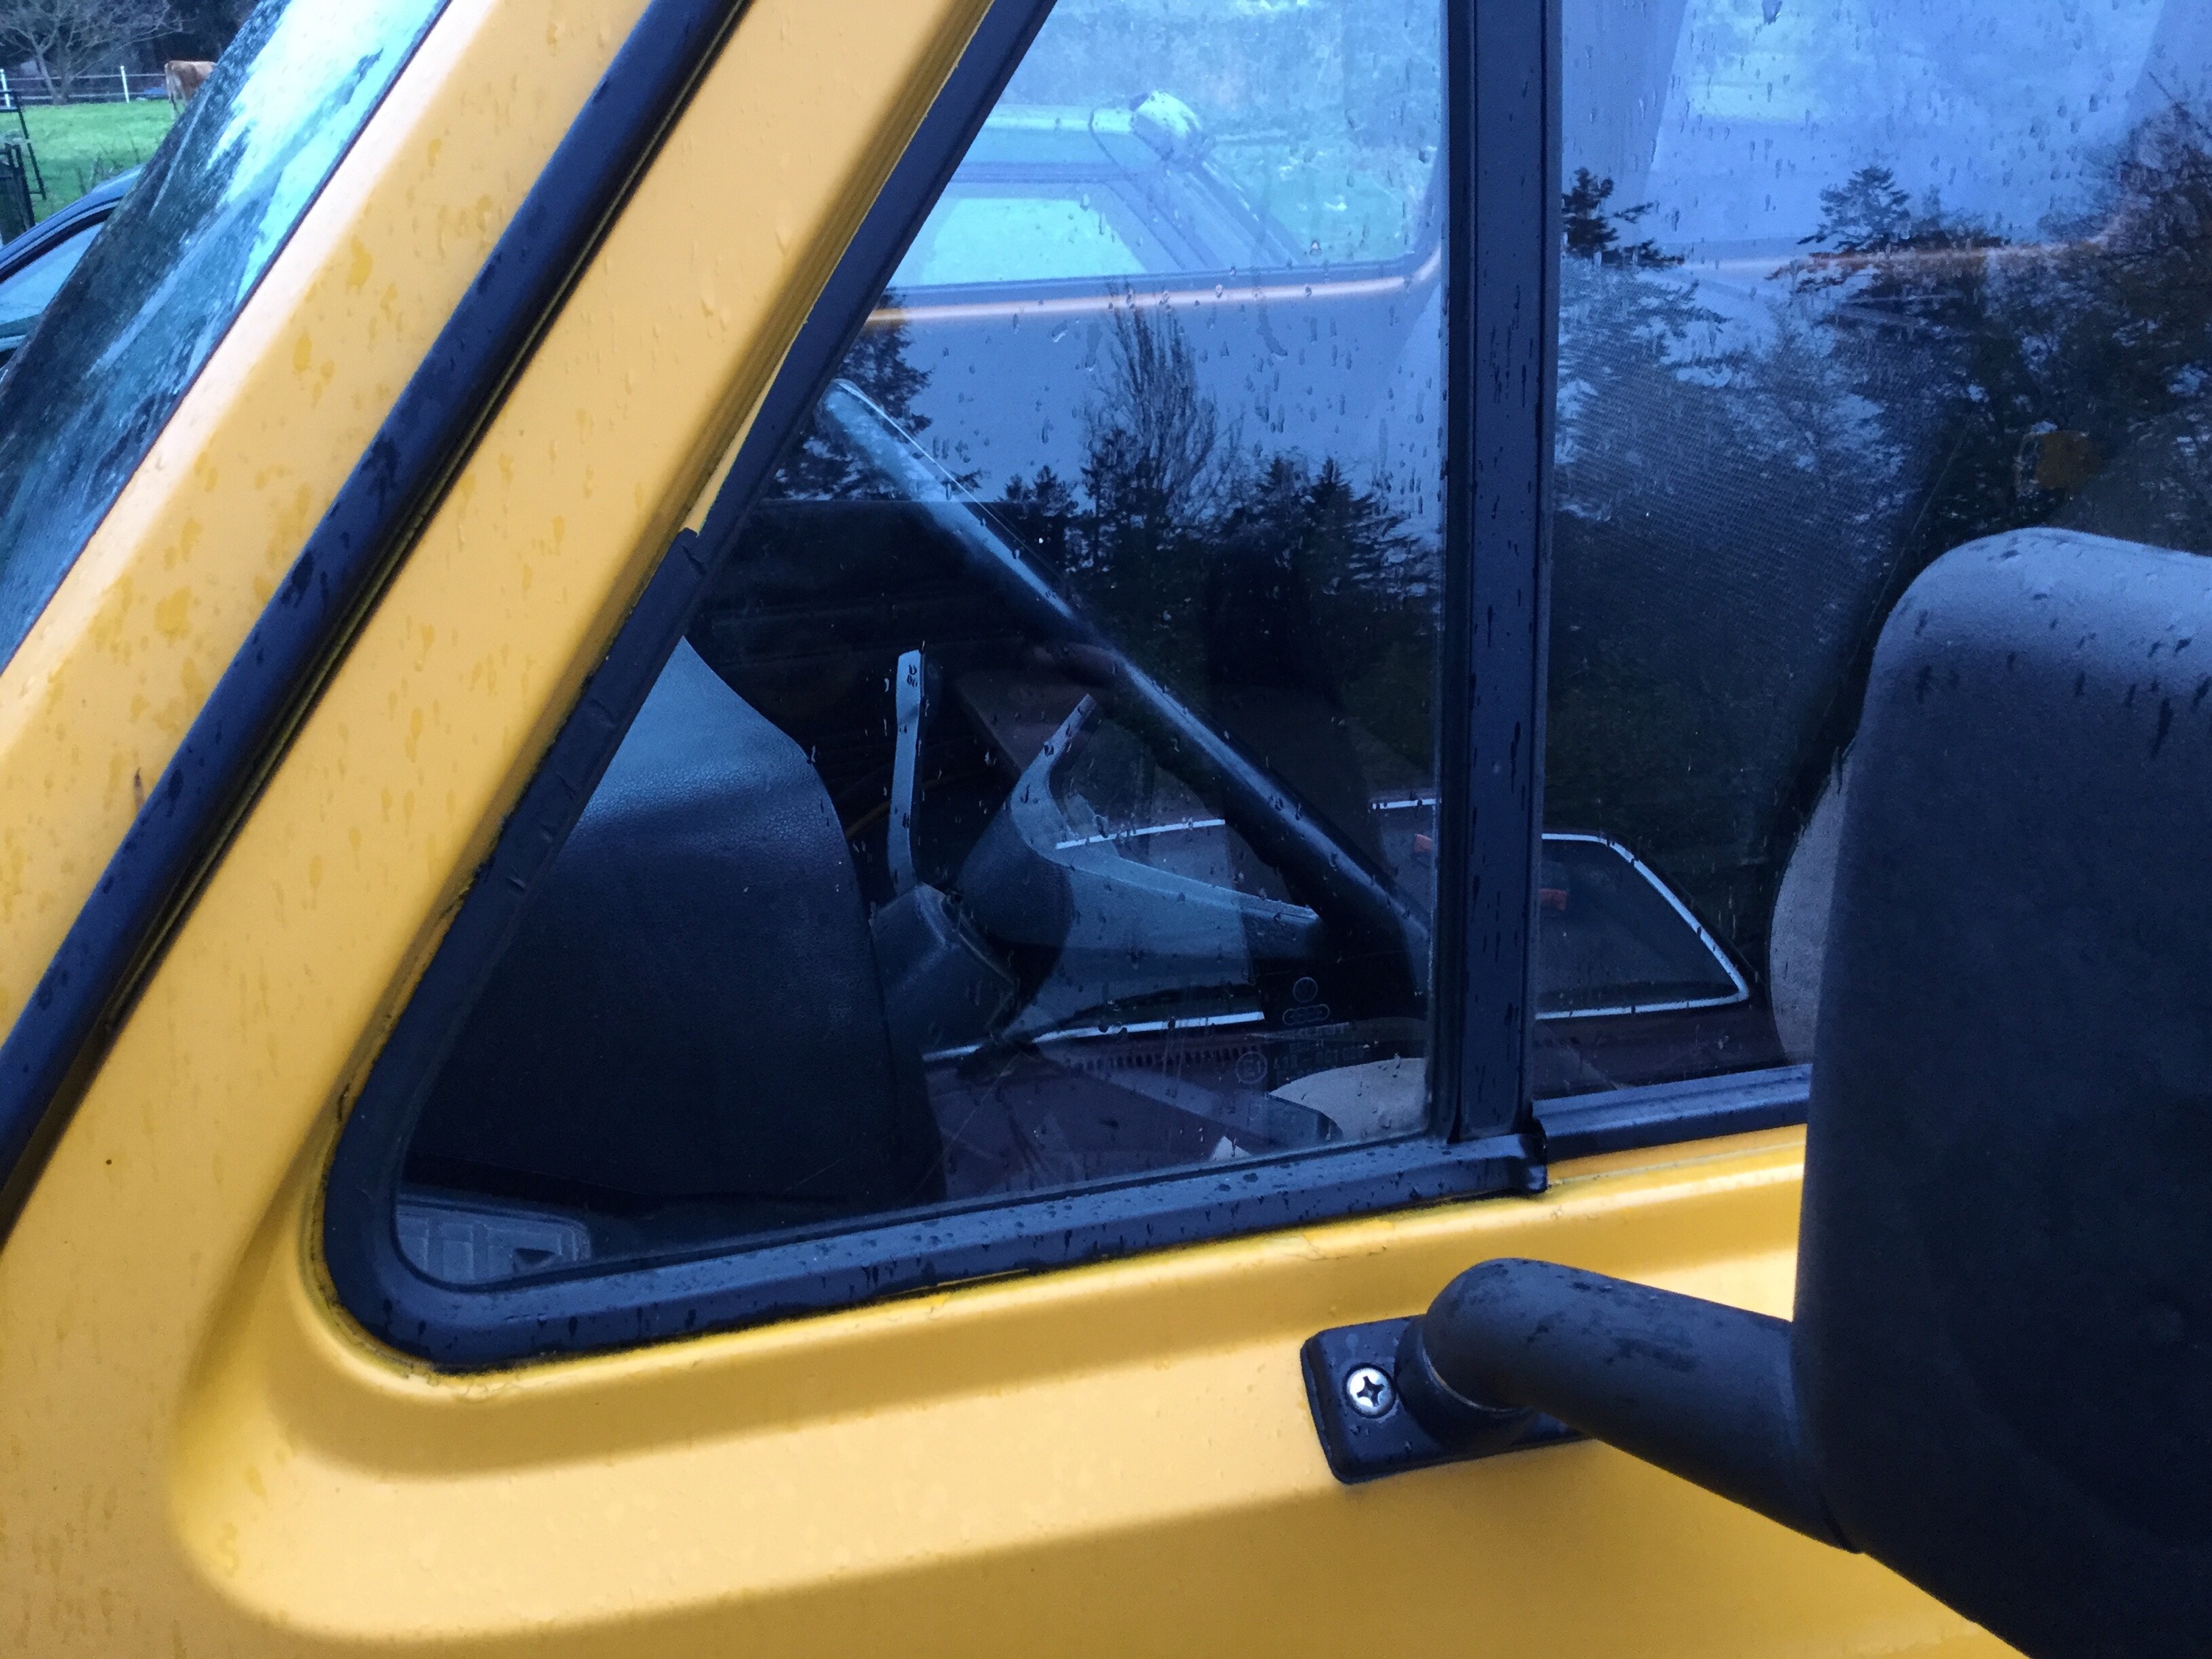
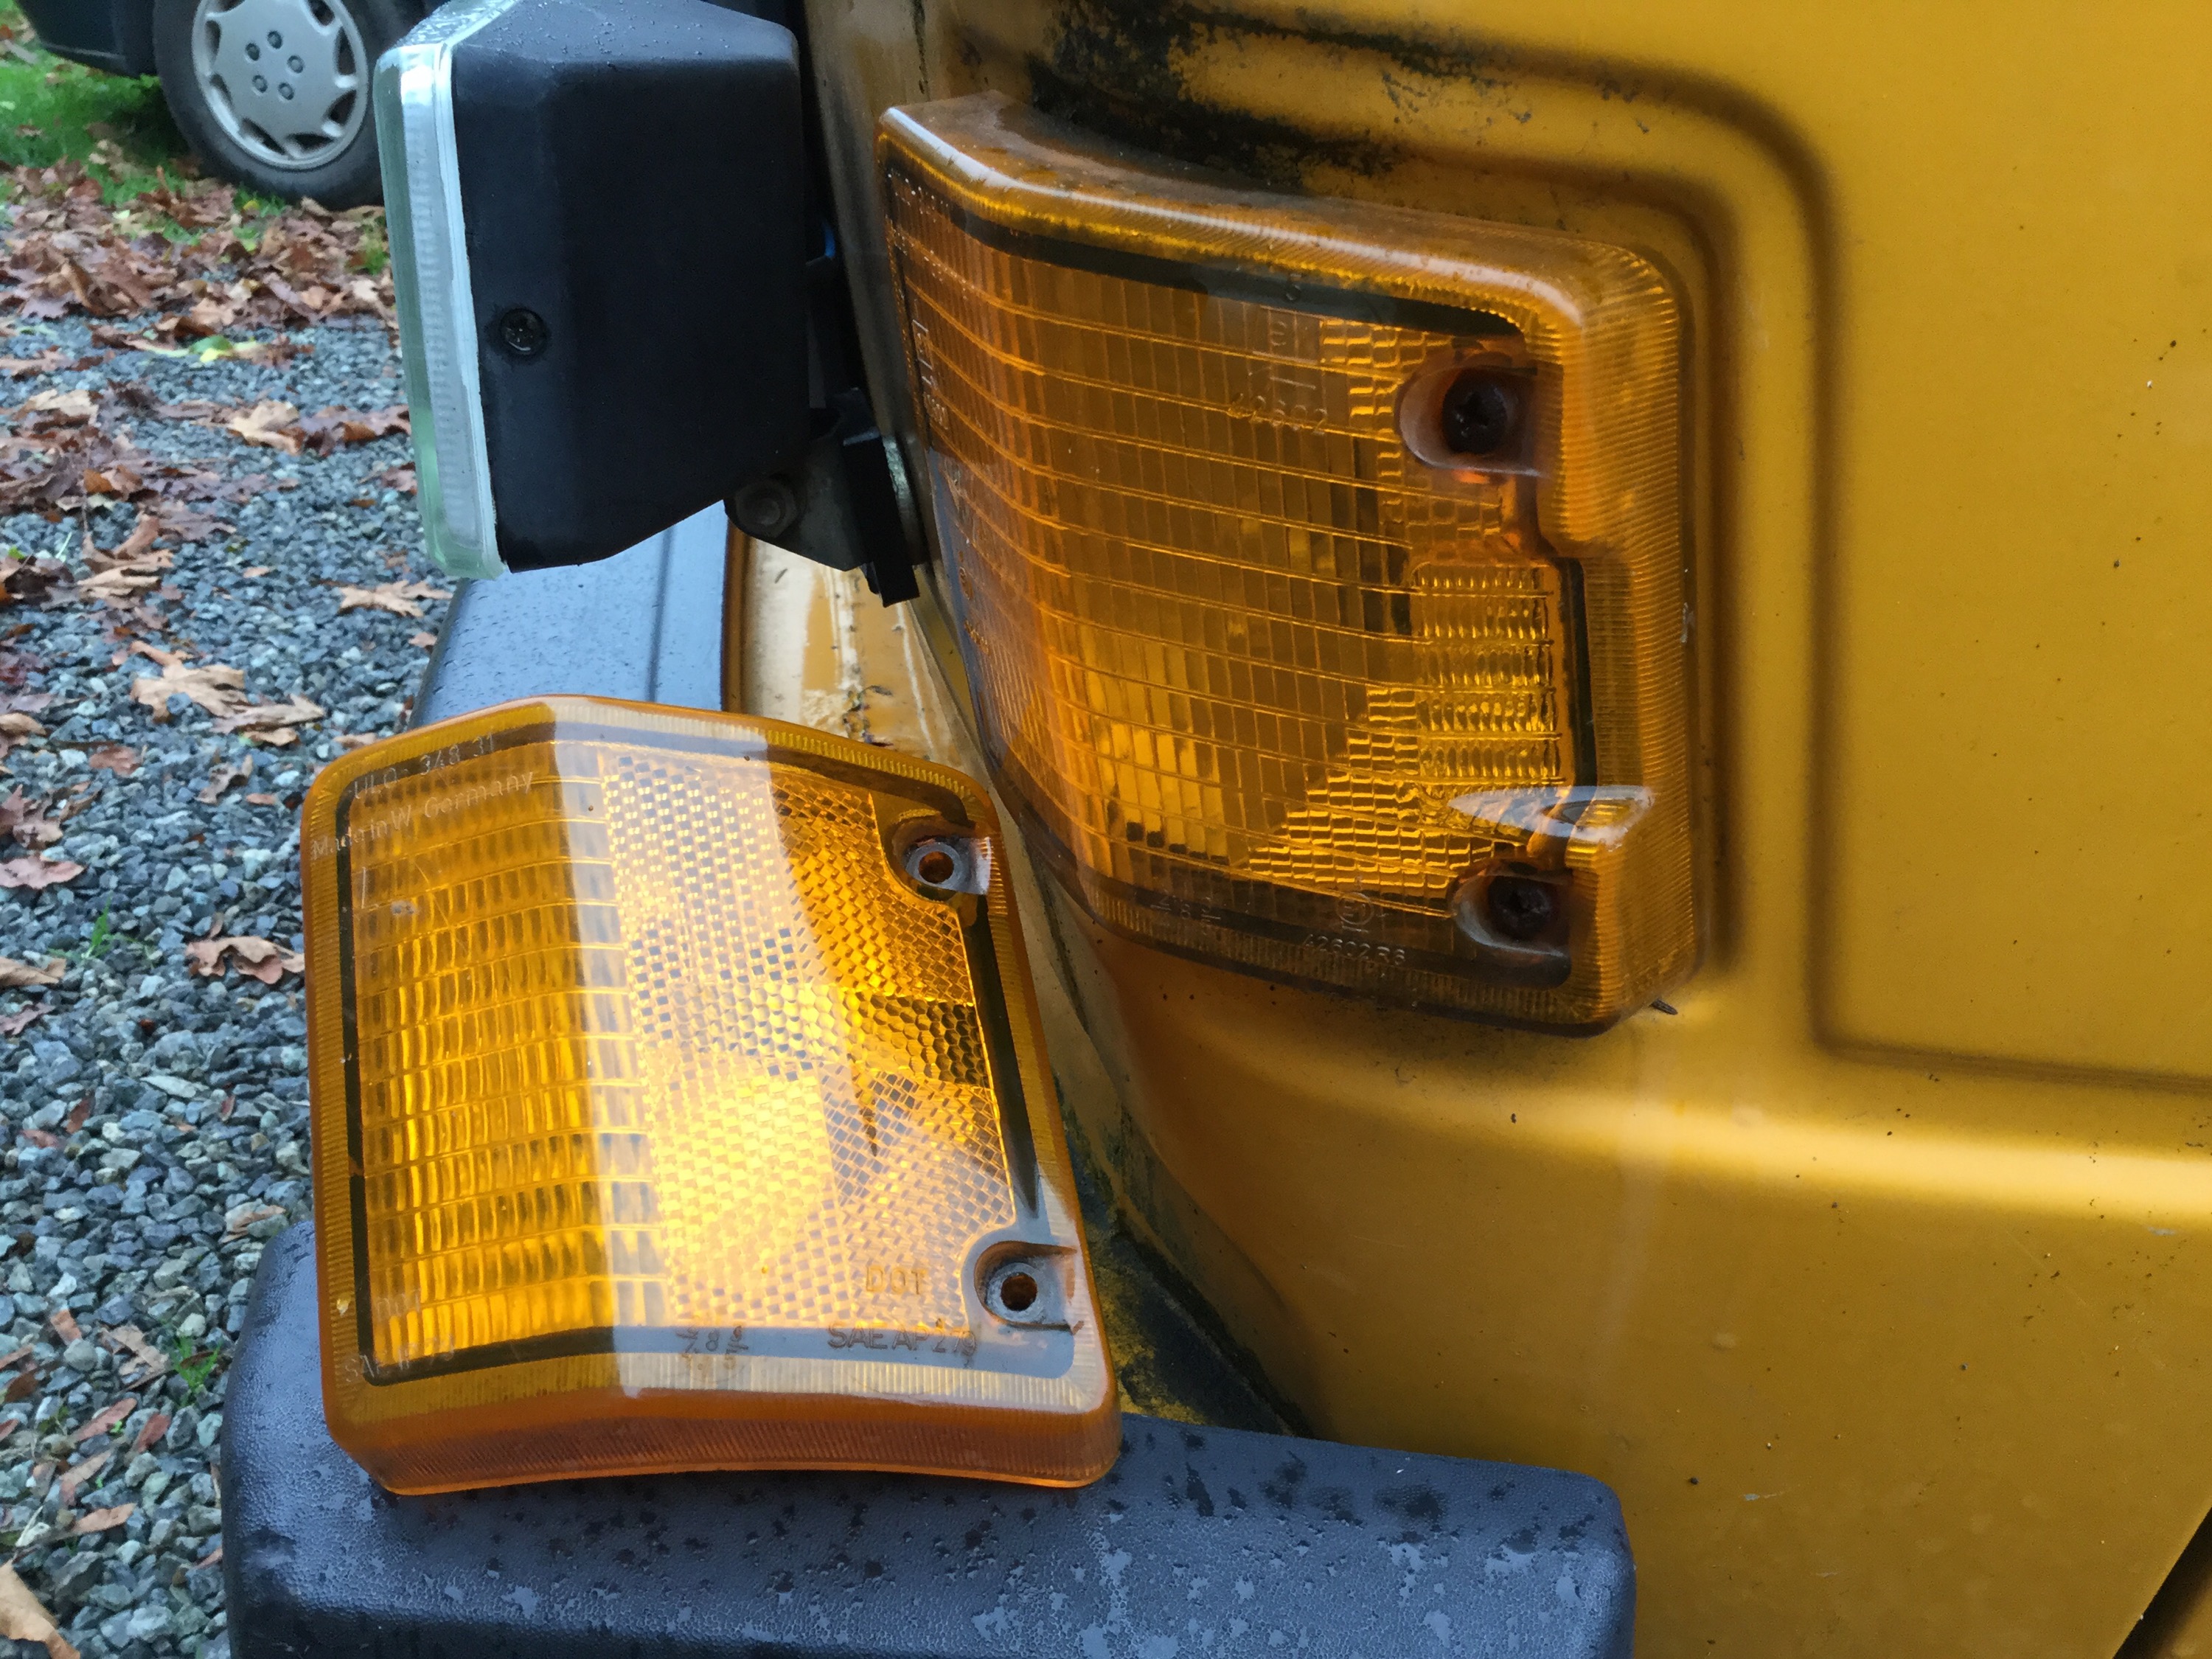
Front turn signal lenses slightly different.
Spartan dash. No padding, the skinny steering wheel with small centre section, no odometer, not even a clock. No handbrake or brake failure warning lights above headlight switch. Rear defogger switch added by previous owner to switch those ugly auxiliary lights
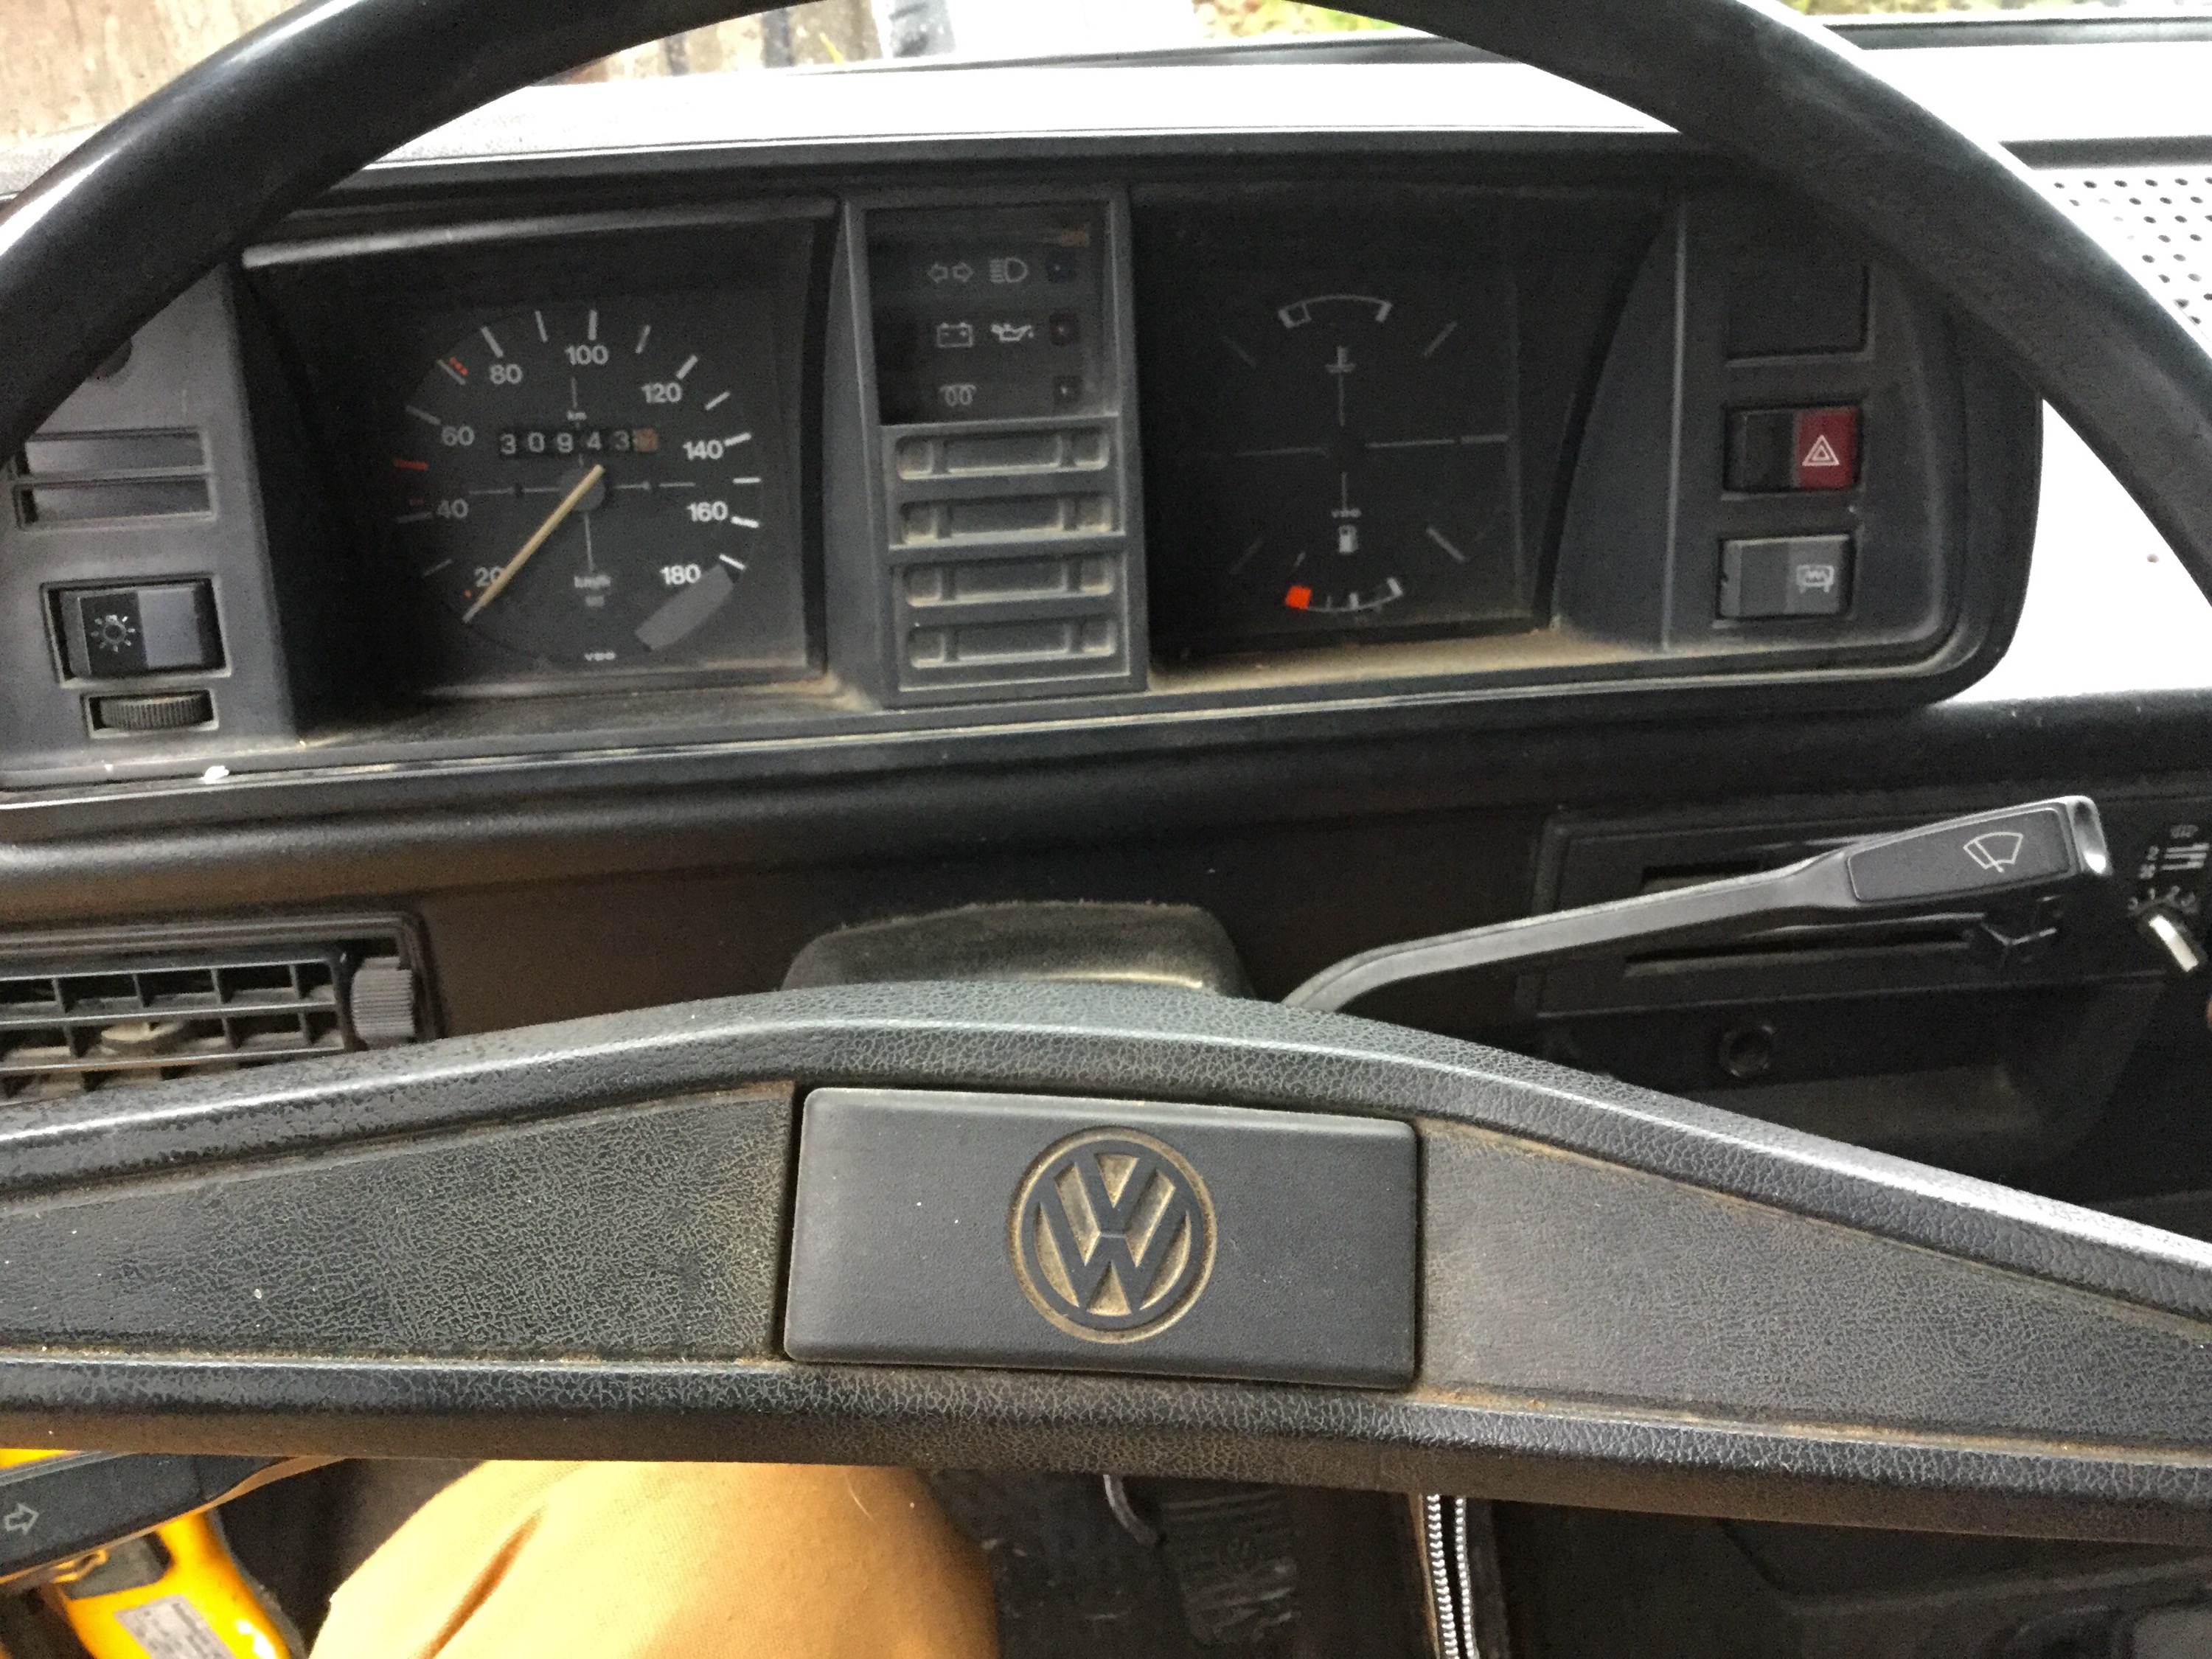
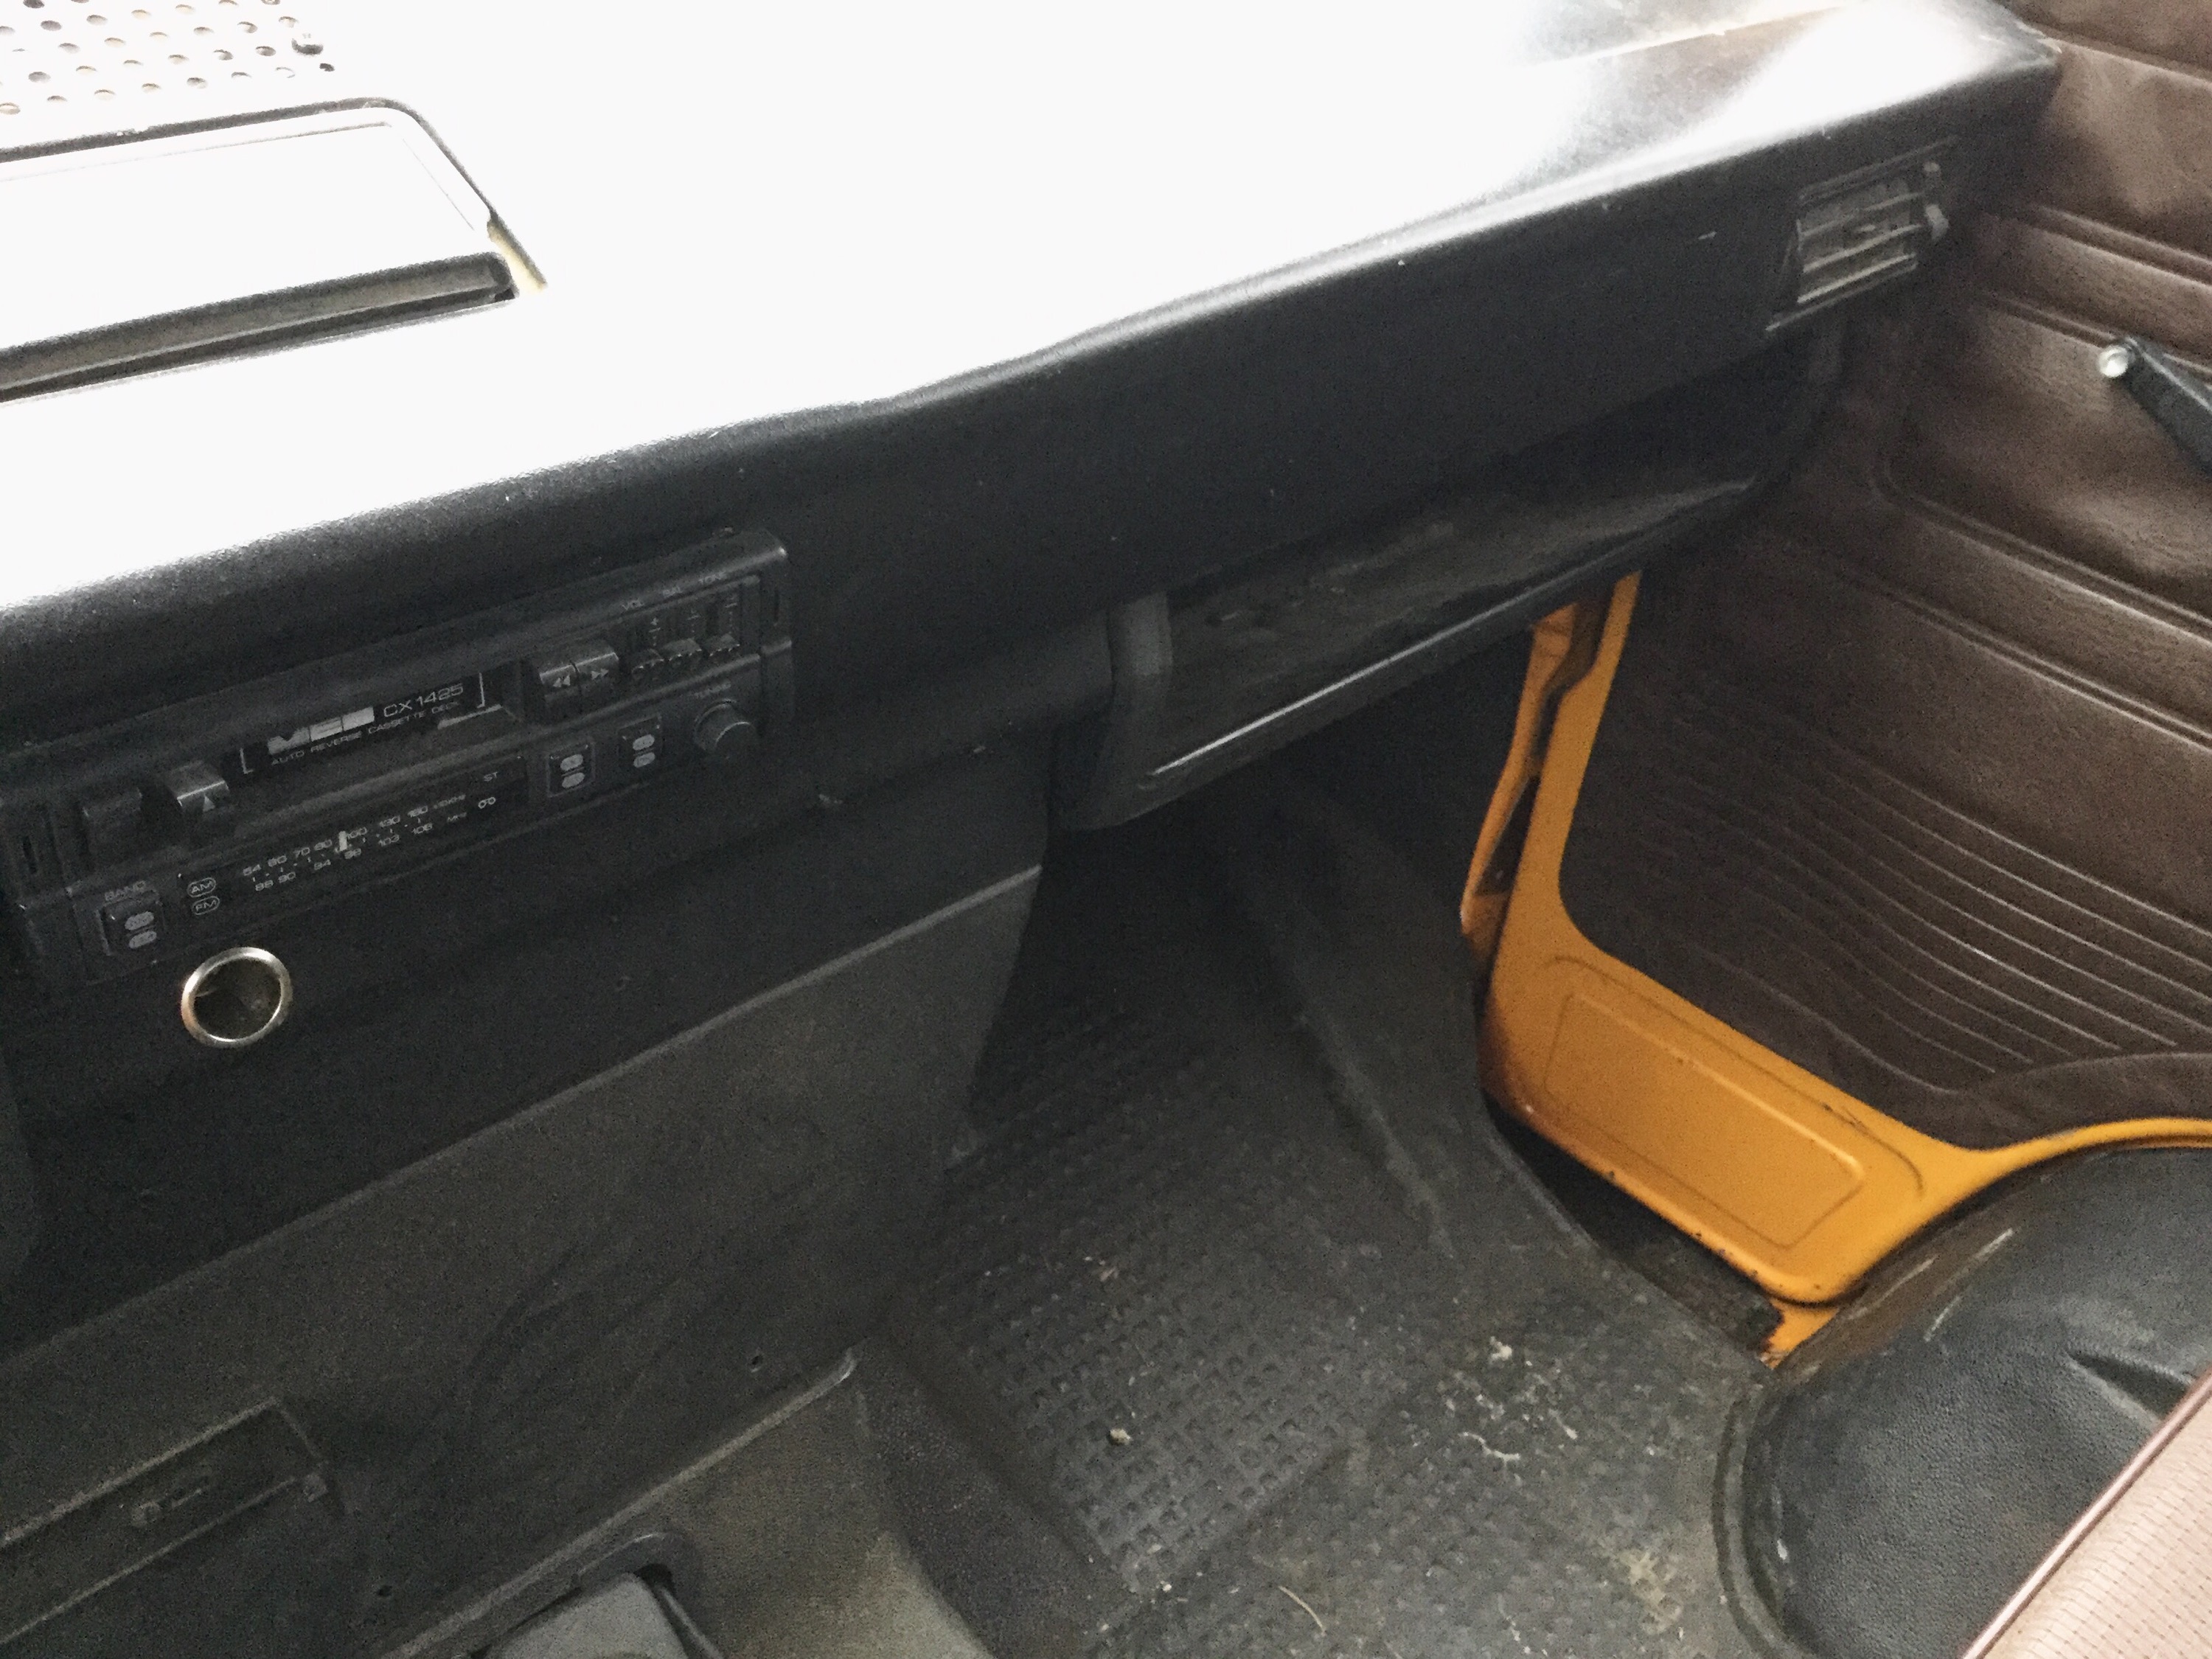
Tray instead of glovebox. Full rubber floor mat in great shape. Funny how the rubber floor mat is so sought after. No it’s not funny, so much better than carpet for most climates.
Yup, 5 speed. And first is low. 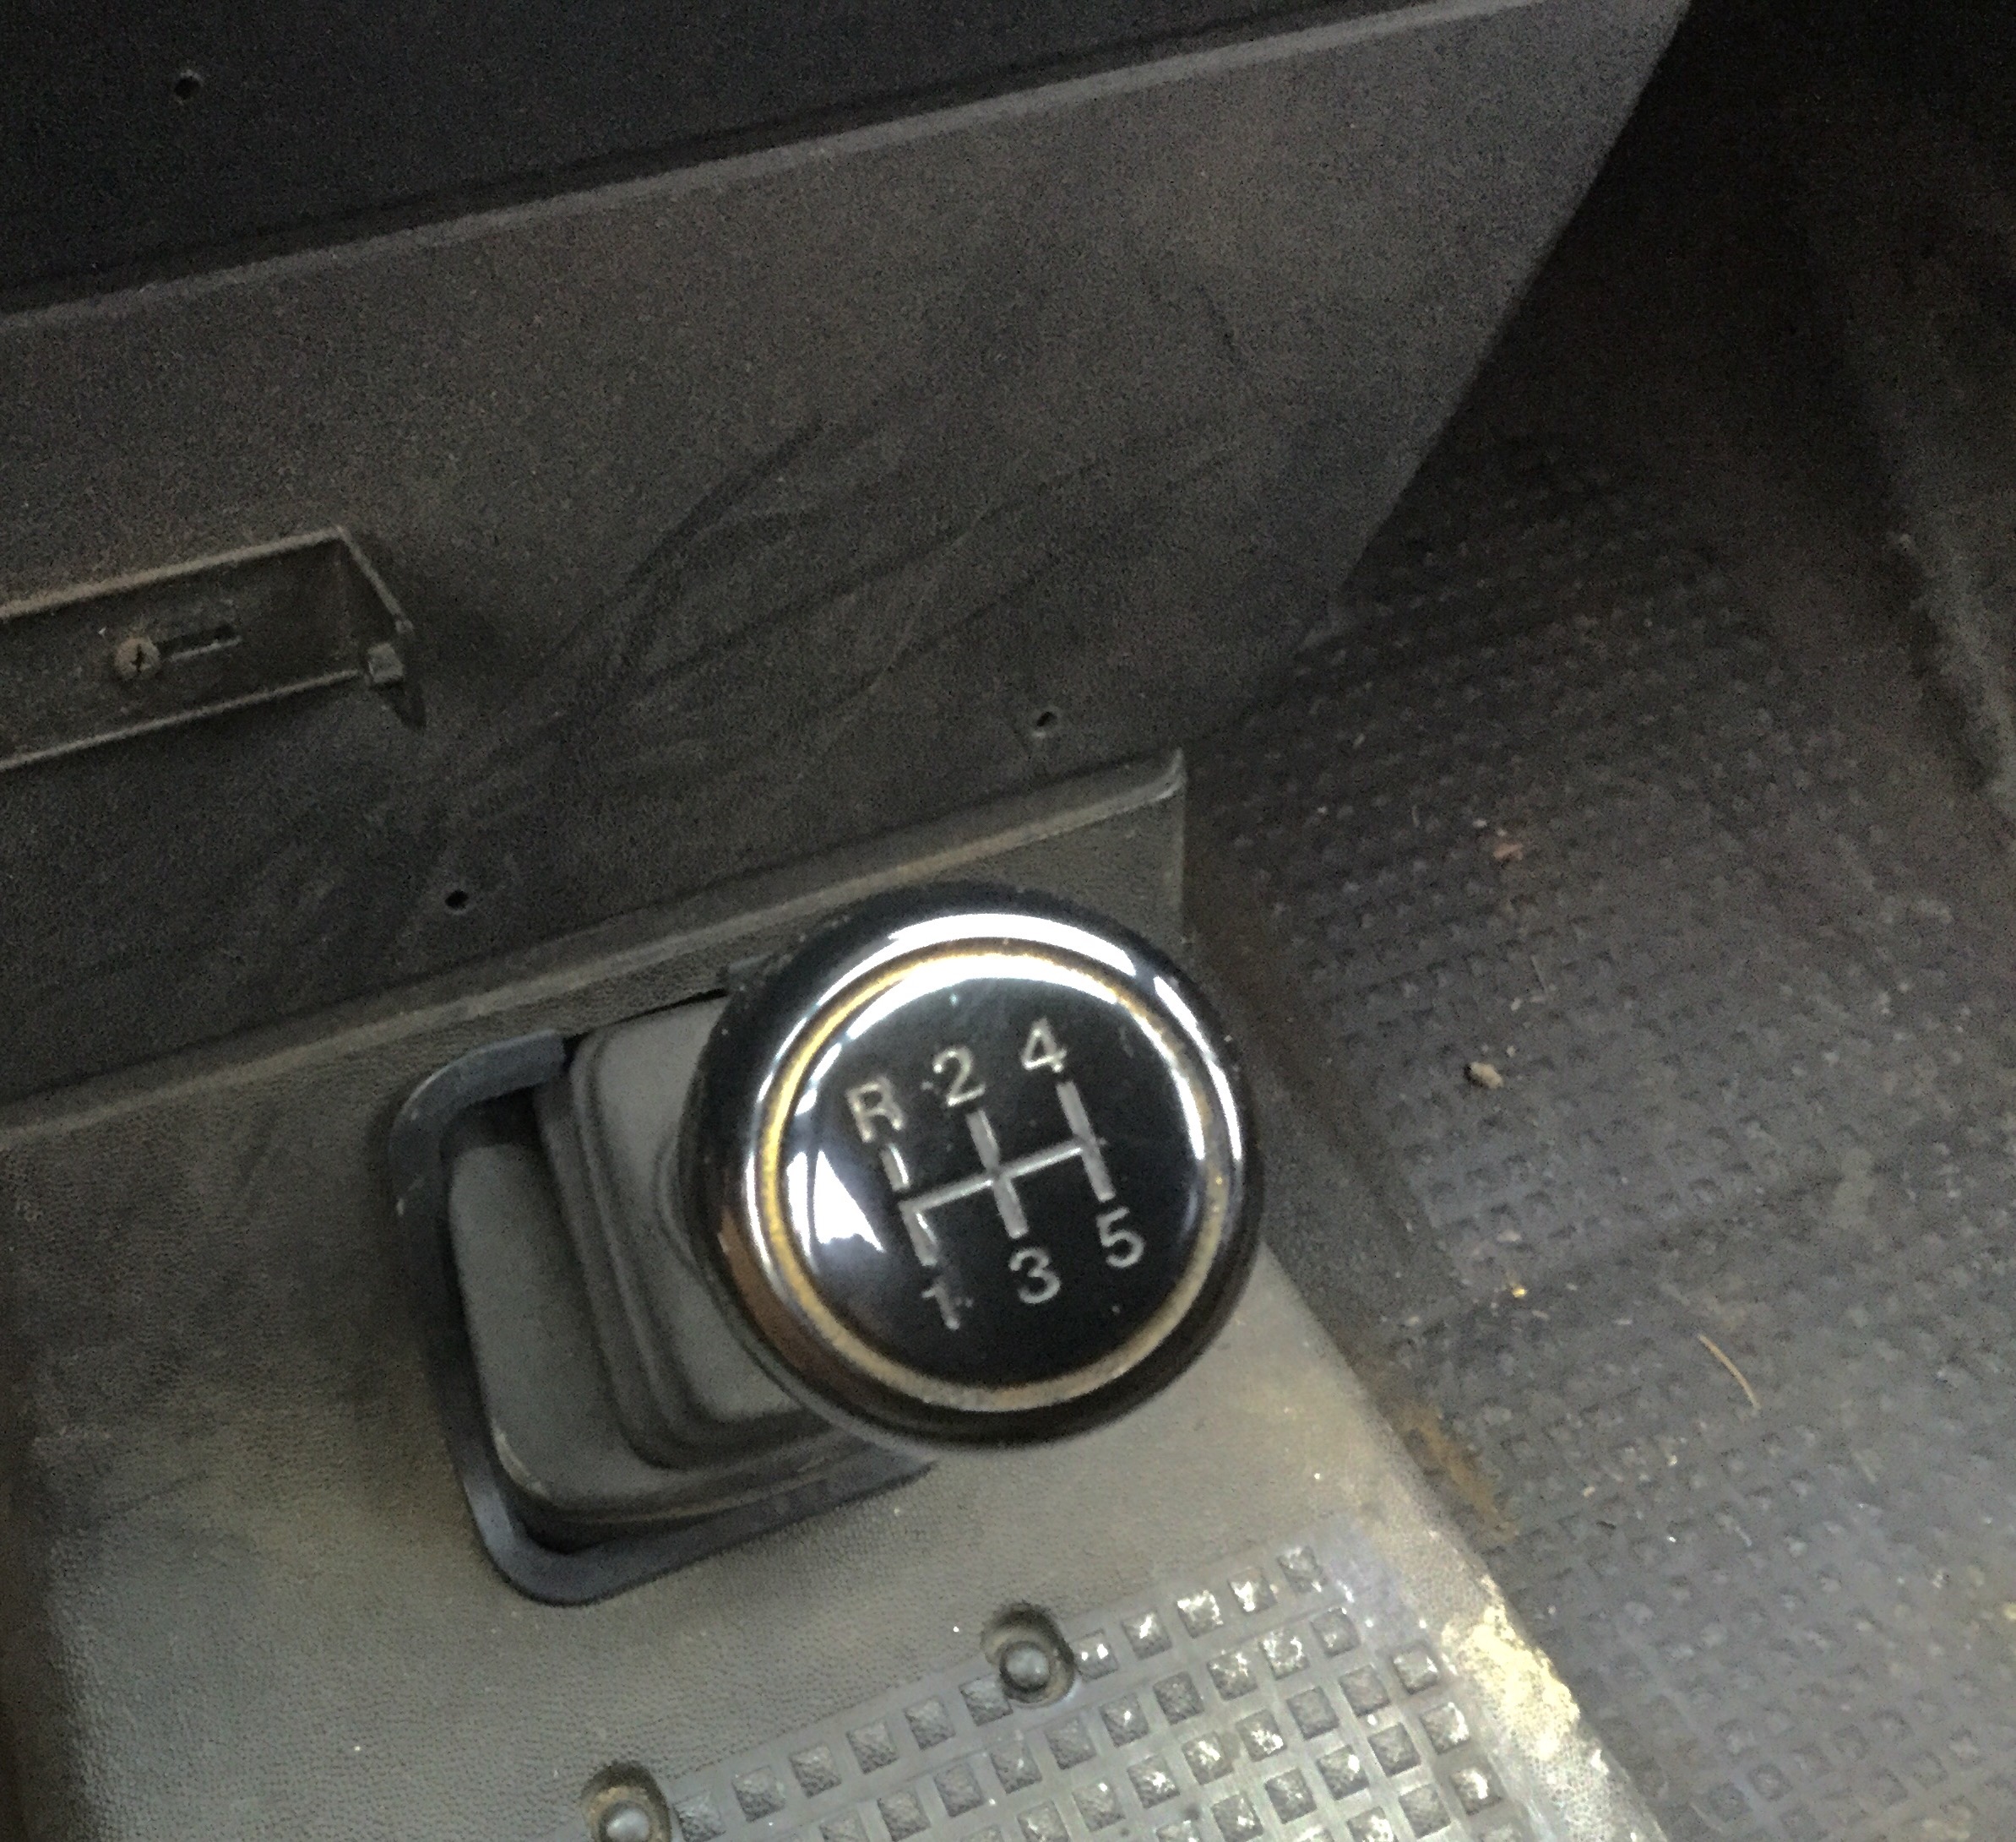
Double vinyl bench and replacement drivers seat.
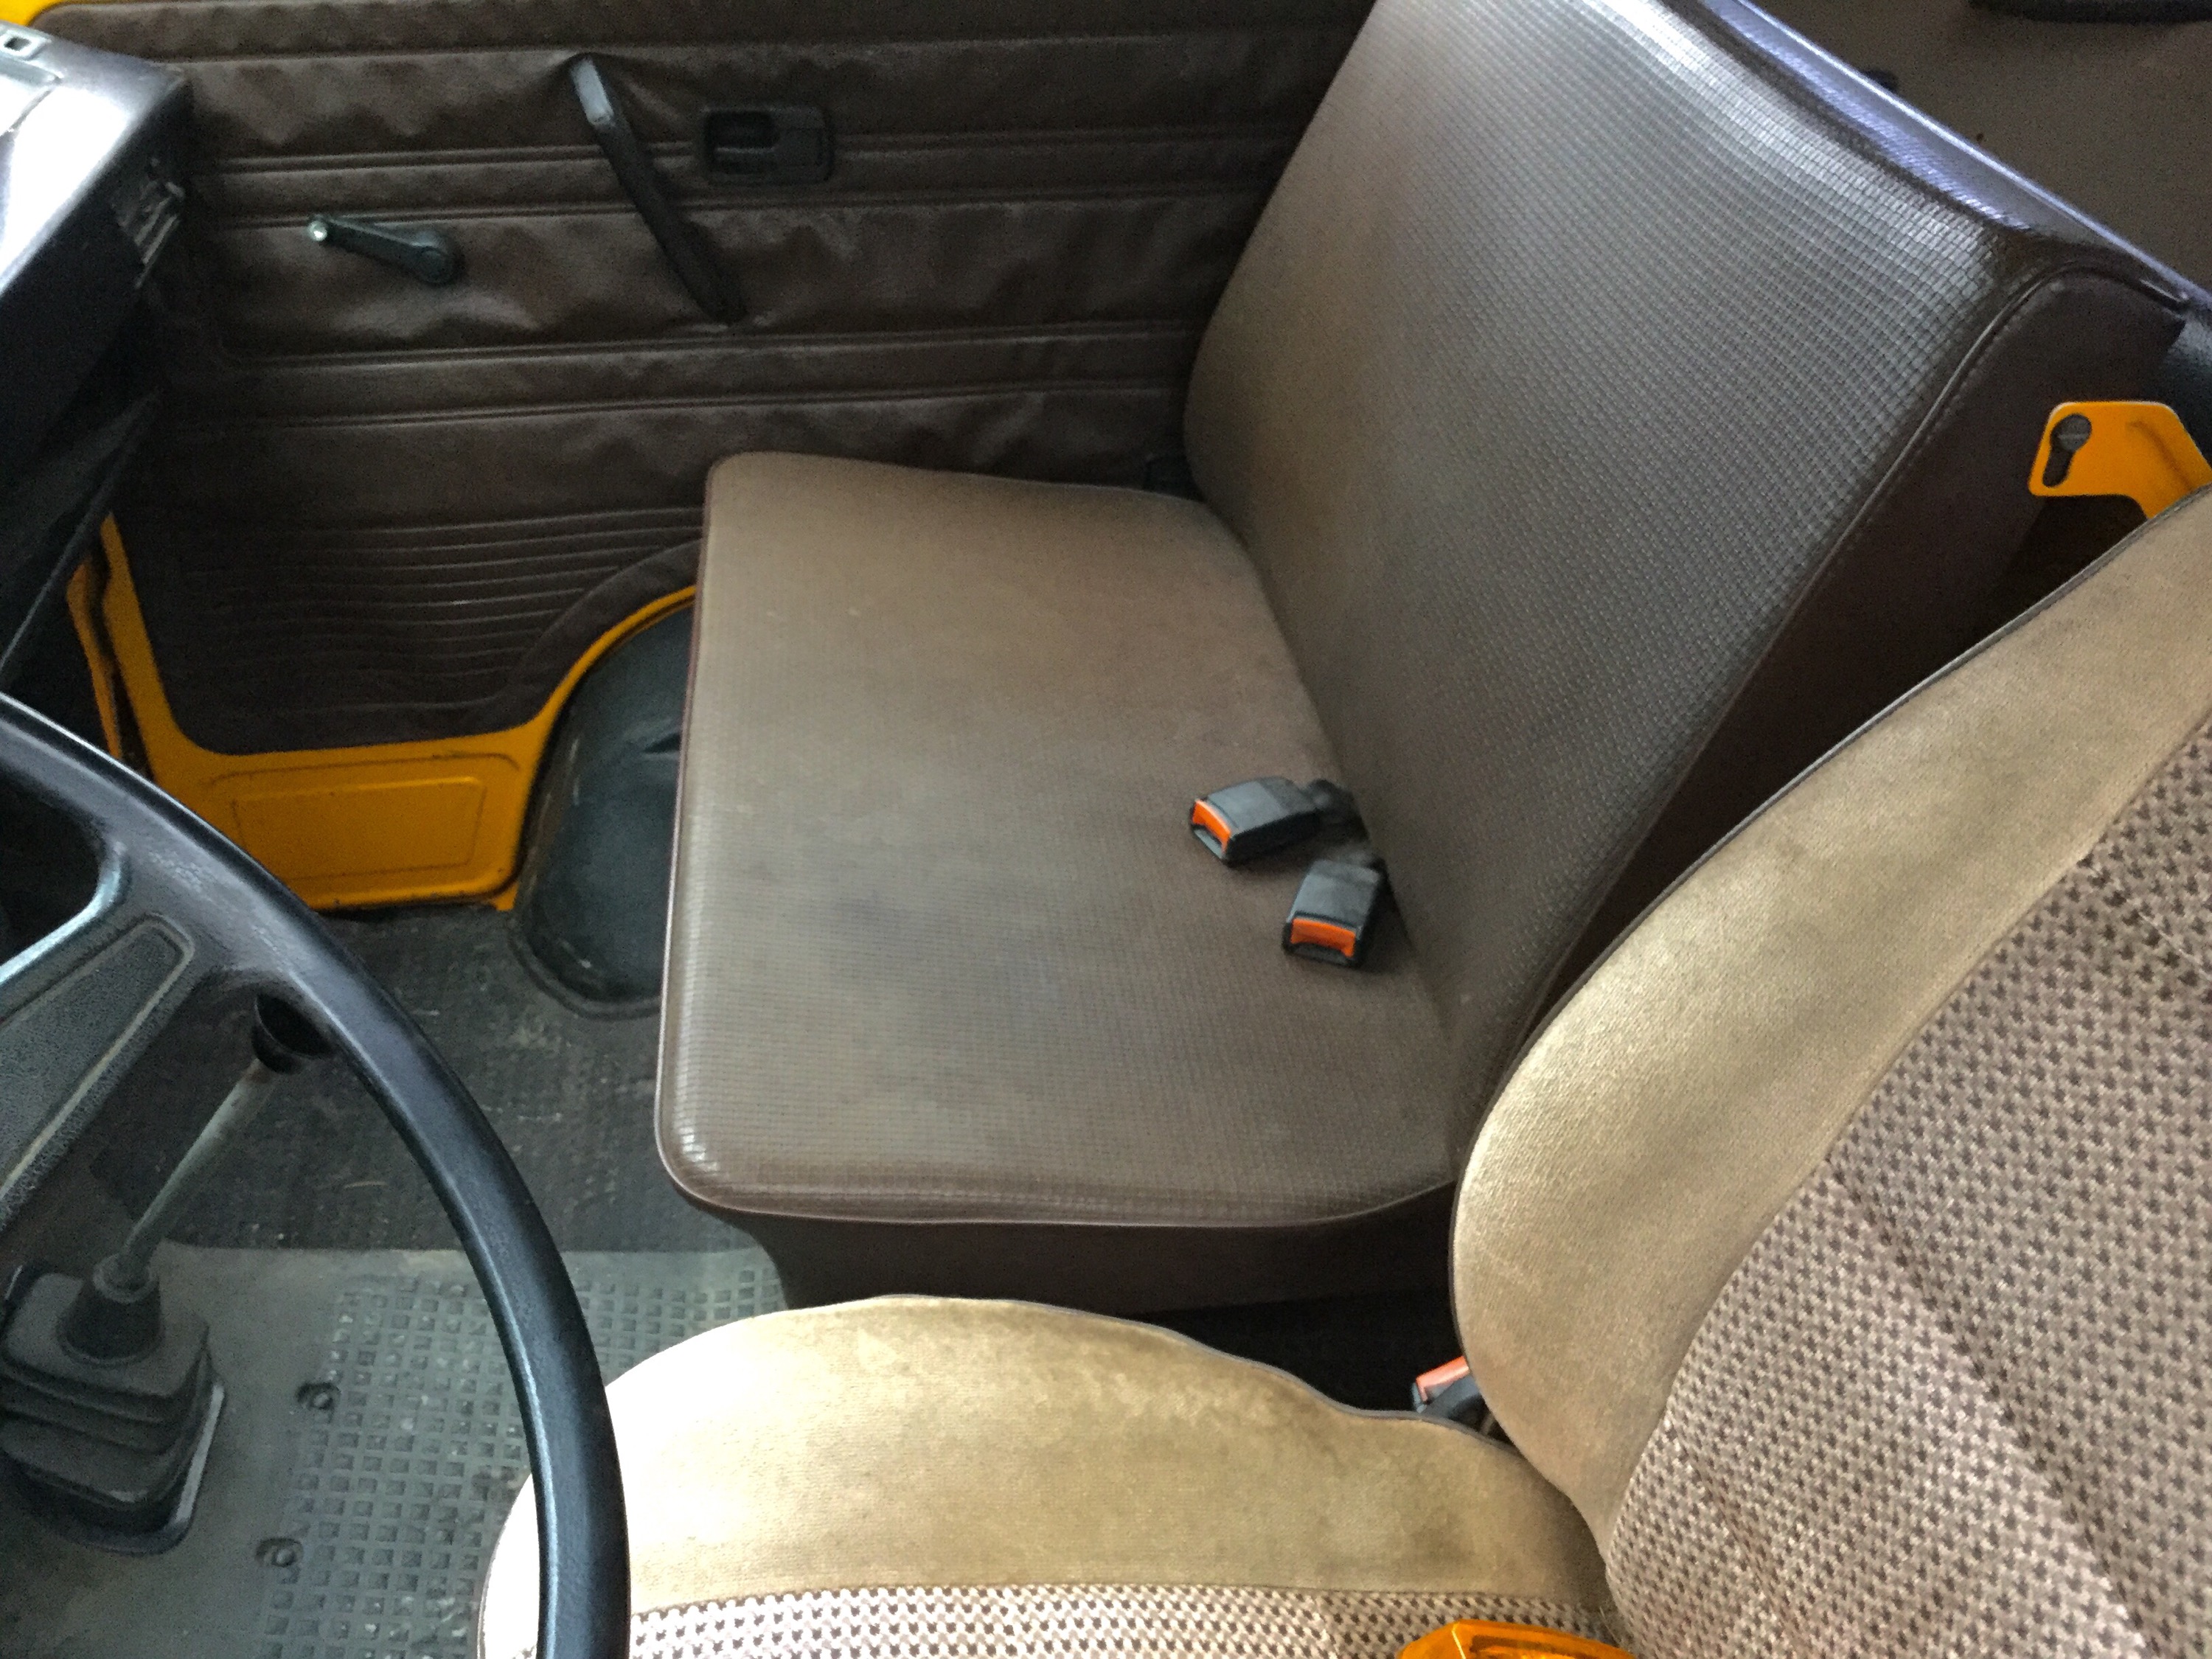
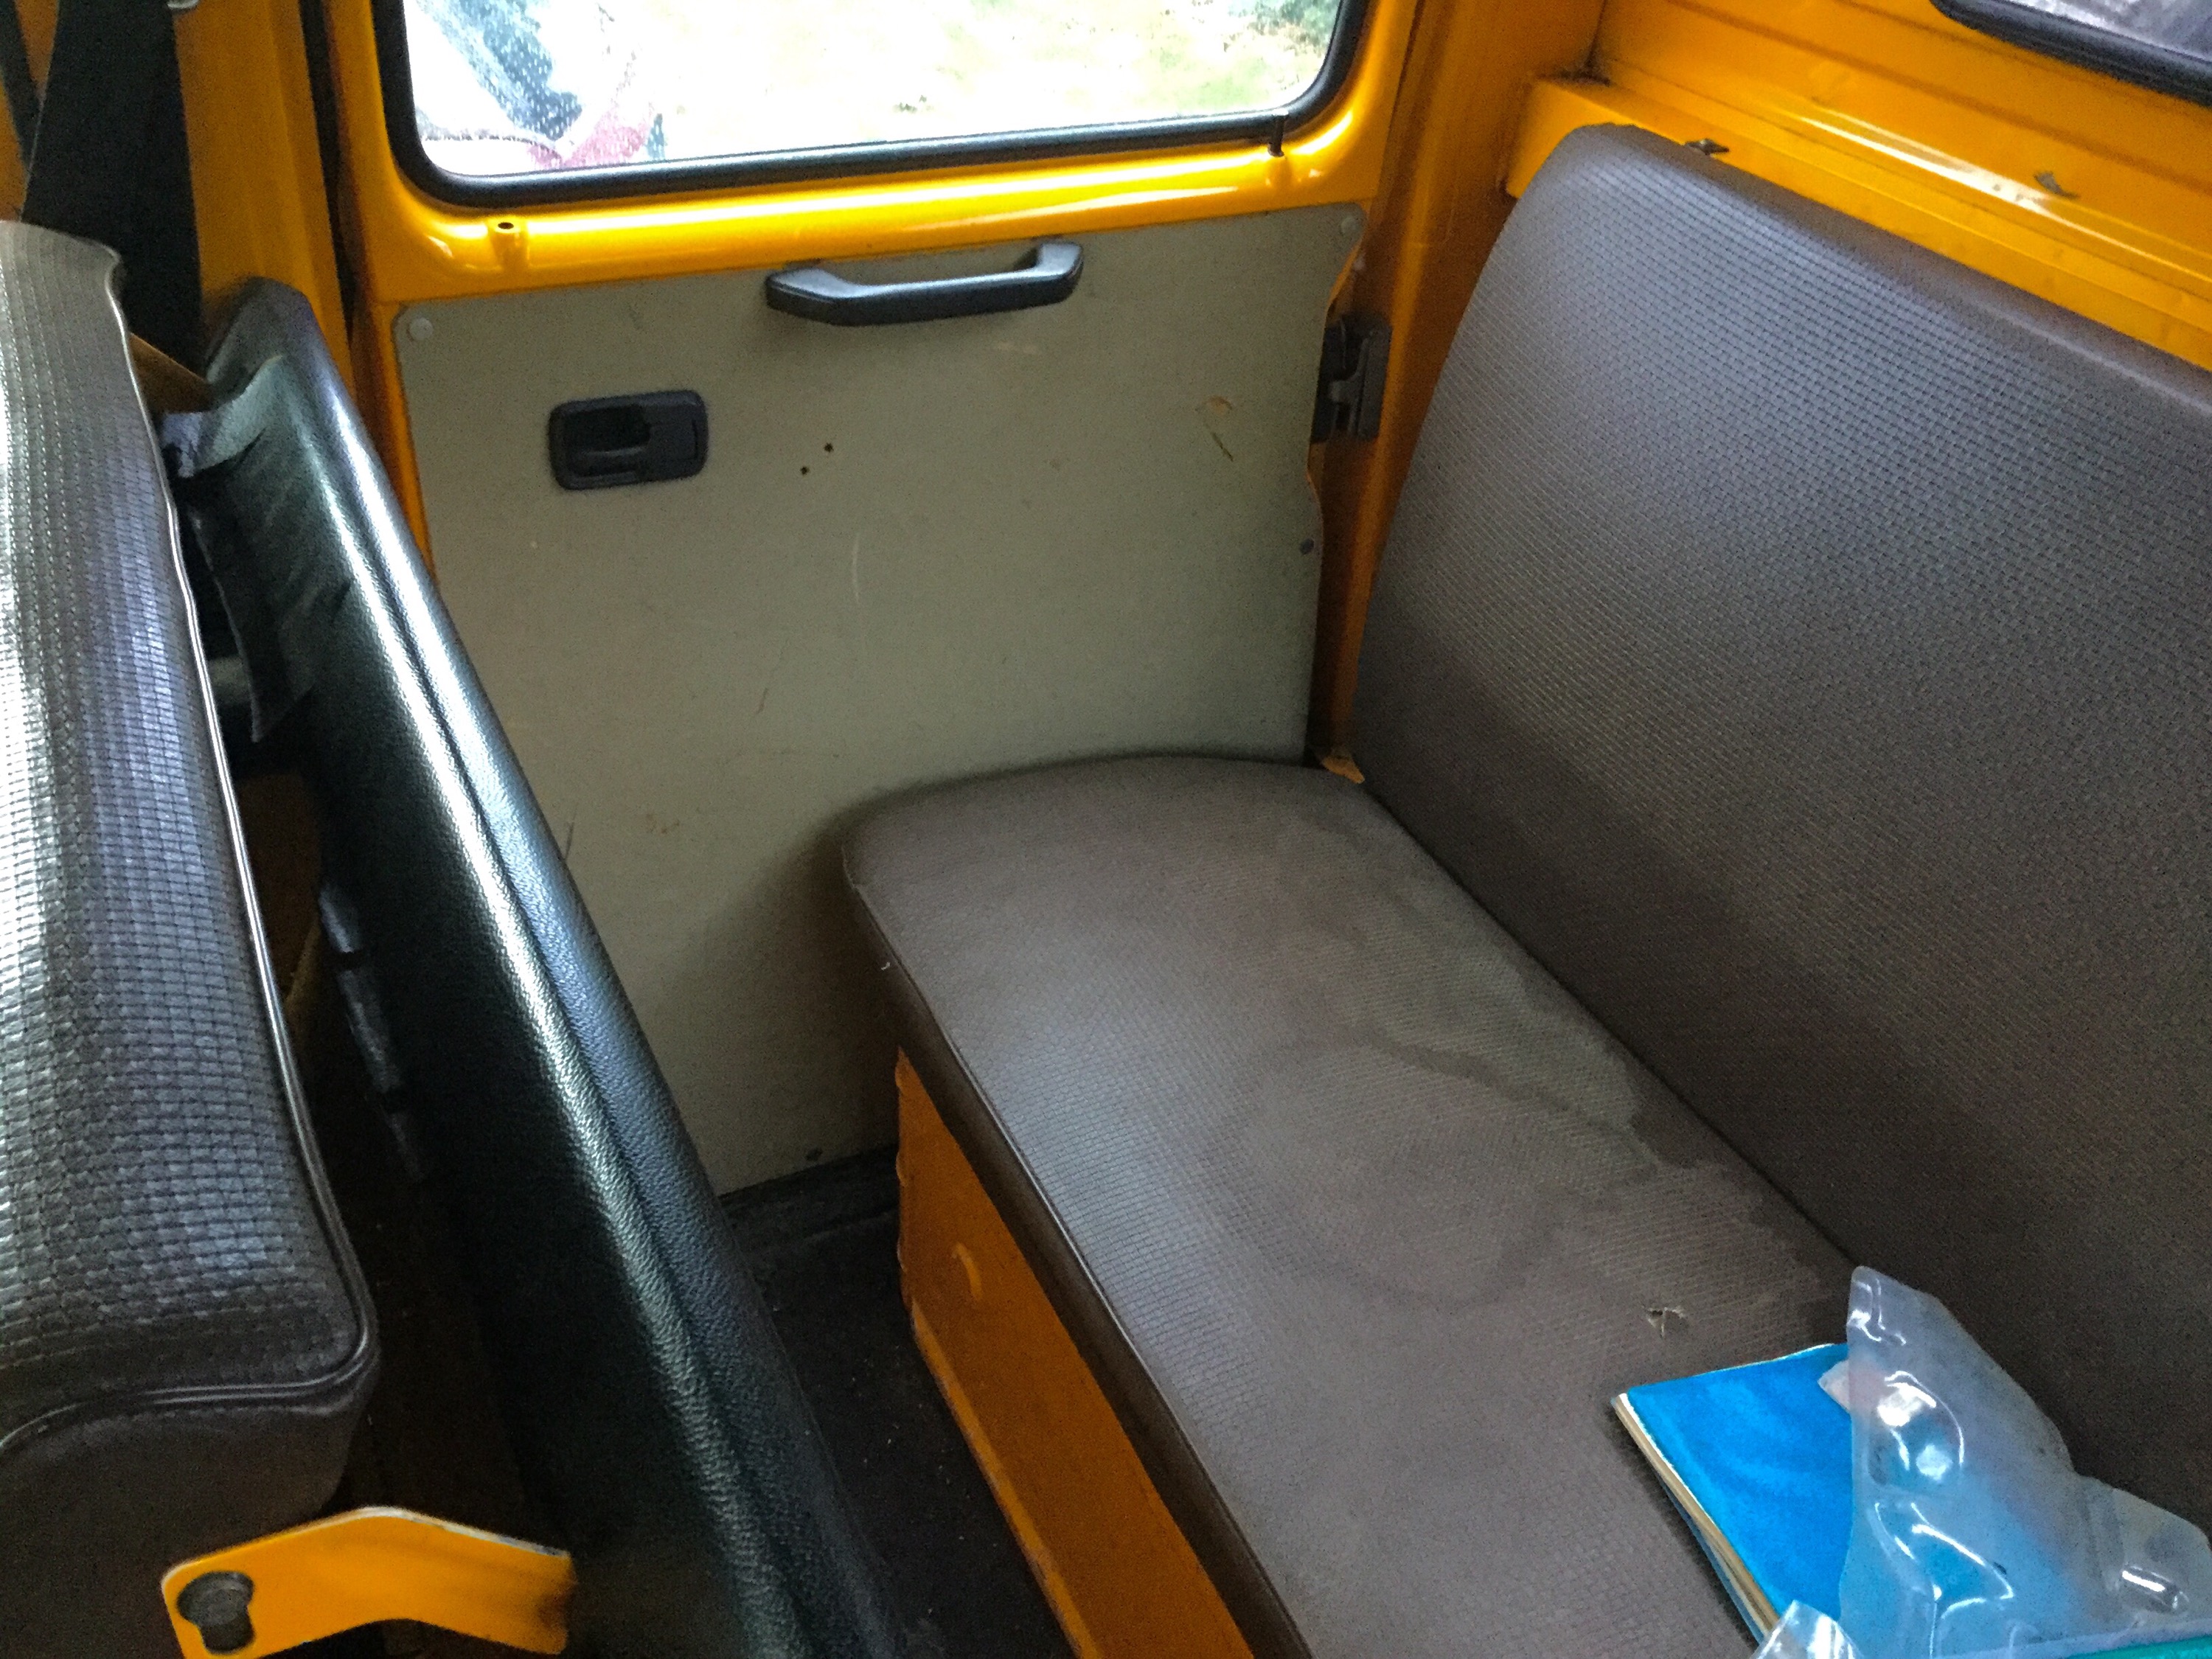
Very firm vinyl rear bench seat. And you have to sit up straight.
I’m deep into dash work and that will be subject of next part.
