Archive for category vanagon engine swaps
Vanagon – look what the cat dragged home
Posted by albell in vanagon, vanagon engine swaps, vanagon mods on November 24, 2013
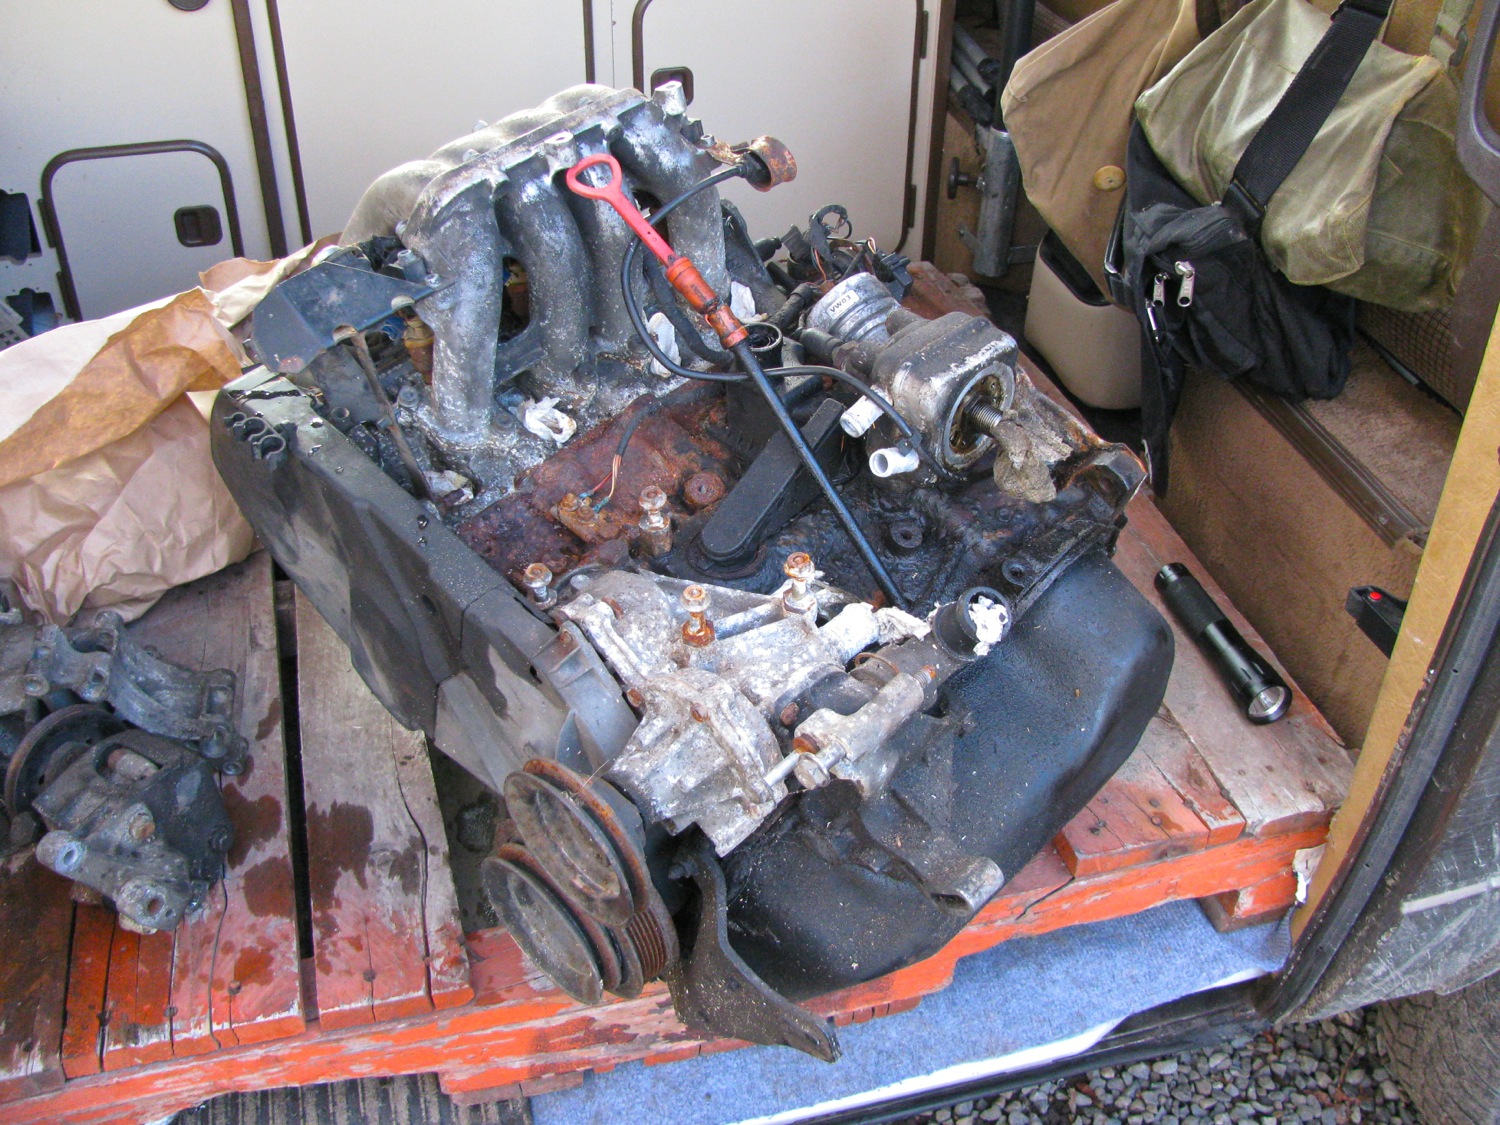
It’s a bit of a mess, a 2.0 litre ABA engine from, I think, a ’96 Jetta. I can’t confirm date yet, but what looks like a throttle position sensor on the throttle body makes me think it is an OBDII engine. Young guy, keen on cars, was selling it and I gave $70 to him to have the pleasure of taking it home and finding out just how nasty it is.
He had it stored outside and I think rain got in one spark plug hole and filled a cylinder with water. It was water, not coolant. I started taking it apart right out beside the van mainly to make moving it easier.

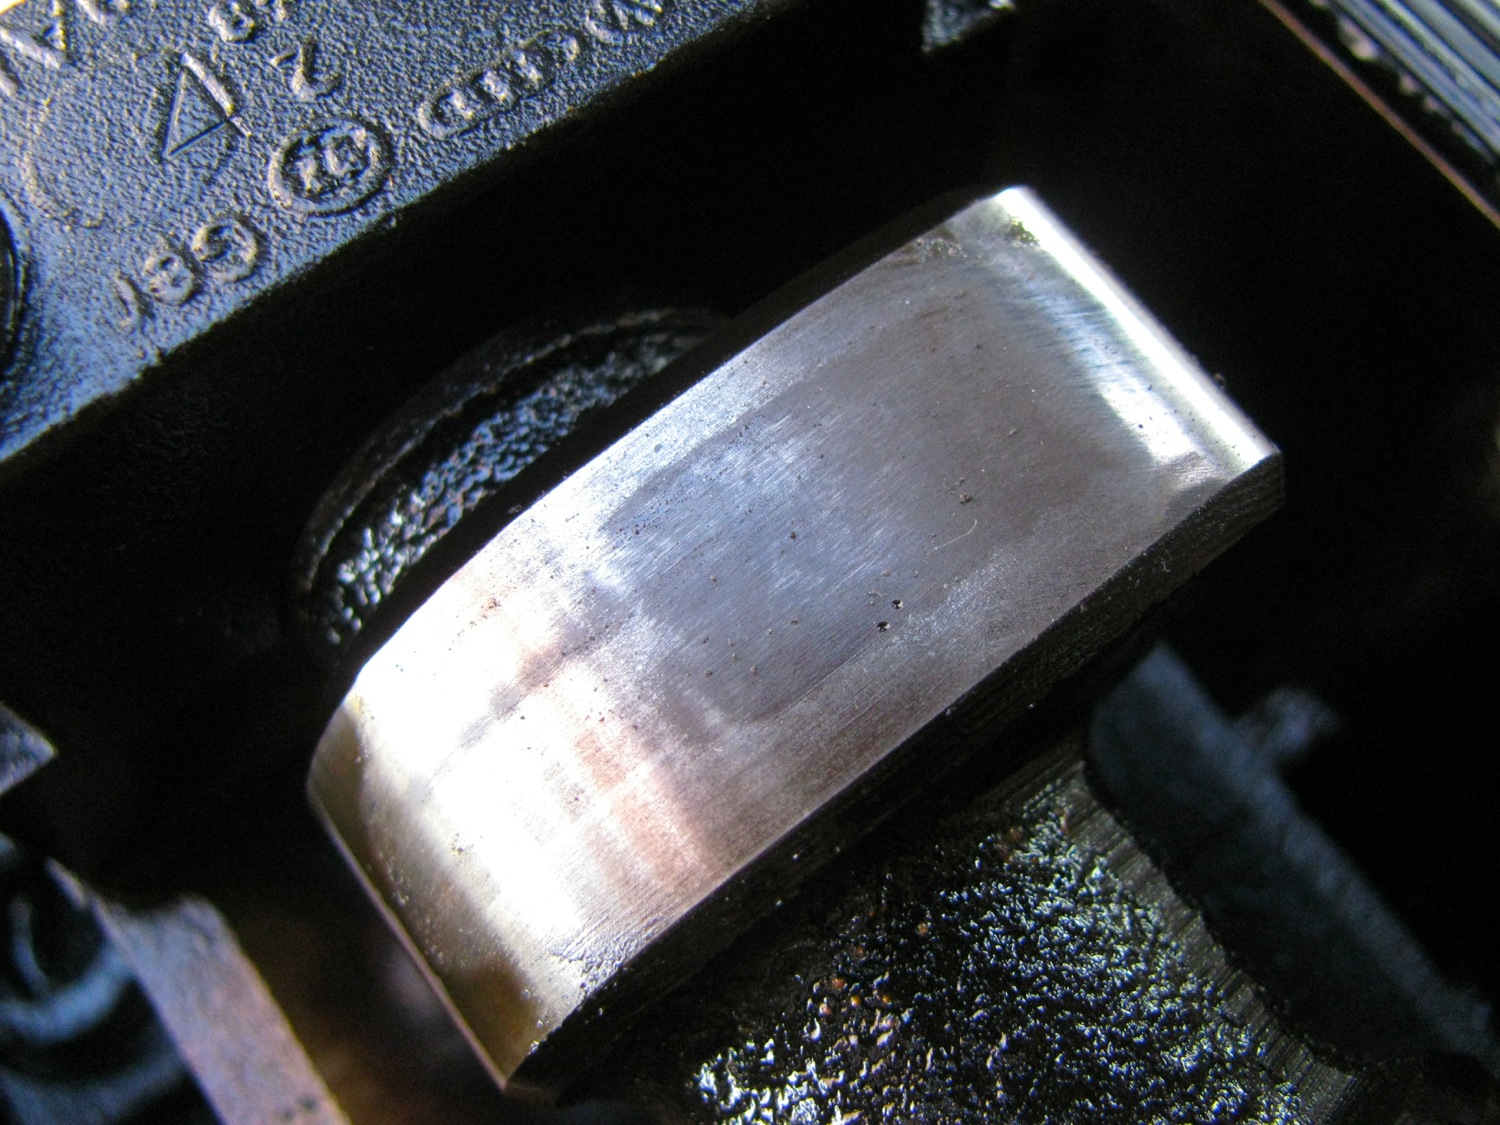
No chips or gouges but definite wear. Engine has I think around 200k km on it.
Head off and there you go, water.

Sheesh!
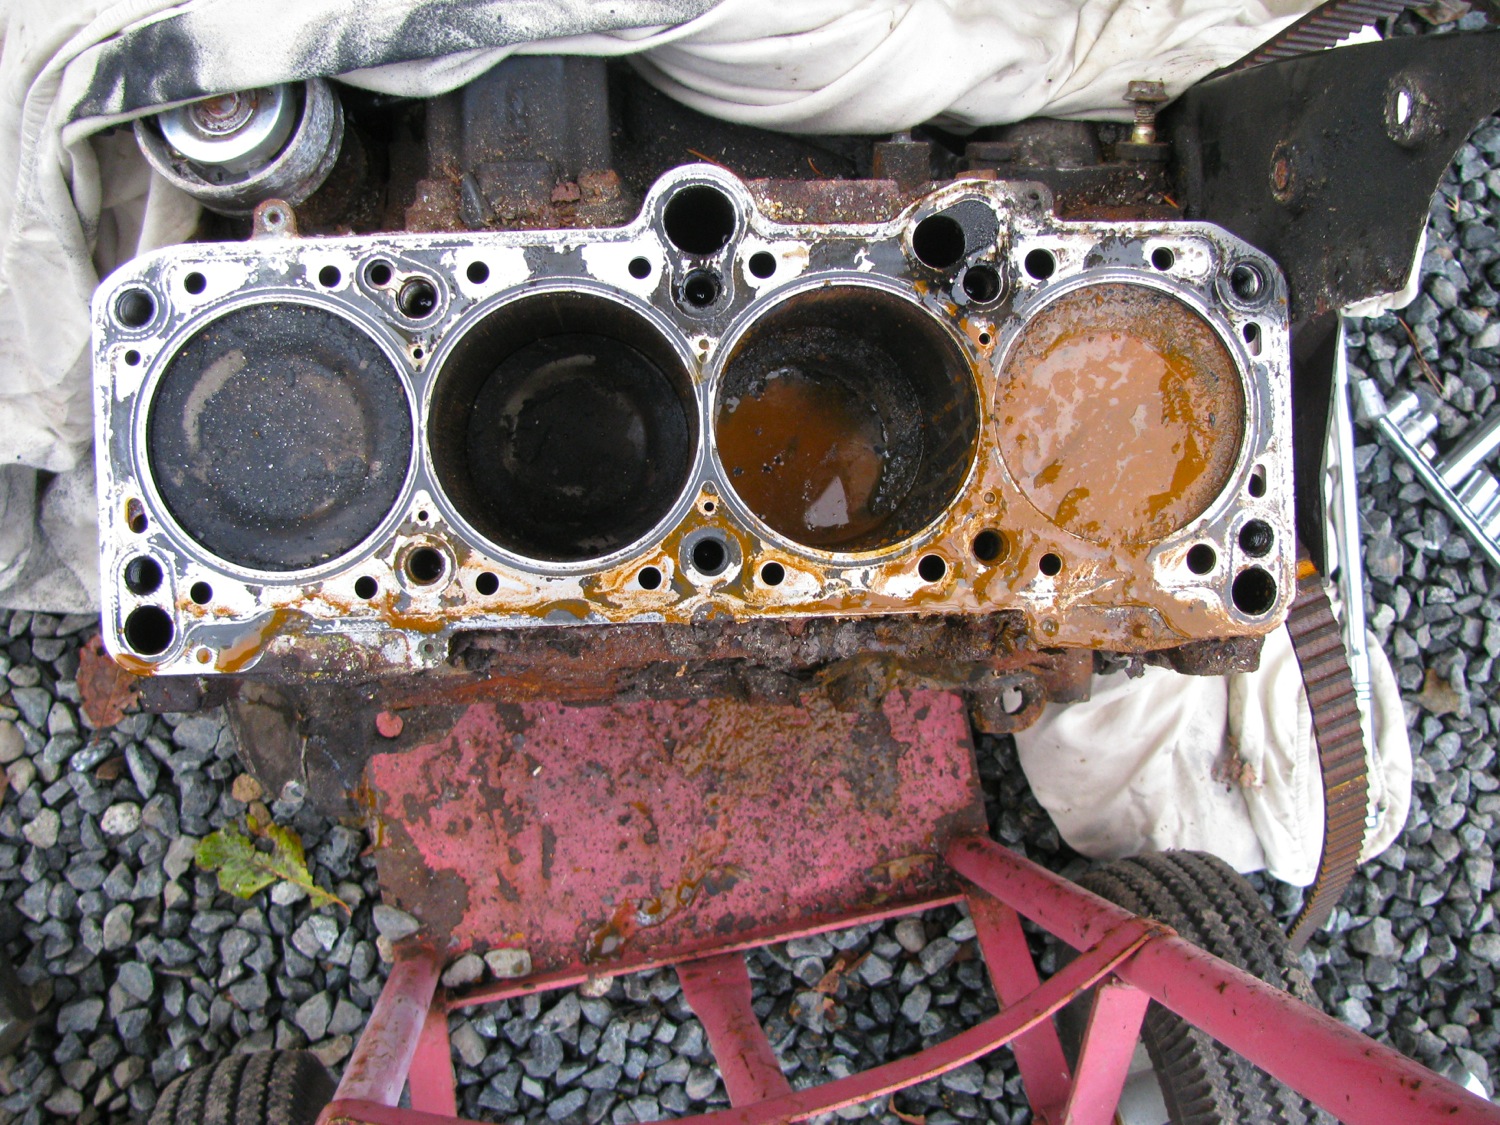
Close up of water damaged cylinder.

one of the “dry” cylinders.

You might ask why would I buy such an engine? The explanation makes good friend Simon sigh and shake his head. Well it’s like this, I like I4 VW engines. The 1800 8V Digifant I had in my ’82 westy worked like a champ from ’94 until 2009 when the van got T-boned. I liked the simplicity and reliability of the engine, loved how it could run all day pushing a heavy van. I still have that engine and all the mounting gear and I am thinking of making some sort of attempt at building a new version for the syncro. The 2.0 block has the appeal of a bit more power and I think is a little smoother running.
Of course, some machining, bearing replacement, etc, etc, will need to be done. And the question of whether to put the counterflow Digifant head on the 2.0 block or keep the cross flow head is still up in the air. This is a long term project, no quick answers.
I hear you, I know. A stronger more powerful motor with good low end torque would be more suited to the syncro. There is the possibility of a low boost turbo option…
Vanagon – syncro – more underbody protection update
Posted by albell in metal working, metalworking, syncro, vanagon, vanagon engine swaps on November 4, 2013
I’m trying to keep the momentum going, really I am. Over the last couple of days I got some work done on the side plate. The last post had me with the welded up, wavy and bent,skid plate. Now i had to mount it under the van. I didn’t think long and hard, but this is what I came up with.
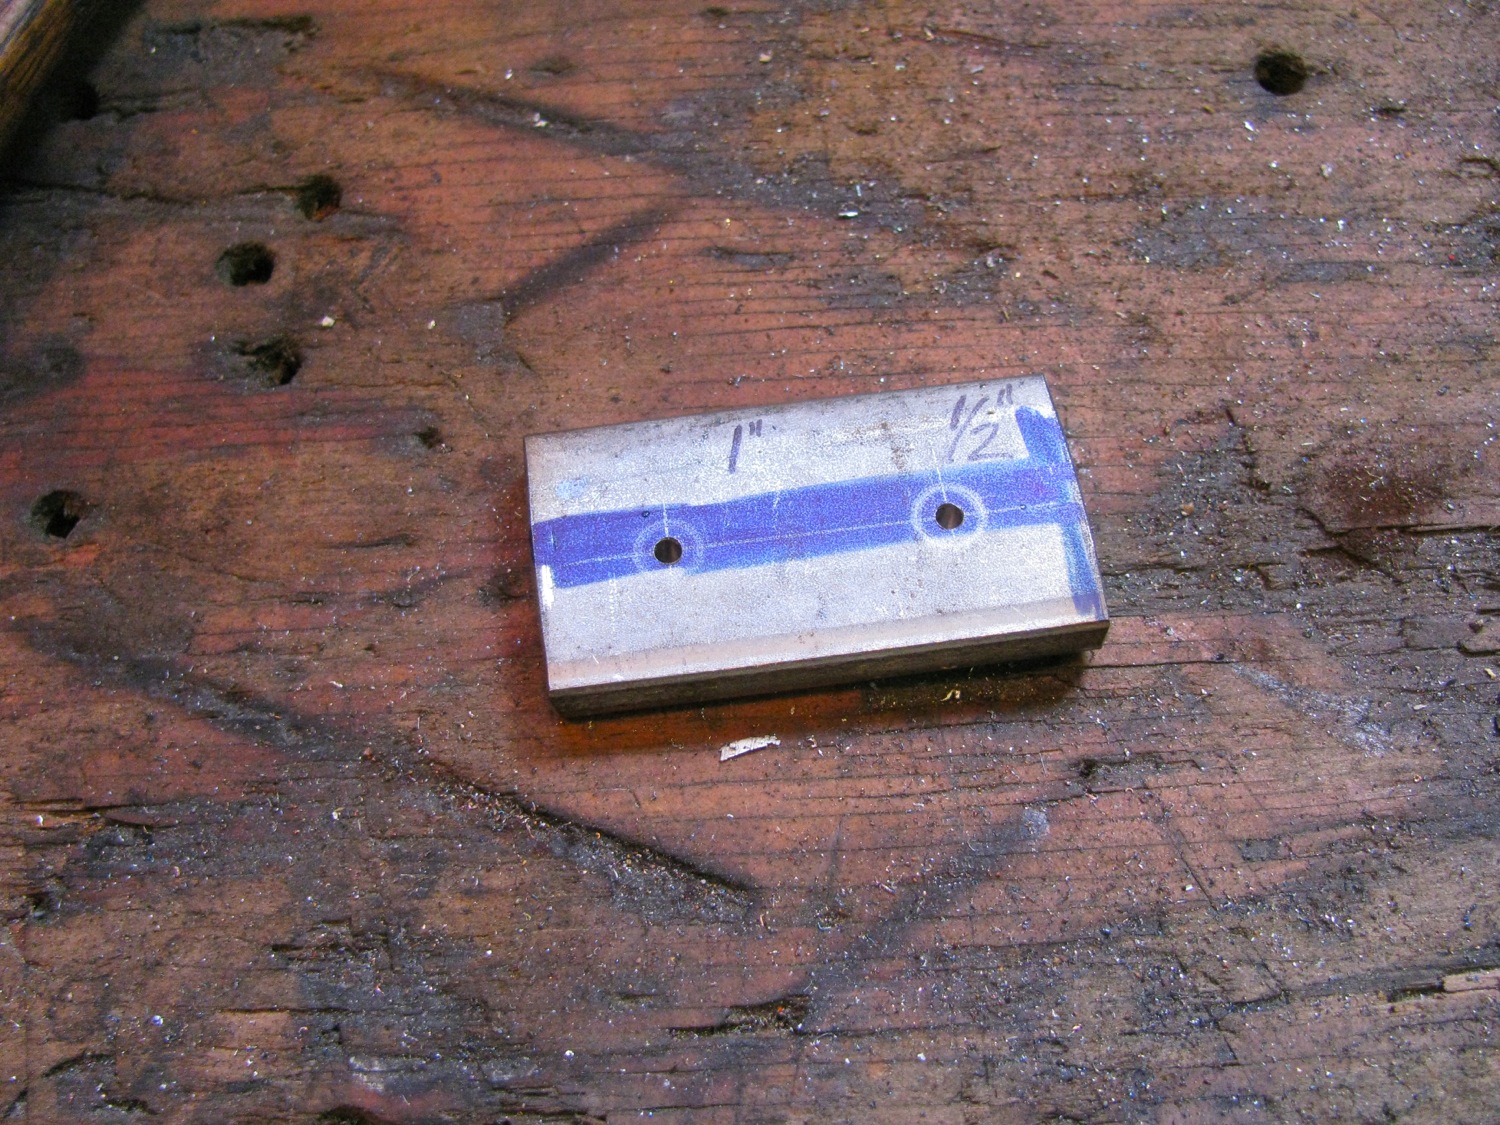
A bit of 1″ X 0.25″ stainless flat bar cut up into 5 pieces, nominally 2″ long. Very nominally as I used a Zip disk in an angle grinder and I am notoriously bad at cutting a straight line.
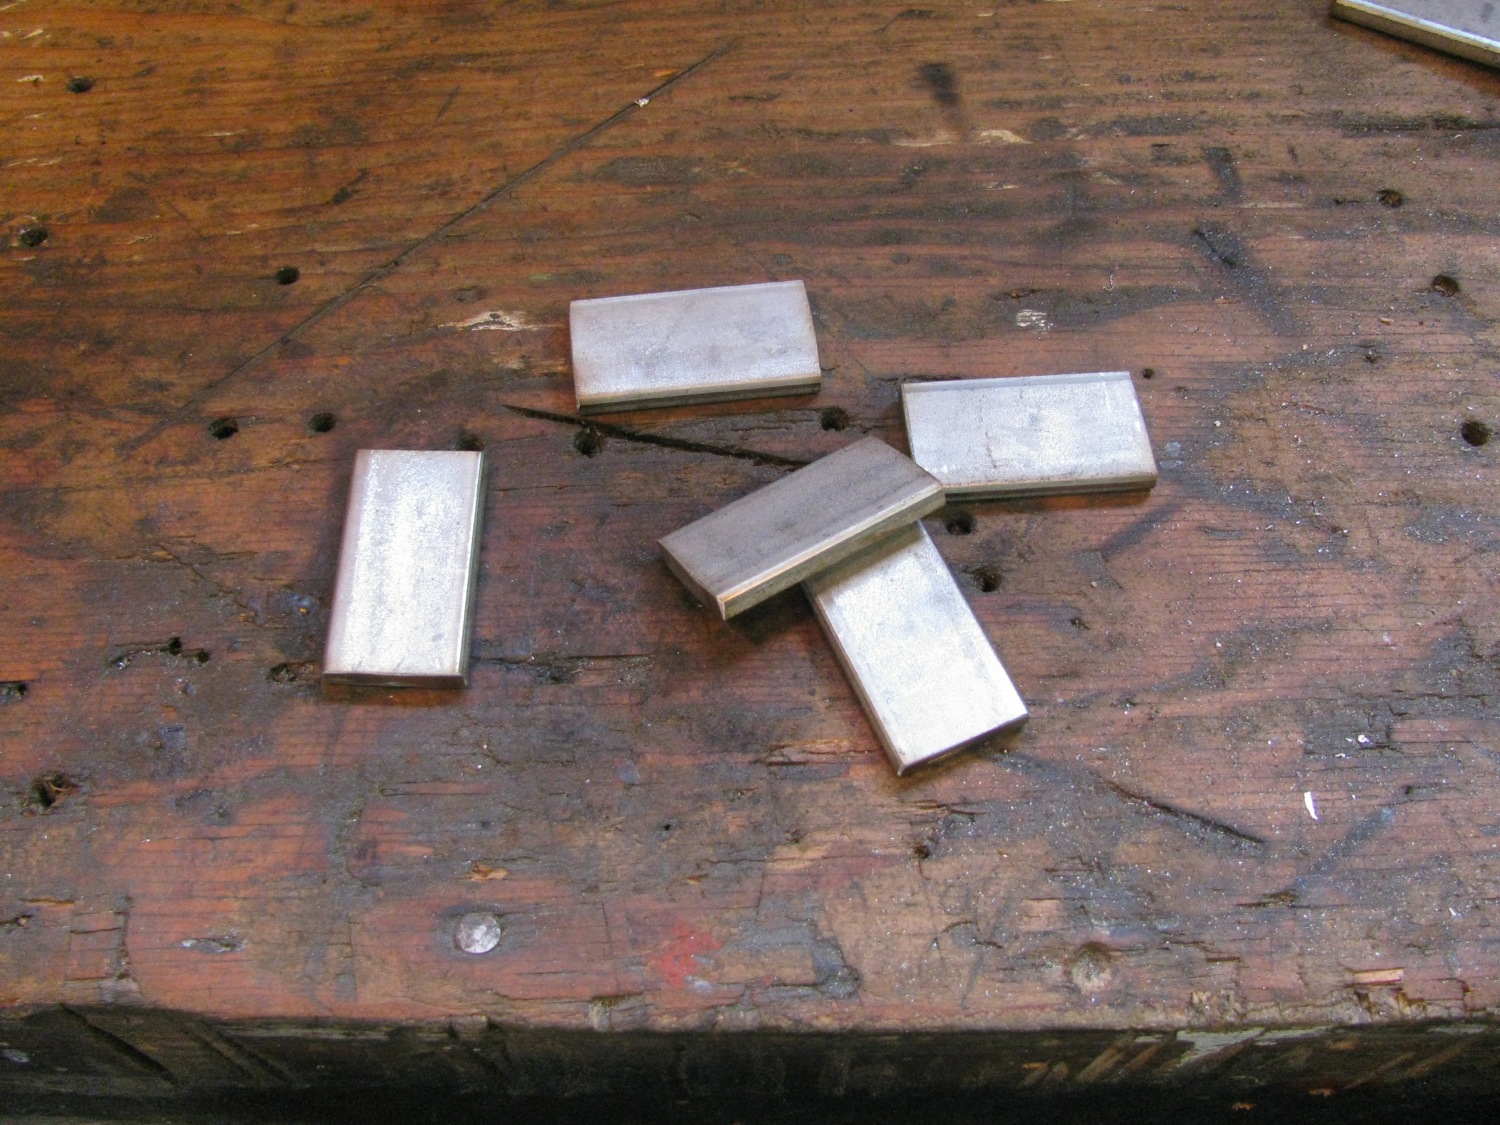
As each bit was more or less 2″ i marked out hole locations from one end. I used a blue Sharpie as lay-out dye. You can barely see the scratches of location the hole positions.

I feel presumptuous to lecture on how to do this kind of thing. I really am a ham fisted metal worker. I say that with no false modesty because I have seen what real metal workers can do. But allow me to go through the steps I take and maybe some of you might find something I say useful.
I scratched out the hole locations using my digital callipers. Then I centre punched on location using a cheap optical centre punch purchased from Lee Valley, direct link here. Then I like to make the punch mark a little larger with a regular punch. After that I drill pilot holes using a small bit, something less than 1/8″. The reason for that is the thin bit catches and hangs on to the punch mark better than a larger sized bit. I have the workpiece on the drill press table held in my hand. Allows the workpiece to move around a bit to get aligned. With a small bit there is little chance the drill will spin the workpiece around and gash your hand. With the size of holes I am drilling here, the next drilling step is the full sized hole. I’m drilling for a 1/4″X20 tapped hole and so I would be using a #7 drill bit (or something like 5.01mm). I put the part in a drill press vice for this drilling.
Now I try, in this blog at least, to avoid absolutes. But I am telling you now something you should heed. When drilling in stainless steel your drill bits have to be sharp and of good quality. Really, any other bits are just the road to perdition. What ever country of origin you like your bits to be from, buy the best you can. I think at one time nothing could beat US made made twist drill bits. But there are excellent bits from Australia, the UK, and Europe. Price is the discriminating factor, buy the most expensive you can find. It really is false economy to buy cheap bits (unless all you drill is wood).
A good resource for basic and advanced metalworking is Mrpete222 on YouTube, here is the link. And learn to sharpen your bits, might take some time, and god knows it took a good time for me to learn, but you can freehand sharpen bit larger than 1/8″ with good results. When drilling stainless a sharp bit is mandatory. If you see the bit is not cutting stop immediately and change out bits or sharpen. I use cutting oil, the sulphated kind, when machining stainless, I’d say it was mandatory to use cutting oil unless your only going through thin stock and then heading right over to the TIG welder and don’t want any contaminants.
Enough of the lecture, back to the project. The holes drilled then on to tapping. Same advice for taps, buy the best you can, cheaper taps work ok in soft metal, but in stainless and the like you need the best quality.
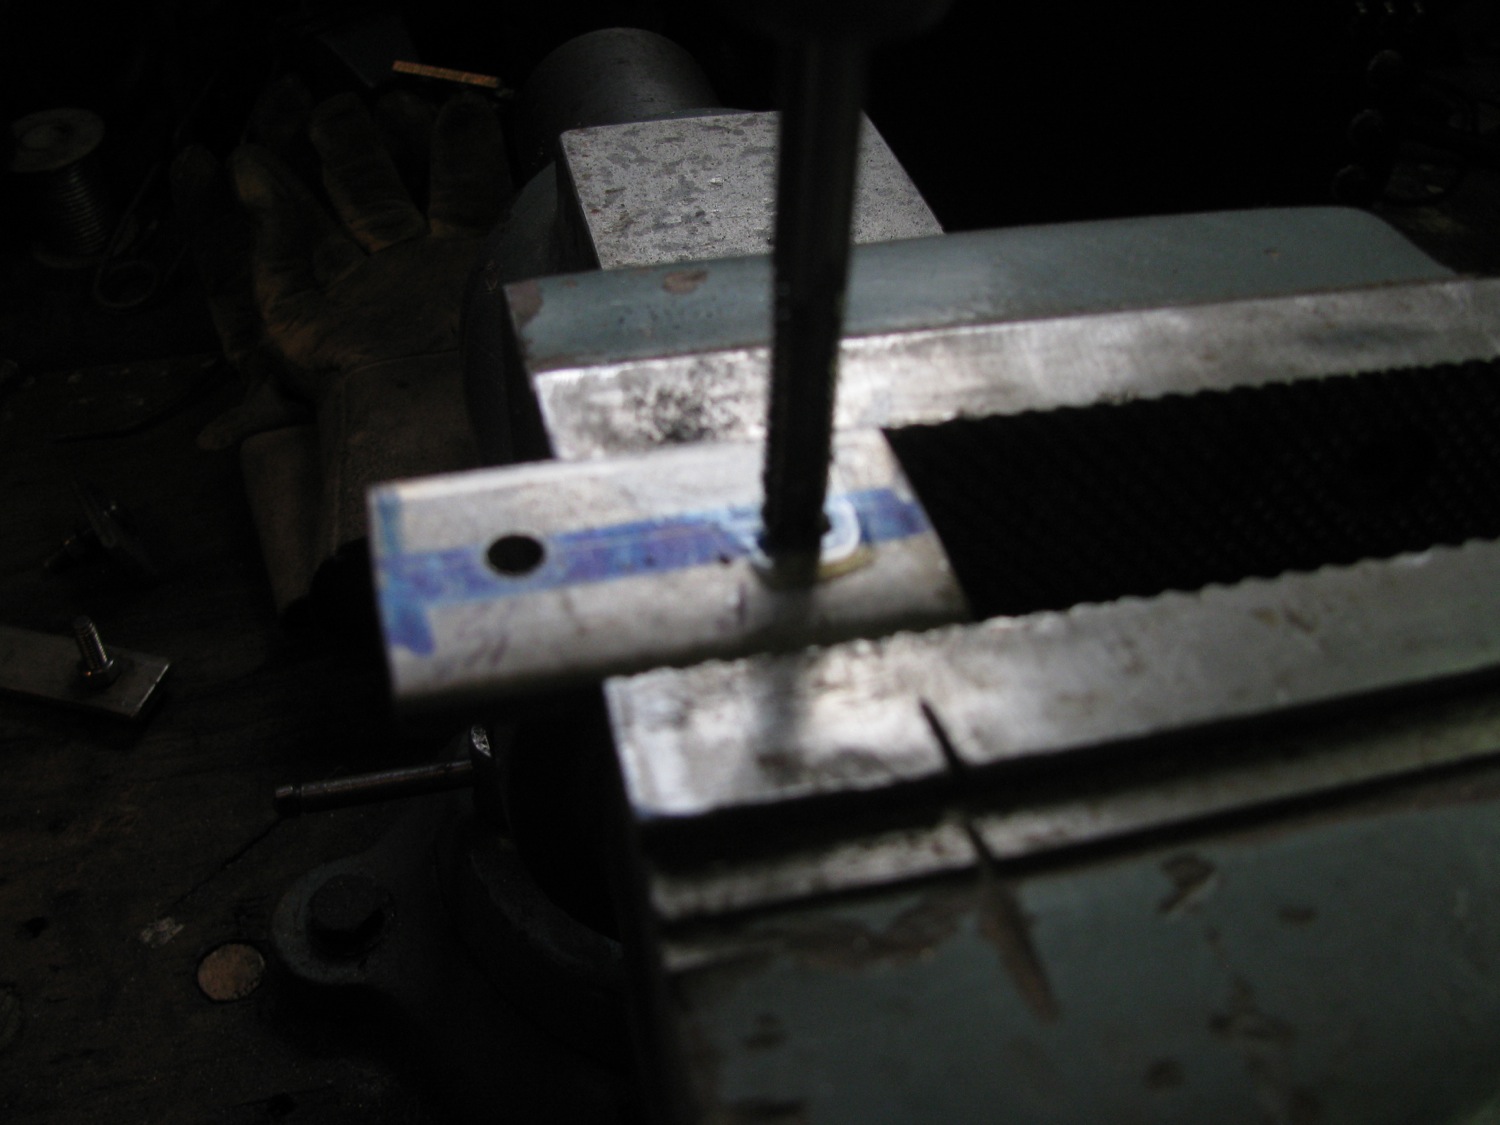
Poor pic of tap starting in hole.
Then i held the parts in the vice and wailed on them with hammer to make a slight bend.

The threaded stainless tabs connect the new plate to the existing propshaft plate. I had to make the holes in both plates elongated to give me wiggle room to get things in place. And remember the new plate is curved and needed a bit of persuasion to get in place. I snapped this pic tonight, in the dark. The vertical part of the plate has not been fixed to the frame rail, it needs to be pushed up about an inch. but believe it or not, as is, it is quite secure and stiff.

I’ll get better pics tomorrow when i fix the outboard side to the frame rail.
Vanagon – misc. updates
Posted by albell in vanagon, vanagon engine swaps, vanagon mods on May 14, 2013
I haven’t been posting much recently, work and garden chores have been taking my time. One good thing about the work time is that my welding is slowly improving. Helps having a good teacher and access to the best equipment. One day I might be able to make a good aluminum weld that is more than one inch long.
But some things are happening on the vanagon front. First off, I replaced the LED light strip on the rear of the lower cabinet, doing away with the pierced moulding experiment. Mainly due to the fact that 6 LED elements failed on the initial install, but also I didn’t like how I drilled the holes. The LED strip is in an anodized aluminum channel


Staying with LEDs, I installed a couple of feet of strip above the footwells of the front seats. They are wired to go on with the doors opening. Not the greatest mod in the world, but fun to do.


When I was younger I thought that ski boxes, or coffins as I dismissively called them, were stupid. But what do you know, I’ve changed my mind and I found a really old school Thule Combi-Box 250 for sale for $50 and I bought it. So why the change of attitude towards these things? In a word, chairs. Yup, I’m fed up with stowing the folding camp chairs behind the back seat. Now they will go up top, and the fishing rods too. I haven’t mounted the box to the van yet, I still have to make some modifications to my roof rack attachments so I can get the box on the right spot on the roof.

The bigger news is that I was given a 2008 Subaru EJ25 motor. Good friend Simon had it in his ’91 syncro and it had been making a brapping clstter upon acceleration. All kinds of things were tried to stop the noise, none of them worked and the final opinion that it was perhaps a rod bearing. So he swapped in another engine and gave me the suspect one.
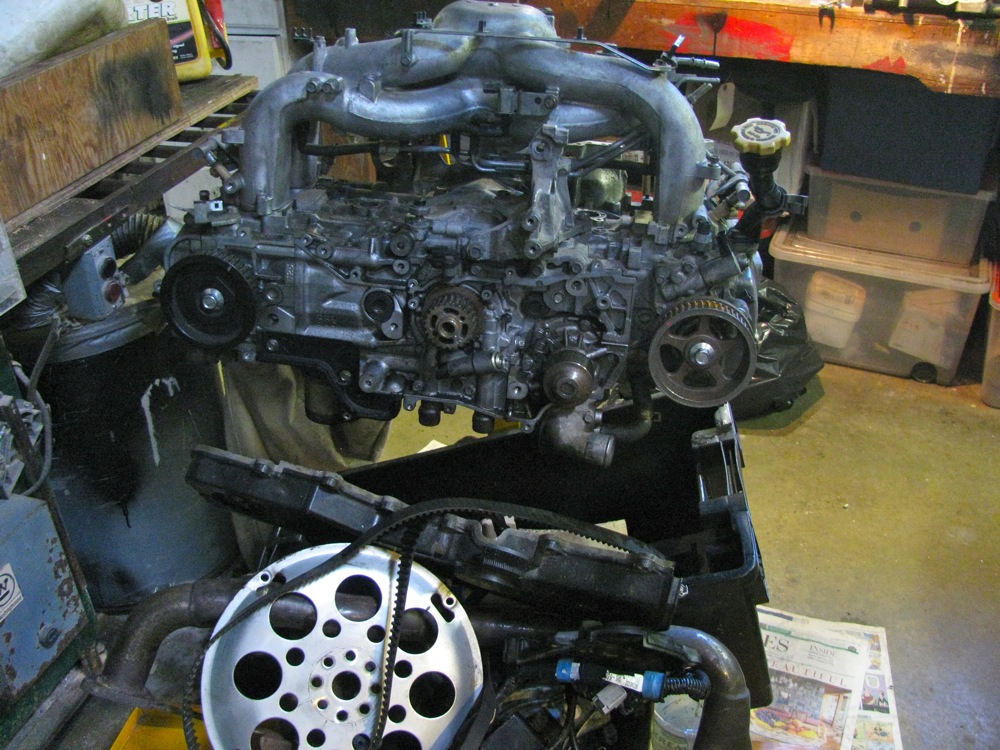
The generous gift has put me on the spot about future engine transplant. I really have a soft spot for VW inline 4 engines. I had one in my ’82 van (1800 Digifant) that ran flawlessly from 1994 to 2009 (van got T-boned and written off). I’ve been nursing the idea of a 2.0 litre I4 in the syncro. I have all the parts needed except one of the big ones – a diesel gastank. The starter in the 12 ‘o’clock position with the diesel bellhousing so it needs a differently moulded fuel tank to clear the starter. Those tanks are not so common over here on the northwest coast of North America so I haven’t been very quick to get an I4 installed. My dawdling and initial lack of interest in my stock WBX engine has resulted in me not doing much about keeping my current motor in good shape. Bothe the front and rear exhaust manifold need replacement, but the studs.bolts holding them on to the head are really rusted and decayed. I know that they will be hell to remove. Plus I have a slight coolant leak on one head (happens during cold part of winter) so it means some sort of head work even without the exhaust problem.
But then again I have a spare WBX engine that I have been just dicking around with. Why don’t I take the heads off it and see if they are good enough to use on the van’s engine? That way I can replace the exhaust manifold and head leak relatively quickly and keep the WBX in my van running long enough for me to get the Subie engine attended to (or get and I4 built up :)).
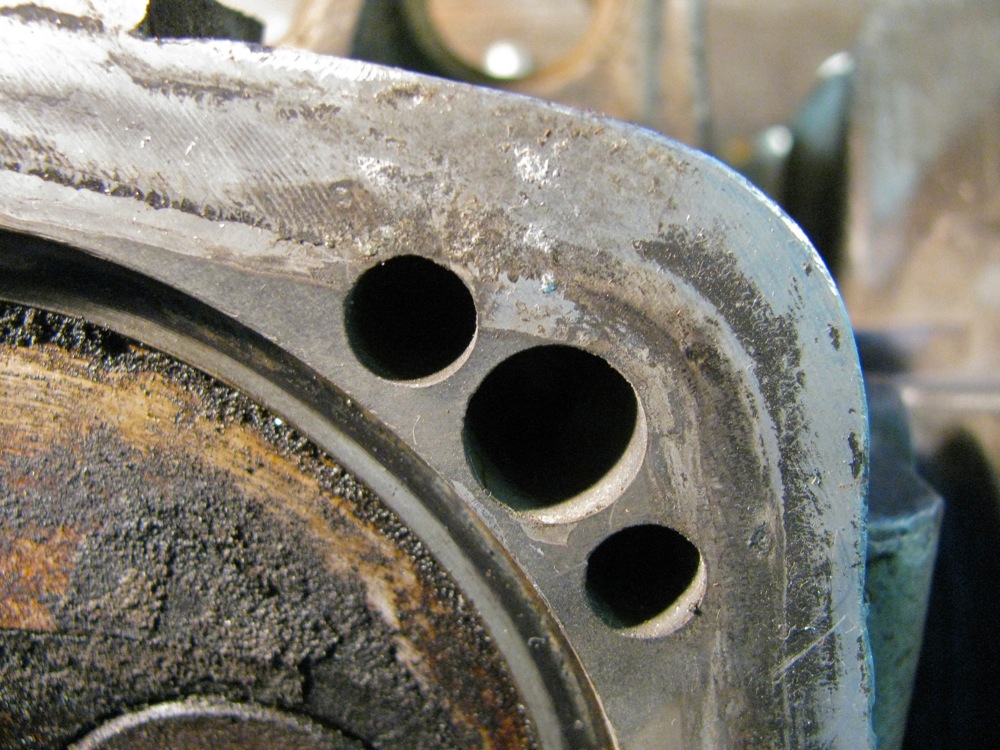
I had to drill out a couple of the exhaust studs on the spare heads, nothing, not even oxy-acetylene heat would budge the buggers. One of the drilling out operations went awry and I had to fill the hole by tig welding then re-drill and tap.
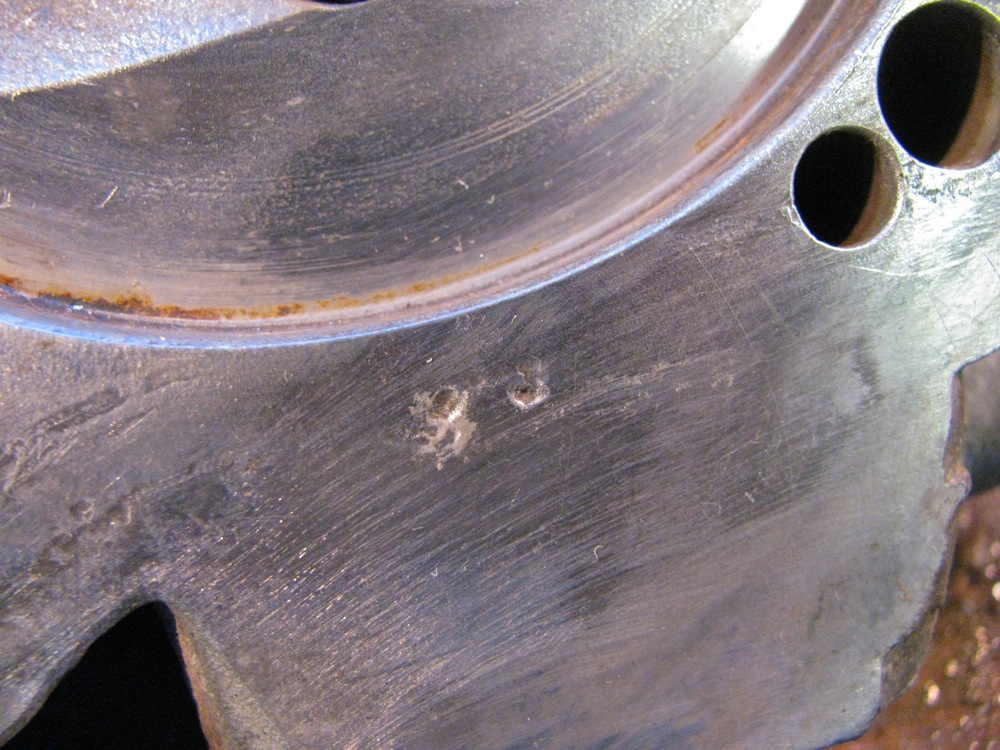
So far the heads look usable. One head has pitting, the other does not, just a hint of some corrosion beginning.
The two heads, I took a wire brush to one, and removed one set of valves (valves check out ok, and within spec on fit in valve guides).

Close ups of the pitted head.
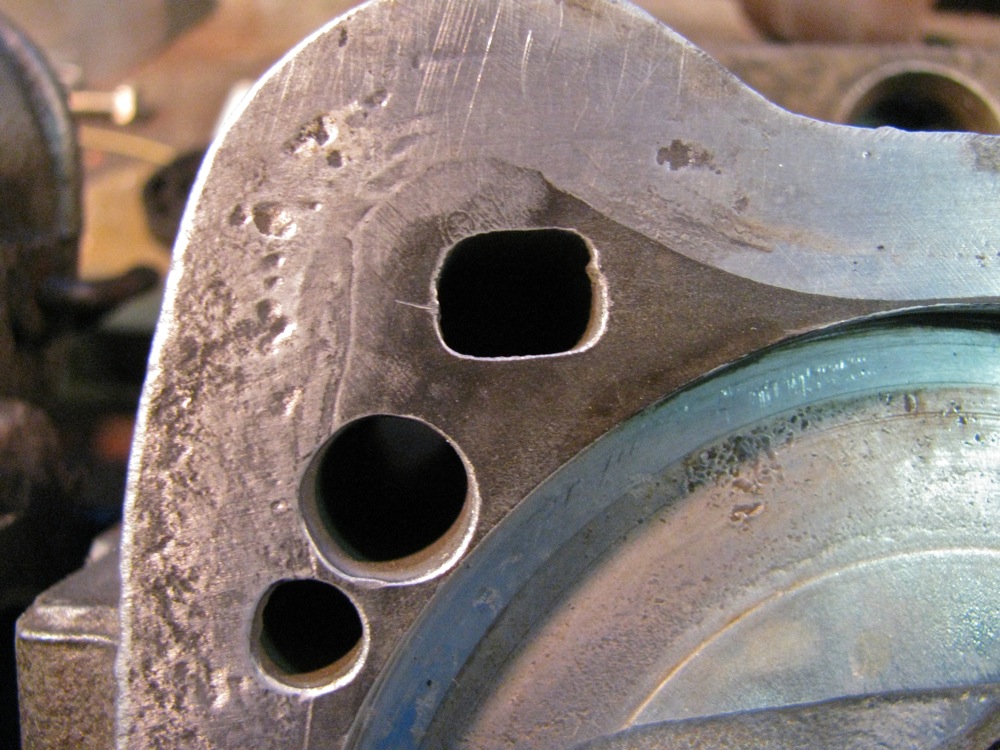
Doesn’t look like any crack between the valve seats.
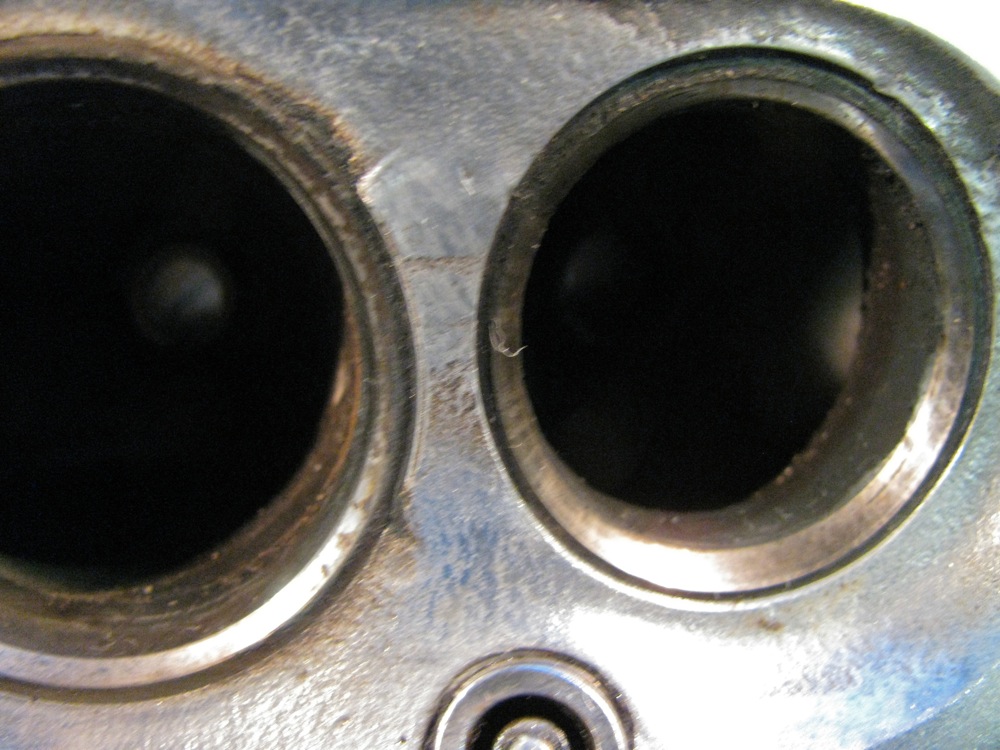
But is that a casting mark or a closed crack? I don’t think it is anything to be worried about.
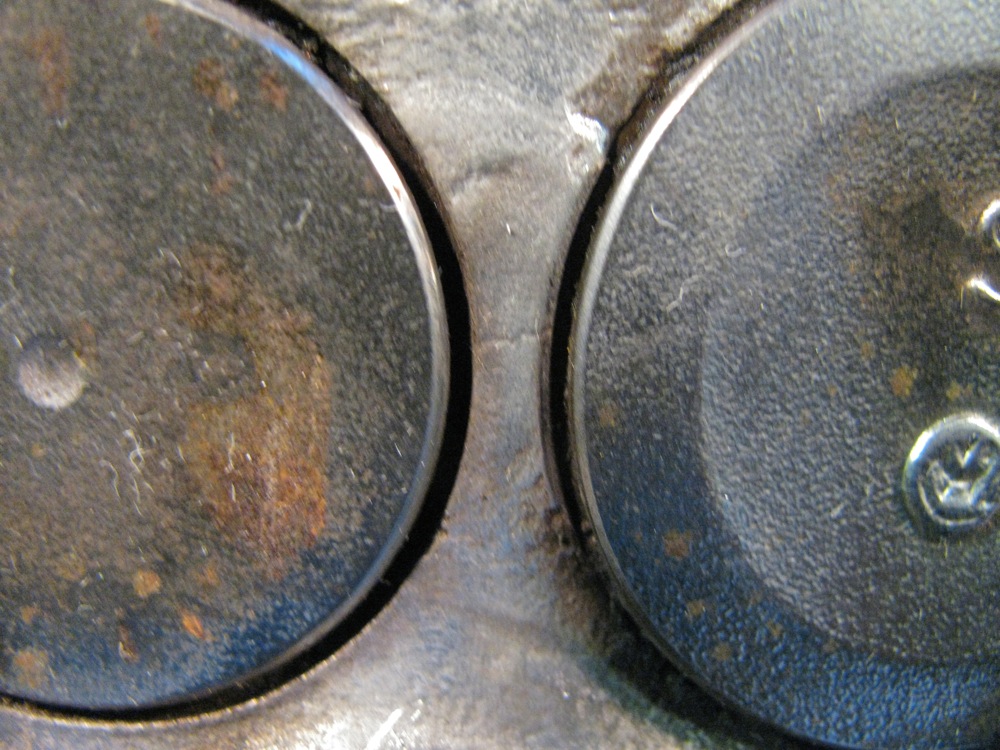
The start of some corrosion on the un-pitted head.
And example of what the rest of the sealing surface looks like.

So I’ve got these heads, a gasket kit, a new front exhaust manifold and a used rear manifold. The plan is to drop the engine and tranny (I want to fix the diff lock light switch on the tranny, easier if tranny is out) and swap over the heads etc. I hope to do this in the next couple of weeks.

