Archive for September, 2014
Vanagon – line of vans
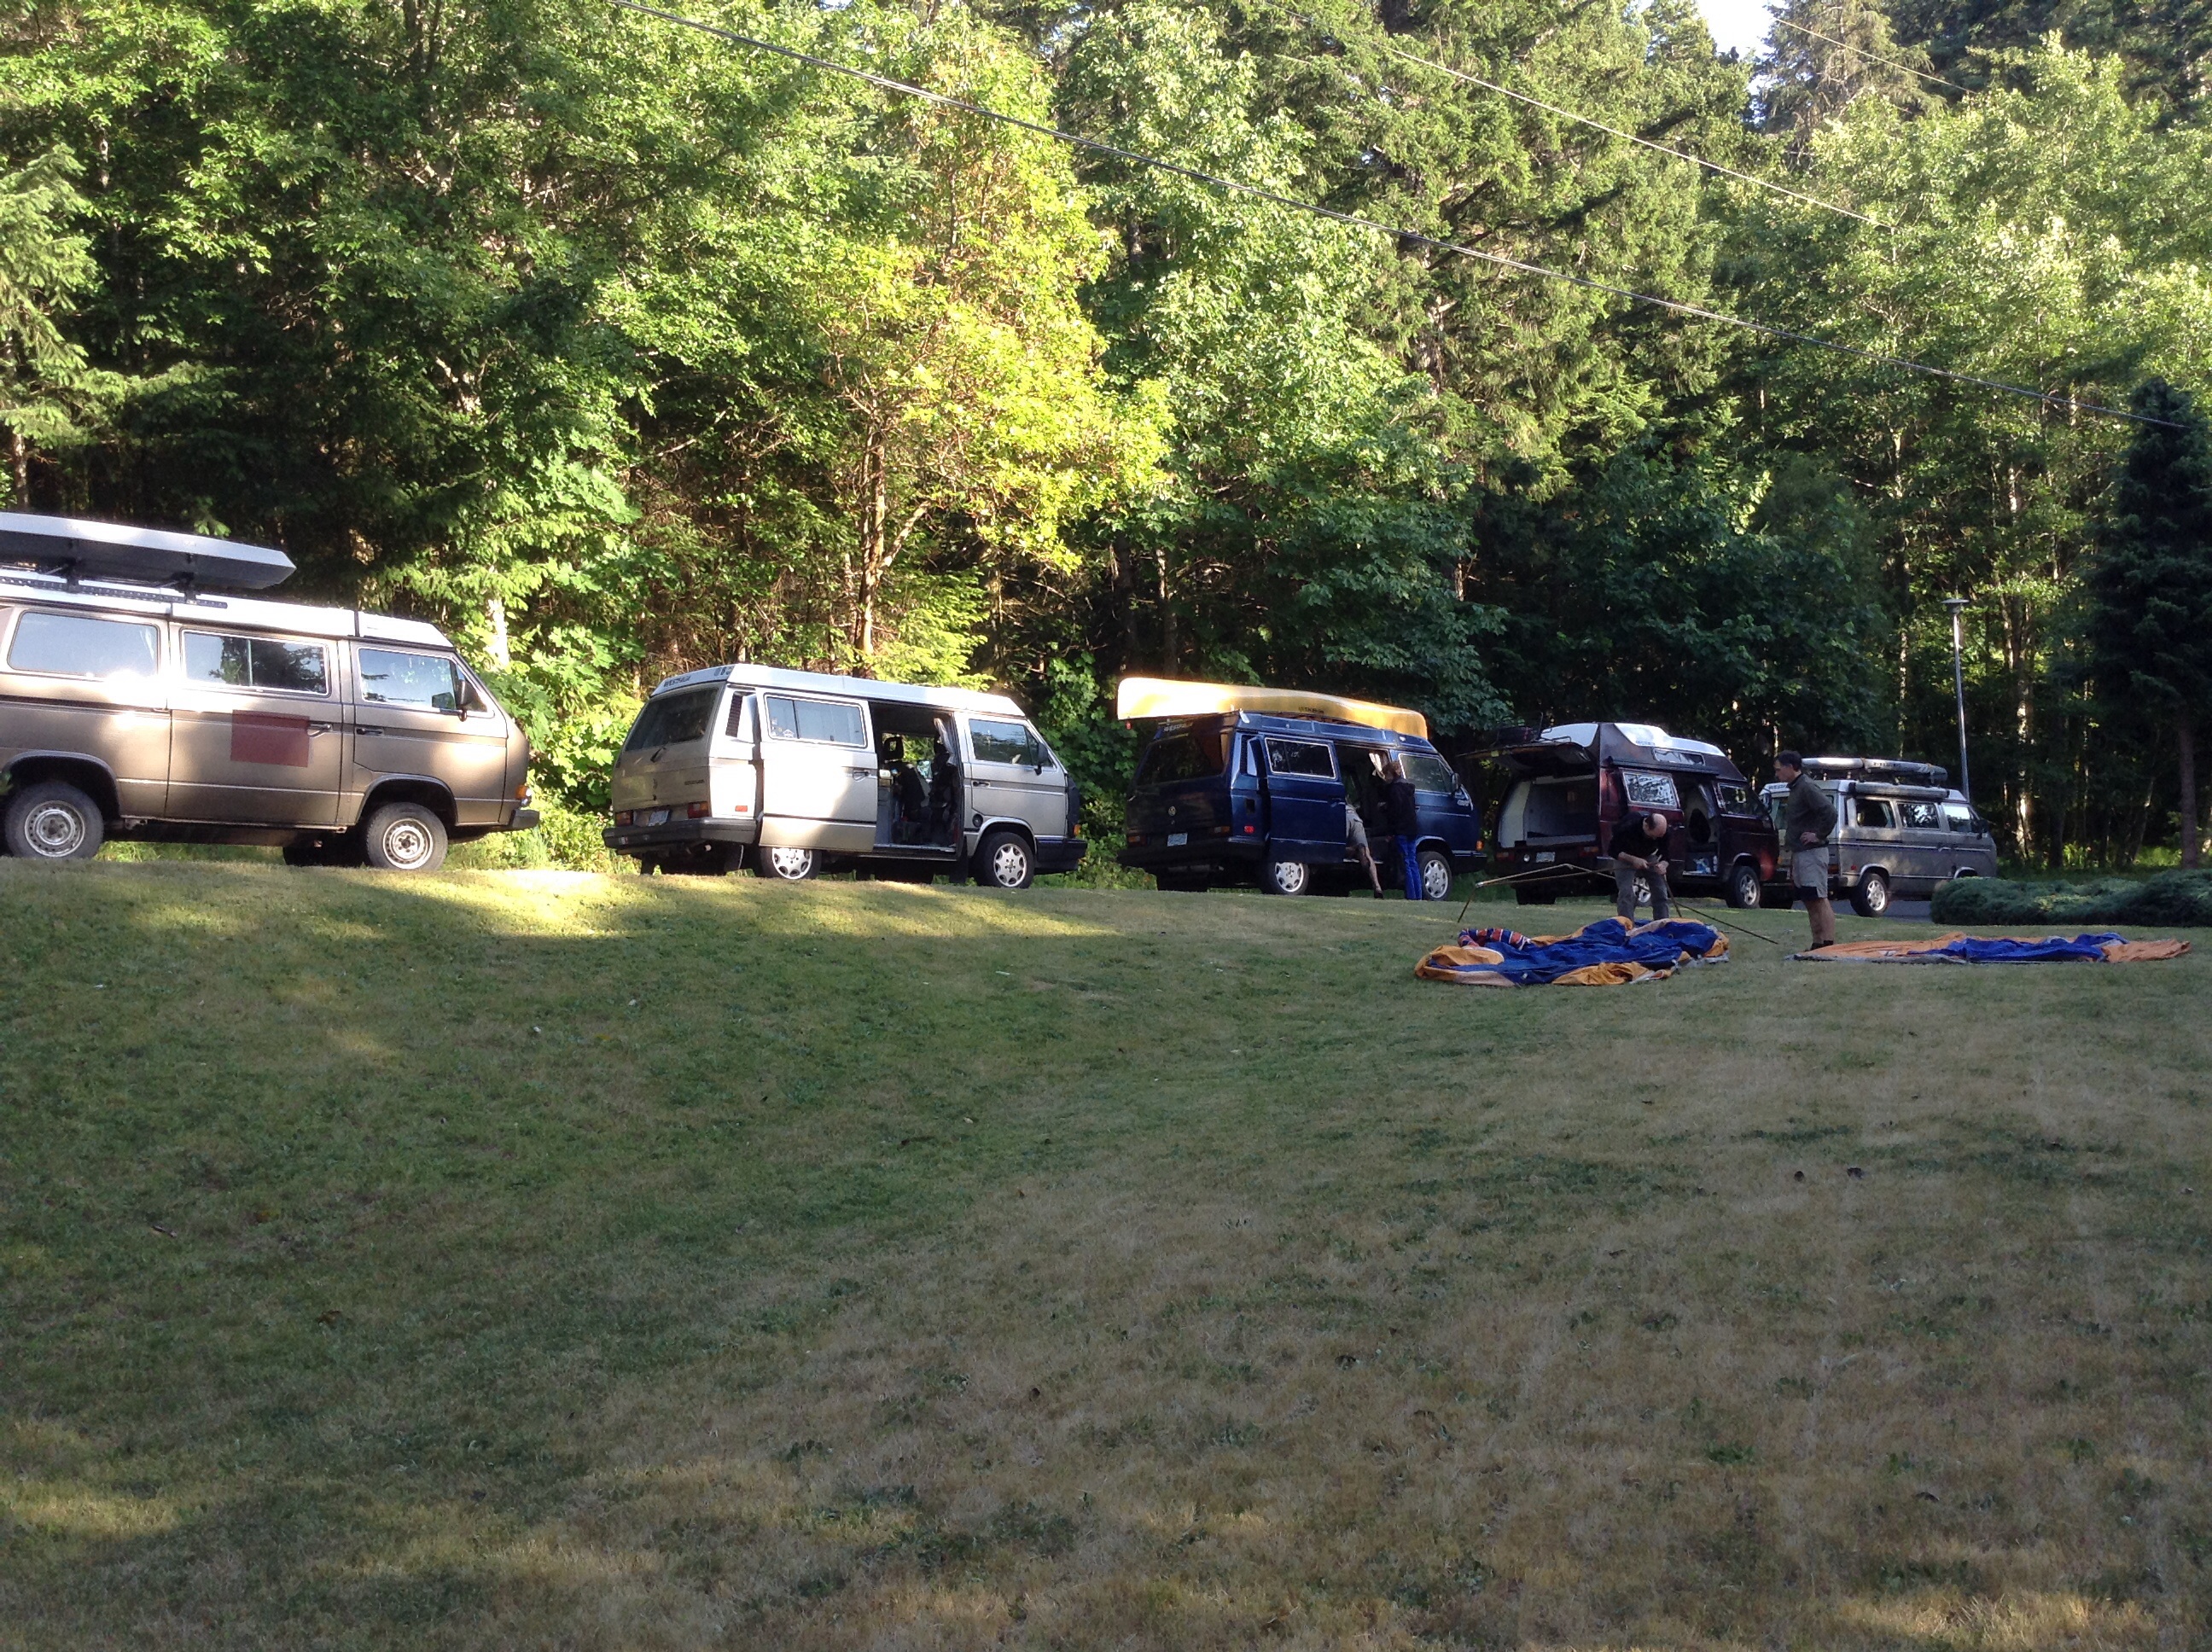
Dinner party at a friend’s house this summer.

Vanagon – quick throttle body re-bush
Posted by albell in vanagon, vanagon mods on September 13, 2014
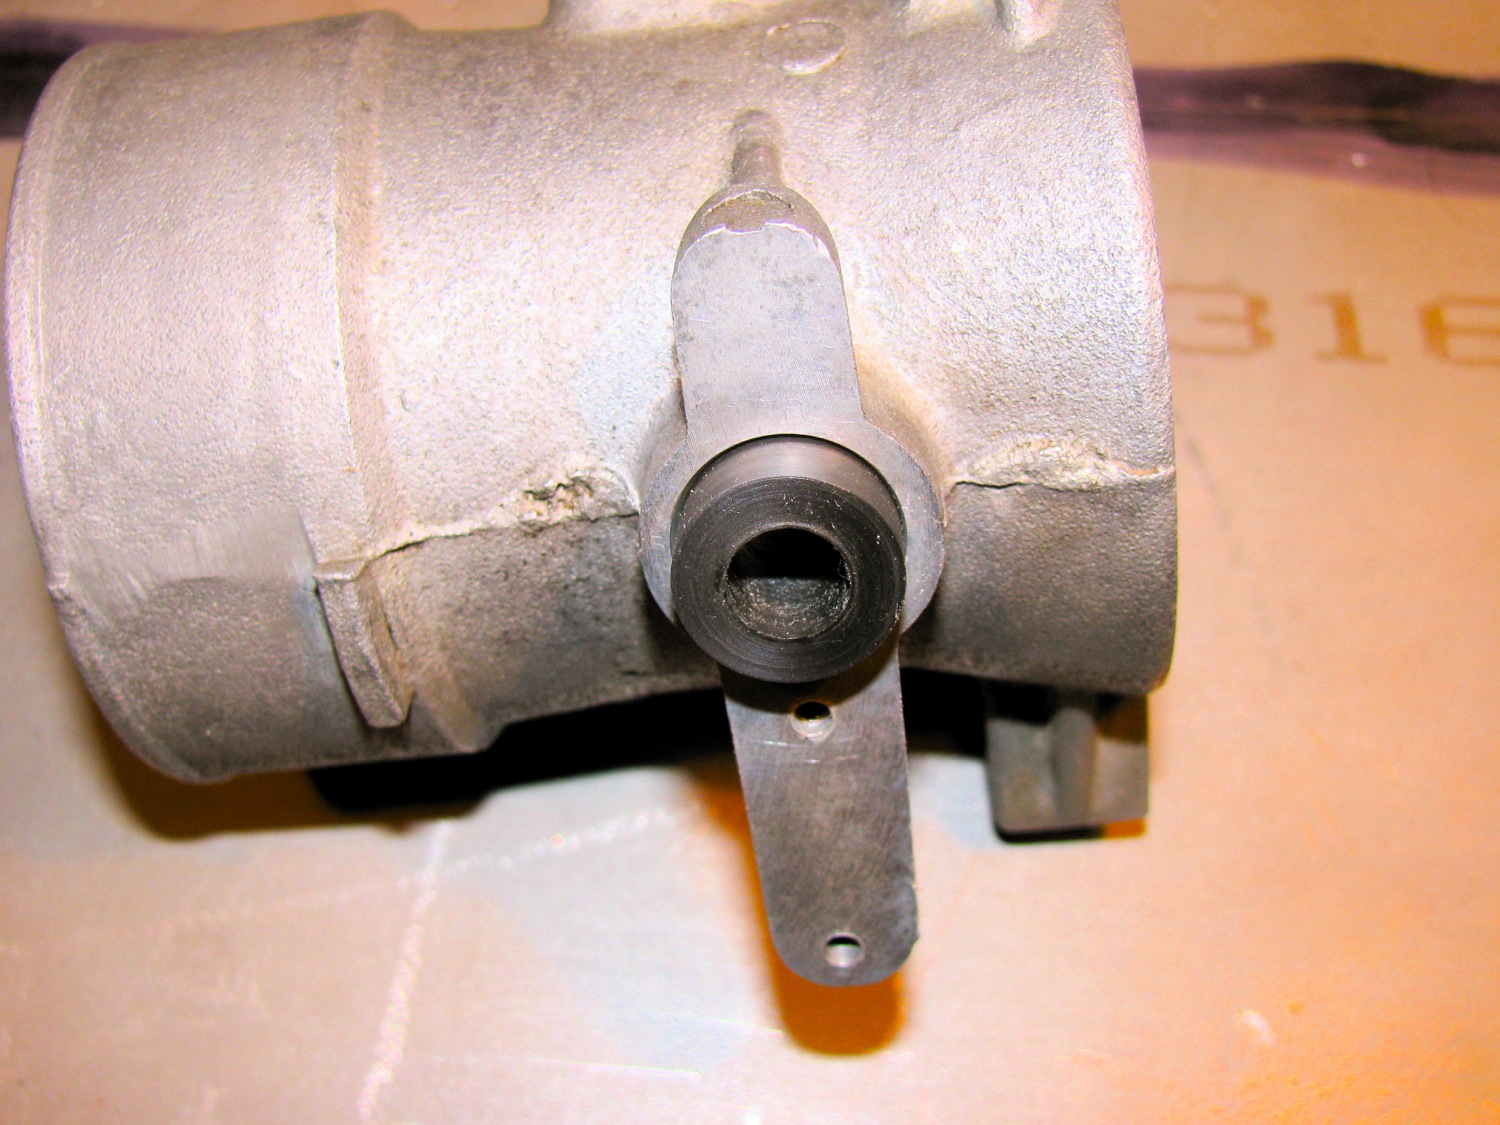
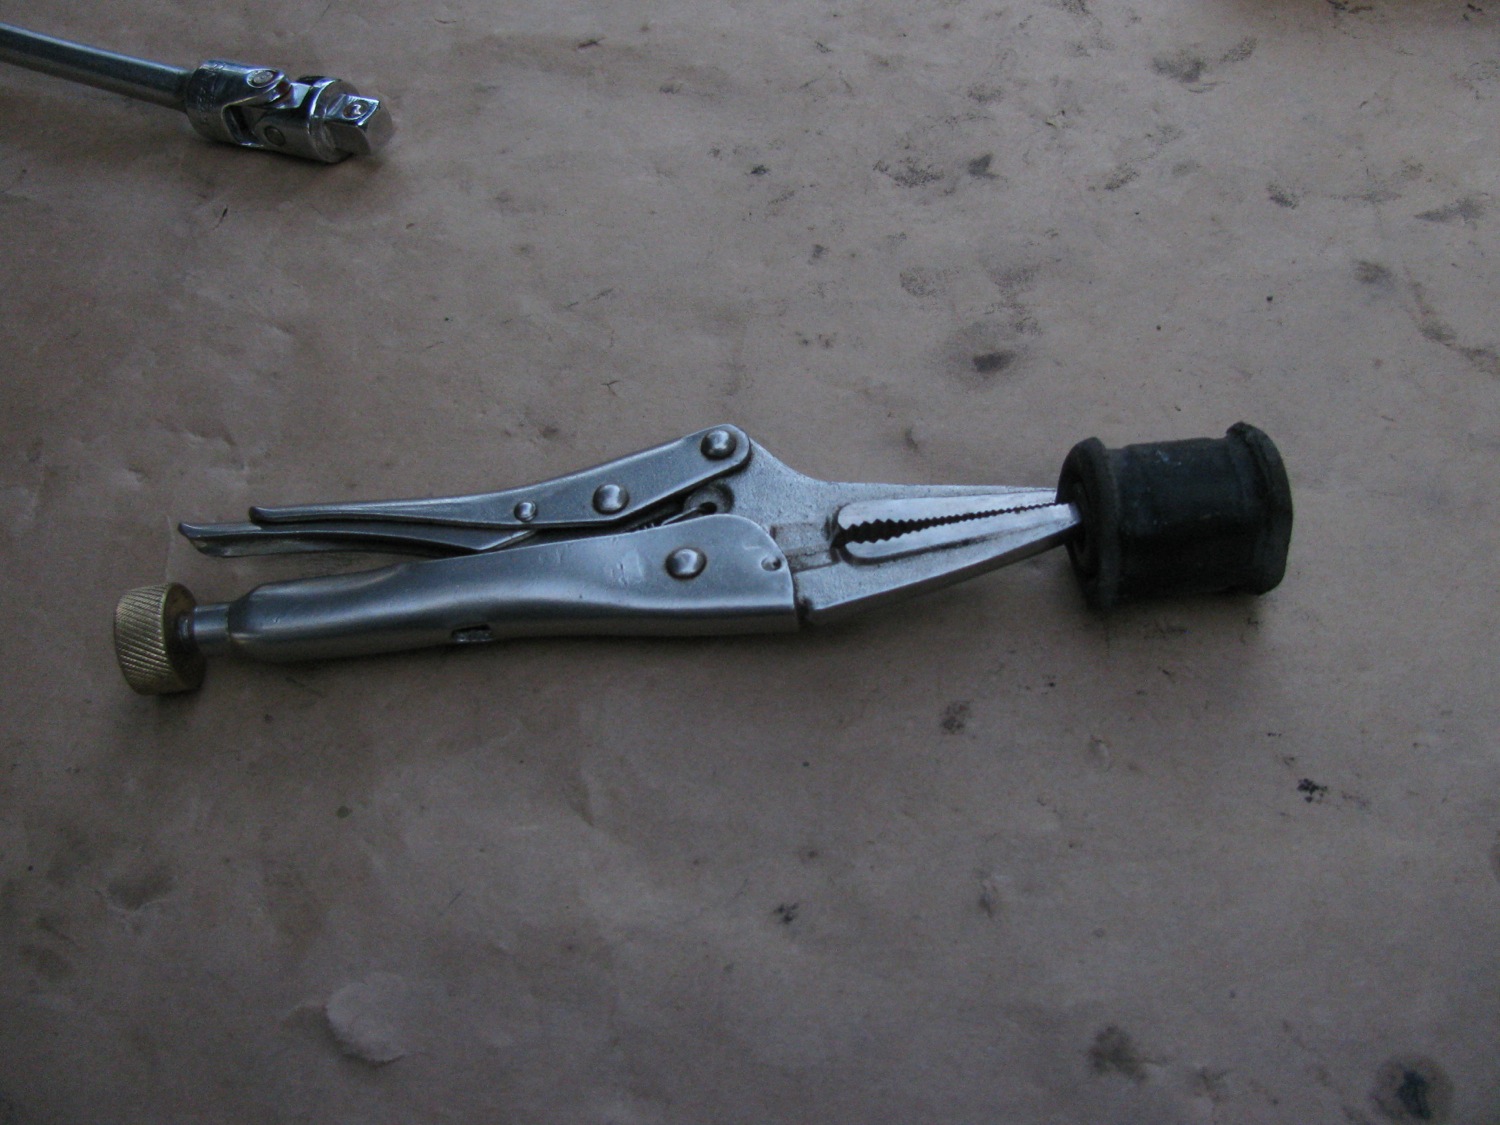
A few years ago i tried re-bushing a spare throttle body using Delrin as the bushing material. I couldn’t get the throttle action smooth, it seemed as if the Delrin had a stiction property that I just couldn’t over come either by sizing the bushing or lubricating. So I laid the project aside and forgot about it.
Then this last summer I noticed some play in the shaft of the throttle body installed in the van. There was enough play to make adjustment of the throttle position switch very fussy. So i though back on my previous experiment and I thought I’d try making bushings again, but this time out of HDPE.
First let’s go back to my spare throttle body, the one I re-bushed with Delrin. I have a blog post here showing it before I started screwing around. I even went as far as cleaning up the wear marks in the bore and making a new butterfly plate to compensate for the now enlarged bore.


See the Delrin bushing?

And on the other side, the throttle position switch side.
My daily driver one on the left, the re-furbed one on the right.

Not the larger cam on the one on the left. This is the newer, revised throttle position switch system.

It appears like a lot of space around the butterfly, but it really isn’t that bad. I can’t recall the gap size (I measure with wire).

It kinda looked ok to me.

The dried up seal on one side.

And the other.

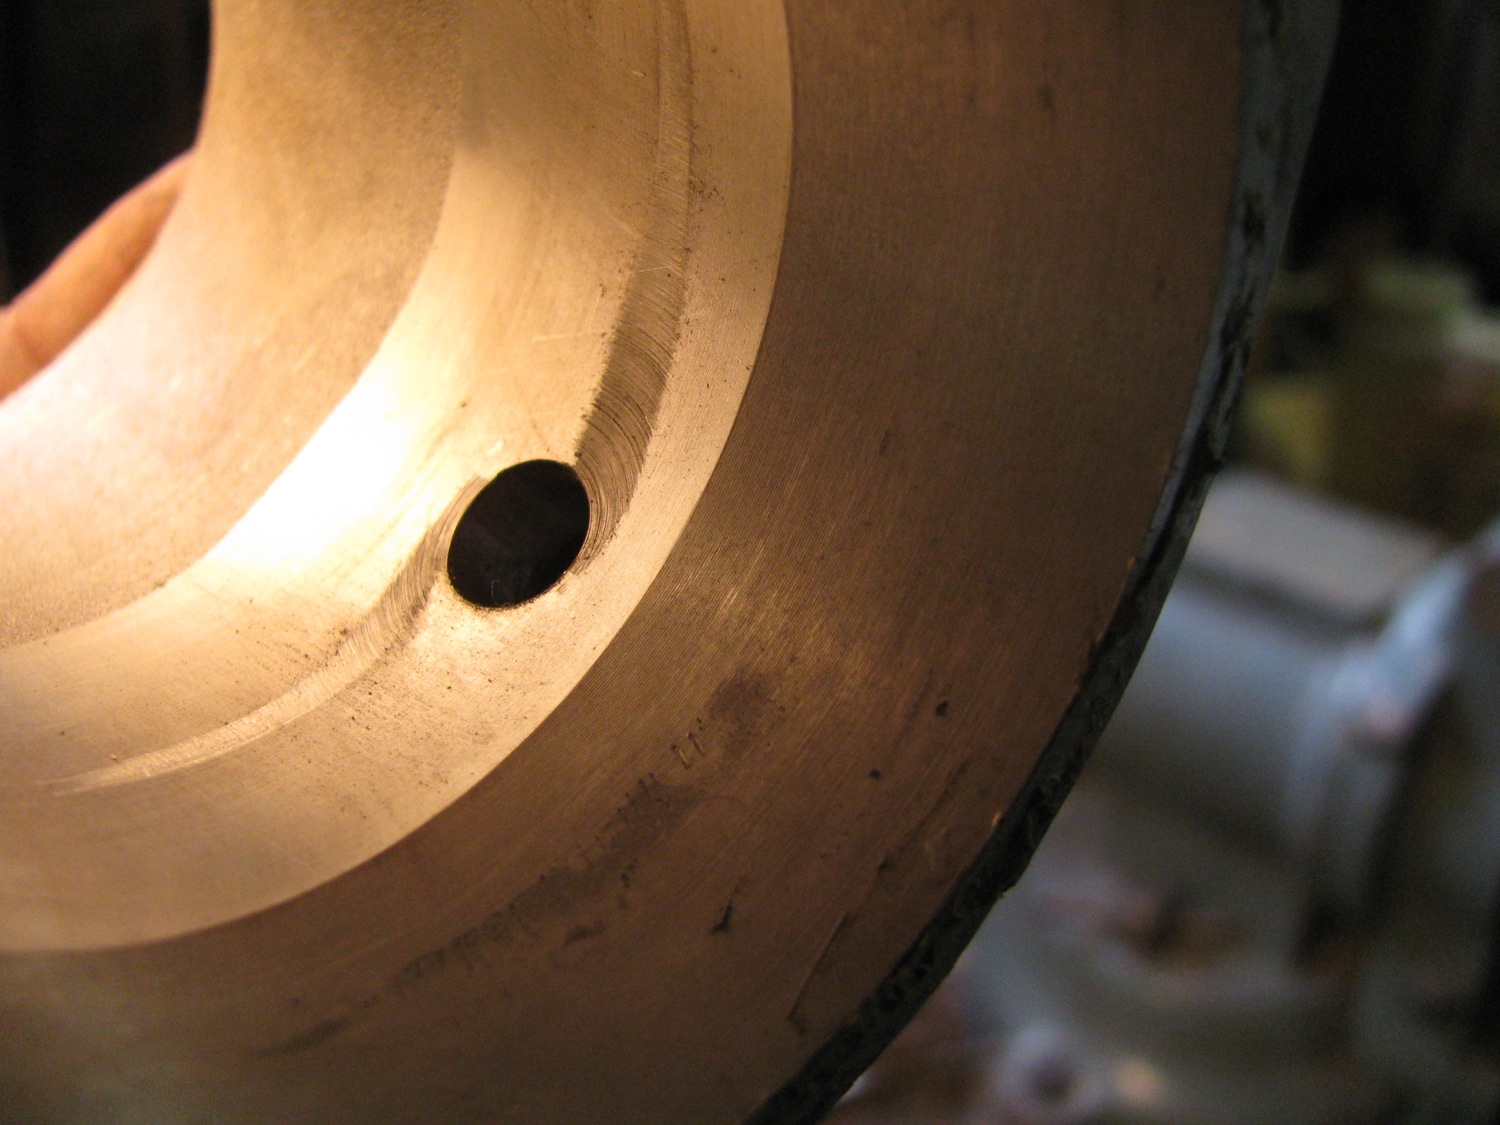
Wear in the bore from the butterfly.

I decided to leave bore and the butterfly untouched. I chucked up a hunk of polyE and turned and reamed a couple of bushings.

Recessed on the throttle position switch side.Why? because the switch plate has little locating tabs that fit into the hole.


Pretty well flush on the other side.

Gosh, i can’t recall for sure the butterfly shaft diameter, maybe it was 8 mm, yeah I think so. I do have an 8mm reamer. Anyhow, I did think about bearings instead of bushings. But the bearings I had on hand had a larger OD and that would have meant taking the throttle body to work to use the milling machine; tedious set up and then a boring head.

Assembled. I have to say the action of the butterfly is smooth as silk, much better than the Delrin. Come to think about, I wonder if I reamed the bushings the last time?
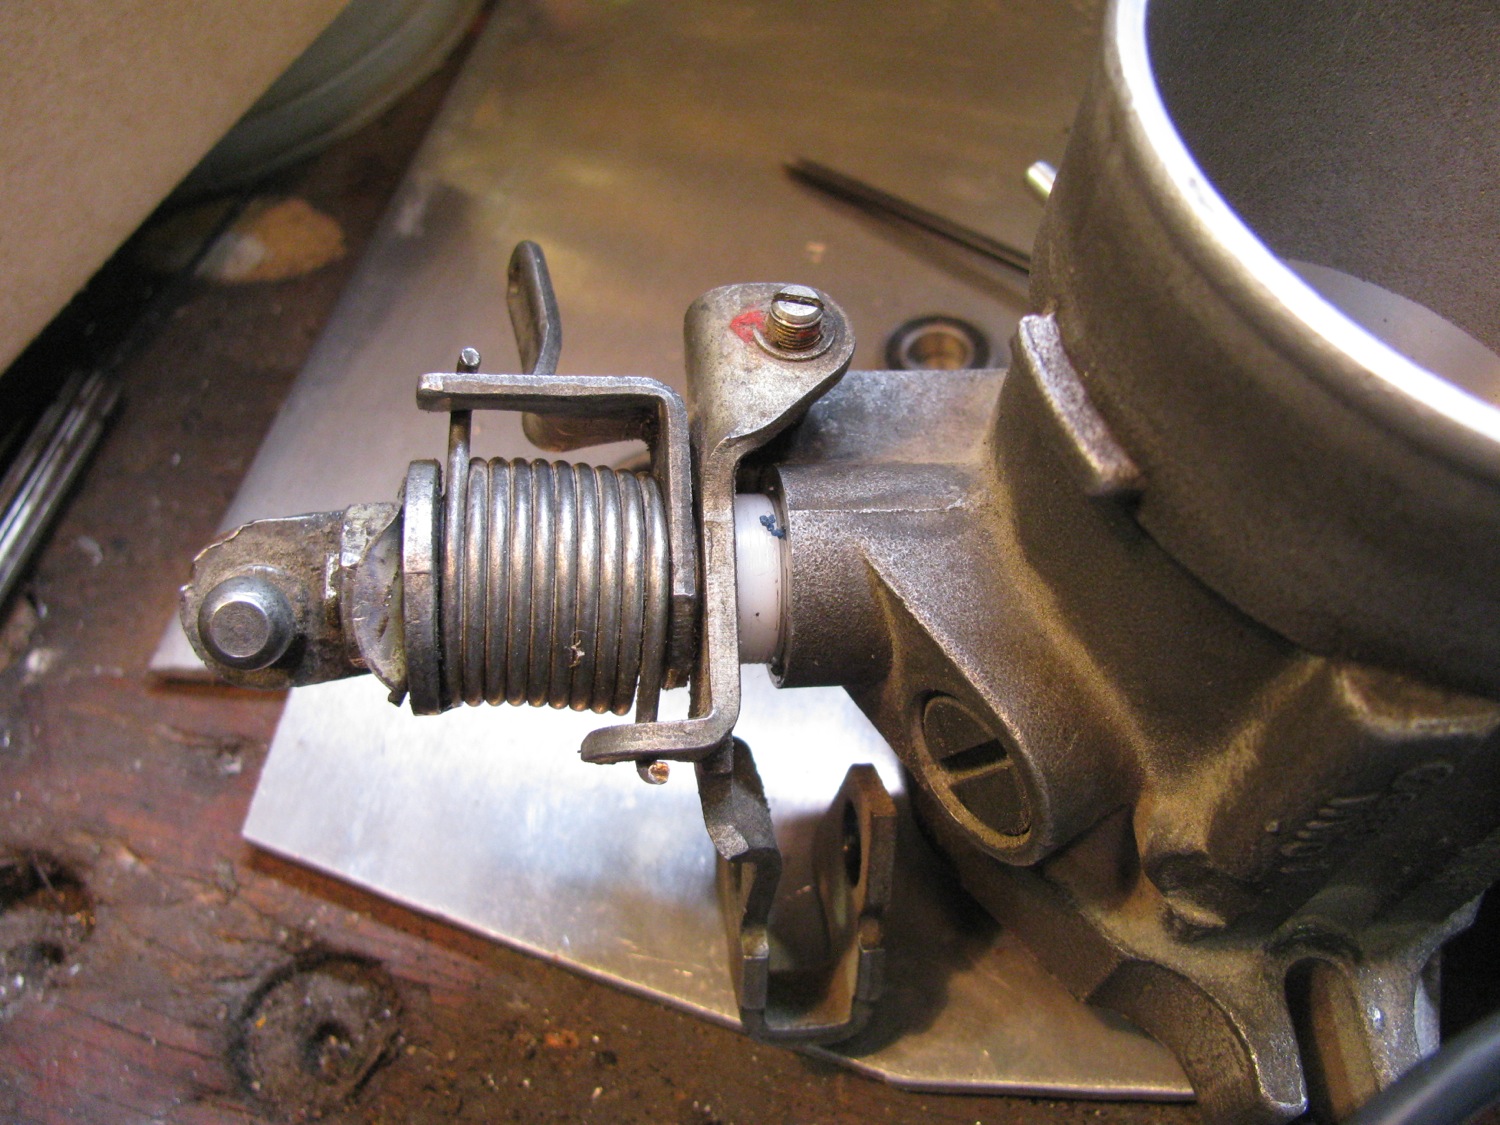
The throttle position switch now is easier to set, there is no wobble in the butterfly shaft.
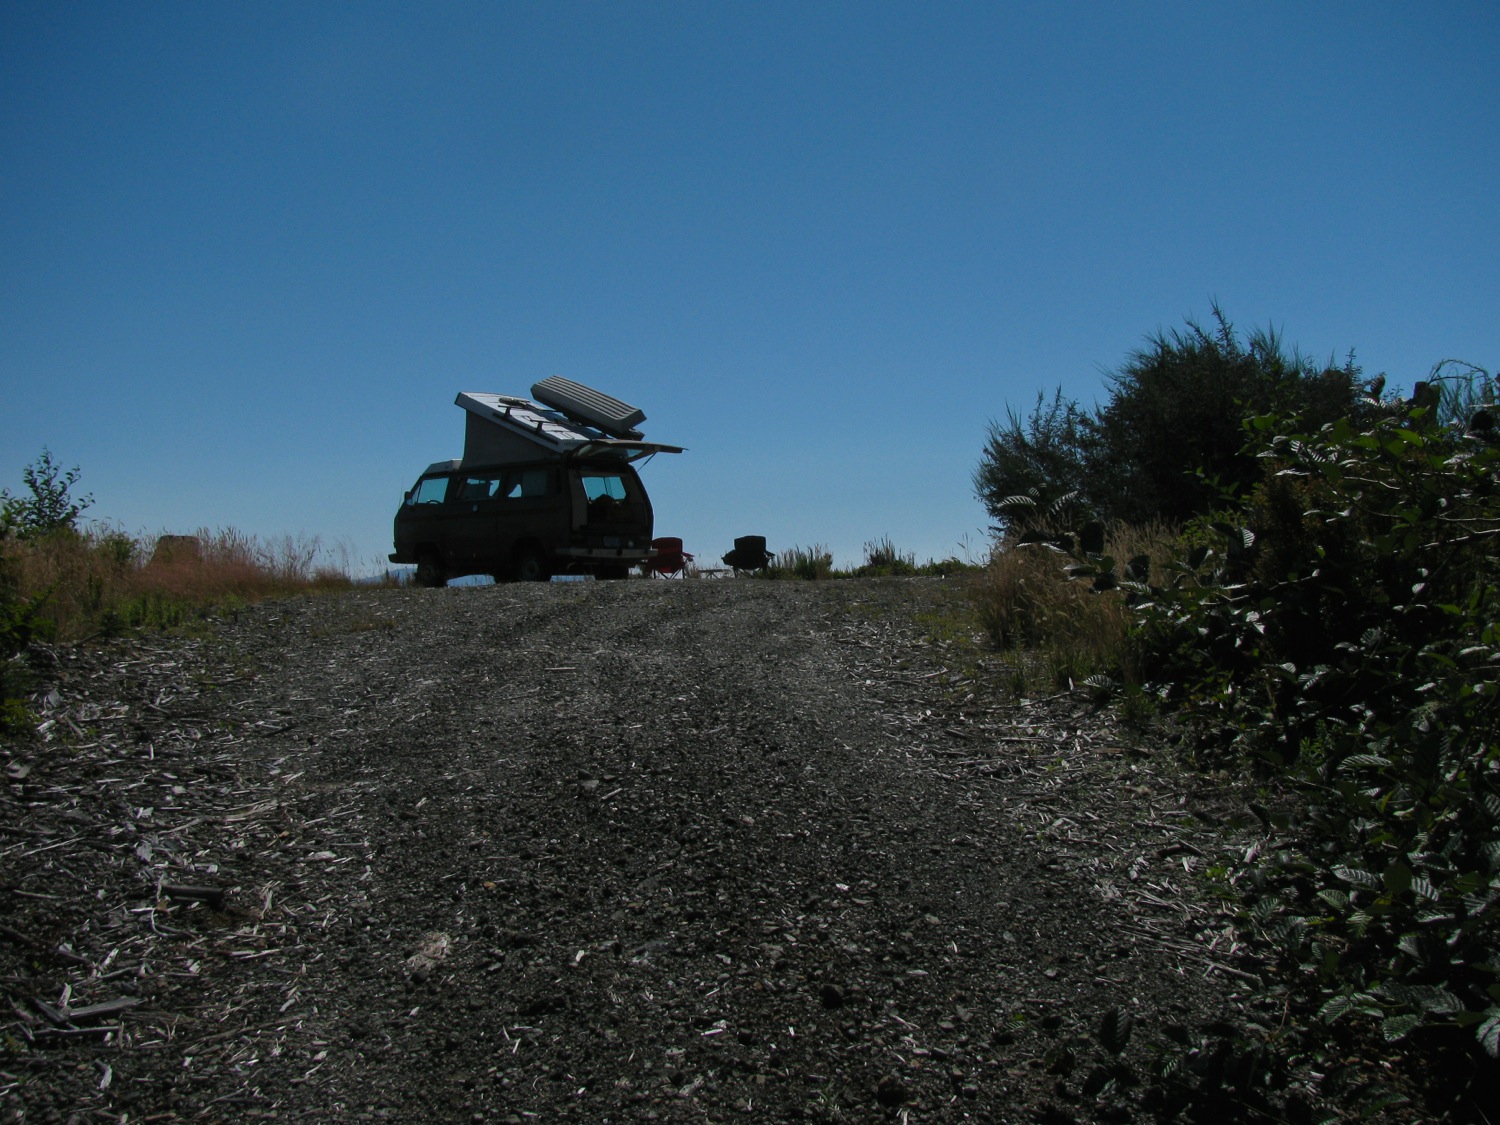
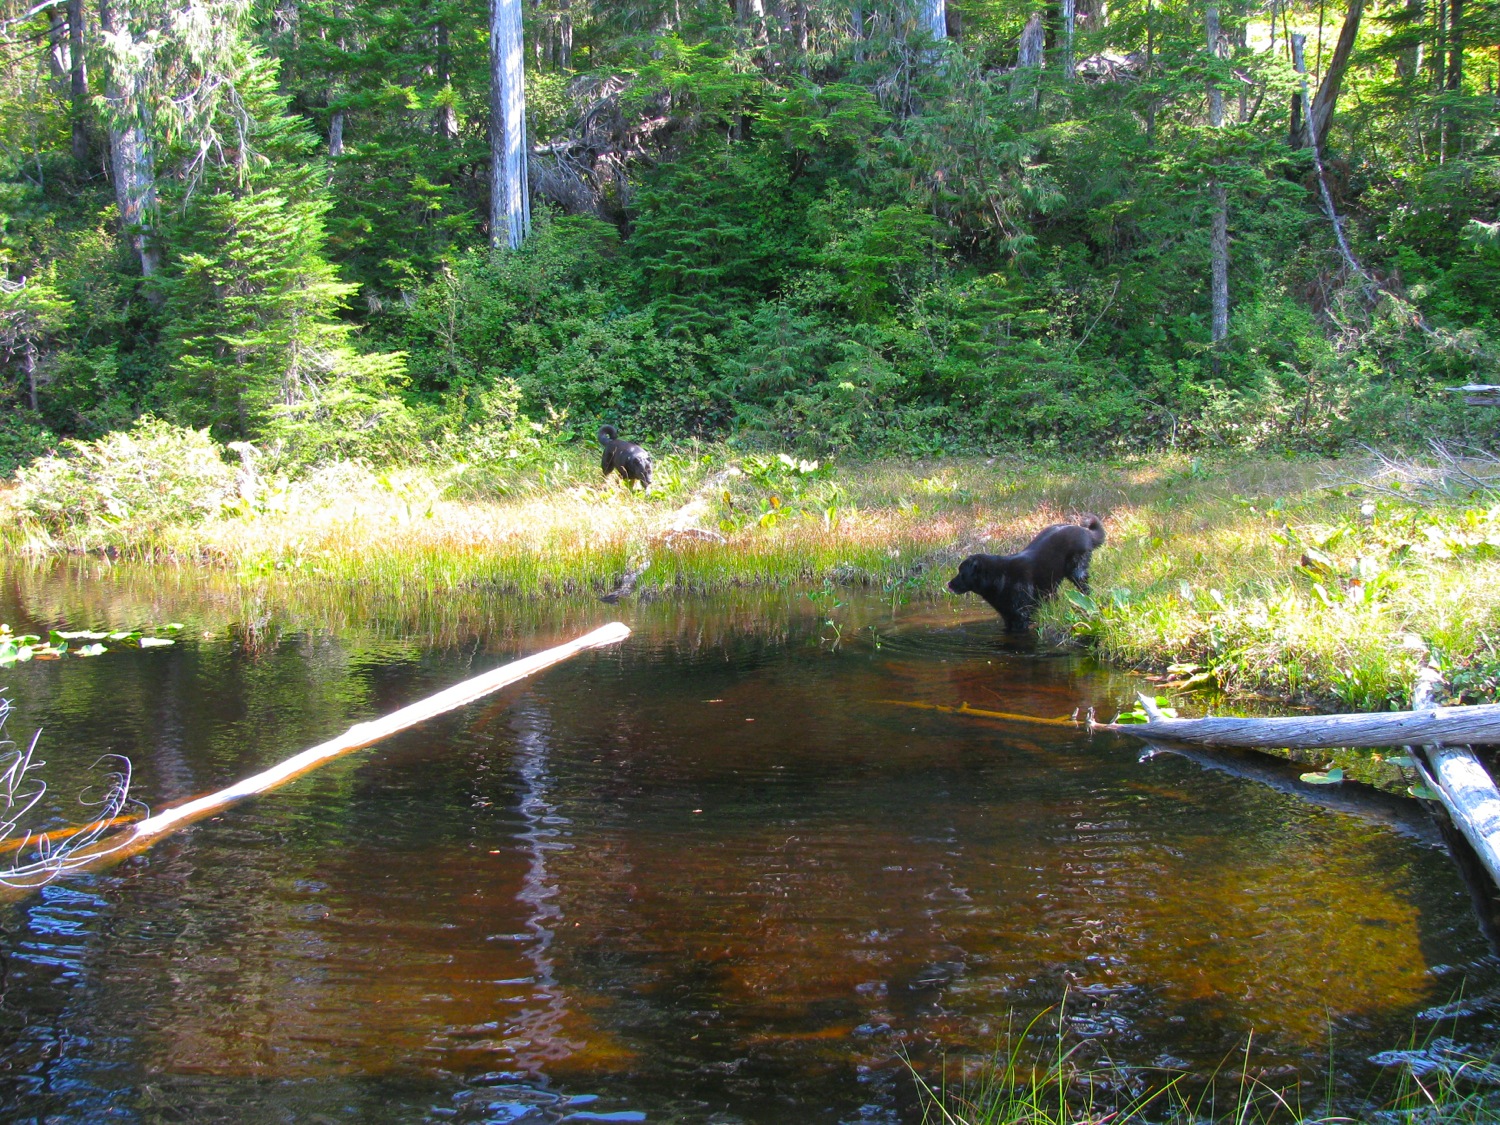
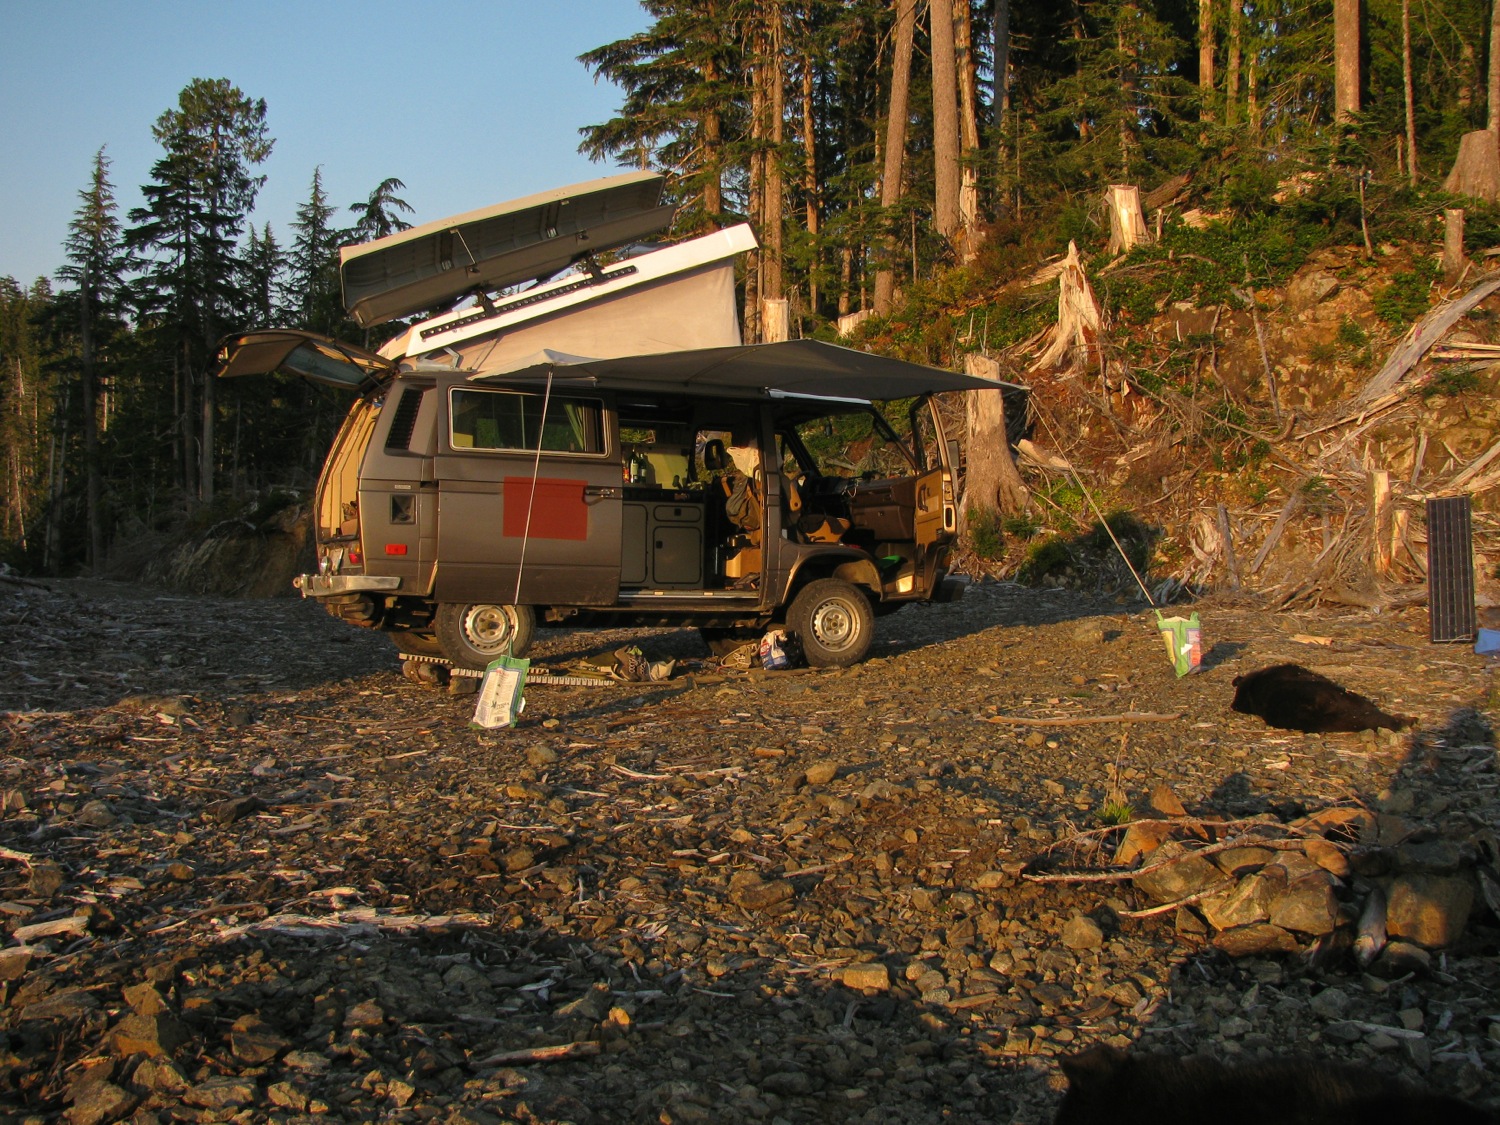
Trips – a couple from August
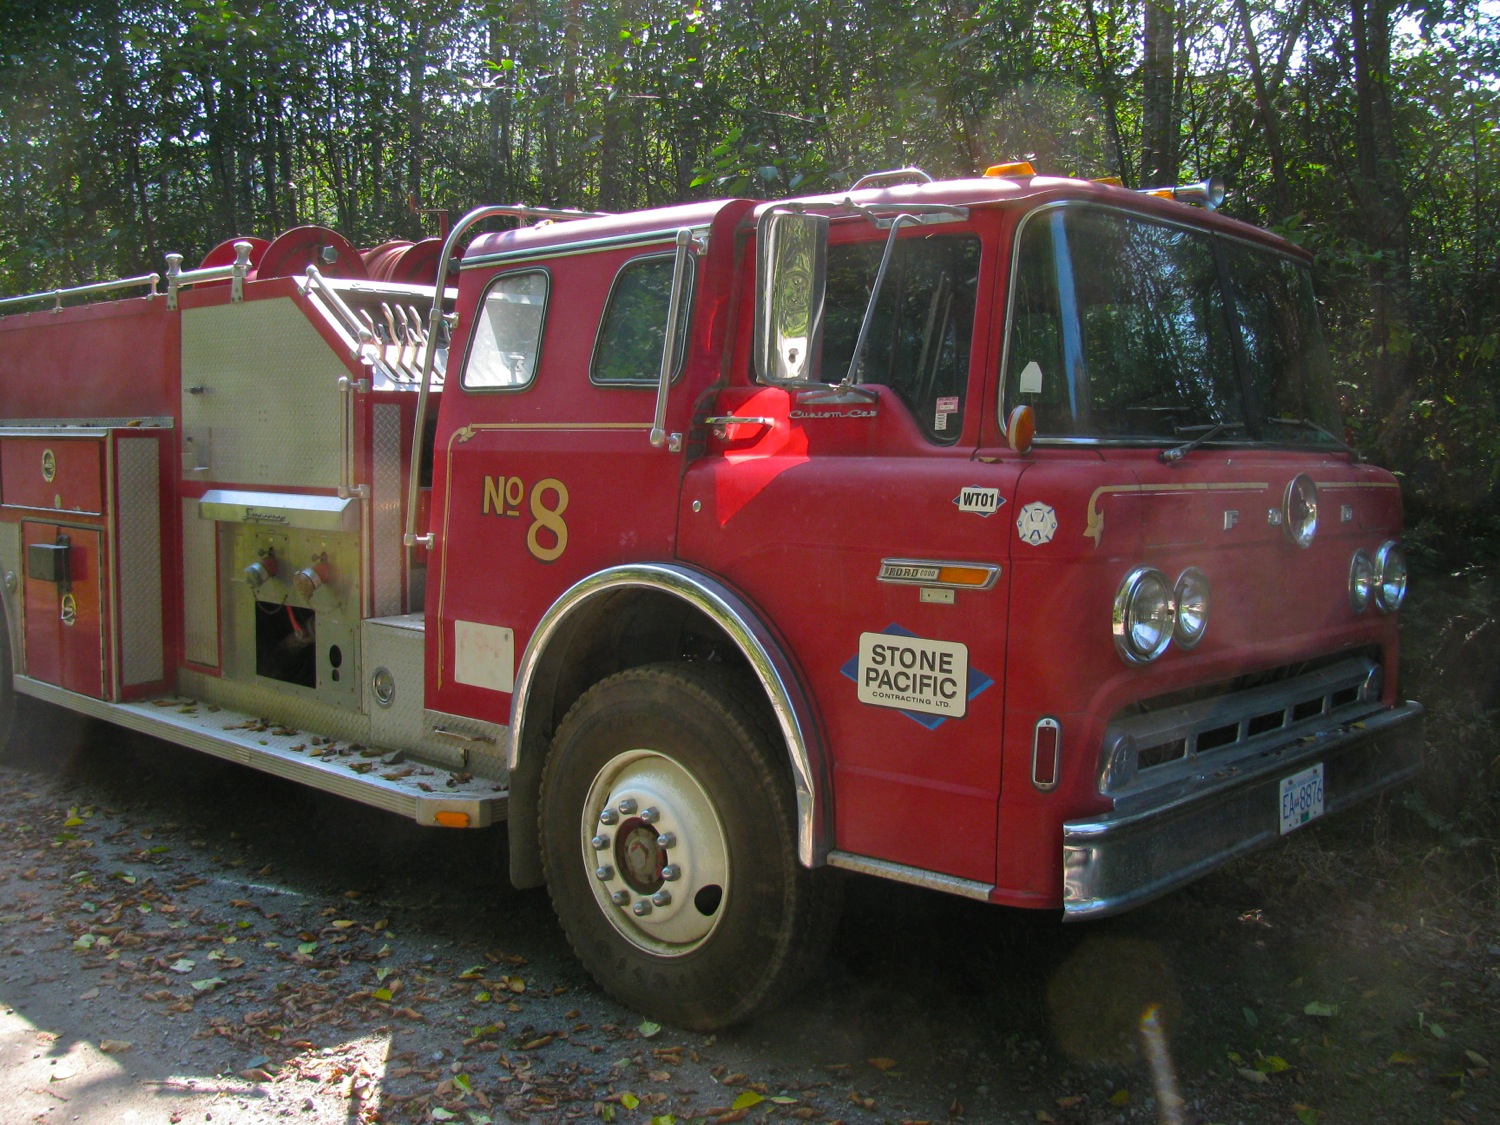
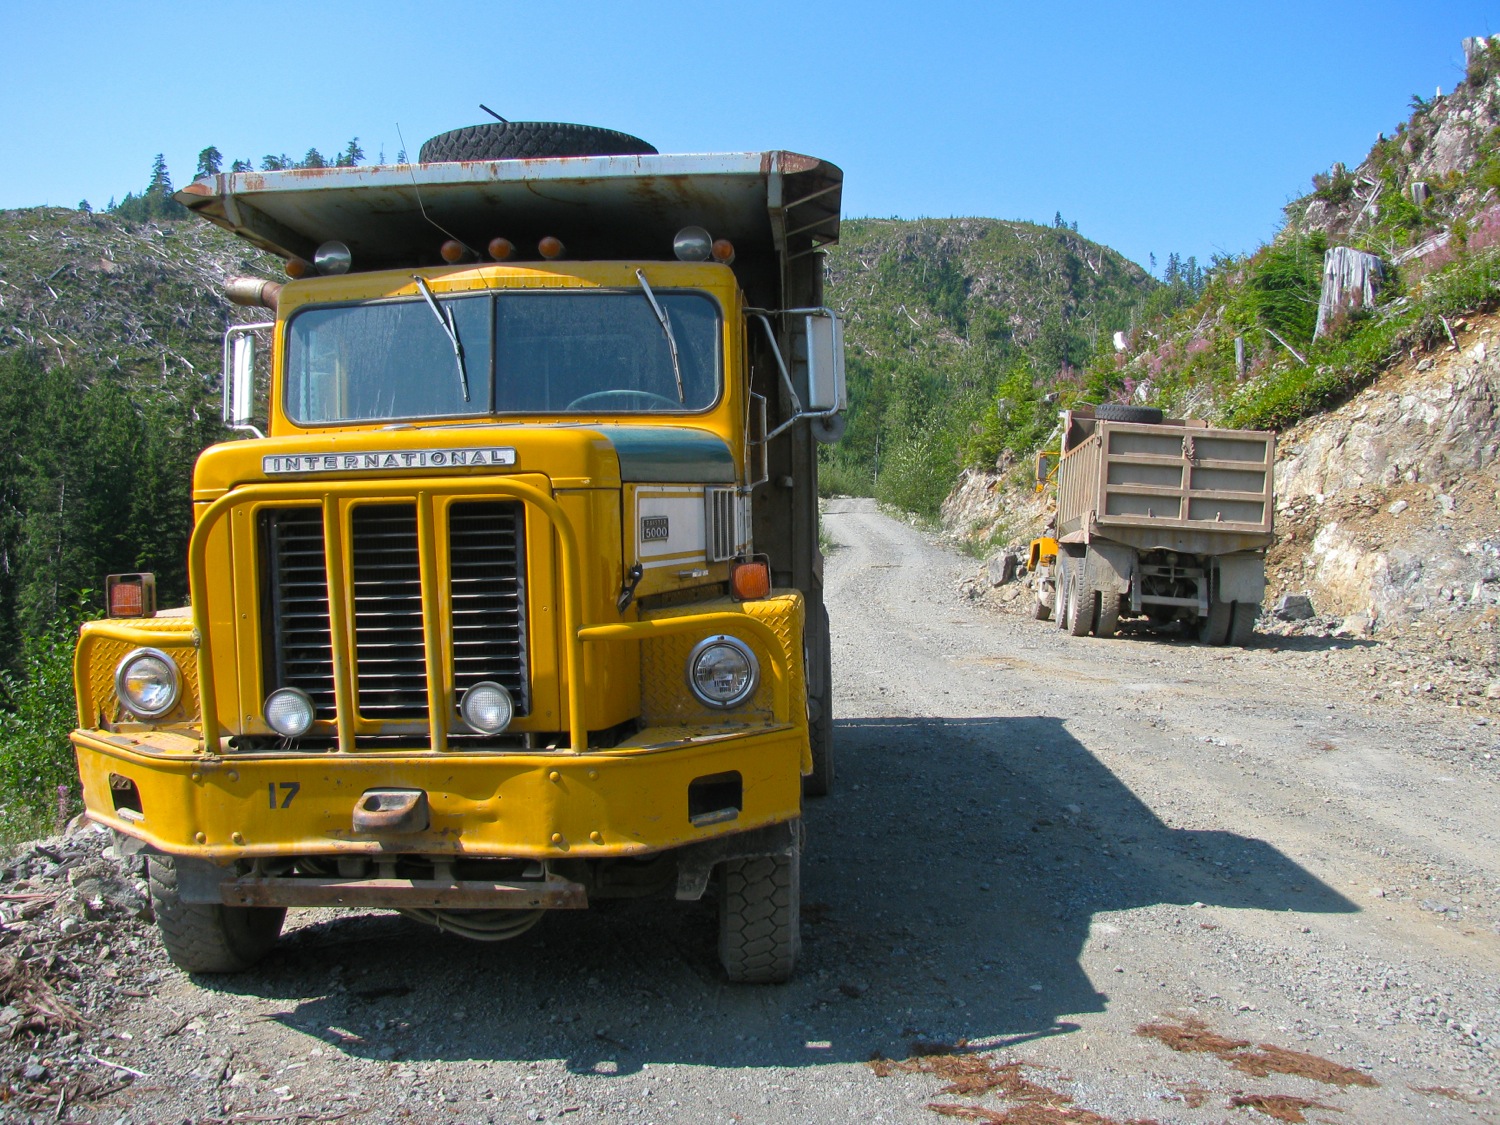
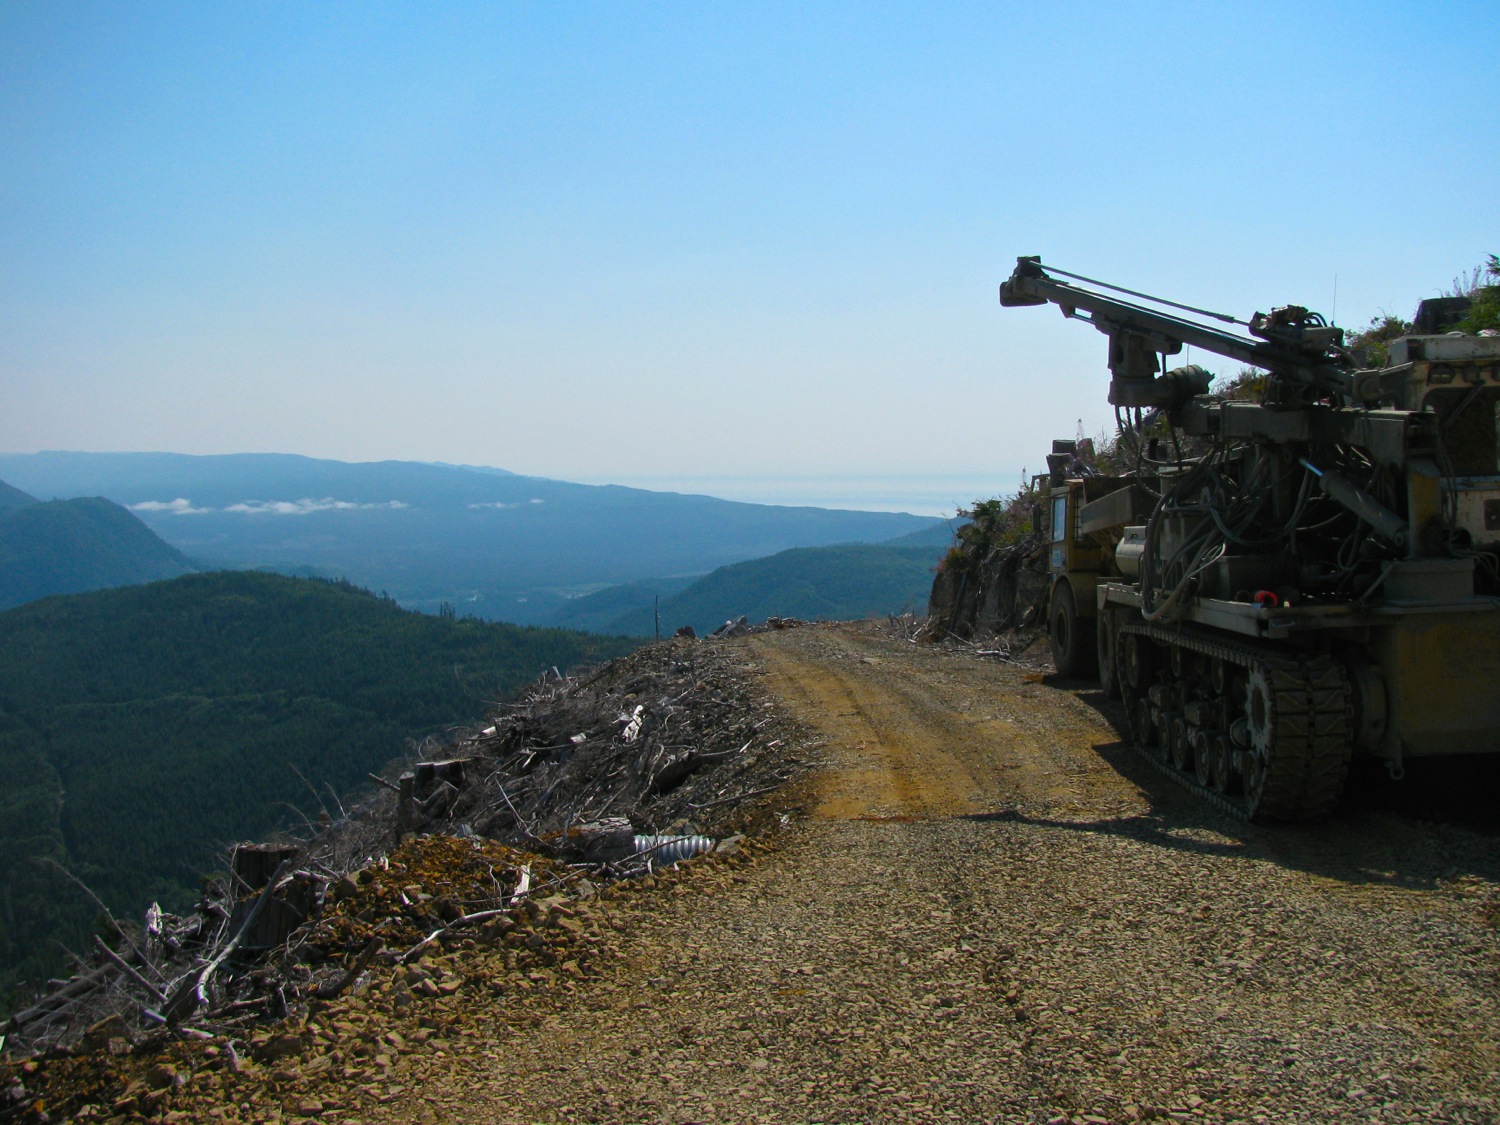
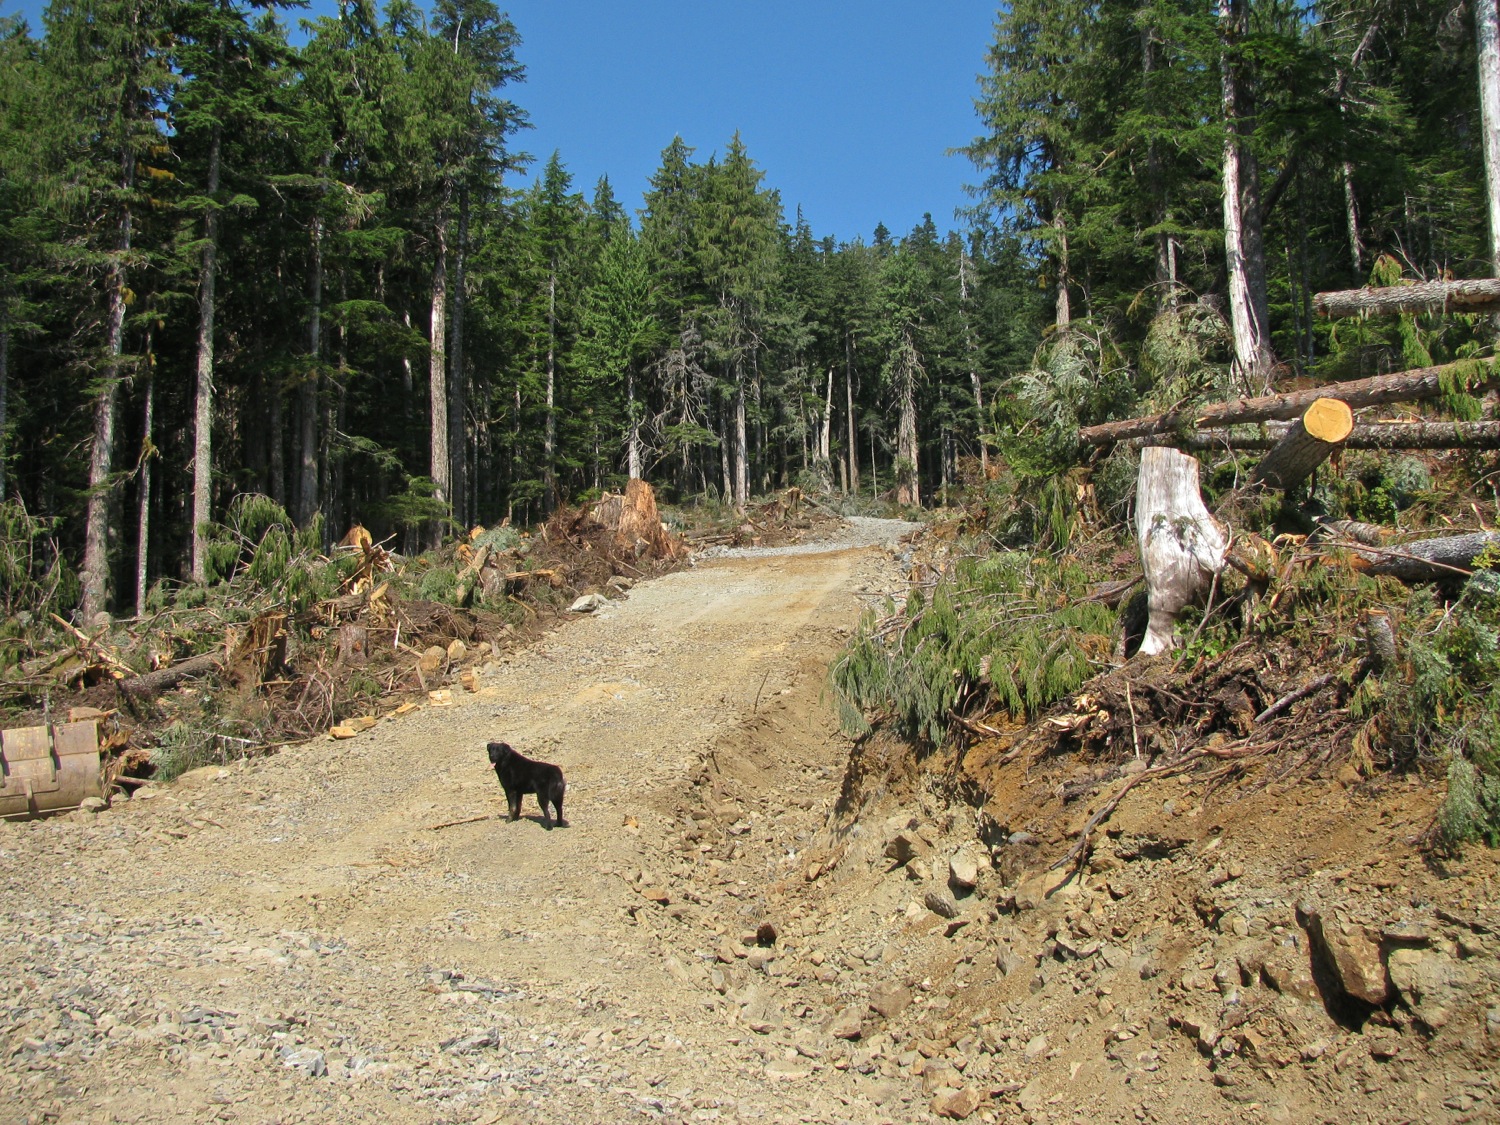
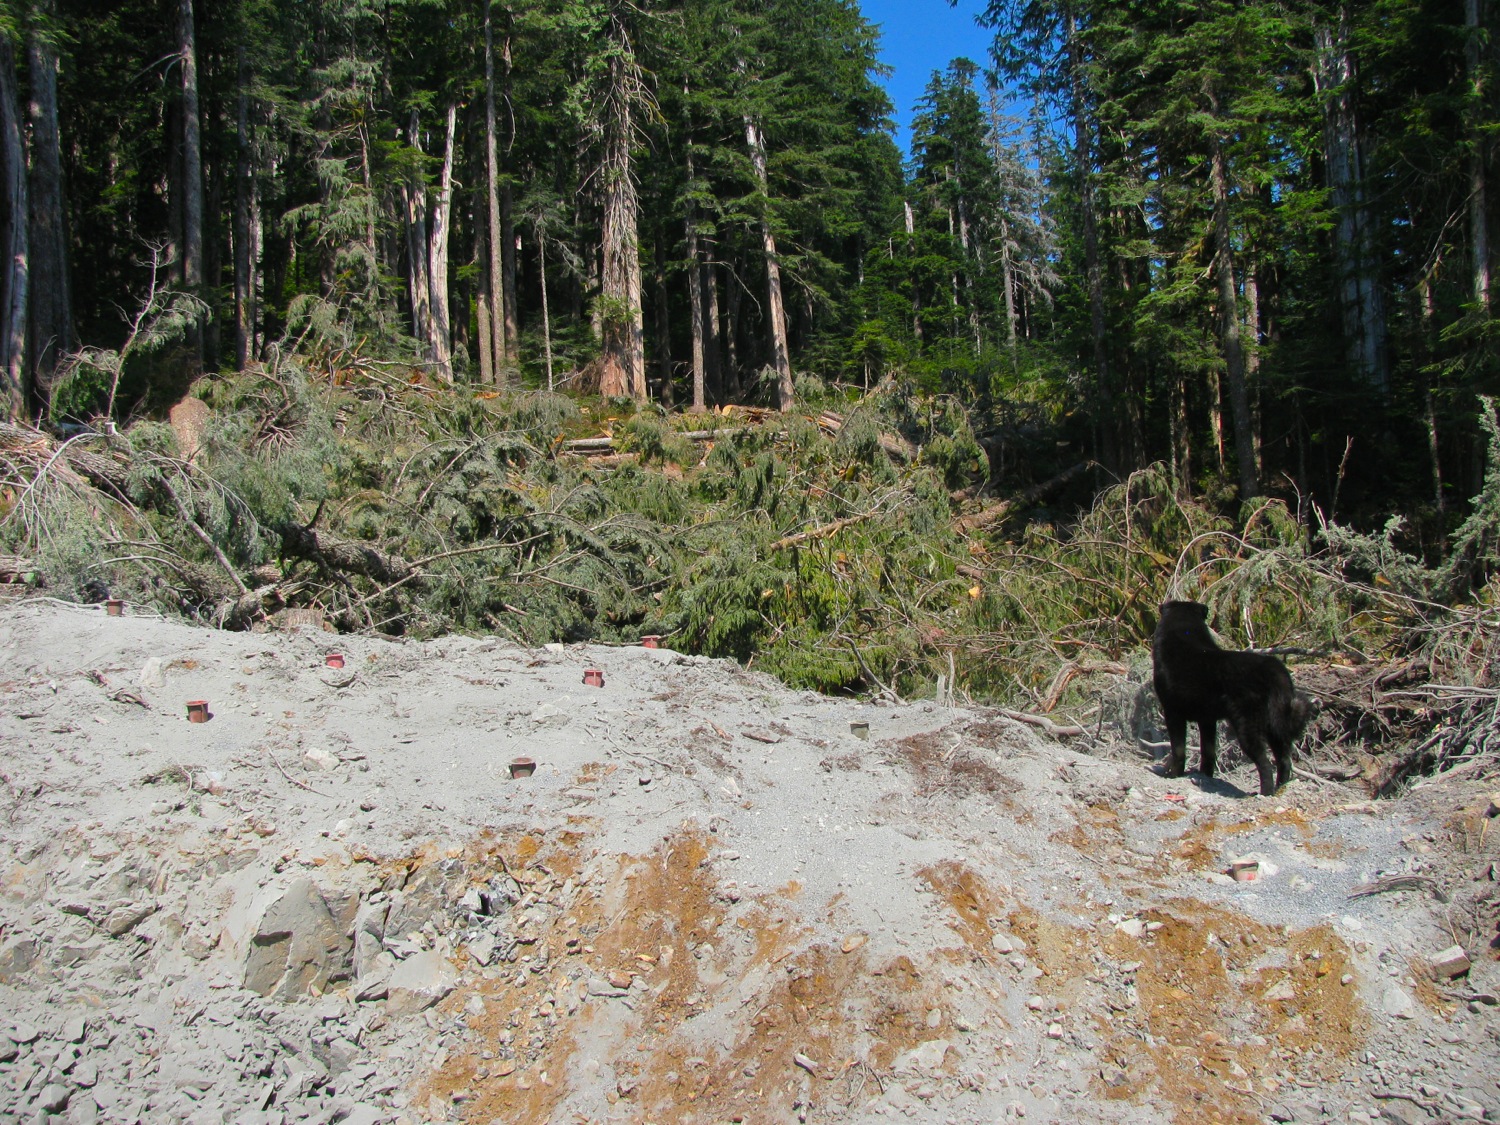
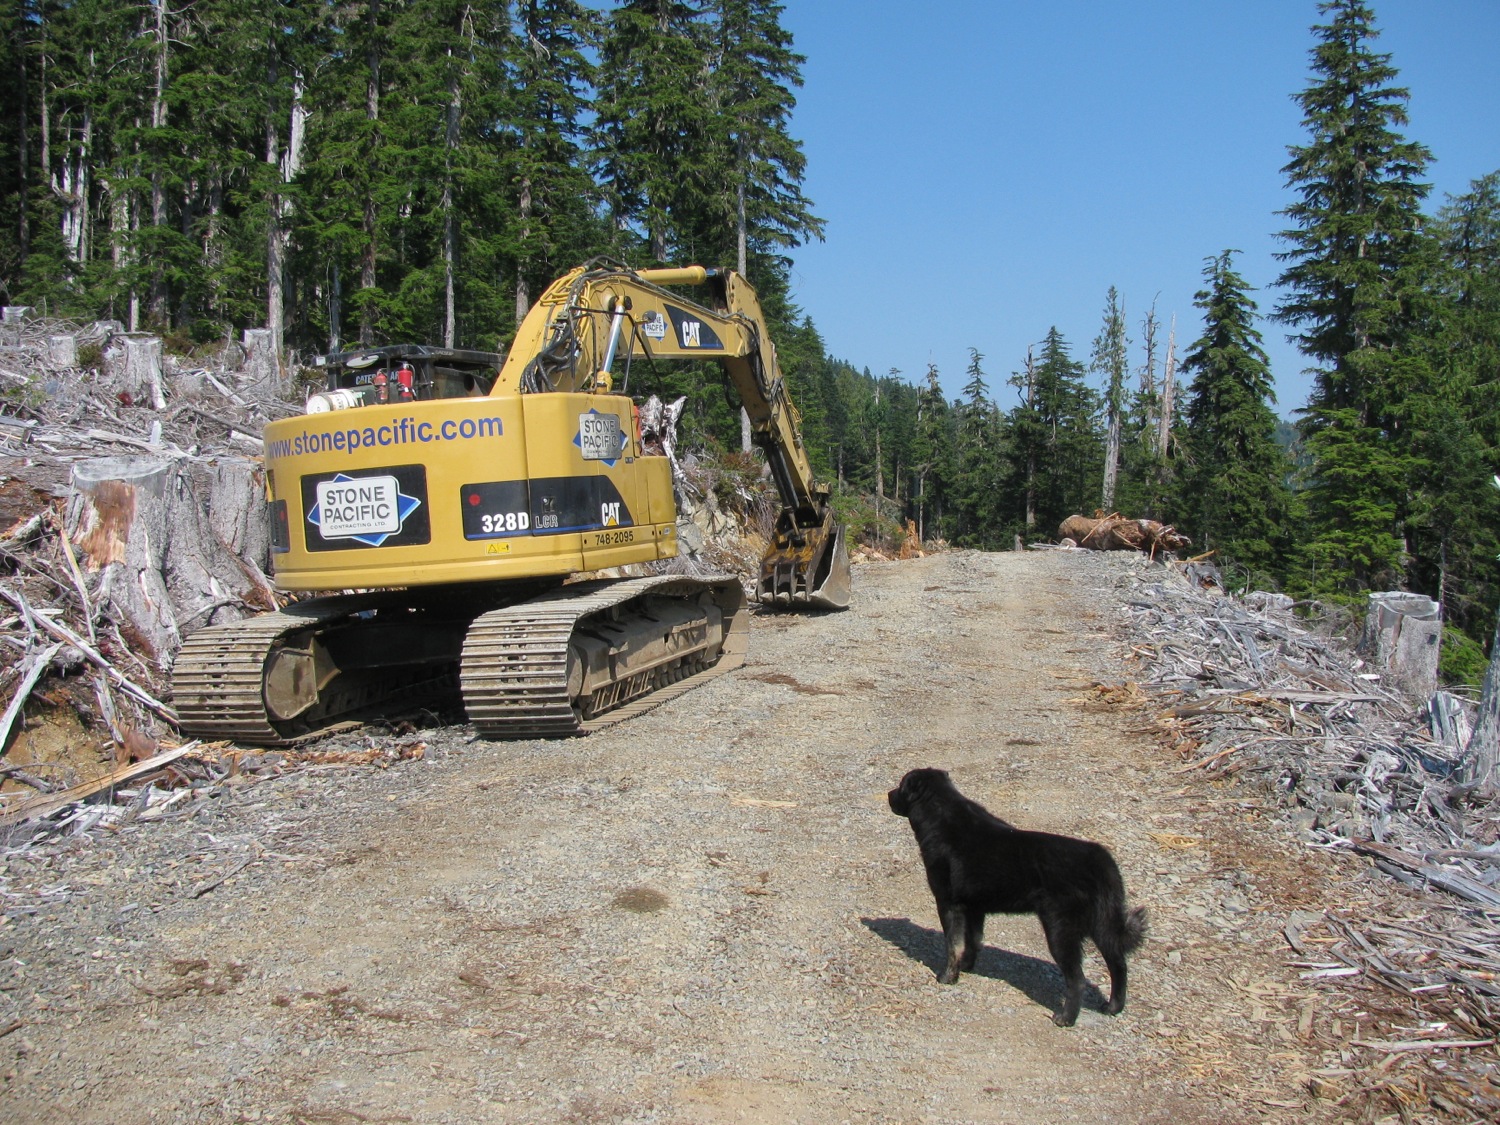
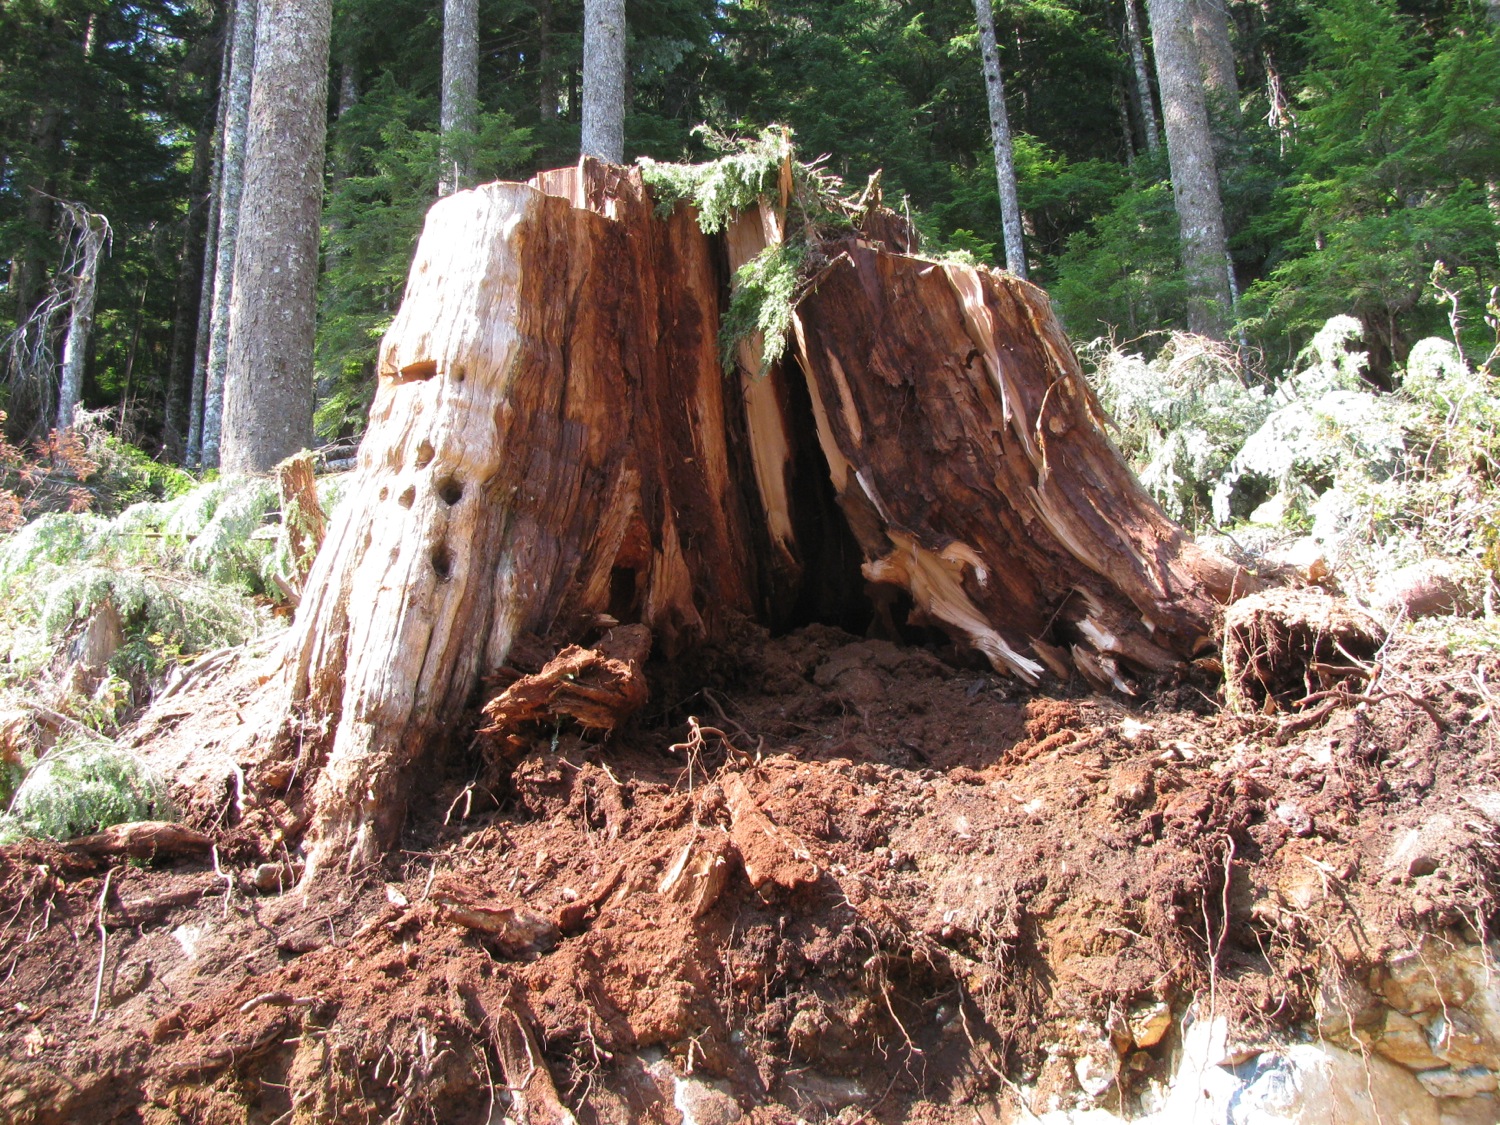
Instead of boring you with text I’ll just post some pics from a couple of trips made in August. The road building is at about 750m elevation, mostly Yellow Cedar, some Red Cedar (that rotten stump was about 10′ across, some fir and a little spruce. Logging road building now seems to use just a drilling rig, some sort of dump truck, and an excavator. No cat involved. Arrow pointing to the hoosegow above Clallam Bay Washington. Deck cloud makes it look like it is lower on the hills than it actually is. 

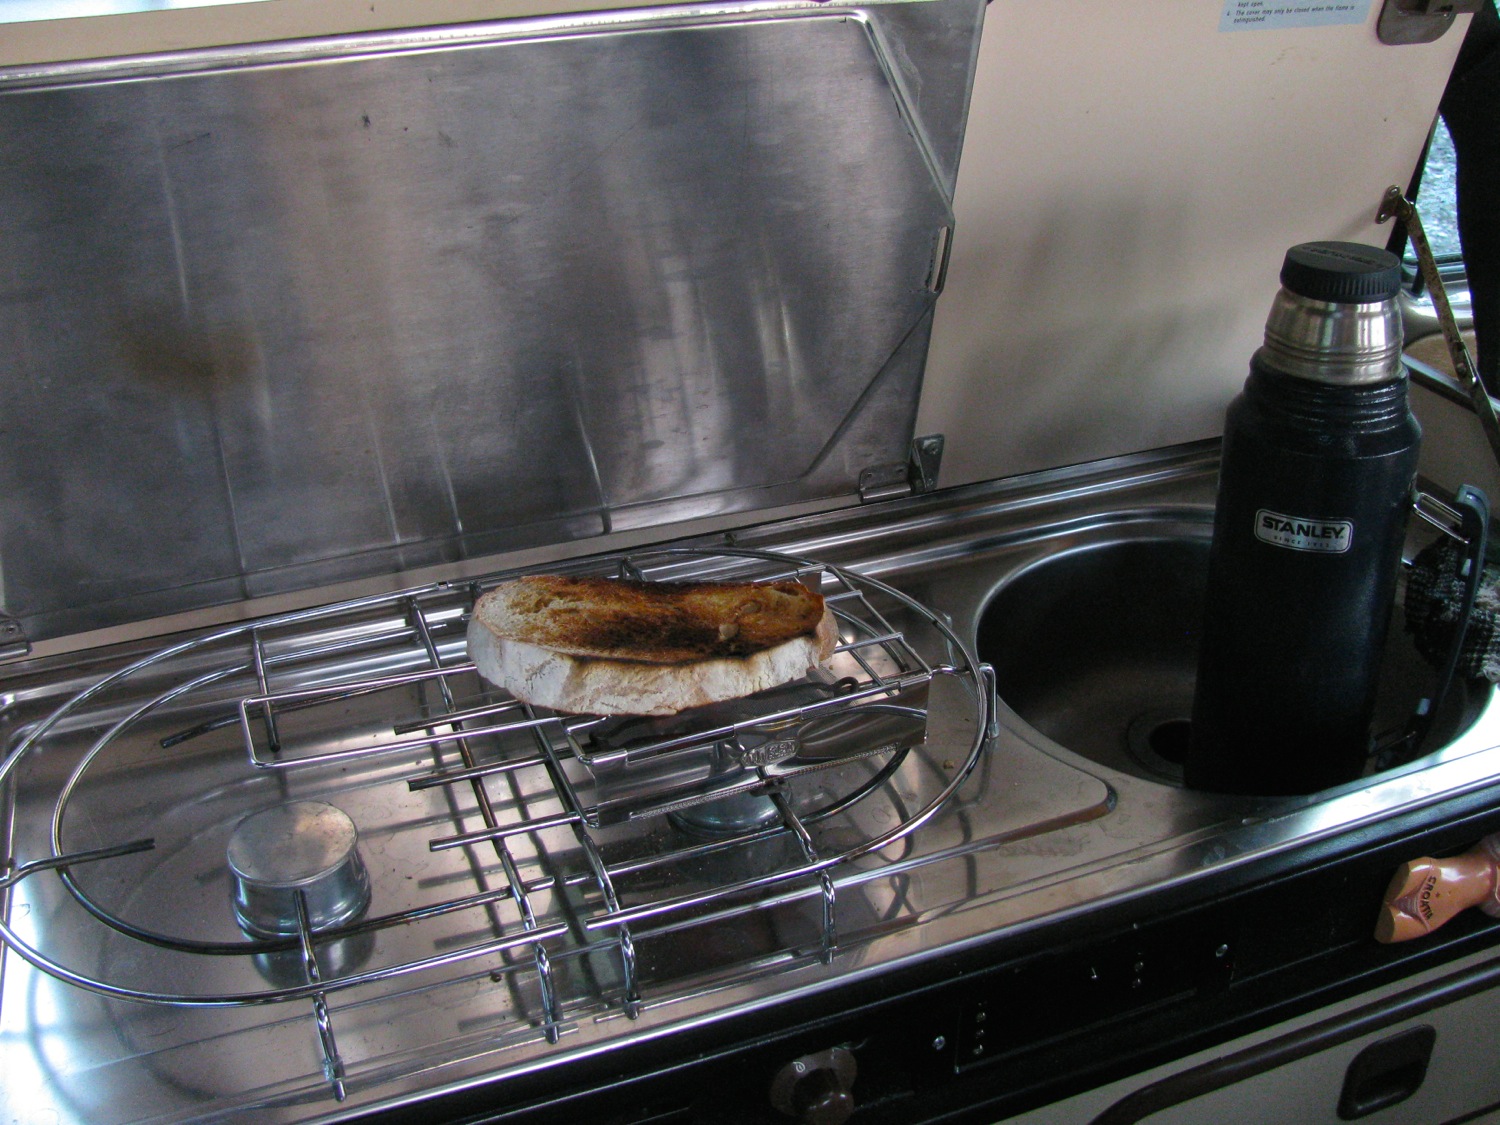
 What’s this, a new toaster? I couldn’t resist, here is MEC link. It works quite well.

 You can just make out the beach at Port Renfrew in this pic.


ok, got some vid clips, left over from personal stuff, of these two trips. Really not very well done or exciting but I thought I throw them up here. The fast motion part was trying out a not very successful dash mount for the GoPro.
Vanagon – front suspension bushing work
Posted by albell in syncro specific repairs, vanagon, vanagon mods on September 12, 2014
About a month ago i replaced a few bushings on the front suspension of my ’86 syncro. They were they sway bar to body bushings, the sway bar drop link to control arm bushings, and the steering rack bushings. I replaced them with Whiteline polyurethane bushing from Chris at T3 Technique. I can whole heartedly endorse Chris for his great customer service and products.
So first the easiest, the sway bar to body mount bushings. Here is a pic of the one of the original rubber bushings.
A couple of 13 mm head nuts and bolts and the mounting bracket comes off. Note the spacer used in the syncro bracket.
New bushing comes in pairs, and with a sachet of grease. Grease is important in polyU bushings. They do have a reputation that they squeak, so you must grease them up with s low wash out grease. T3 techniques sells a couple of greases, and I bought one of them, Accrolube. I didn’t know when i ordered that the Whiteline bushing come with their own grease. So you might see in the pics that i have used both the black grease from Whiteline, and the blue Accrolube. Note that the Whiteline package has instructions on where to apply the grease, important for bushings that undergo twisting motions.

Pretty easy install.
Next up are the drop link end bushings. You can read all about what I had done to the drop links a few years ago here and here
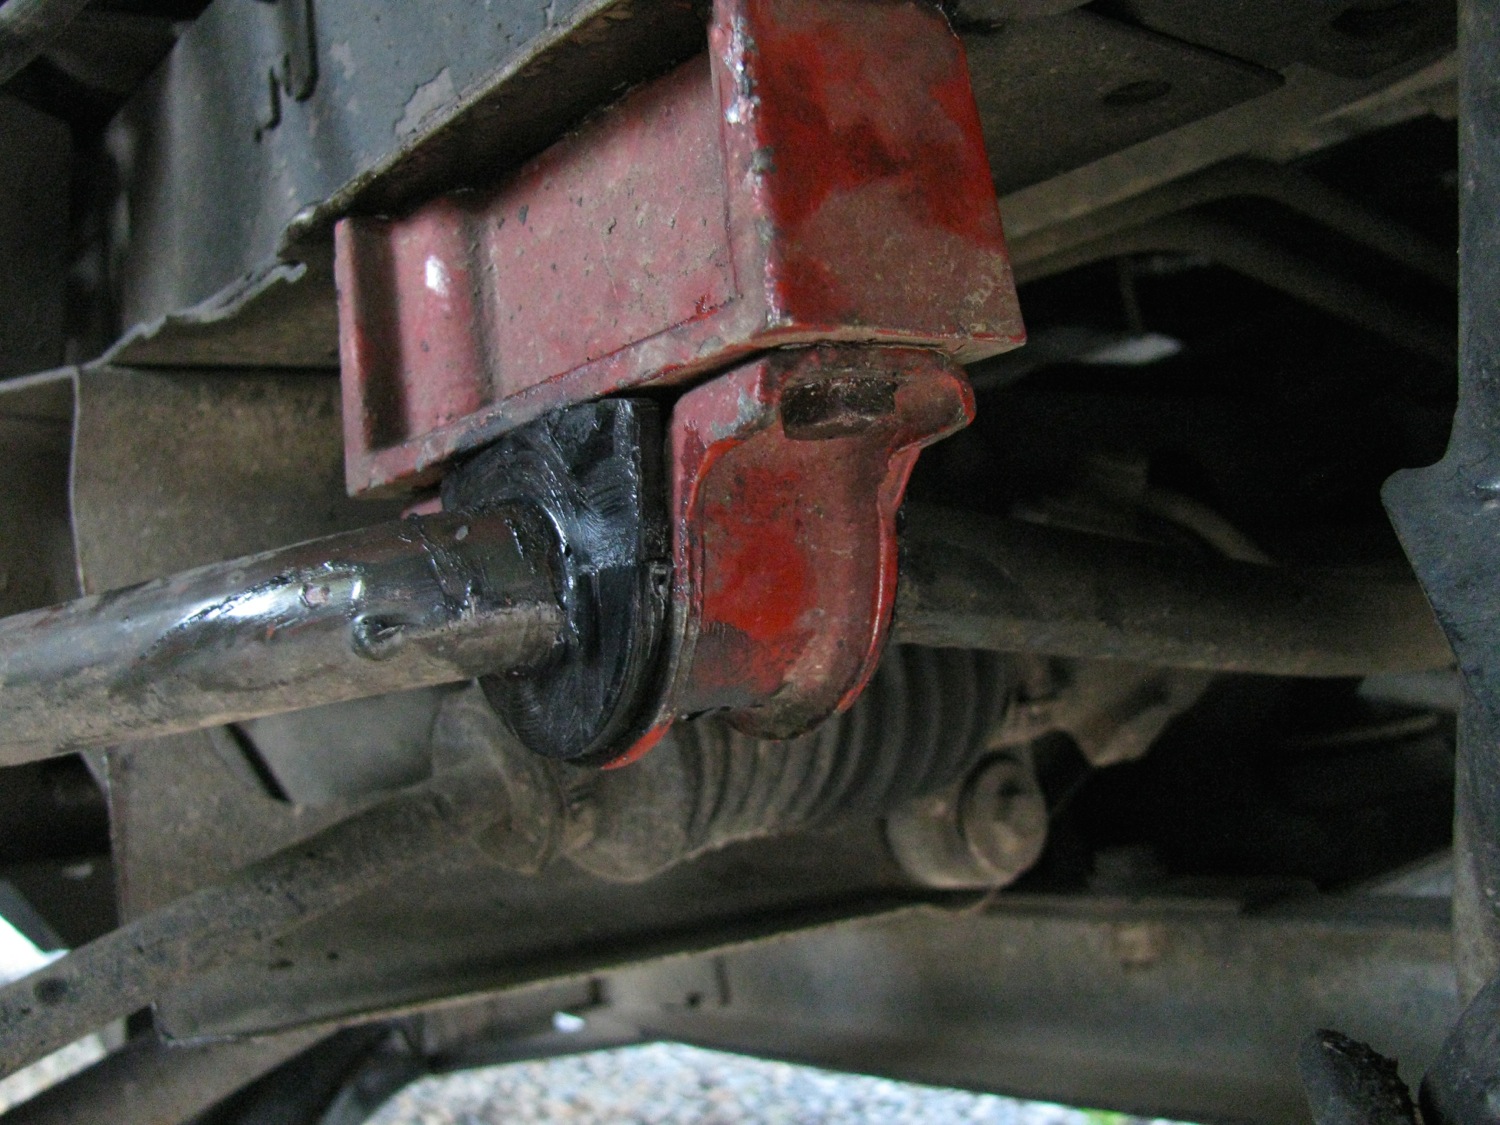
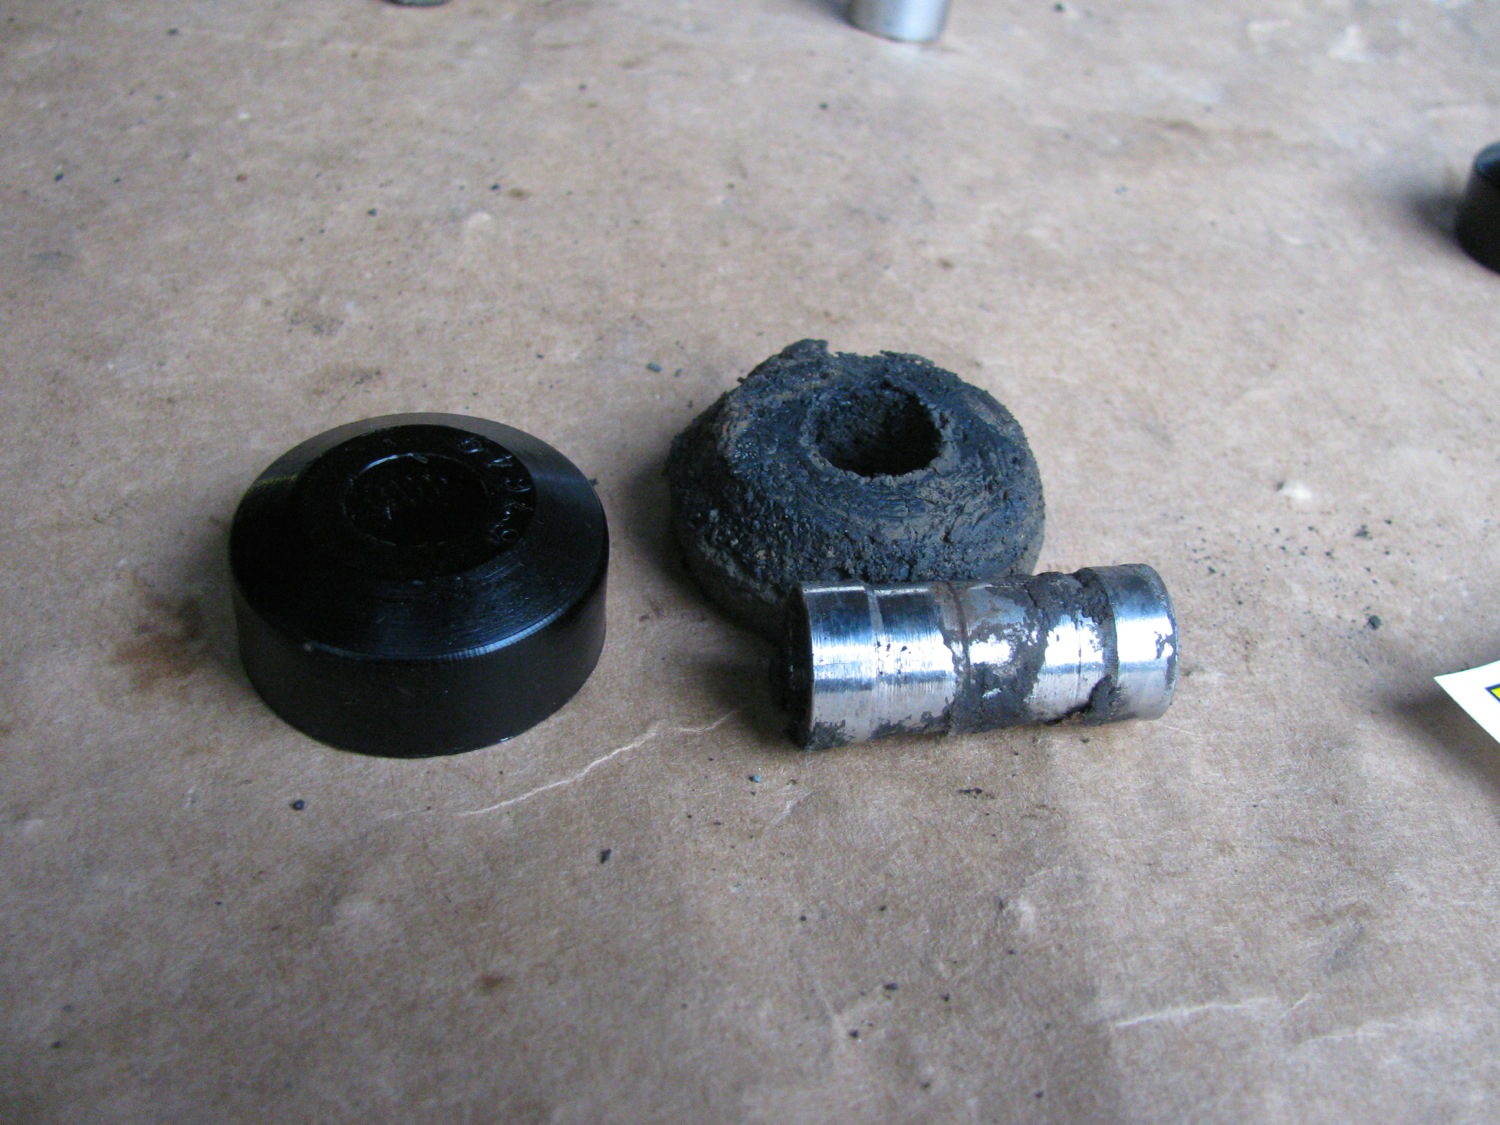
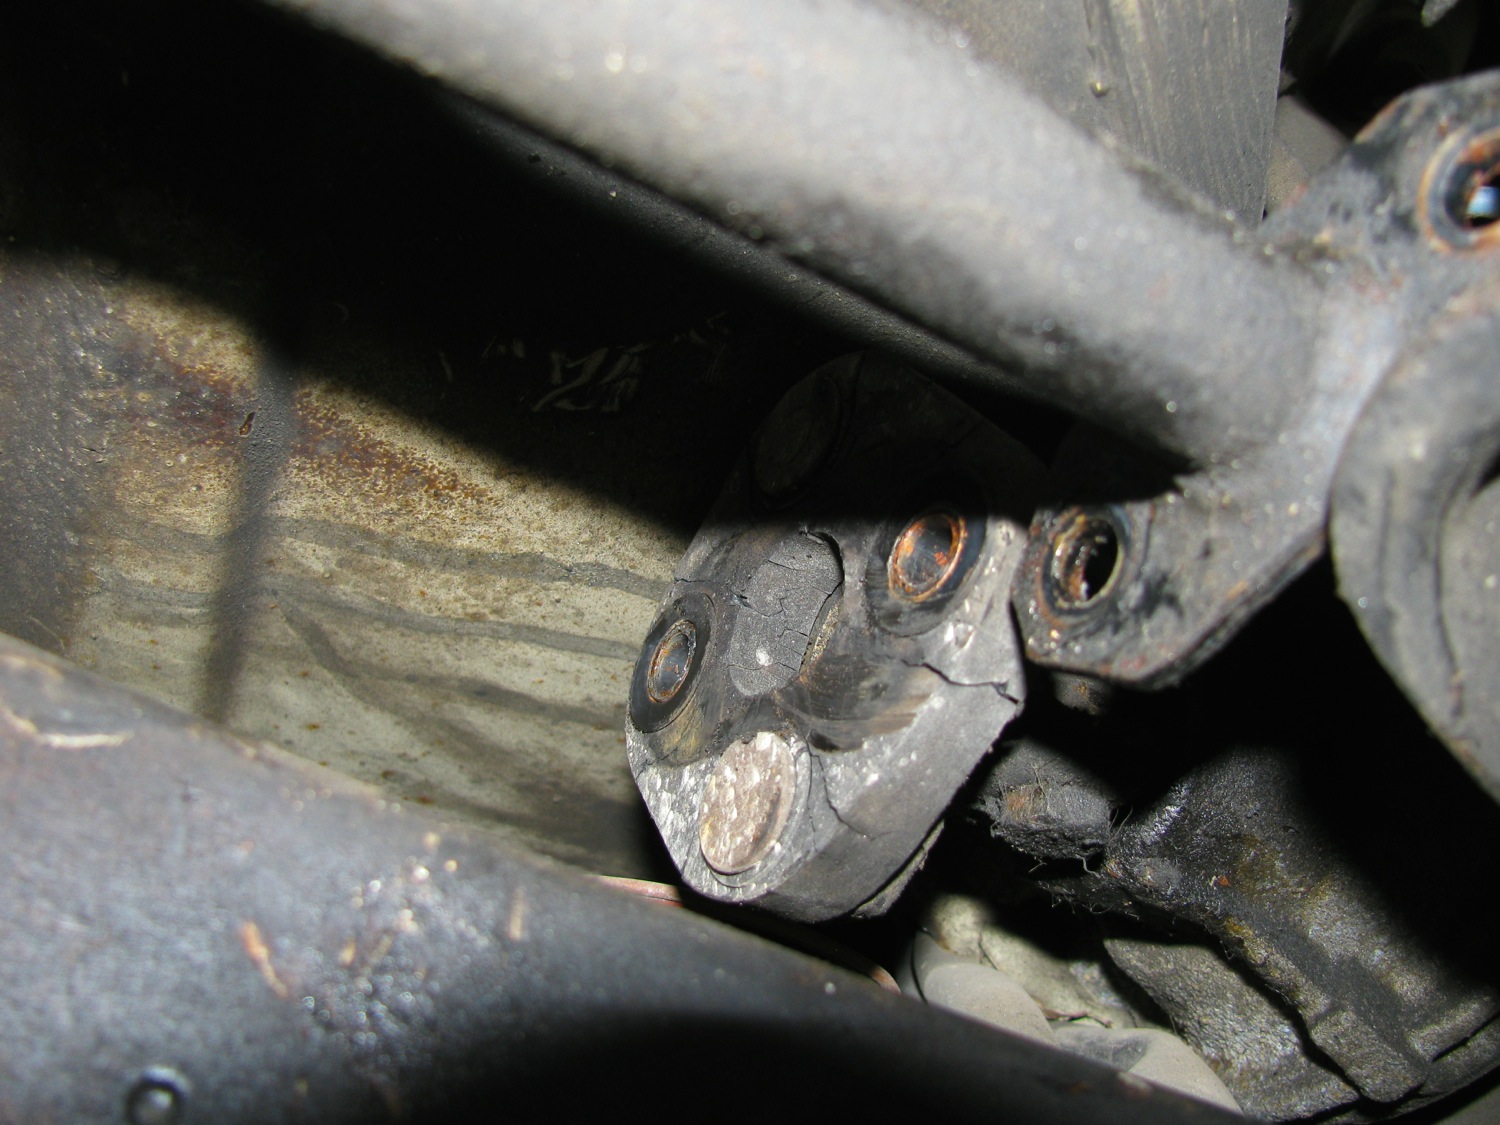
So far all the work has been done with van on the ground, but after I removed the nut at the end of the drop link I jacked the van up so that the drop link pulled up and out of the lower control arm. Be careful or course, block the van, support it etc etc. the drop link will come up out of the hole and then you can pull the sleeve and the topside bushing off. Look at that old bushing, that old home made bushing 🙂

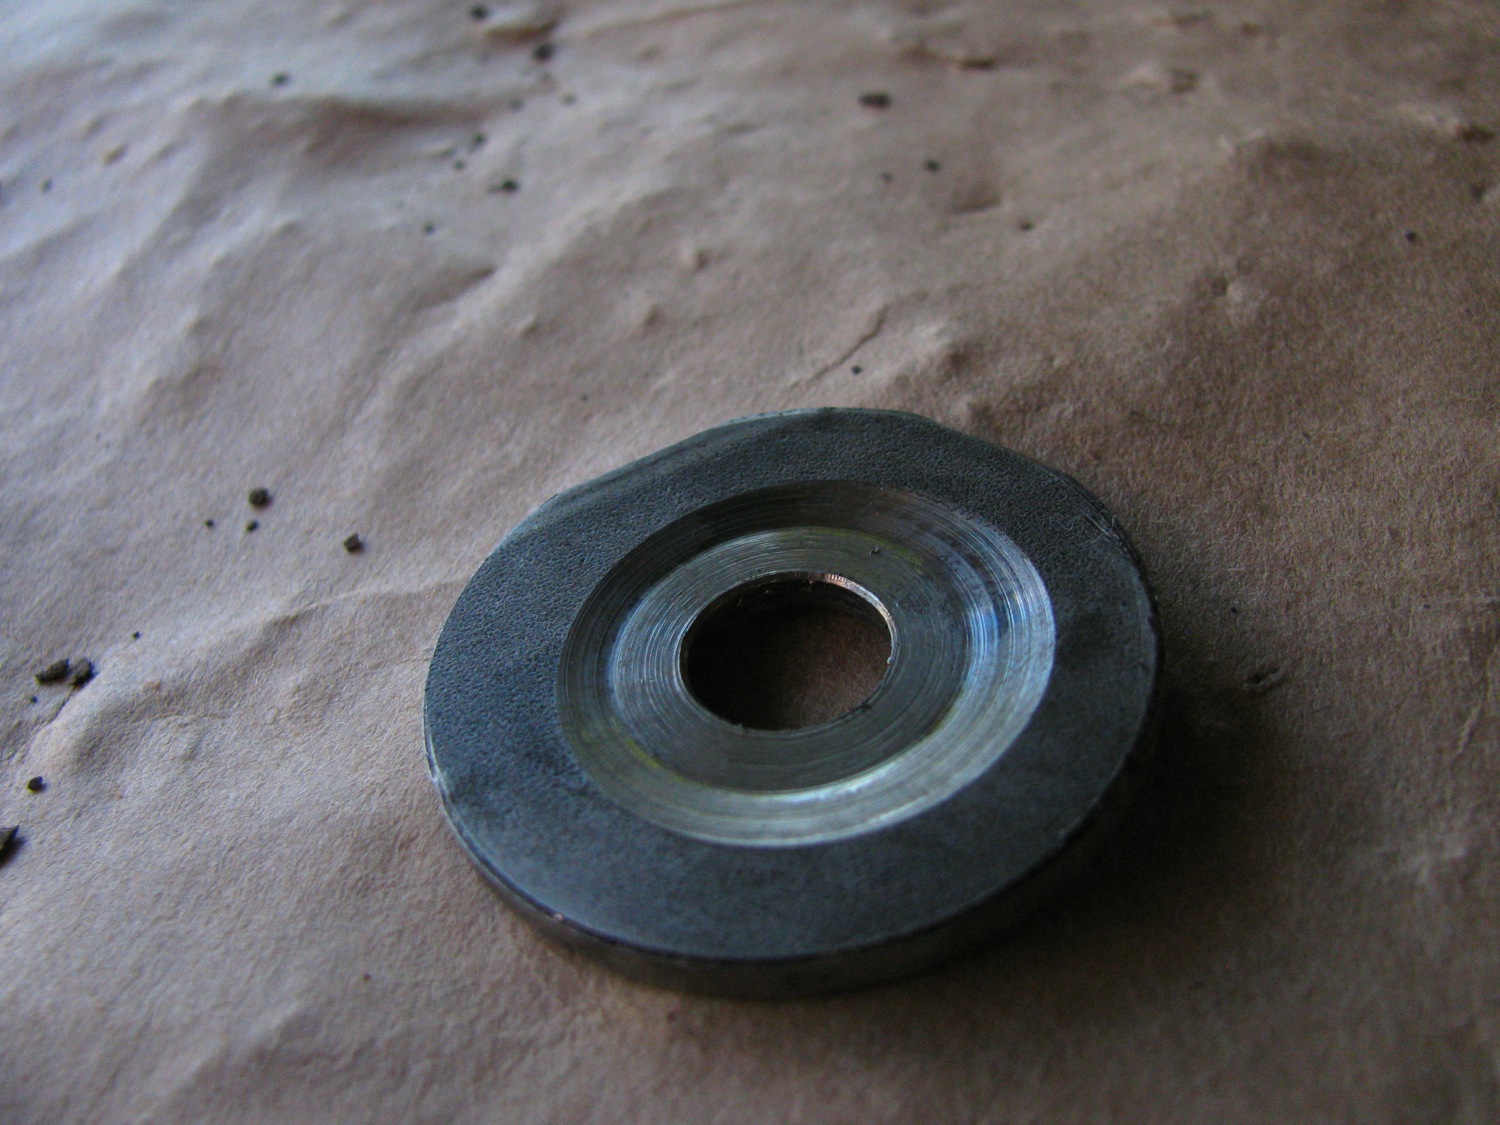
The homemade sleeve is holding up fine. Interesting grease residue marks in the middle, showing the edges of the bushings? also note the shape of the new bushing. It is flat one one side, domed on the other. The domed side goes into the control arm recess, the flat side faces the dished washer. The flat side really should be slightly domed or at least bevelled, I think. Chris agrees. I modified the bushings on the other side, ground a bevel on them, but of course didn’t take a pic. I think the bevel roughly matching the curve of the dished washer would allow a little more articulation in the joint.
Now the install of the new bushings. Dished washer on the drop link first, convex side facing bushing, then a bushing with sleeve installed in it and the drop link inserted in the control arm. van lowered off the blocks so the drop link is pushed in the control arm. but the new bushing is tight and not much of the other end sticks out. So even with van fully lowered, wheel on the ground, not enough drop link is exposed to get the other bushing installed.

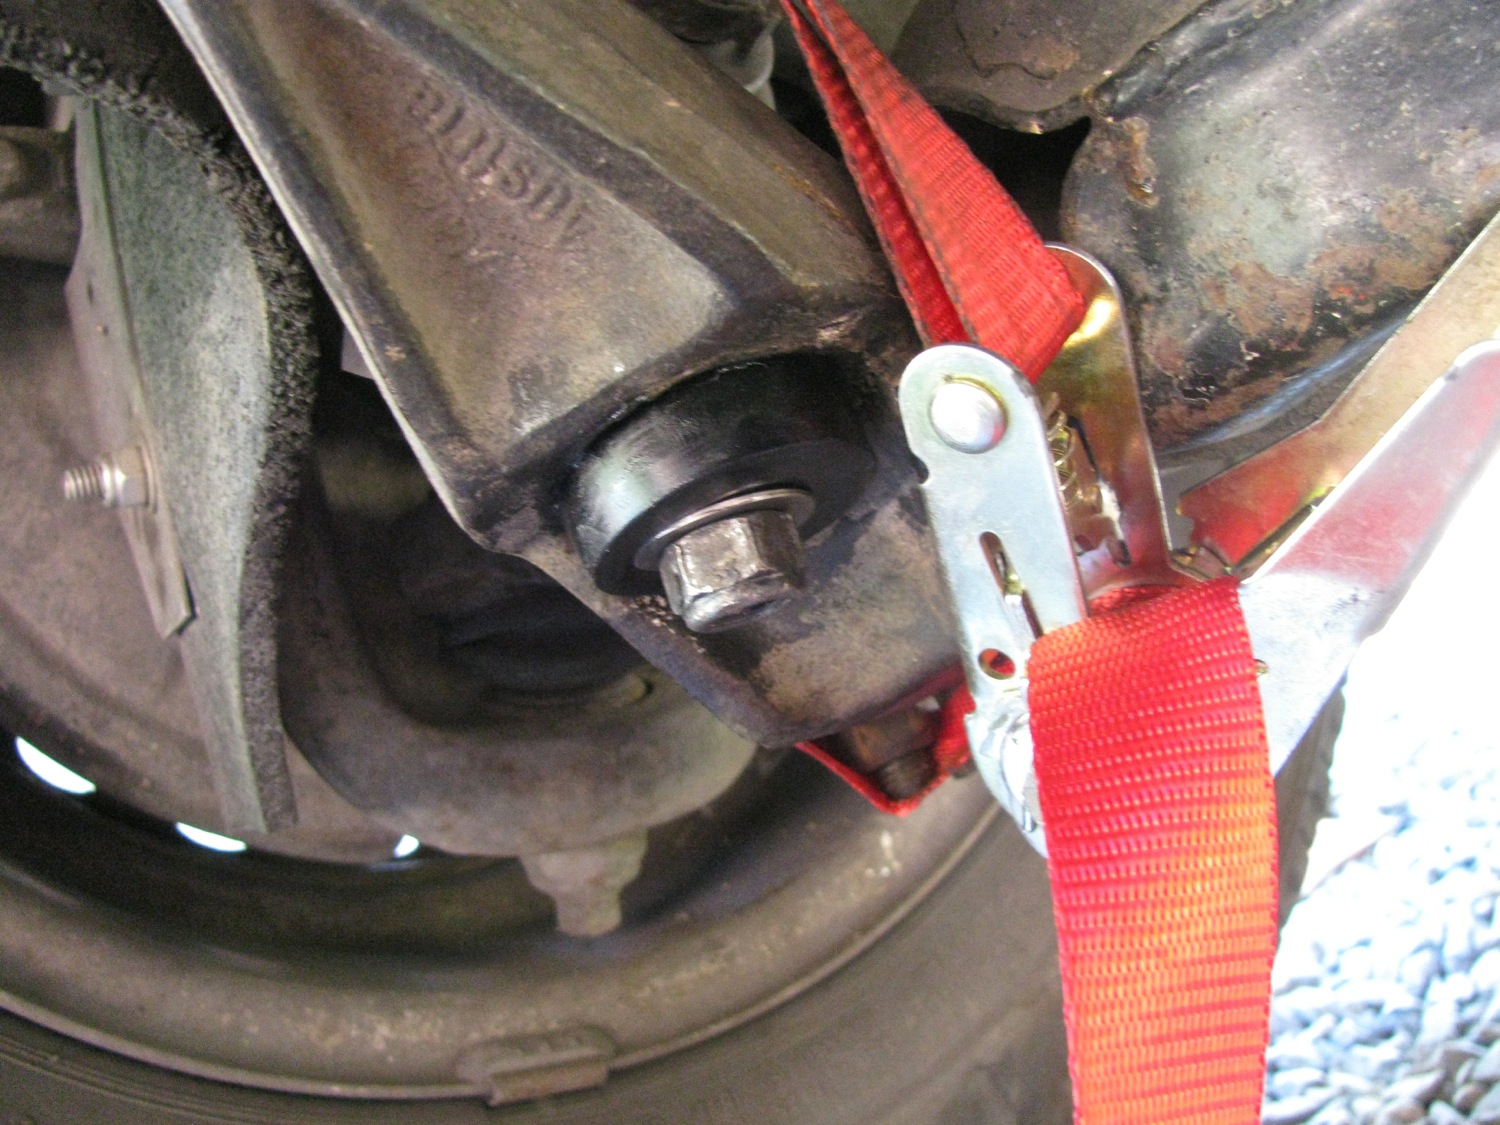
So i rigged up a ratchet strap and pulled the drop link down. Also disconnected the sway bar to body bracket. Even then it was a bear to get the lower bushing installed.
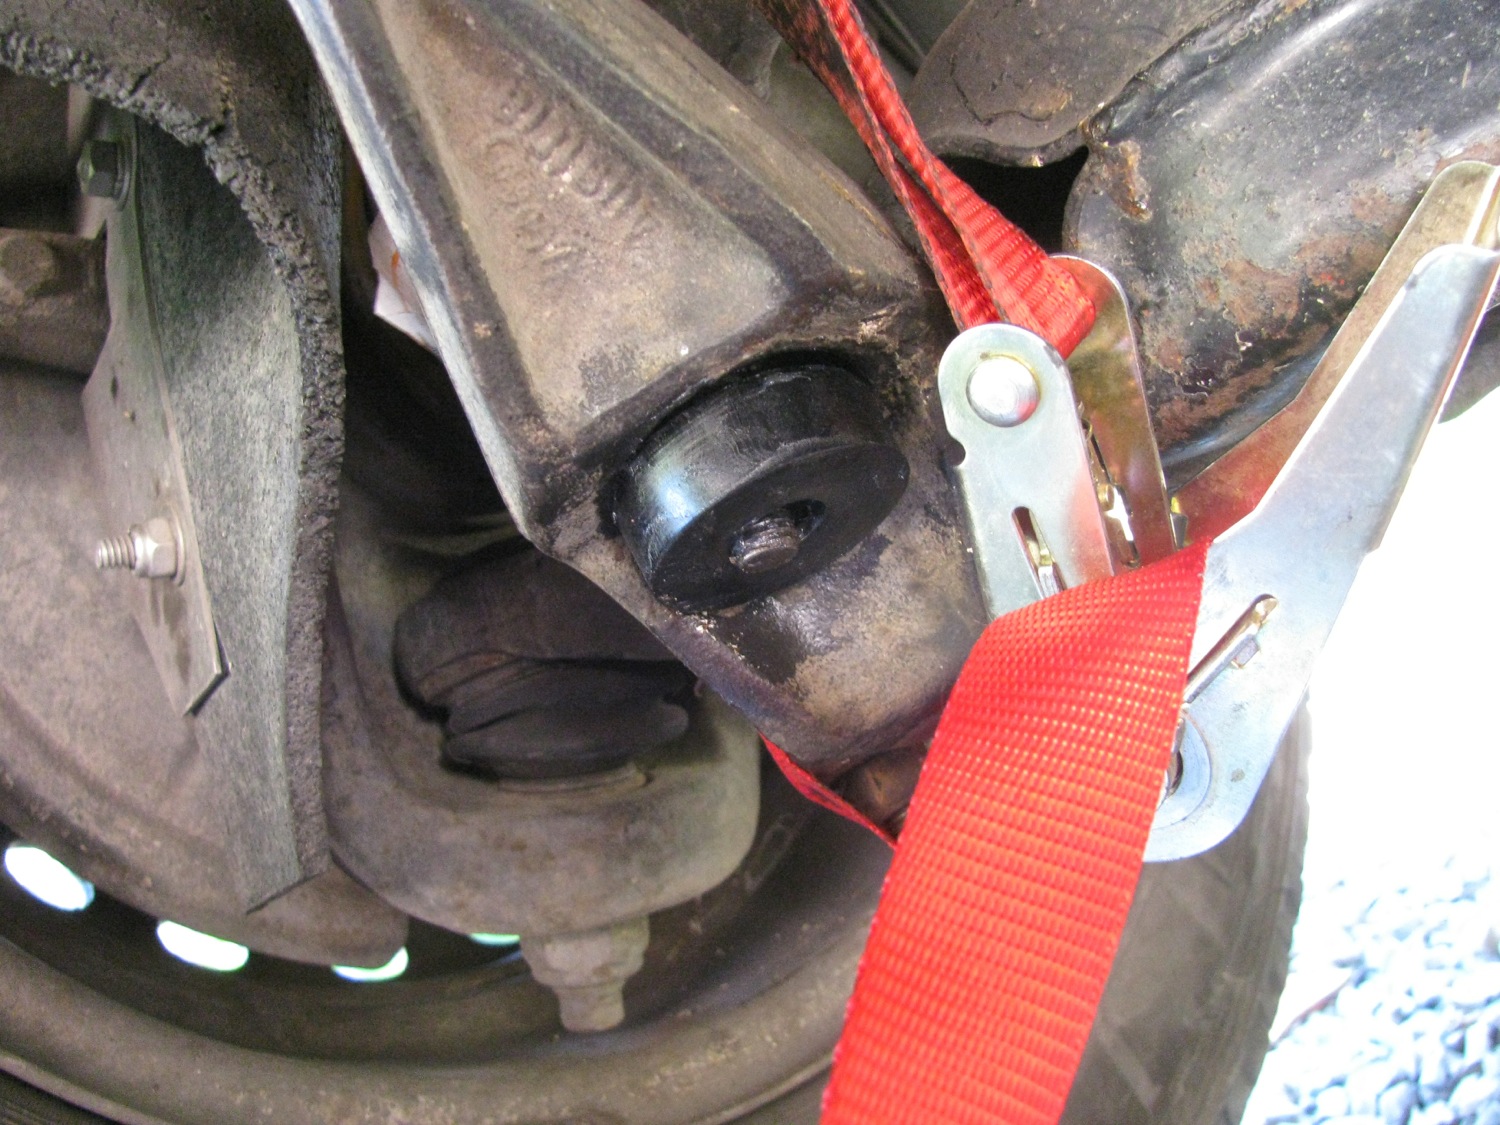
I certainly couldn’t get my dished washer installed so I pulled the bushing in as tight i could with a plain flat washer and the nut. I would do the nut up tight then remove it, put on the dished washer and try the nut…. just wouldn’t catch the threads. My home made stainless washer was too thick.
So i turned a recess in the washer and after a bit of a struggle and a lot of cursing, i got the washer and nut on. The other side was a tad easier with the modified bushing. But this part of the job took me a couple of hours.
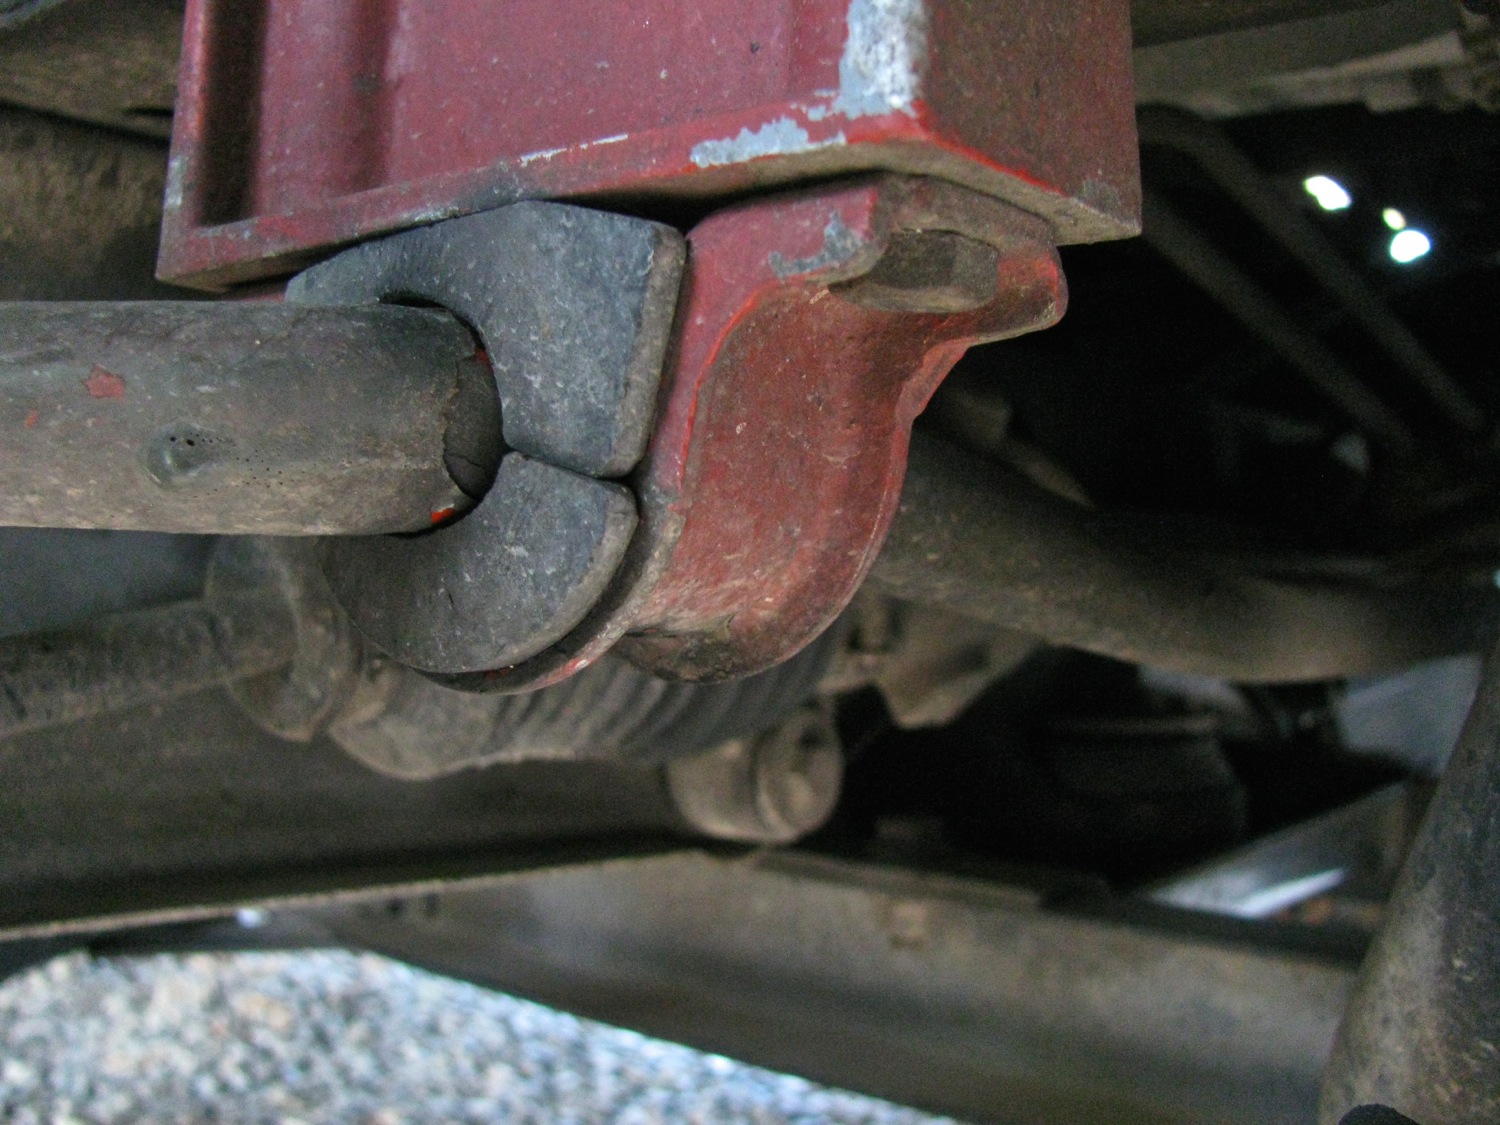
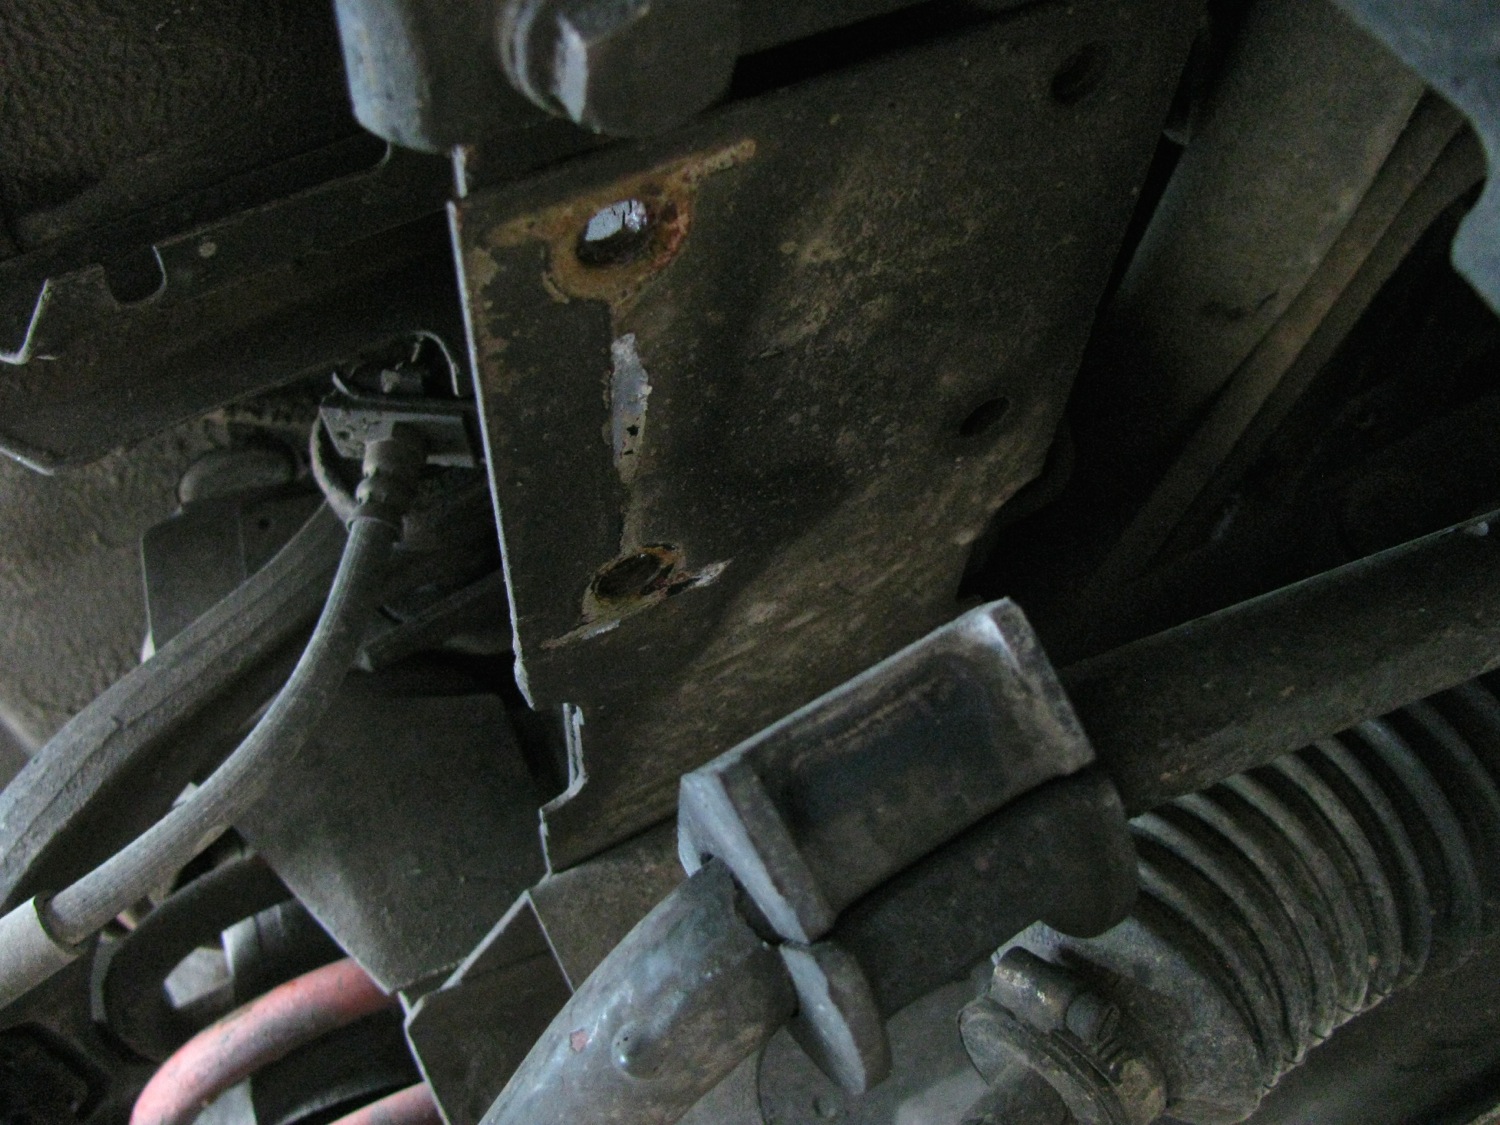
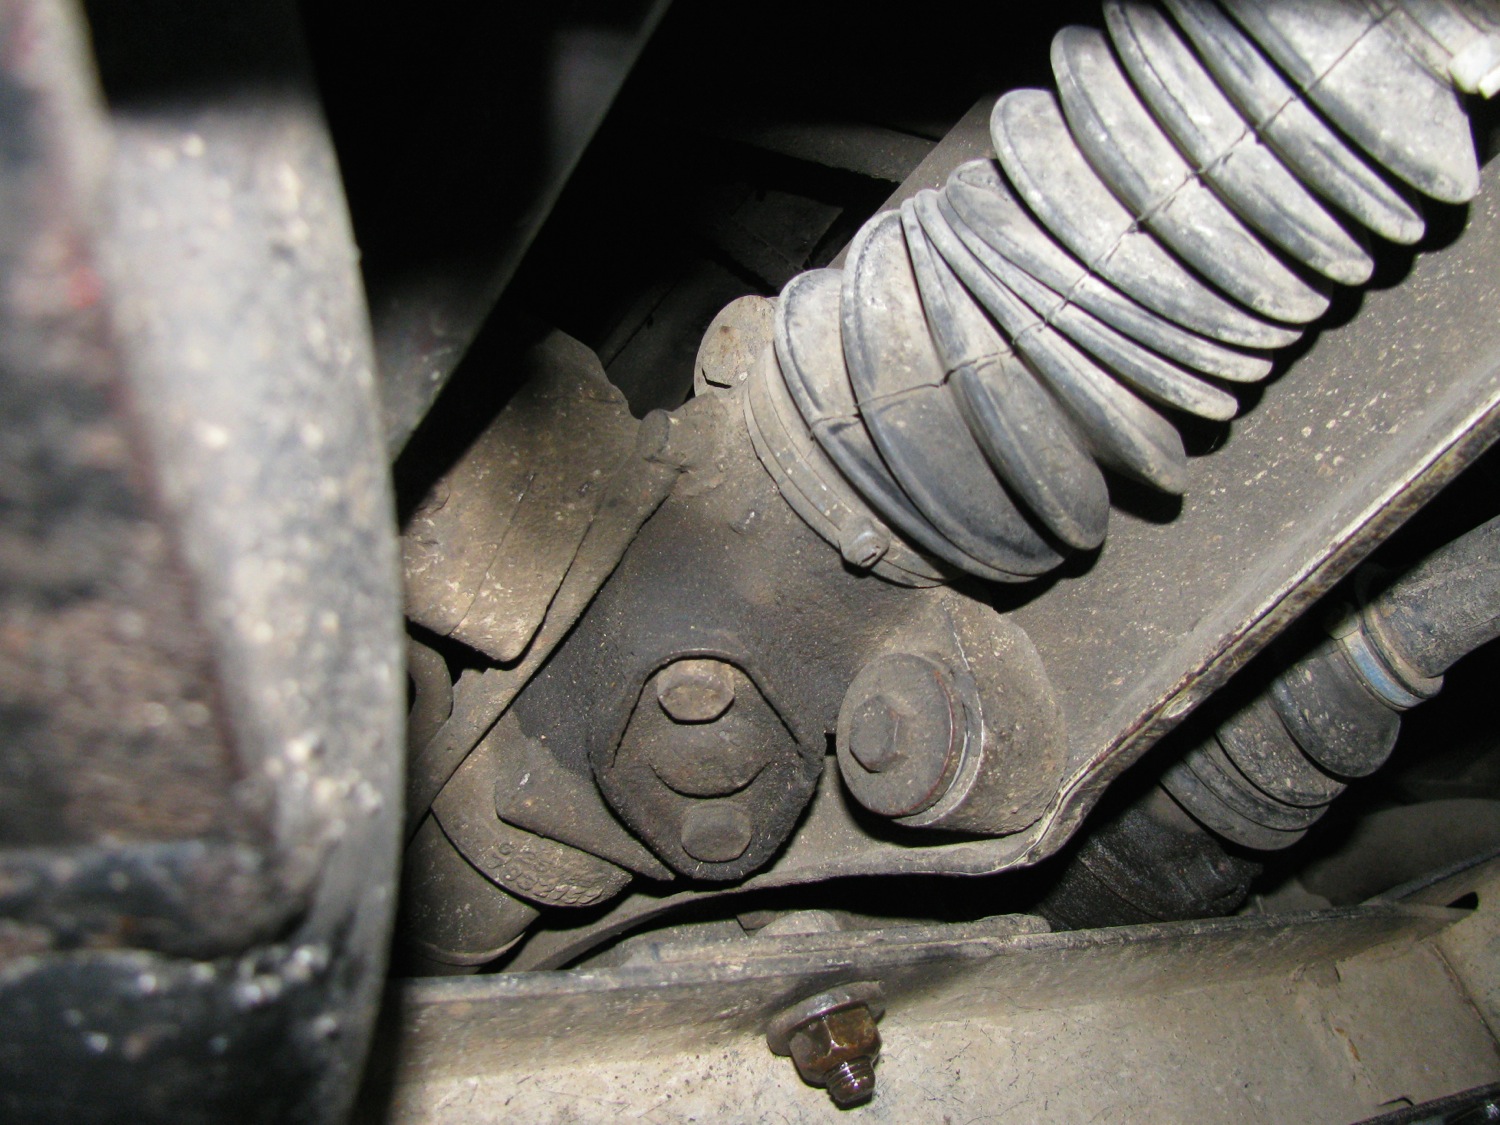
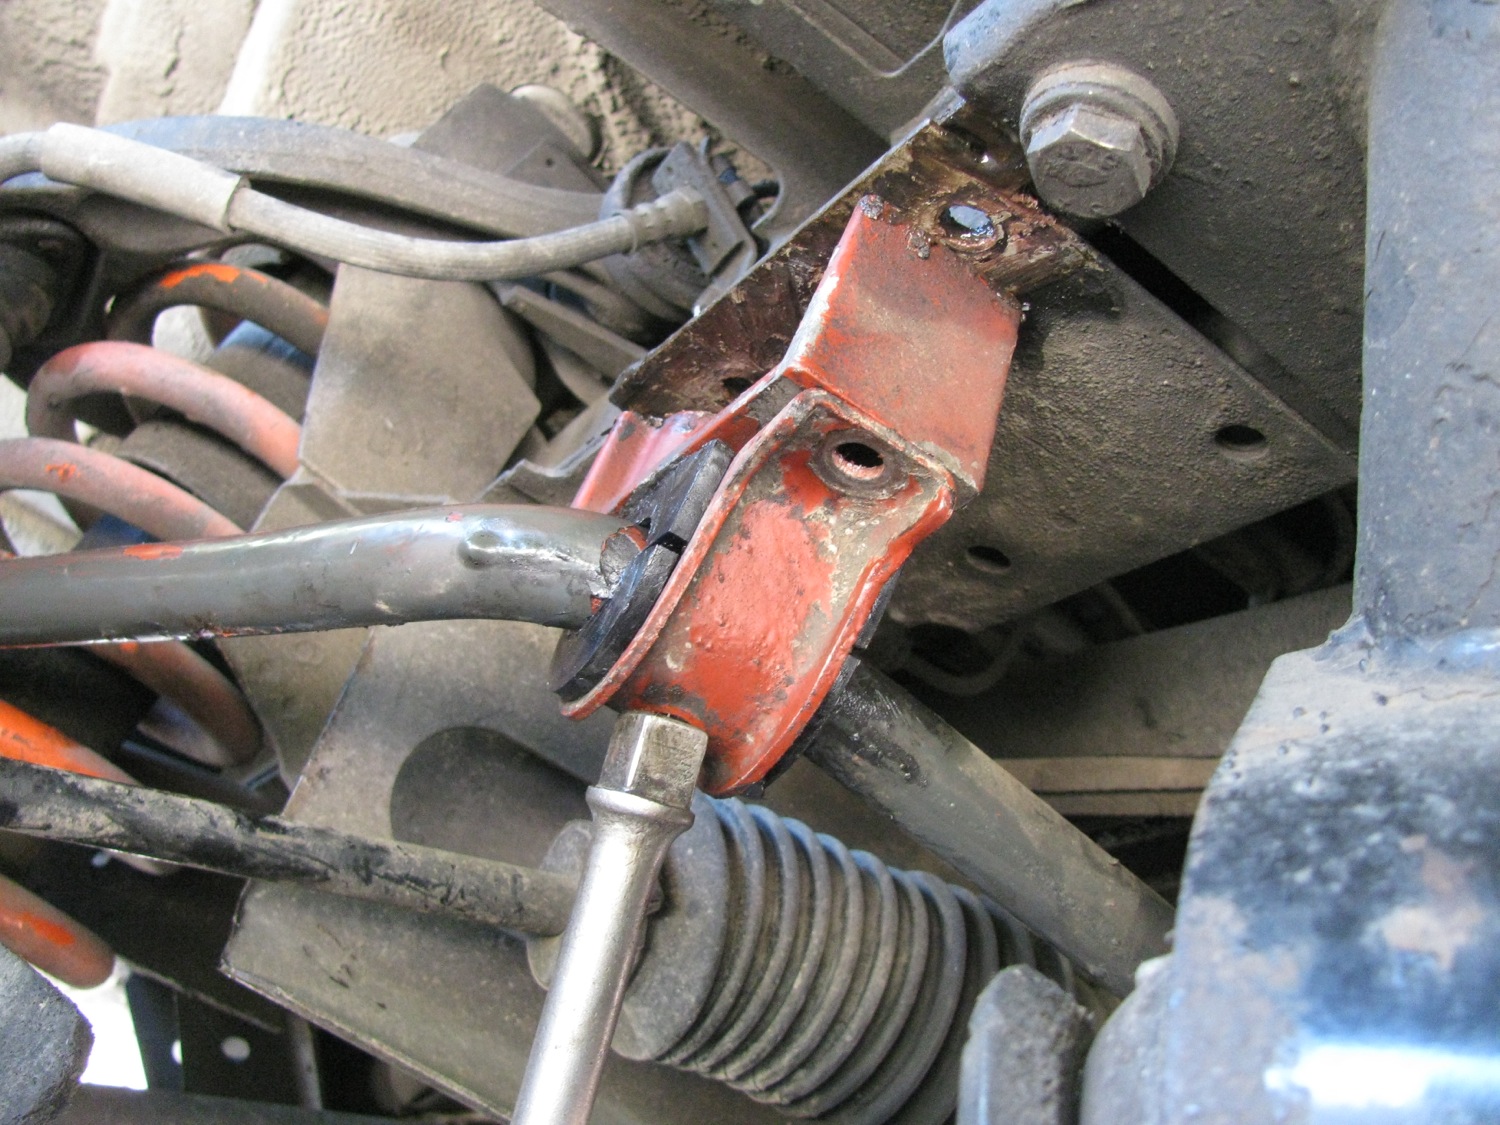
Now on to the steering rack bushings. There are four of them, upper and lower, left and right. Here you can see the lower on the right hand side. The bolt goes throughout the bushing and frame member and there is a stover type nut on the end. I would advise you to soak the nut side with penetrating oil a couple of days before you do this job, there is a fair bit of exposed thread on the bolt and they can be rusty.
I started by loosening all four bolts, but not all the way. Then had at the lower left side bushing. I removed that bolt, oh careful, there is s slim washer under the nut. The with a slim small pry bar i pushed the bushing out from behind. Remarkably it came out quite easily. On a couple i grabbed the bushing with needle nosed vice grips to ease its passage.

They seem to be in pretty good shape.

The new bushings are two piece with supplied sleeve.

Pretty easy to install. I did one at a time but didn’t tighten up until all installed.

Yeah, supervisor was checking in.
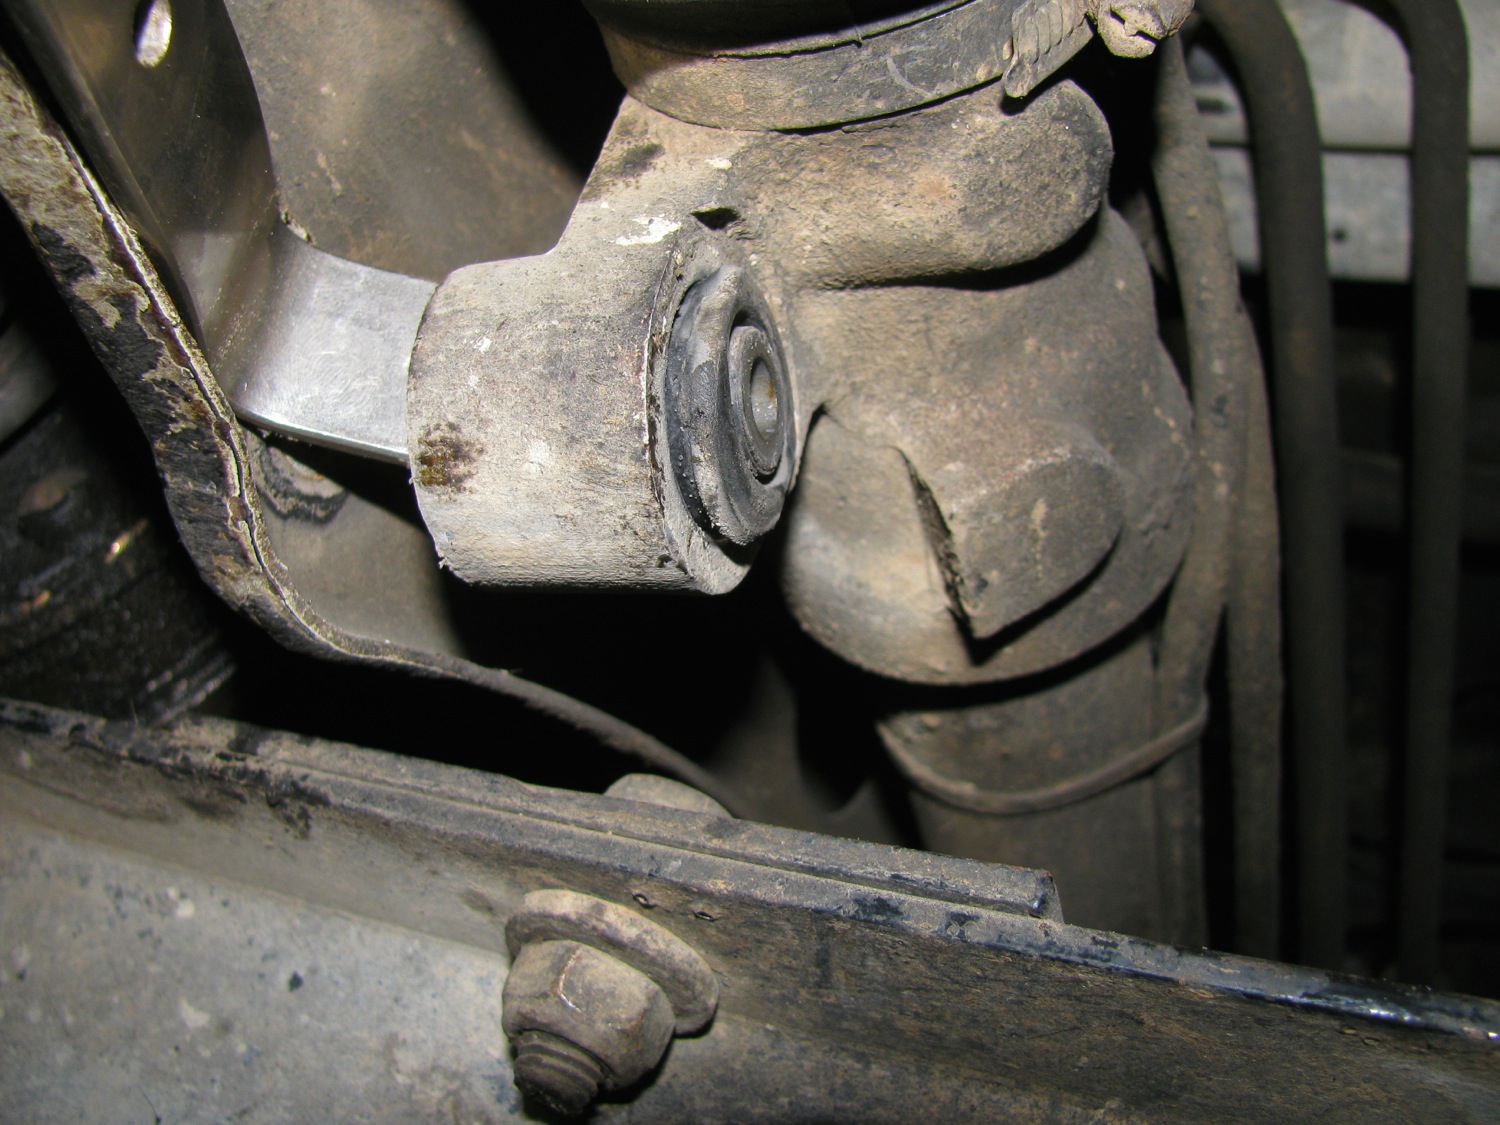
Now on the driver’s side the steering rod (from steering gear box to steering rack) prevents the steering rack from being pried forward enough to both pry out the old bushings and install the new bushings. I disconnected the coupling at the forward end of the rod and loosened the slimed coupling at the u-joint in the rod. It was only later, looking at the pics did I notice the cracks in the rubber coupling, sheesh, another thing to replace.

Wrench access on the driver’s side is a bit restricted, so it take a little longer. But these bushing took less time to install than the drop link bushings.
So the verdict? I could really notice the steering response improvement, especially at highway speeds. I’d recommend the rack bushings even if your existing bushings are in good shape.
Vanagon – body insulation idea
Posted by albell in vanagon, vanagon mods on September 11, 2014
Saw this on the samba, i think it was syncroghia that posted in his thread about adding high top to his 16″ syncro. I thought it was a good idea so i gave it a go on the rear hatch.
It is just water pipe insulation, I think its foam polyethylene, cut to length and wedged into the cavity. Now that summer’s over one might find pool noodles going cheap and I think they would do too.
I like this because it is cheap and fast to install. No gluing and I don’t think it will trap moisture against the metal.
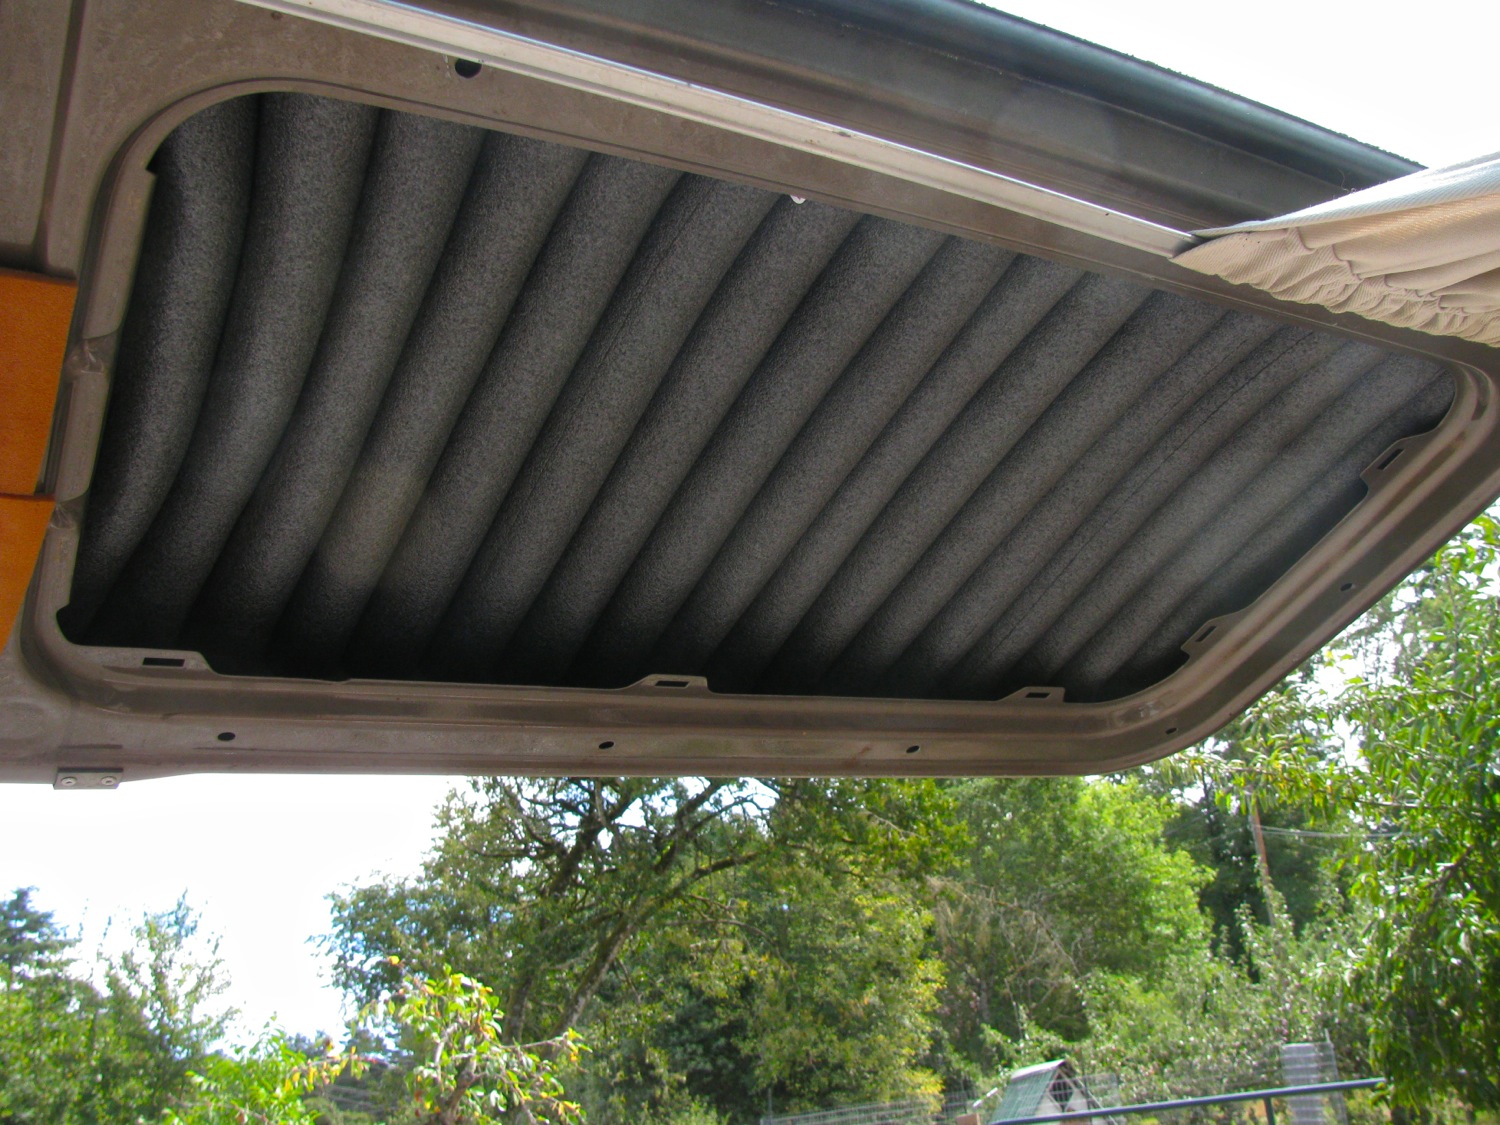
I stuck on a bit of peel and stick roofing stuff to dampen panel noise. My van had some factory applied bits already there. Remember this is a converted 7 passenger tin top. I don’t think we sties have the factory sound proofing in the back hatch, but they do have the dreaded fiberglass batting.
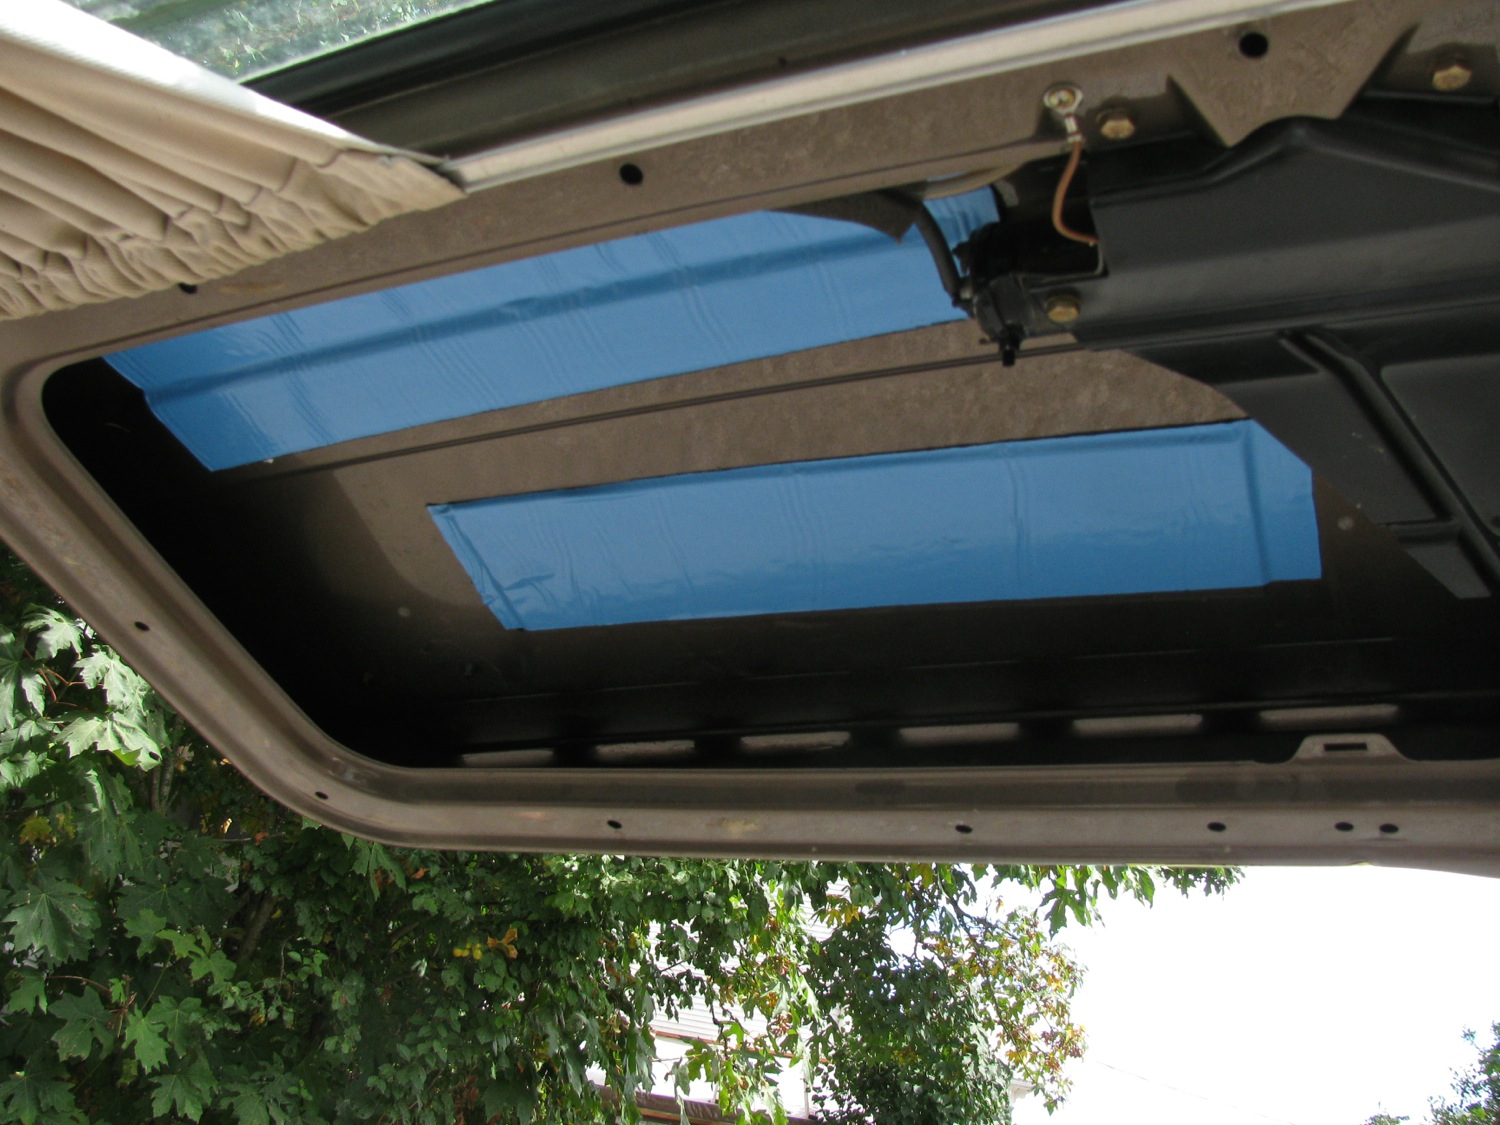
And just because i had some, i pushed in some 3/8″ thick closed cell foam. Left over pipe insulation stuck on lip of cut out.

I liked how it went in, I think I’ll do more of it.
Vanagon – sliding door rollers replacement
Posted by albell in vanagon, vanagon mods on September 8, 2014
About 2 months and no blog posts, sheesh, the next few posts will be playing catch up.
The 85 model year and newer vanagons have a much improved sliding door. Easier operating and a bit quieter than the old style but I thought it could be even better. I had tried UHMW polyethylene tape on the surfaces that the rollers ran on would be the ticket, blog post about that here. But the tape wore out after a year and a bit.
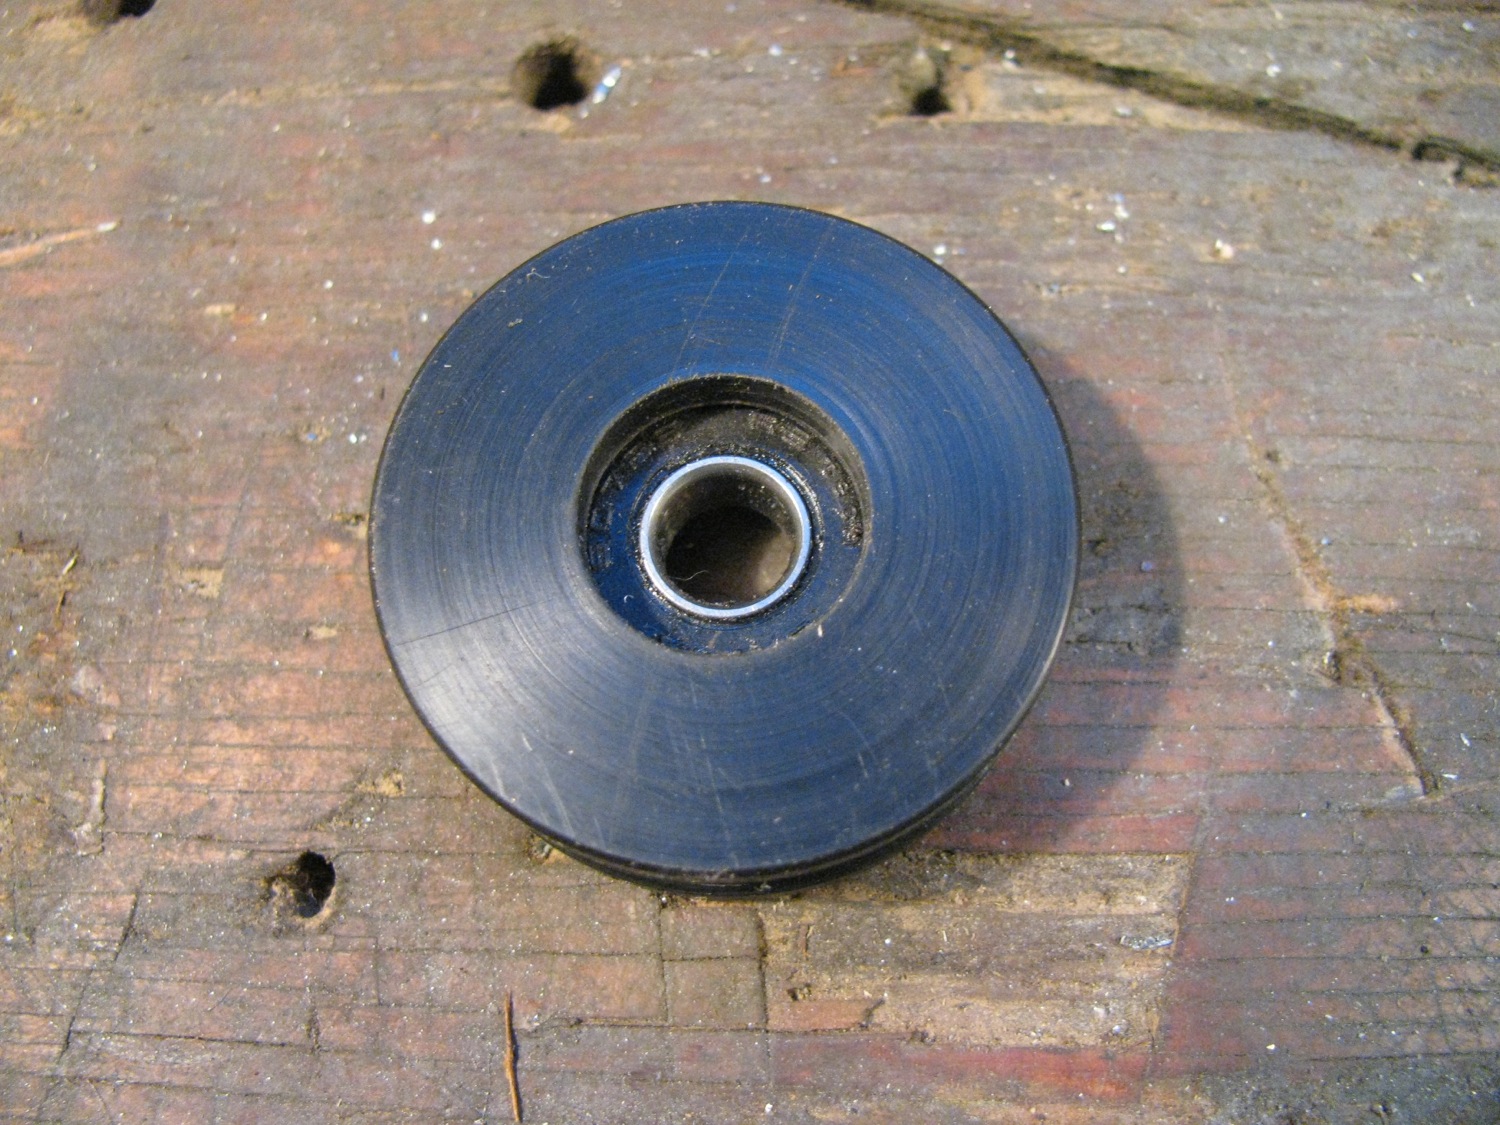
So i thought about a plastic version of the steel rollers. I made a quick and dirty prototype from some Delrin to try on the middle track (the track under the cover on the side of the van).

Not quite an exact copy and a bit out of focus. Here it is installed.

Verdict? Well it is quieter than the steel roller and it rolls just as easily. But with that track silenced a little, now I could hear the lower track roller noise. So some time later I set about making another middle slider roller and seeing what I could do about the lower track roller.
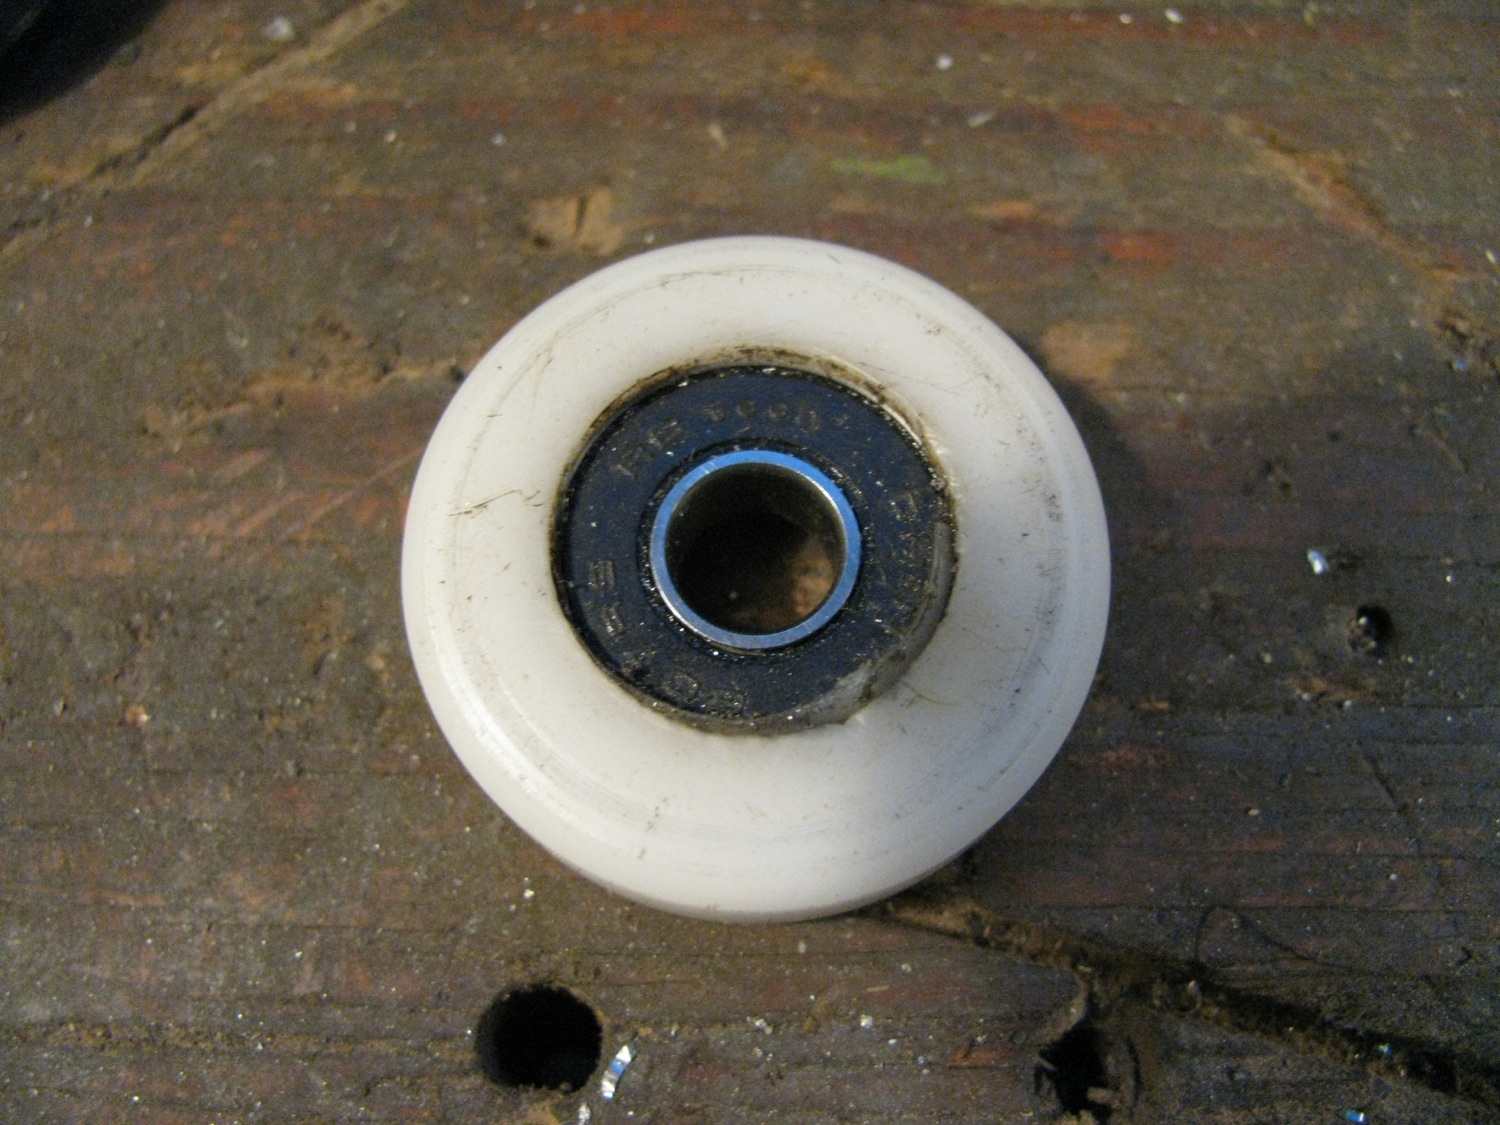
Middle roller, more care taken. Oh, I should mention that the bearing used in the roller is a 607RS. Dimensions are 19mm OD, 7mm ID, 6 mm thick, and rubber shield.


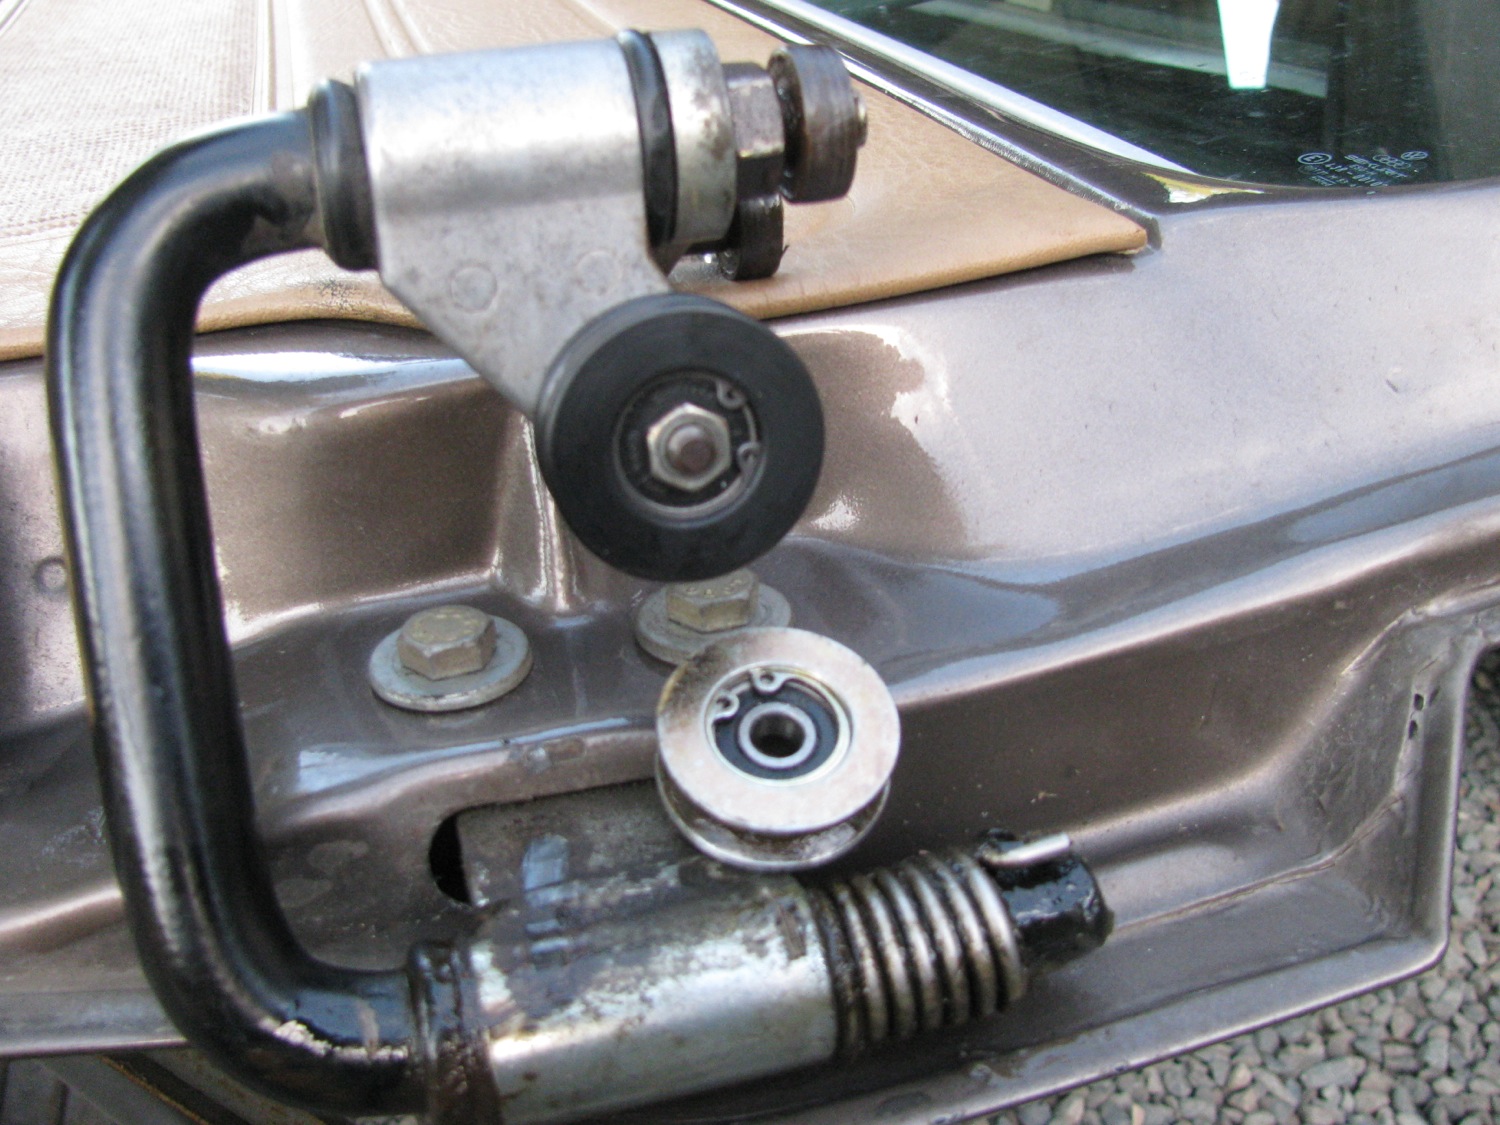
I took the sliding door right off as I was working on the lower roller at the same time. Here is the stock steel roller.

And my Delrin version installed. See the 2 other bearing above the plastic roller? They run in a vertical channel above the rail the main roller runs on. I didn’t do anything with them, but i probably should have thought about it.
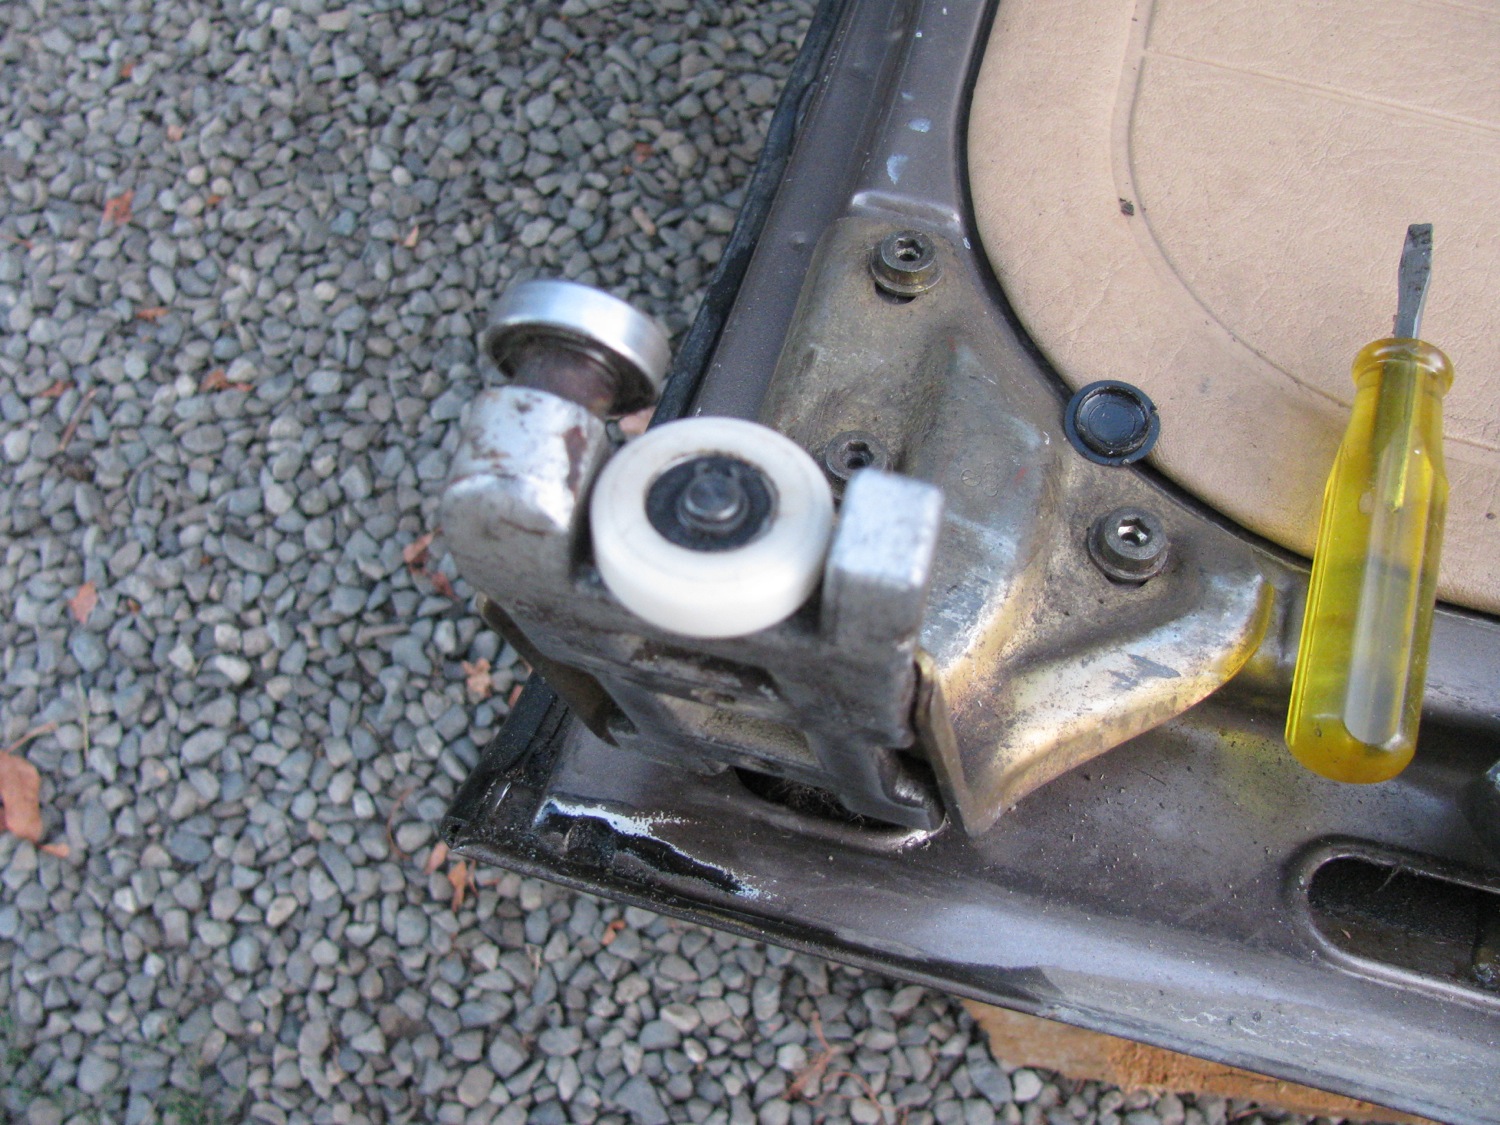
I was going to make a lower track roller from scratch but I found a plastic roller in my junk pile. I think it was from a hanging door, but I can’t remember anything more about it. I wish I did because it is very close to the stock roller dimensions. I just had to reduce the OD by a few millimetres and replace the bearing with a 607RS. It originally had a 6mm ID bearing. The circlip retaining the bearing was a real bear to remove and I accidentally broke a little of the plastic.
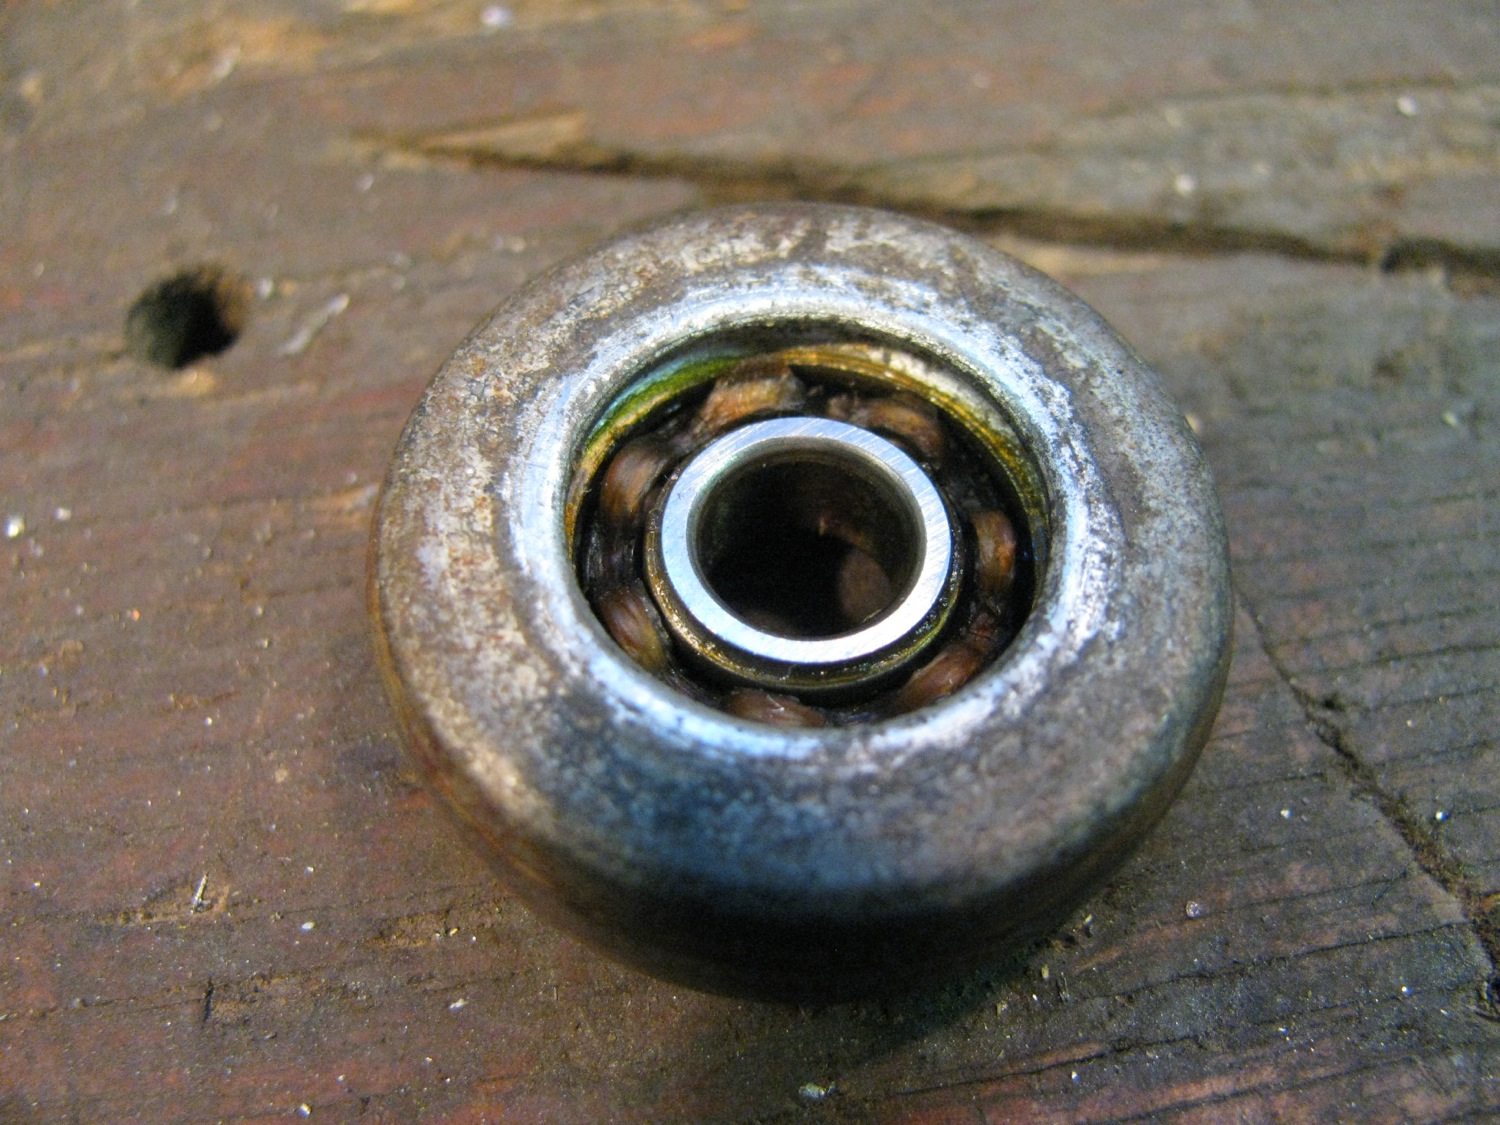
here is the stock steel roller. The roller is on a post on the lower assembly , secured by a circlip. The plastic shield can be pried off and the clip removed and the roller pulled from the shaft.

This is not a roller with a pressed in bearing, the bearing and the roller are all one piece.
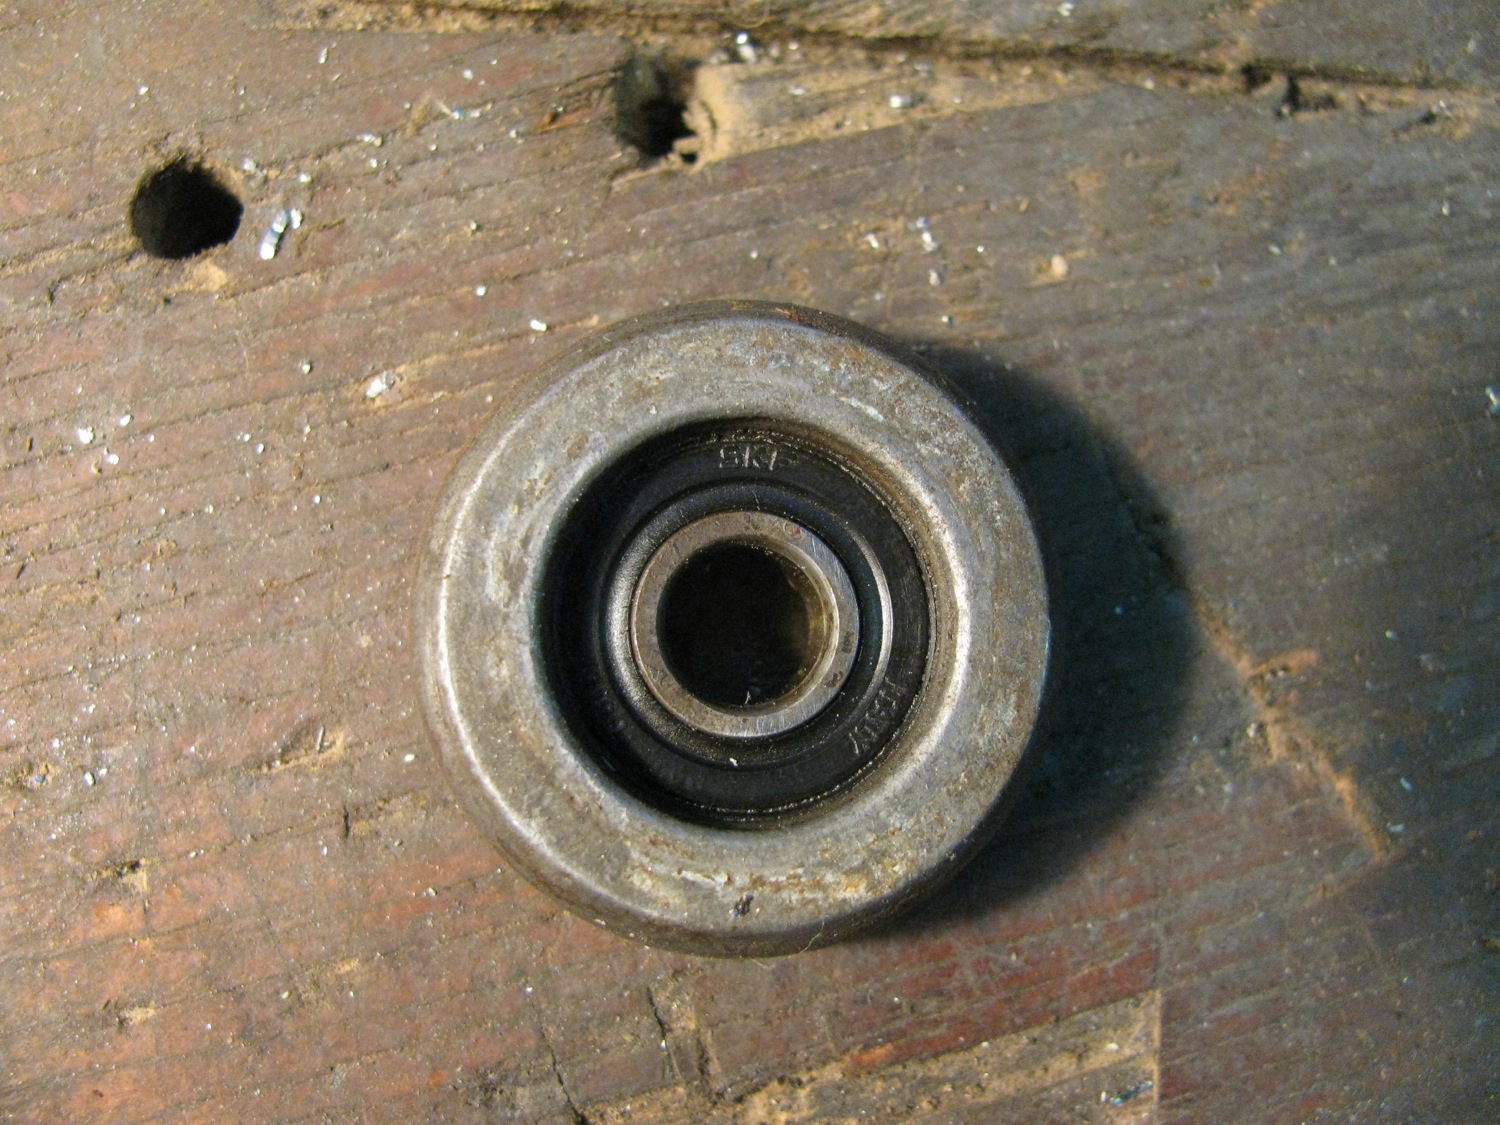
Has a rubber shield on the inside, the bracket side, face.
Comparison of the stock roller and the hanging door roller. Both have somewhat similar profiles. Close enough for me anyway. But as I mentioned before, I had to turn down the OD of the plastic roller.

Plastic roller with new bearing installed
And showing where I broke the darned thing.

And there it is installed on the door bracket.
So did it make a difference? Yes, it did. Again quieter and smoother. The door still is not as quiet as I would like and I think some of the noise is coming from those vertical bearings on the middle slider, the pair I should have paid more attention to.
You know, this is the kind of project that 99.9% of people would look at and shake their heads, mutter “get a life” and then wander off to chat with someone else. It is only when i sit down and write this post does that realization sink in.
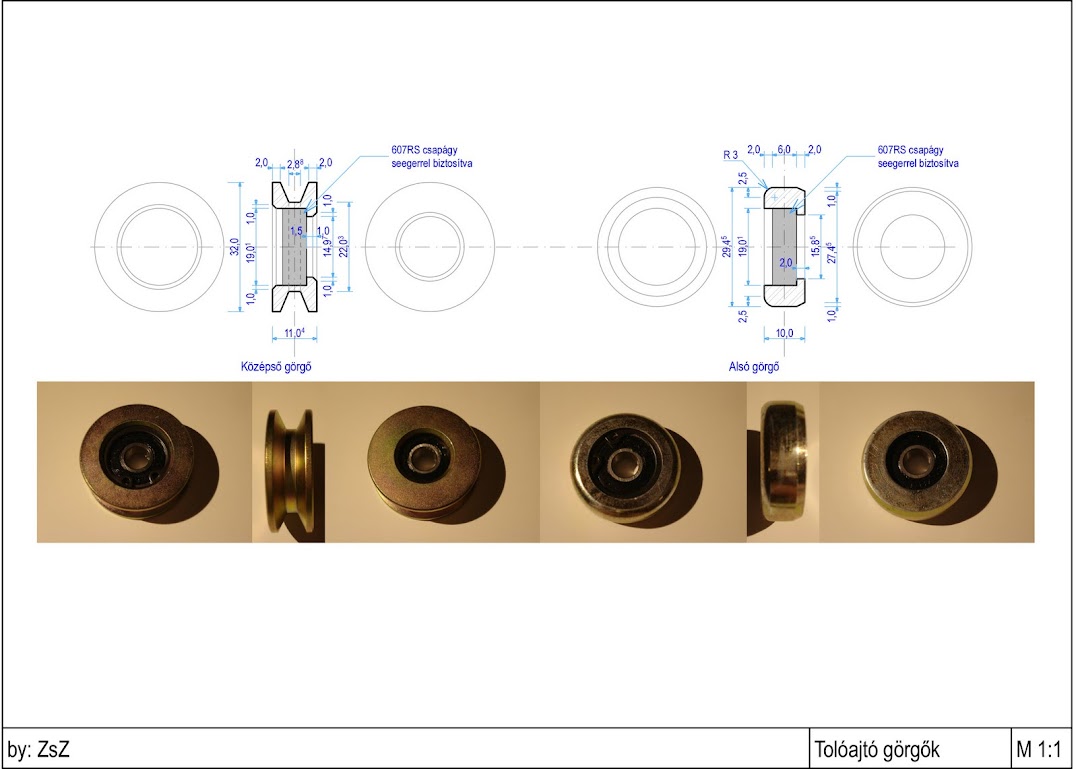
Crikey, forgot to add an important thing… to thank “ZsZ” for posting measured drawings on this Samba thread. I’ll be cheeky and link directly to the drawing.
