Archive for March, 2015
Vanagon – carpaccio flooring
Posted by albell in vanagon mods on March 26, 2015
My old floor, shown here in this post, was really getting a bit beat up. It lasted close to 15 years taking quite a bit of abuse so I can’t complain. When I put that floor in way back when, I had it in mind to face it with cork and I still hope to do a cork floor someday, but I found something at work that tempted me.
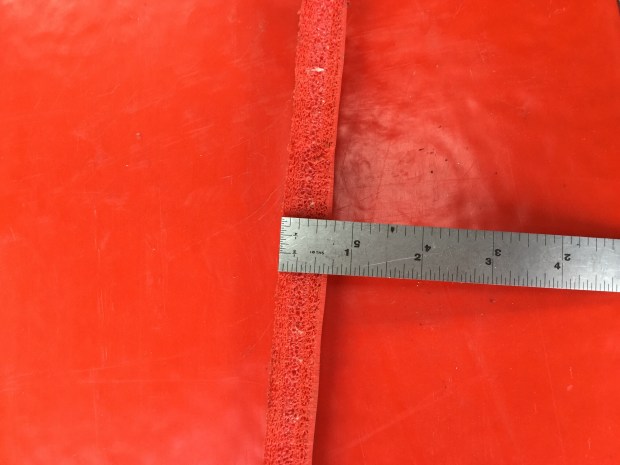
The stuff came to us protecting some stainless steel weather bouys. Approximately 3/4″ thick, the material is closed cell foam and quite stiff. I’m thinking its polyethylene, but it sure isn’t soft. It is very tough, the surface seems resistant to catching sharp edges. It also has strands of some sort of fibre embedded, to reduce tearing I guess.
I cut it up into strips and installed between the seat rails.

Pretty bright eh? But most of the time I have some of those interlocking foam pads on the floor.

And all covered by an inexpensive bit of carpet from Canadian Tire.

Here is a close up of a scrap of the foam.
You know, having that bright colour on the floor makes me want to have a brighter coloured throw rug.
St. Paul with sword and Bentley.
Vanagon – the ongoing rear bumper build – back up lights
Posted by albell in vanagon mods on March 25, 2015
It’s getting embarrassing, but I still haven’t finished the job. What is stalling me is a latch to hold the swing away tire carrier very tight against the back stop. I’ve made a few latches but none have combined the two key features of holding it tight and being very easy to use. The rest of the bumper is finished but still unpainted. Recently i added back up lights to it.
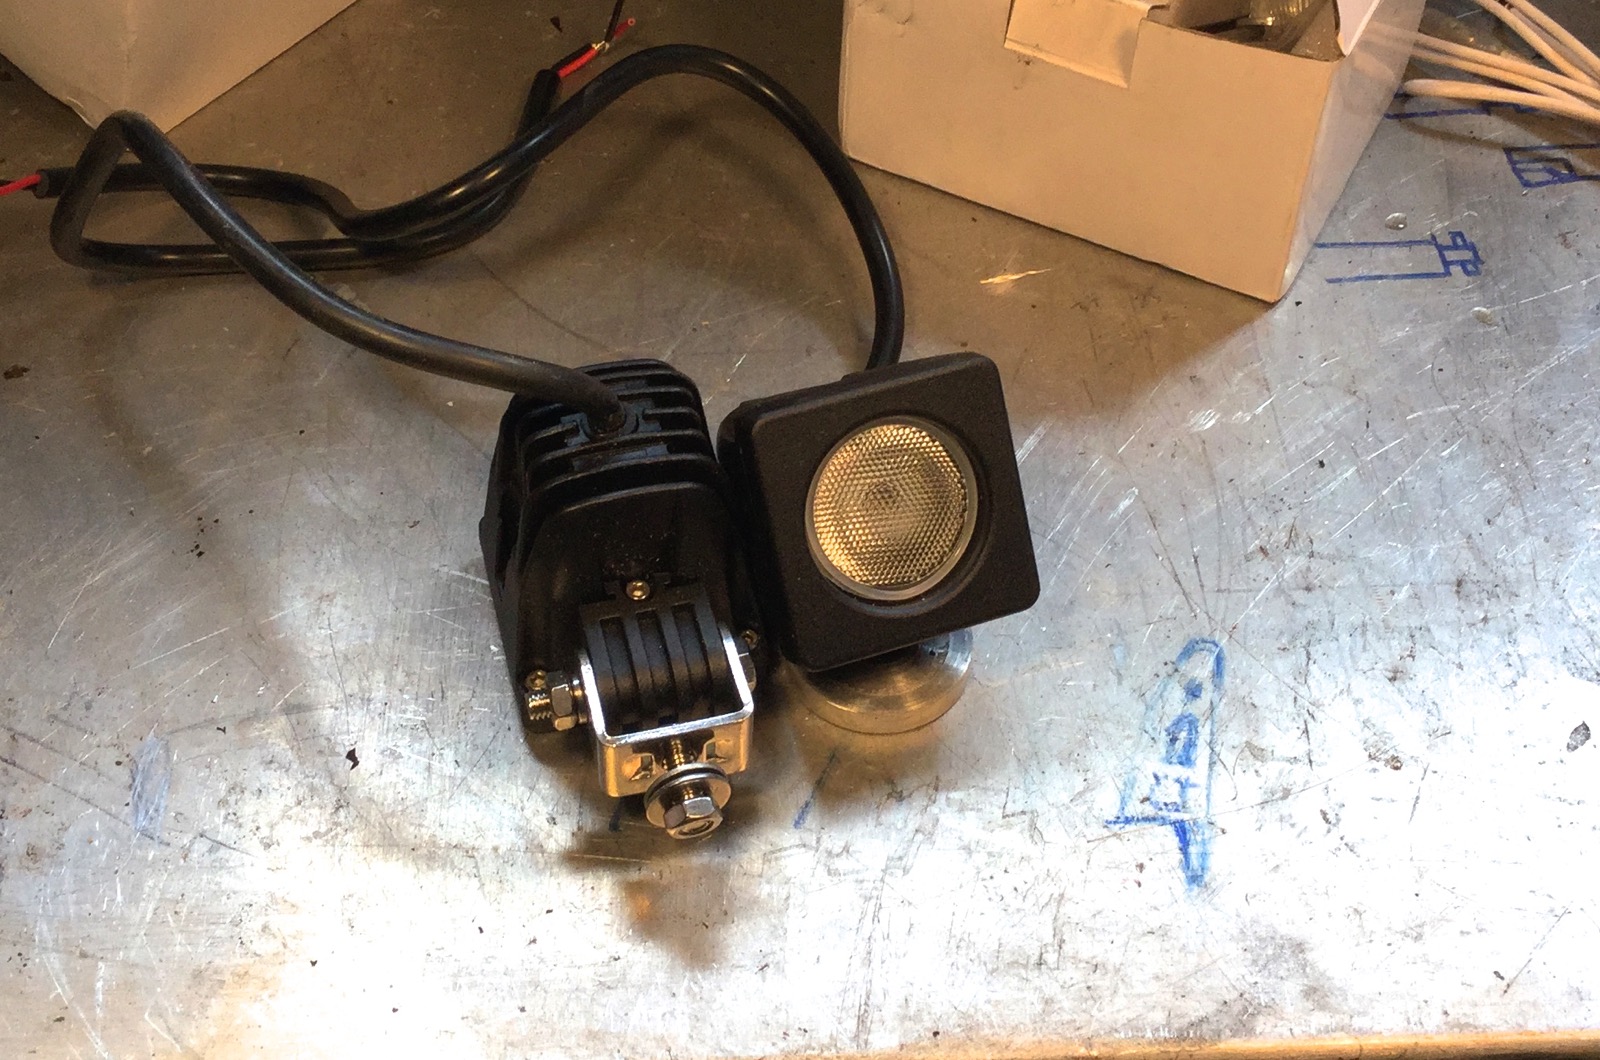
For the last year I’ve had the bumper installed and a 4″ halogen aux light bolted to the top for a back up light. I put a 100W H3 bulb in it and yes, it does light things up. A bit obnoxious in parking lots, but really useful out in the bush. But that was just a temporary thing, I now have my real back up lights.
They are a pair of 10W LED units bought from Deal Extreme. Here is the link to the product page. They are pretty nicely made little units. I cut a couple of holes in the bumper, welded on some mounting brackets on the inside and installed them.
First the before shot. Note that in this shot I have the stock incandescent bulb in the right taillight, a new LED bulb in the left taillight.

The aux light covered up, showing the improvement in lighting the LED bulb in stock taillight.

Ok, aux light removed, internal mounted LEDs installed. Daylight pic.
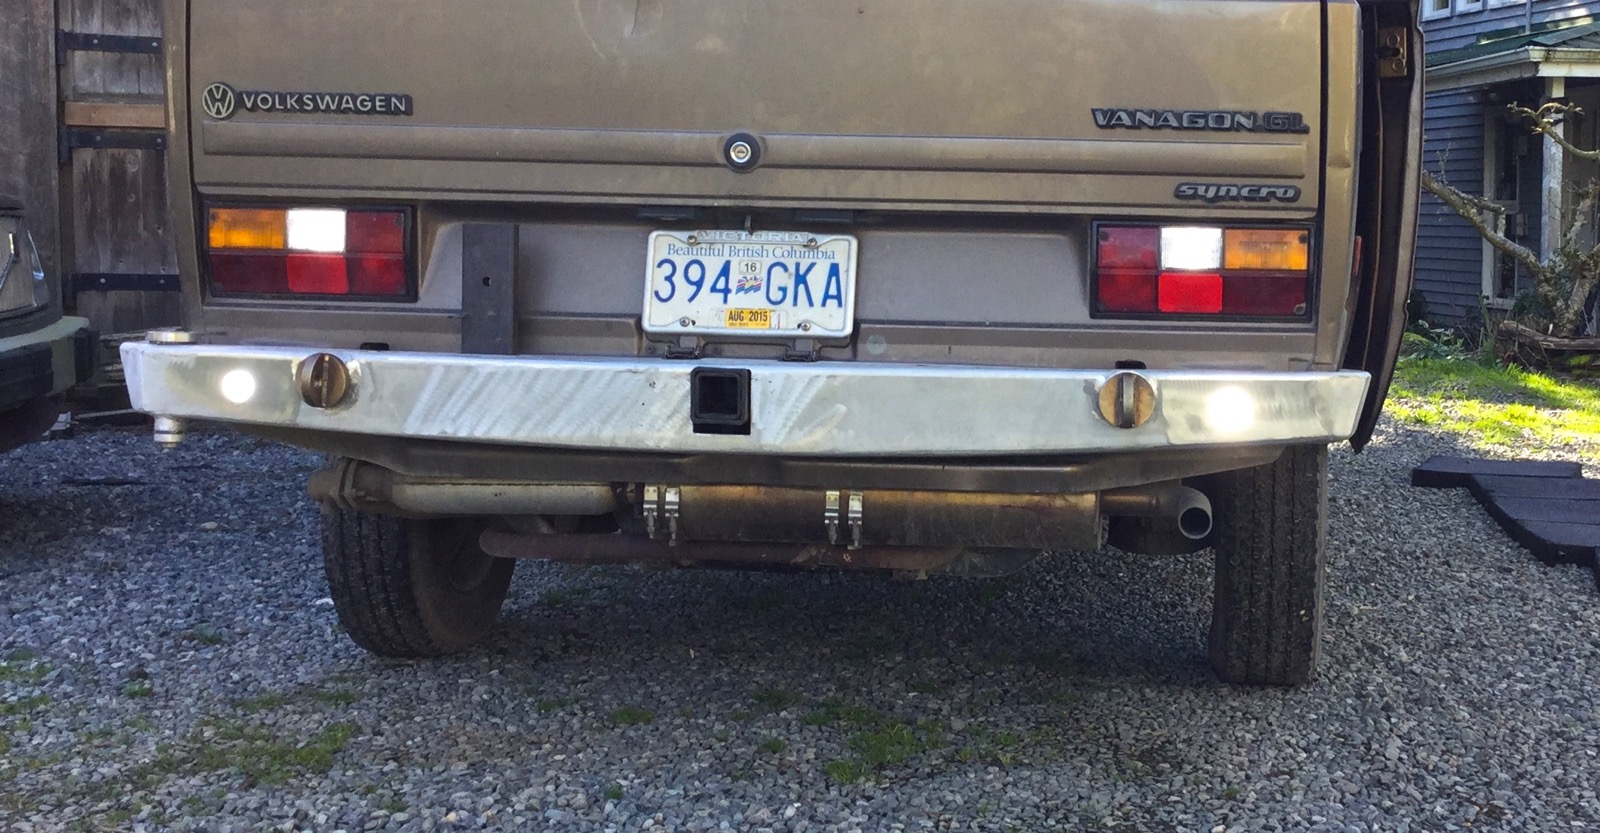
And night shot.

I like them, they work well. I am probably going to wire them to a spare switch I have up front so I can disable them in the city.
Campbell River report
North Island correspondent Phil Z. sent me a few pics over the winter.
Rain and a fairly high tide makes it look like the boats can come right on the parking lot. 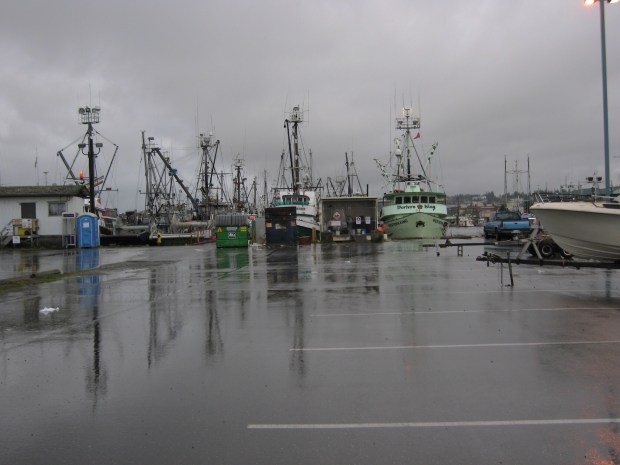

Douglas Squirrel catching Phil’s flash.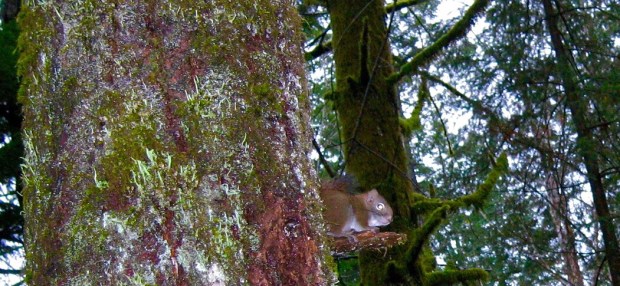
Trying not to use the word iconic, dammit, too late.
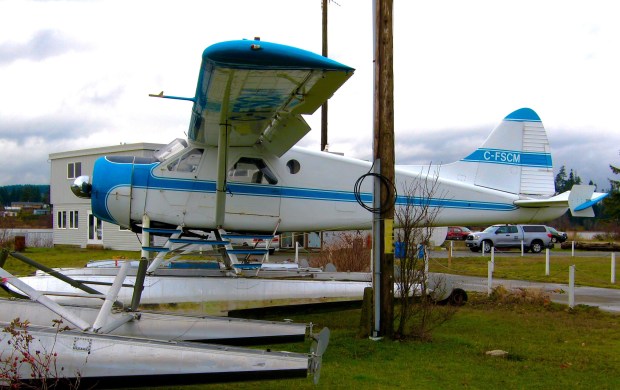
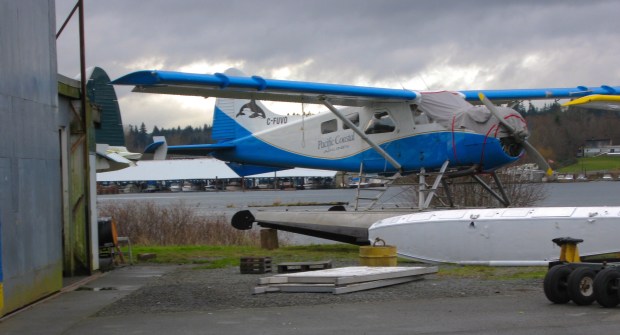
And the turbo prop Beaver.

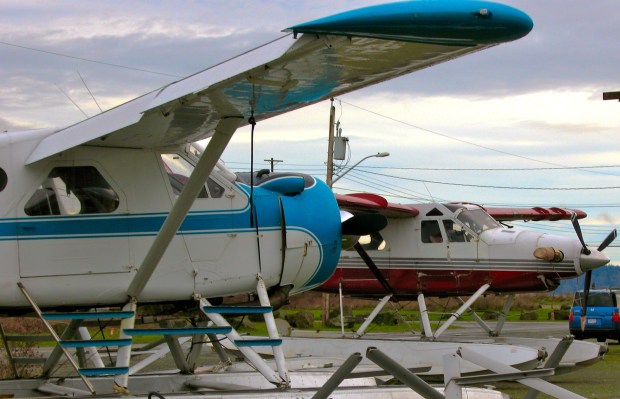
Oops

Hey Mister, yer missing the Beaver. 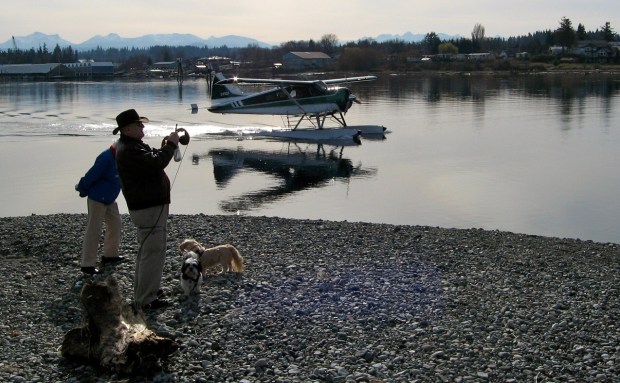
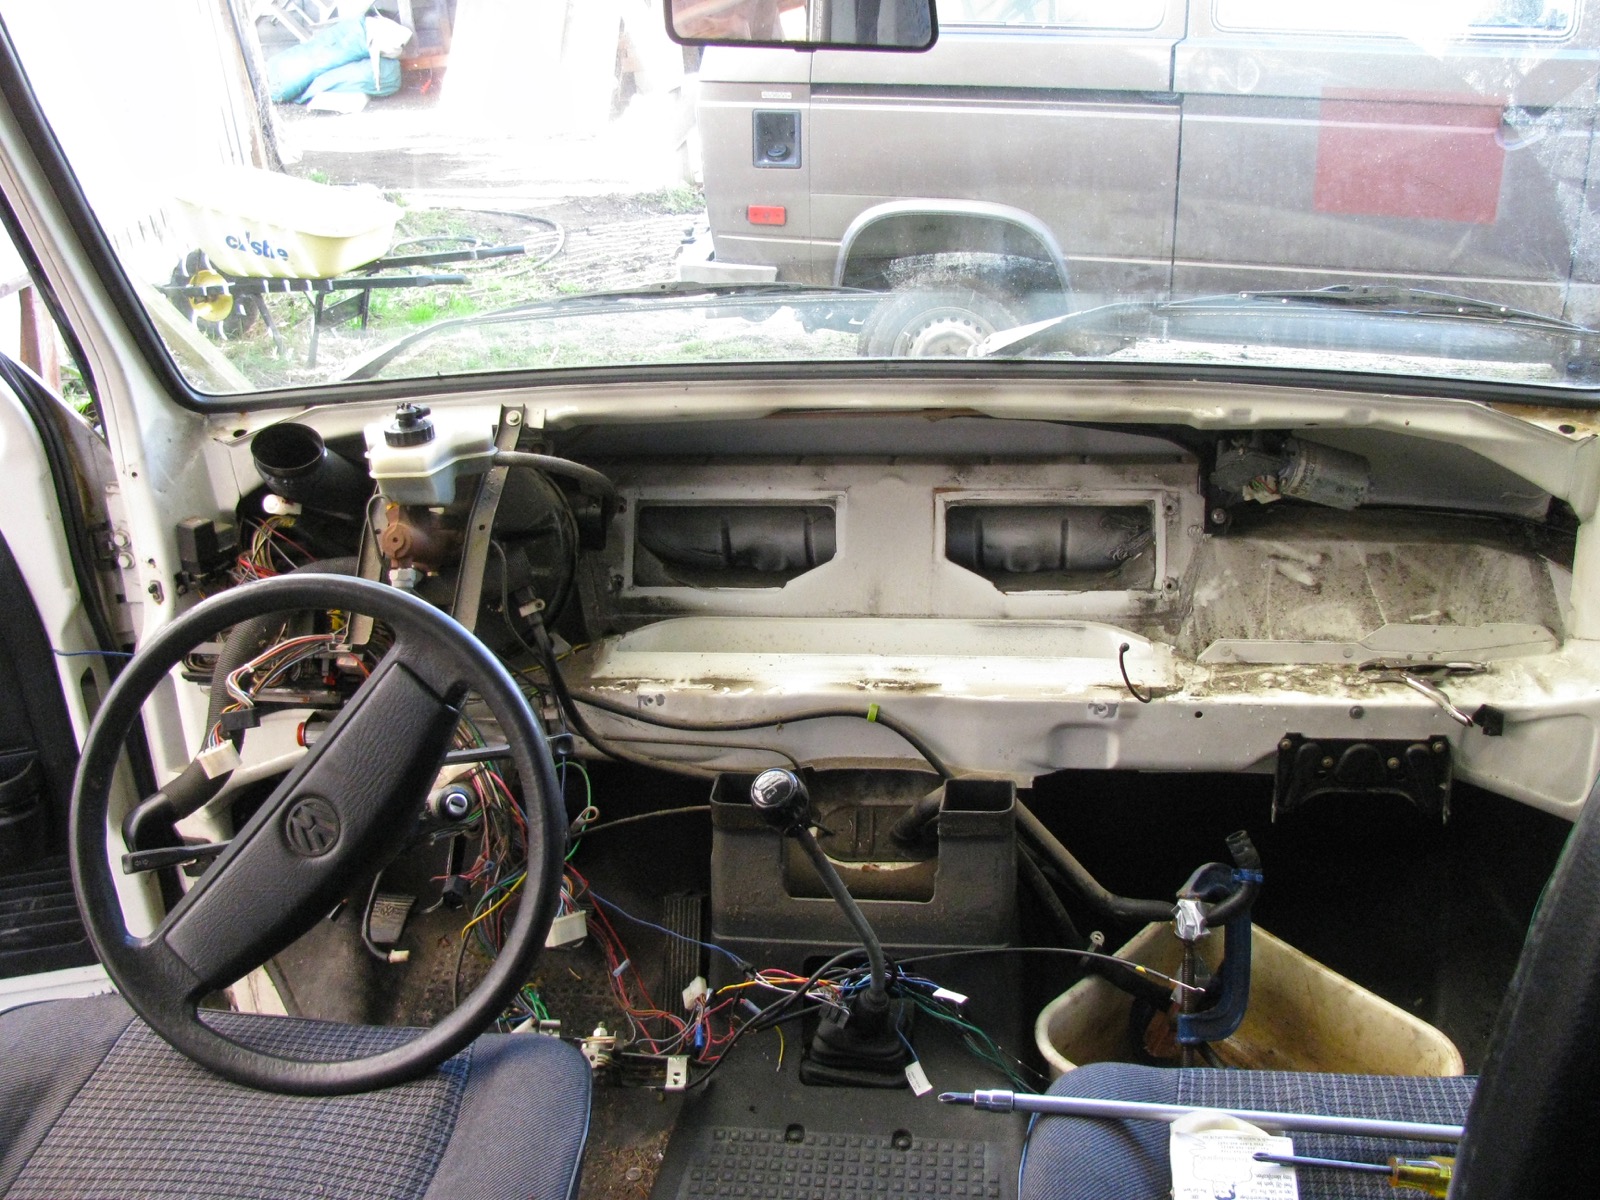
Vanagon – 85 Doka
Ive been doing little work on my neighbour’s ’85 Doka recently. It was originally white but he did a quick paint job which I think looks very good. The colour scheme works well. He also lowered it and put on some 18″ wheels.
I pulled the dash and heater box to replace the motor and re-foam the heater box flaps. I don’t think the dash had been removed before but it all went easily, even the heater box bolts that go through the front body wall and are exposed behind the grill. Often those bolts get rusty and are a bear to remove.
The heater core was filthy but no leaks.
As a replacement blower motor I used a Vanagon A/C blower. The housing is identical and it fits in perfectly. The actual motor has, to my eyes at least, an improved end bearing/bushing. not as exposed as the stock motor. I added a little lube and then JB welded a bottle cap to cover. Kinda hillbilly, but it stuck on there well.
The other difference with the A/C motor are the electrical connections, but it is easy enough to splice it in. I know in the pic, the wiring looks a little sloppy.
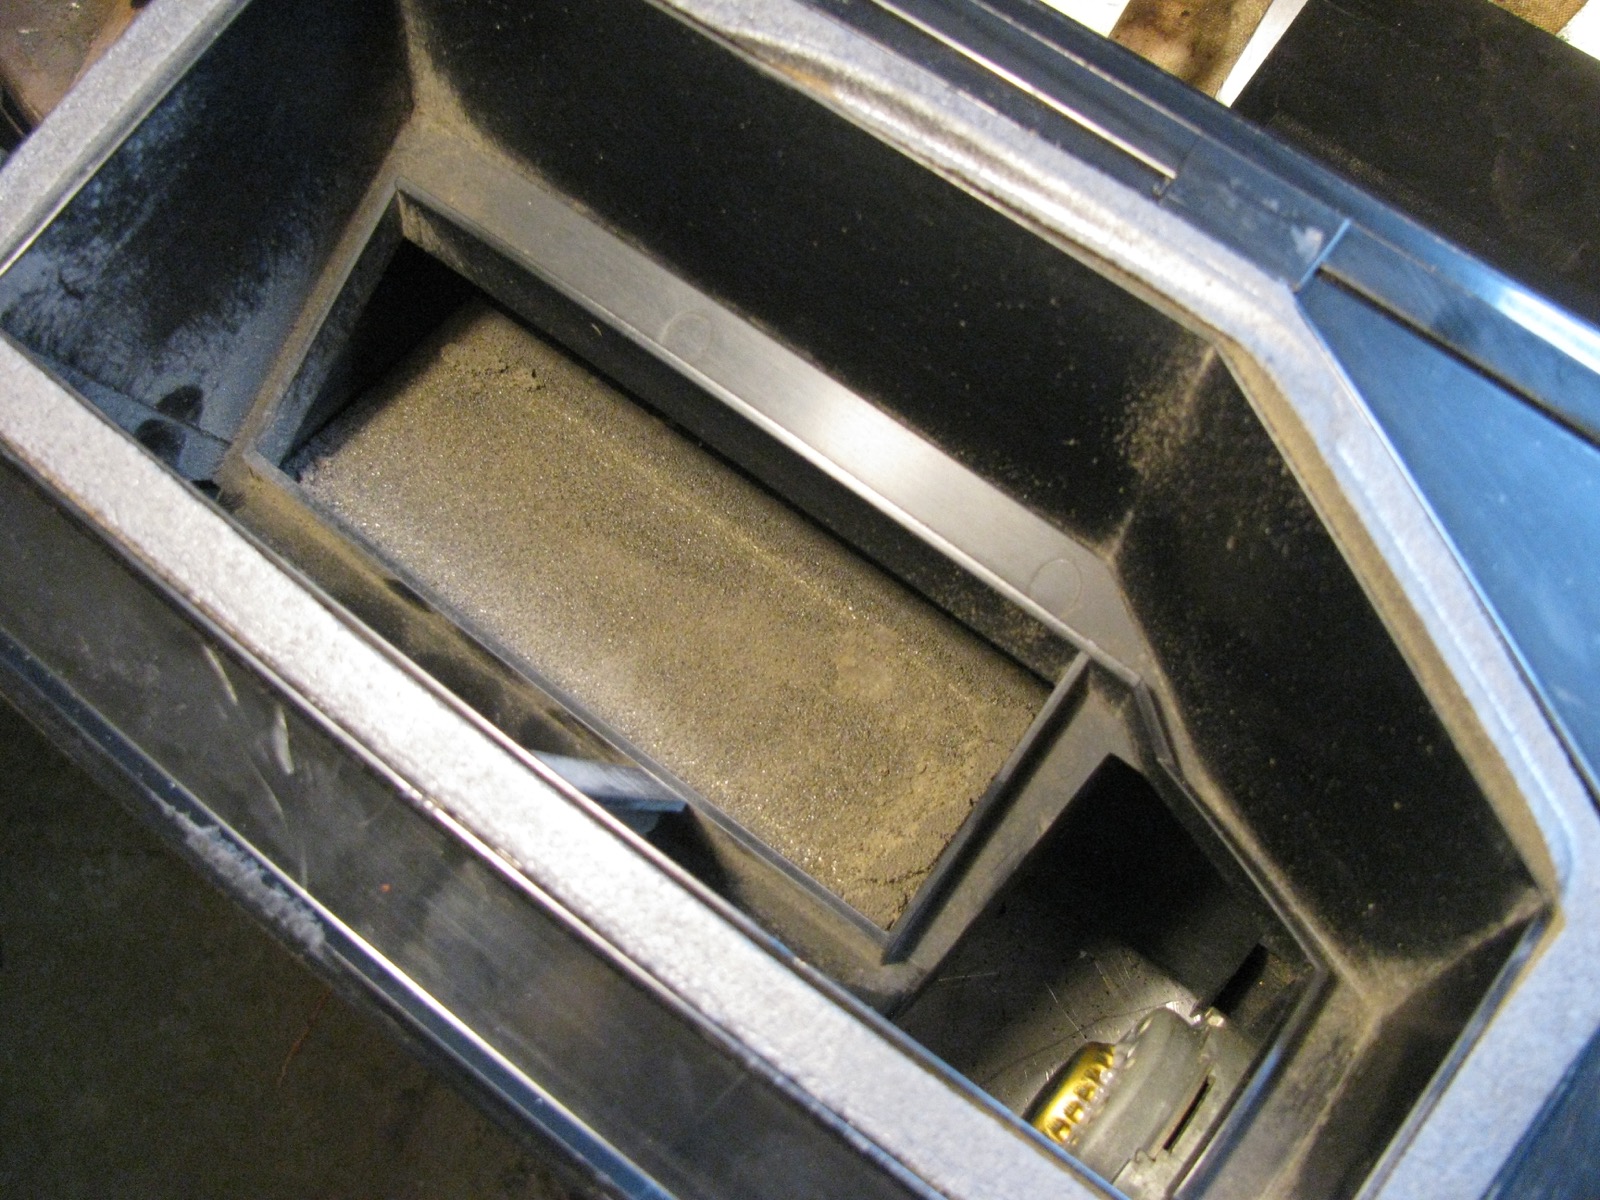
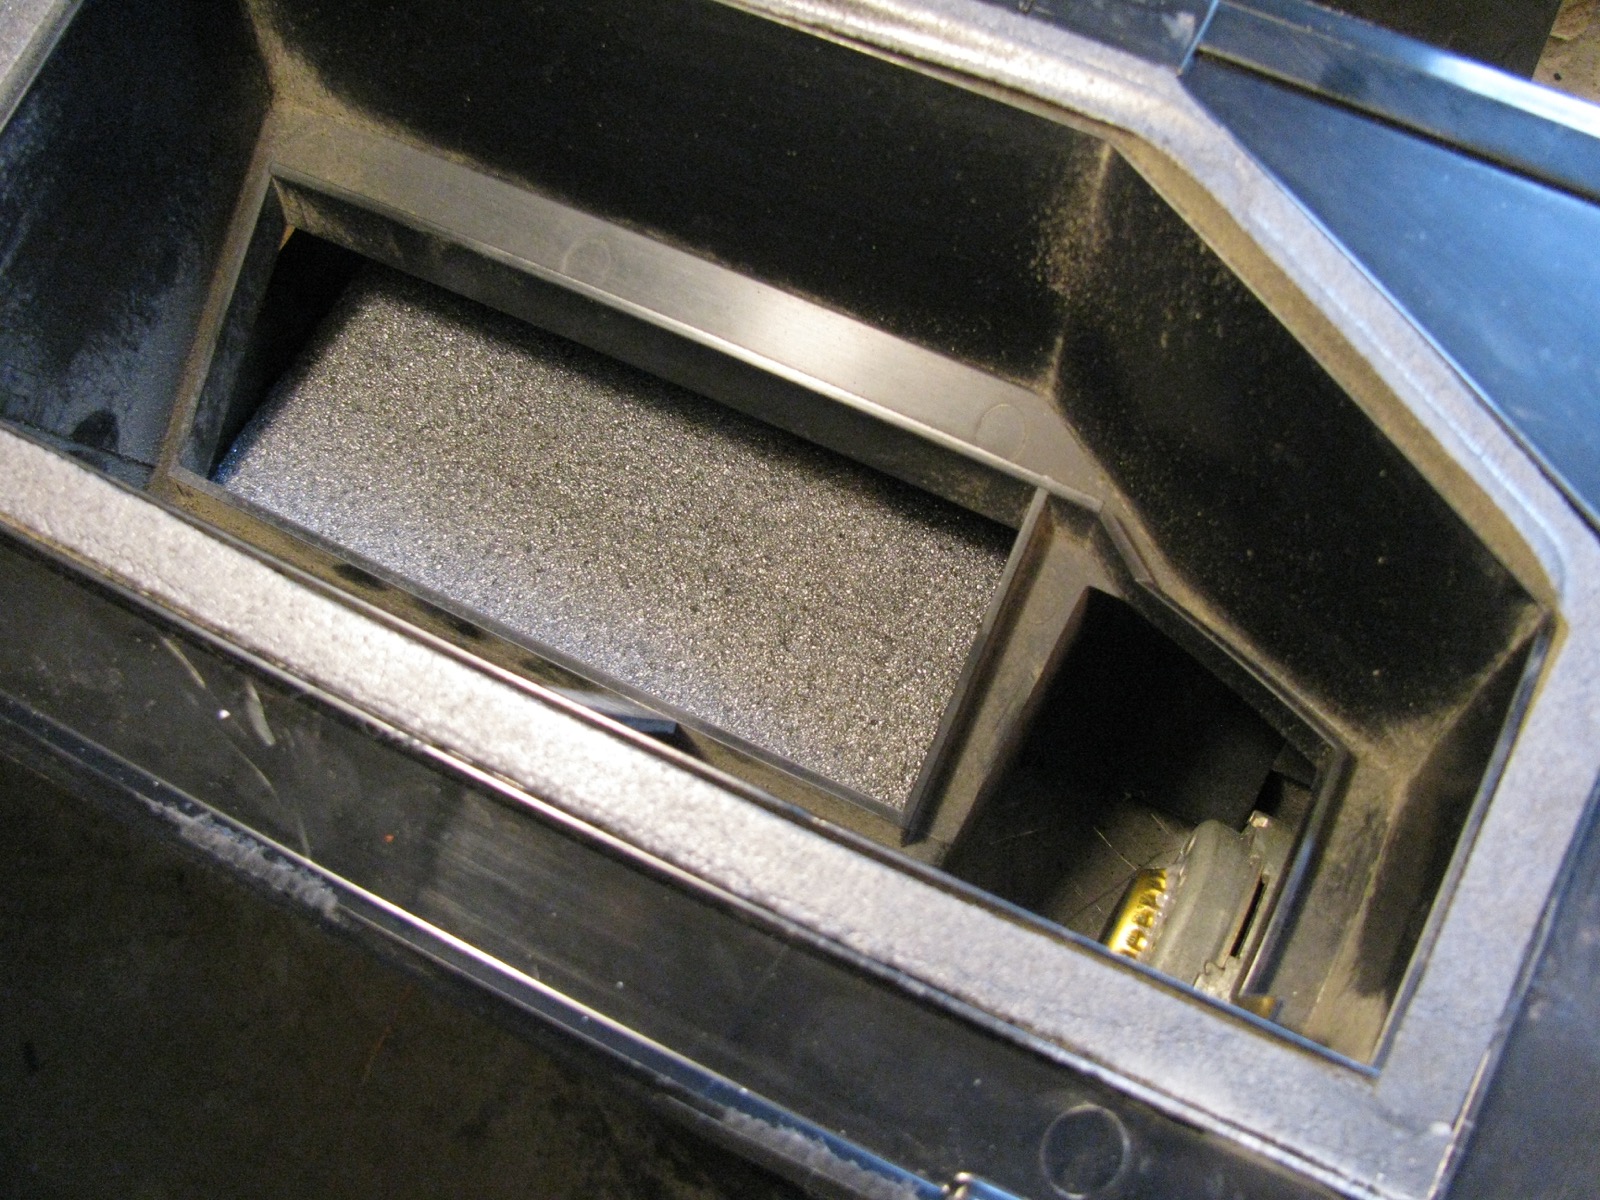
As expected, the foam on the heater box was pretty well all degraded. For a replacement I used truck canopy foam tape found at local RV store. Its open cell foam with a clear plastic face on one side and adhesive on the other. The important thing, well I think so, with the foam is that it should be very compliant. The flaps have to be able to close with little effort. The plastic face on this particular tape reduced that compliance, but I discovered the face could be peeled off. On some of the flaps its a bit tricky to get the sticky backed foam in place, but you can remove one of the flap sets to make that easier. Oh, forgot to say, the heater box had not been touched before this so I had to cut off the tabs that are plastic welded together along the split seam. This time I used an angle grinder with a 60 grit flap wheel (blending disk) to grind the tabs off. That worked the best of all the methods I’ve tried over the years. There were a few metal clips on the seam, strange that wasn’t the full compliment to use when fitting the blower back together. But I had some in my parts stash.
But you’re not reading this, I hope, for a blow by blow description of the heater box R&R.


Old motor in the right, A/C on the left.

A/C motor, note end bushing.

And the old blower. It is tempting to say the end bushing is more exposed.

And the bottle cap glued on 🙂

Foam tape with the plastic faced peeled off.


Dash back in place. Stereo had unit still out, the PO had done a really poor job of wiring, I had to come back a week later and redo do all of it.

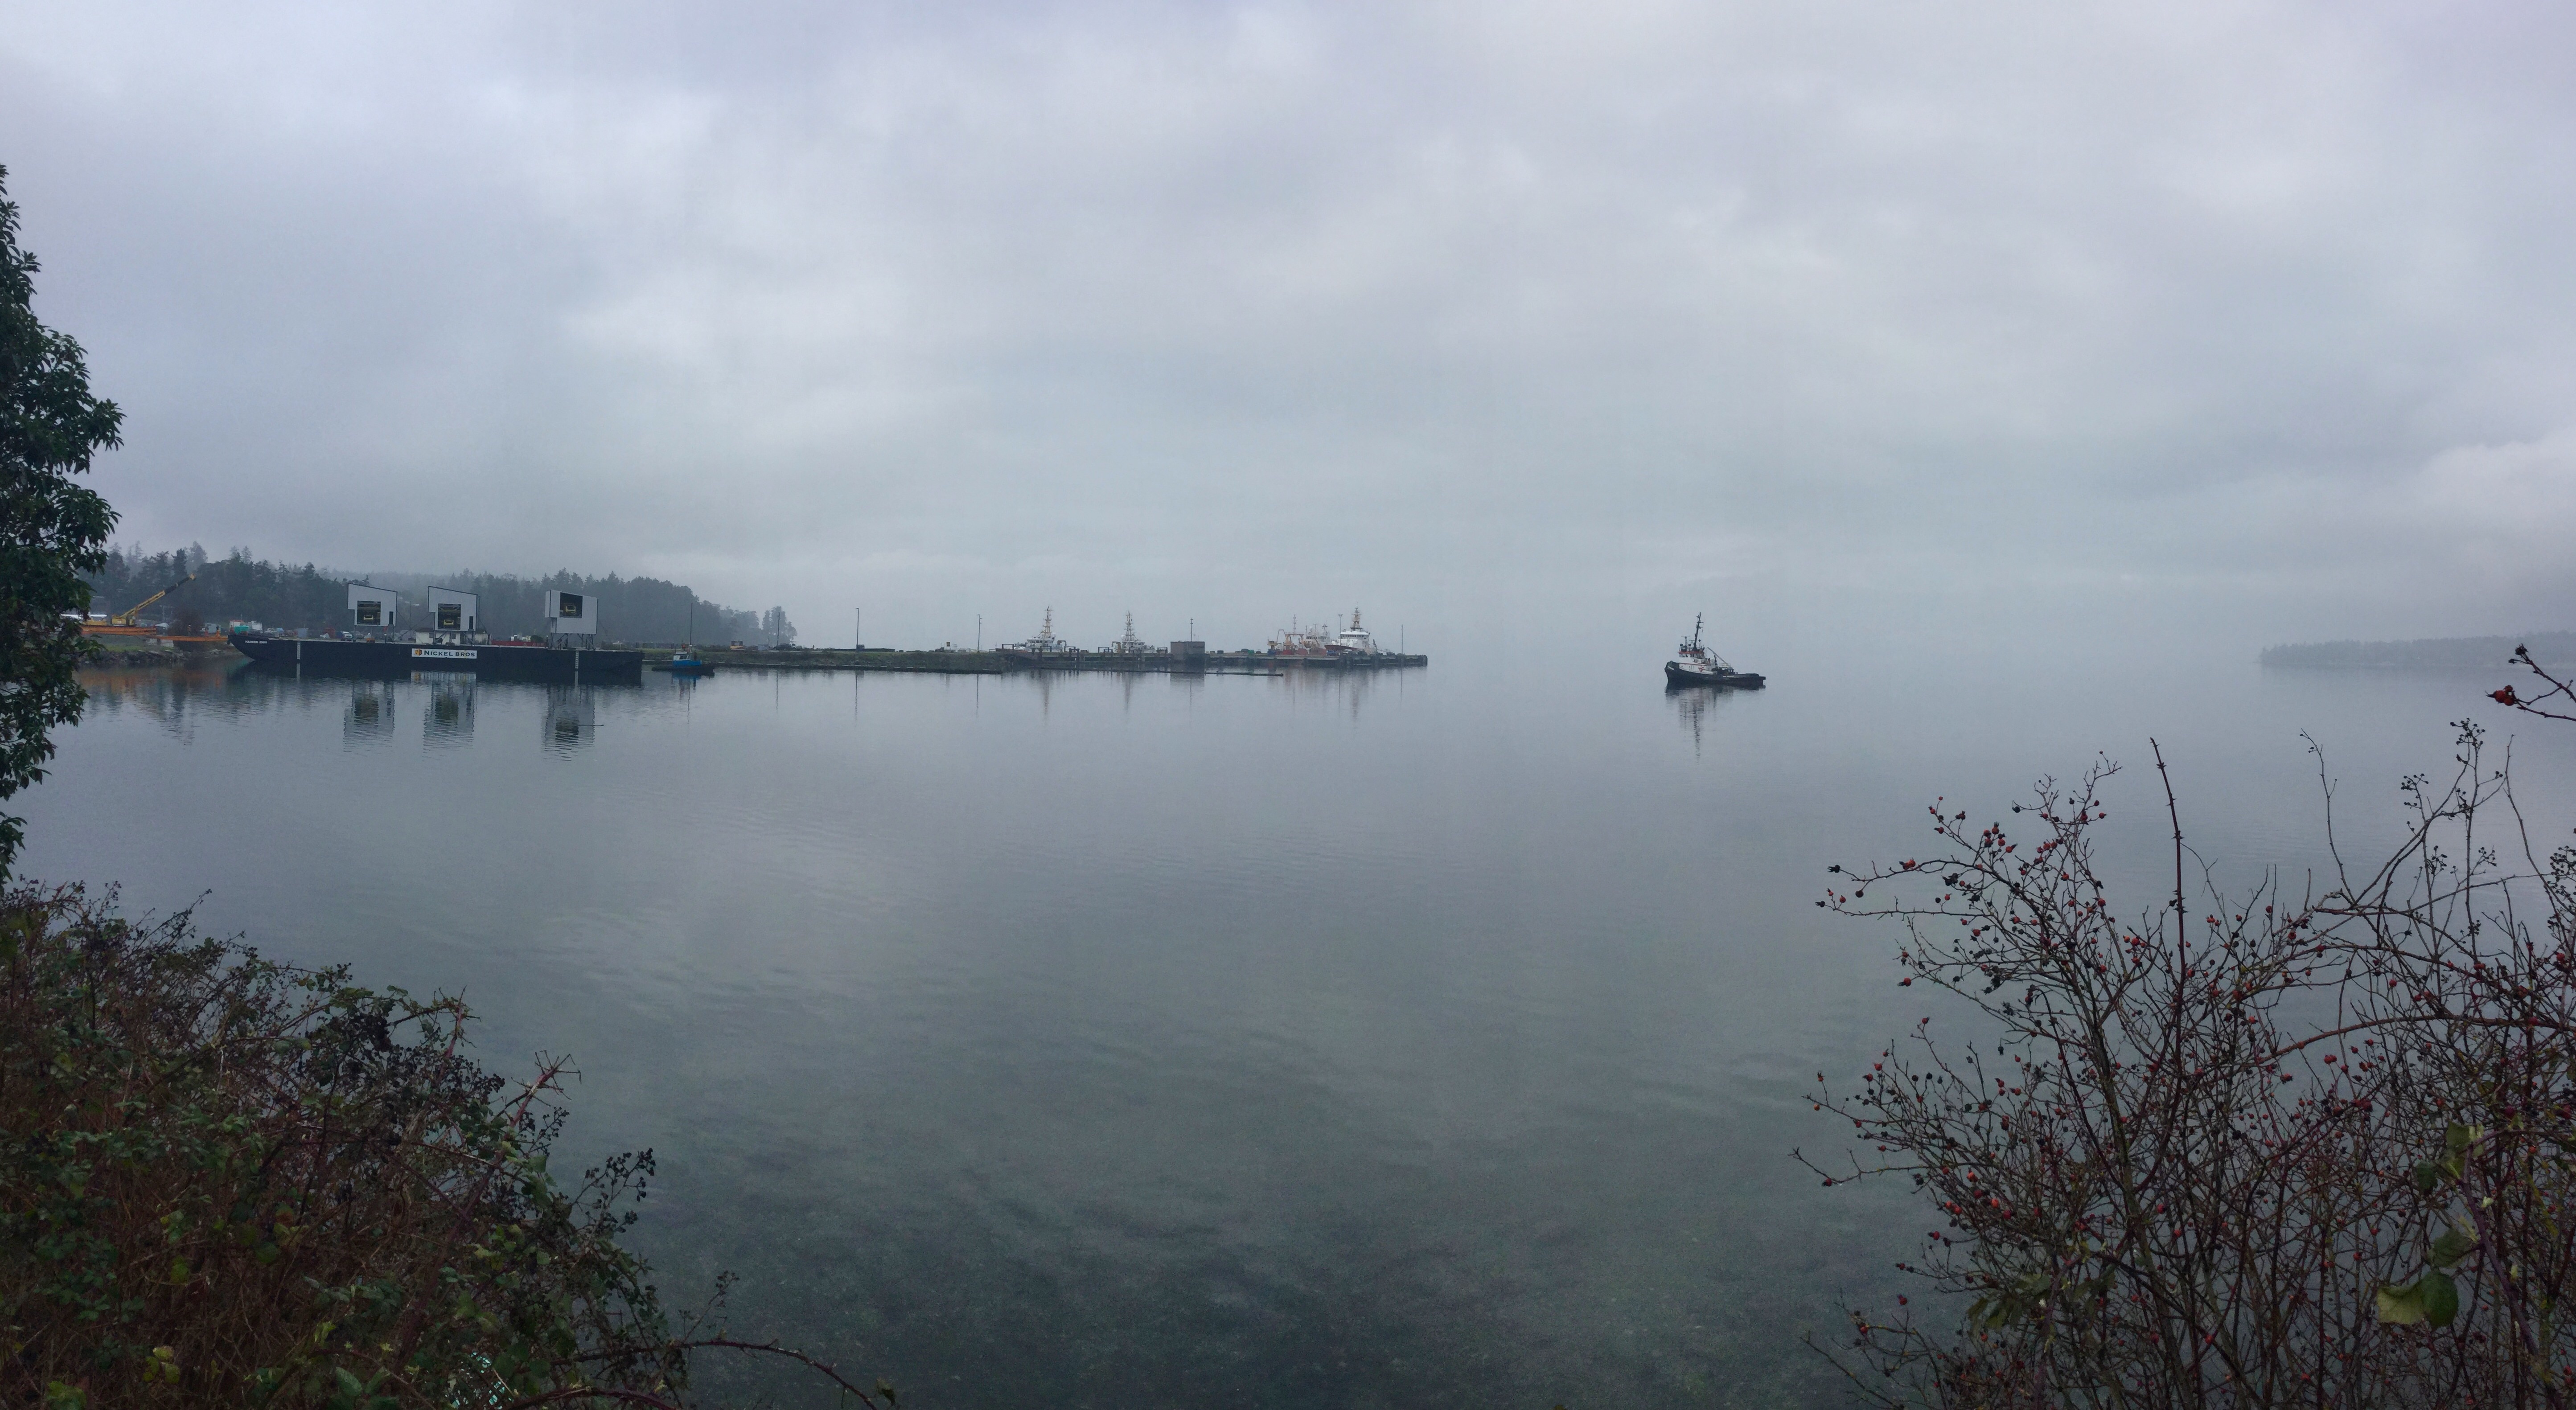
Foggy morning in February
Posted by albell in around the airport on March 24, 2015
ther’s a company near Sidney that builds fairly large industrial mechanisms, pulp mill and coal conveyor parts for example. They ship the parts out on barges that come in on high tide at Patricia Bay. The parts are transported across the peninsula via the airport’ at night of course. One morning a I took this picture, you can see the conveyor heads at the dock. The water is so still.
Pork jowl
I like buying a pork jowl now and again and curing it with some salt, a touch of sugar, and thyme. In the fridge like that for a week or so then tied up and left for maybe a month. Italian name is guanciale.
Some sexy kitchen bondage video, about as interesting as those wood fire videos or Norwegian slow tv.
Vanagon – rear drum brake helpful image
I found this image on the Samba a while back, I think it was posted by Alaric. It’s a very helpful image to have around when you are working on the rear drum brakes. I know I get confused what goes where and in what orientation.

Vanagon – rear table socket
Posted by albell in vanagon, vanagon mods on March 24, 2015
Ok, this is not the most astounding modification of a westy, but it is a nice little touch. I was looking at the hole in the cabinet where the rear table leg goes in and I thought that it should have some sort of trim on it. I had the distinct idea that later westies did have trim there, but I found out later that my friend’s ’91 westy doesn’t. So I have no idea how the thought got into my addled brain.
I made a trim ring from some black Delrin.

Ok, that’s all well and good, but fellow Vanagon mailing list member Stuart wondered if I could make a leaking off plug for the hole as he doesn’t use the rear table. I had a little bit of some sort of South American hardwood that I had been hoarding for, I can’t belive it, 30 years, and it seemed like the right stuff to use for the plug. Stuart thinks it’s Cocobolo, and it might well be.

Vanagon – Westy rear seat head rest sockets
Posted by albell in vanagon mods on March 24, 2015
Fellow Vanagon mailing list member Stuart M asked me to make some sockets to affix to the westy rear seat so that the stock plastic insets could be fitted and then spread rests installed. I think there was a factory part made to do this, and I believe it involved cutting out a little of the plywood in the seat back. Also , some folk made steel tube versions of what I did. I believe ther is a Samba thread on that, yes there is, it’s here. As I work mostly with aluminum, I made a couple of pairs out that wonderful metal 🙂
I don’t know if you can make it out, but the slots on the top of the tube are of different width. That’s because the plastic socket has two rails down each side and the rails are different width. And i suppose its obvious that with this hack you have to sand off most of the plastic rails leaving just a little bit to engage the slots.


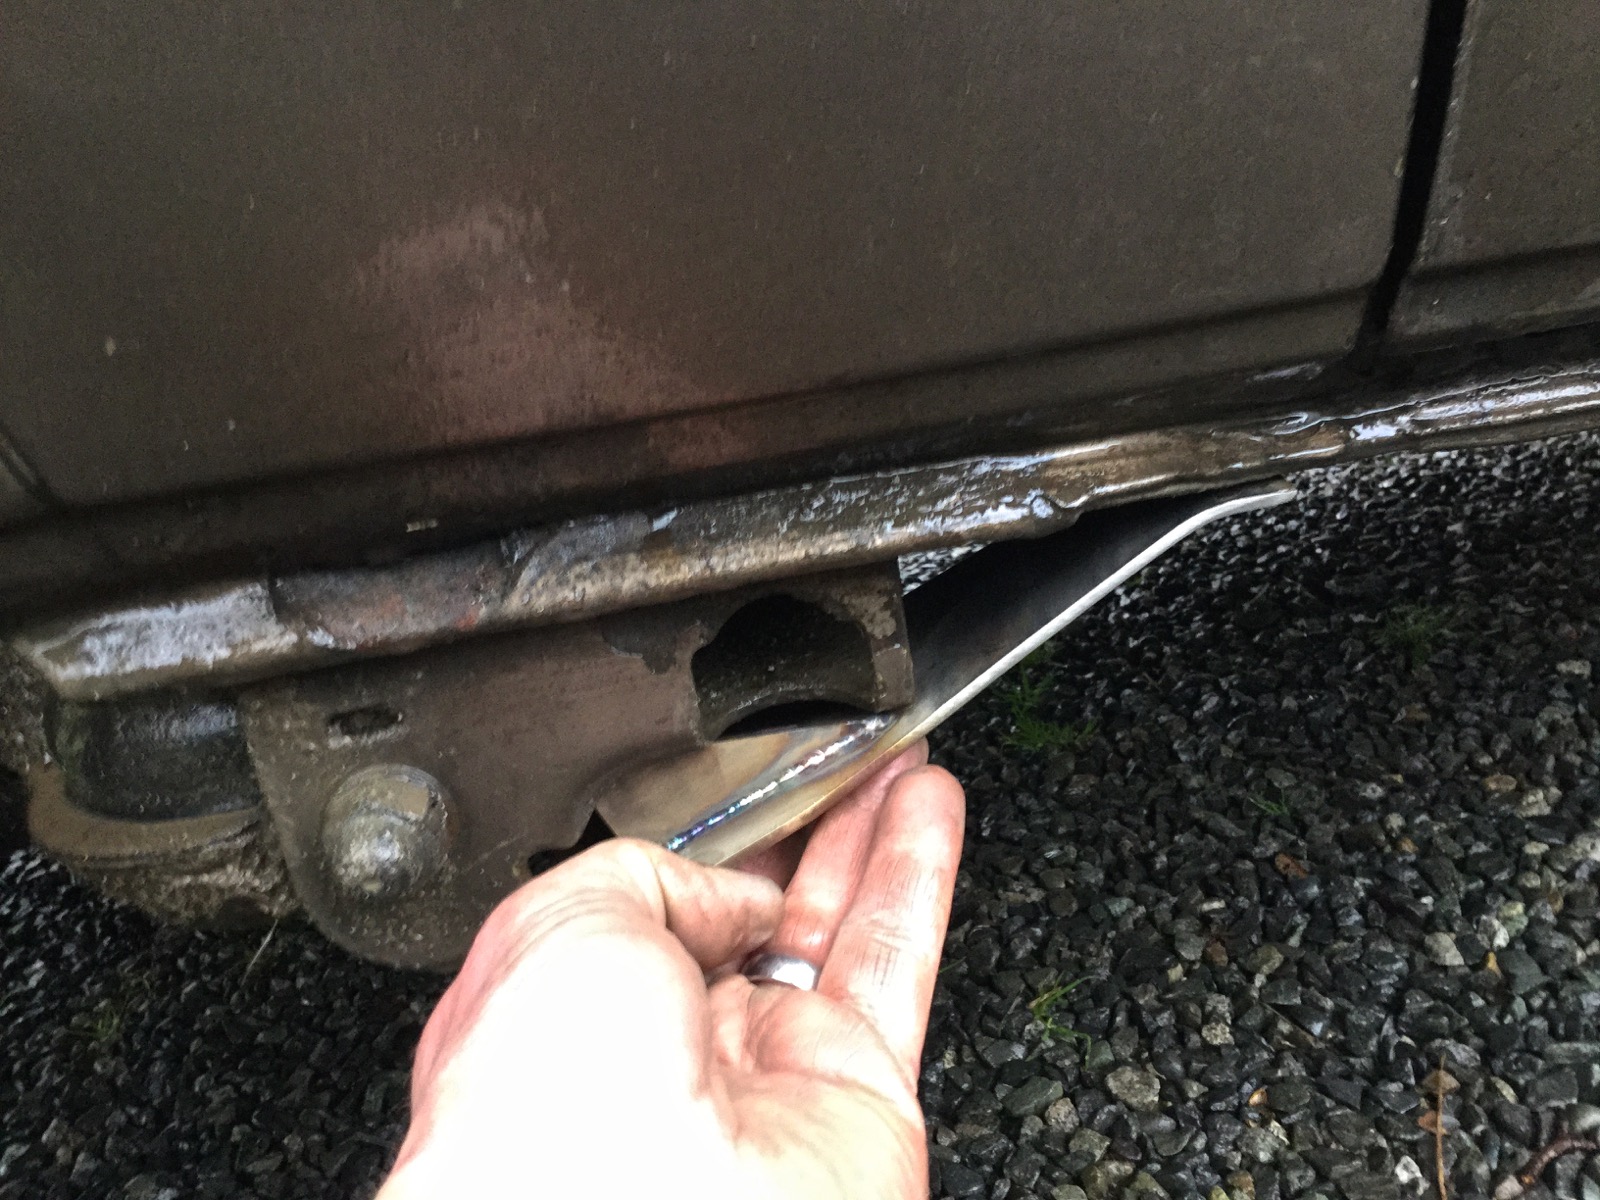
Vanagon – rear jack point/trailing arm protector
Posted by albell in vanagon mods on March 24, 2015
I’ve had a copy of the VW publication “Journeys under difficult conditions” since the early nineties. It’s a guide to modifications and tips for vanagon and LT owners who are planning on taking some rough trips. You get the impression that it is mostly centred on trips to North Africa, but the body protection modifications are pretty universal.
I only have a photocopy of the document, but I think it has been uploaded elsewhere. Maybe syncro.org.
Anyway, I finally made something from the plans. It’s a simple little thing meant to protect the rear jack points and trialling arm outer mount from damage. I made it from 316 stainless and just cut the stock with an angle grinder and zip disk. I made the bend in a vise, you can see the bend is not as crisp as it would be if i had used a press brake. But it fits up fine.


Vanagon – quick peek at my front bumper build
Posted by albell in vanagon mods on March 24, 2015
i still haven’t completed my rear bumper, I have it installed but unpainted and struggling with a good latch for the swing away tire carrier. I’ve tried a few ideas, but not happy with any of them.
But that hasn’t stopped me from starting a front bumper. Here is a picture when I was deciding on hole placement for auxiliary light mount. Btw, made from 1/4″ 6061 aluminum, that flat section in the middle is 3/4″ thick. As much as it looks like it, the flat section is not for a European style license plate but rather to mate with a replacement for the stock tire carrier – the forward end of the carrier will curve up in front of the bumper. Link to that carrier here.

Interesting little film trailer
yeah, I’ve got good reason to post this here 🙂
Sorry for the dearth of postings
apologies for the silence over the last few months, I’m getting back on it. I have a few vanagon modification postings in the chamber, will be posting them in the next couple of days.
i also have to catch up on comments.
