Archive for March, 2022
Vanagon – door cards
Posted by albell in vanagon, vanagon mods on March 22, 2022
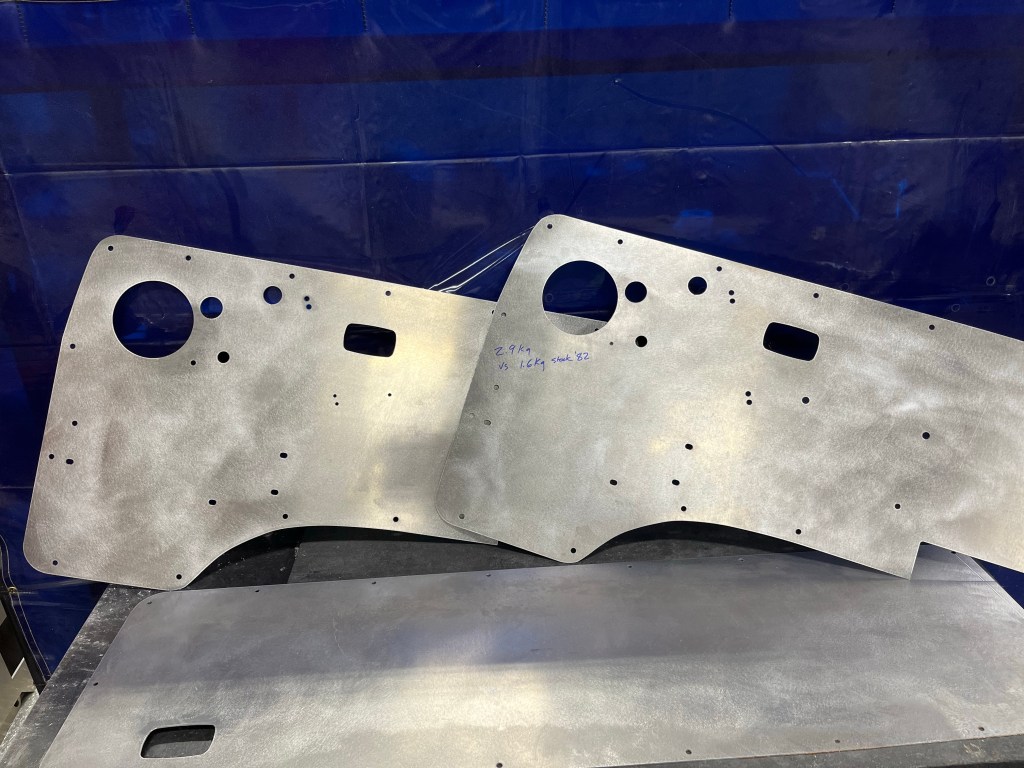
It’s been years in the making. I’ve never got around to it until today. 0.090” aluminum. Some mods done too. I’ve cut the stock speaker hole larger and will attempt to fit larger speaker. That does have some challenges but I think I can do it. Also added smaller hole beside that main speaker hole for tweeter. Did the back hatch card too and added cut out for hatch release using the stock front door lever assembly.
I scuffed the cards up after cutting. If you look closely you can the my weight measurement written on one card. Comparison with bone stock 82 vinyl covered card.
Oh, what I used…
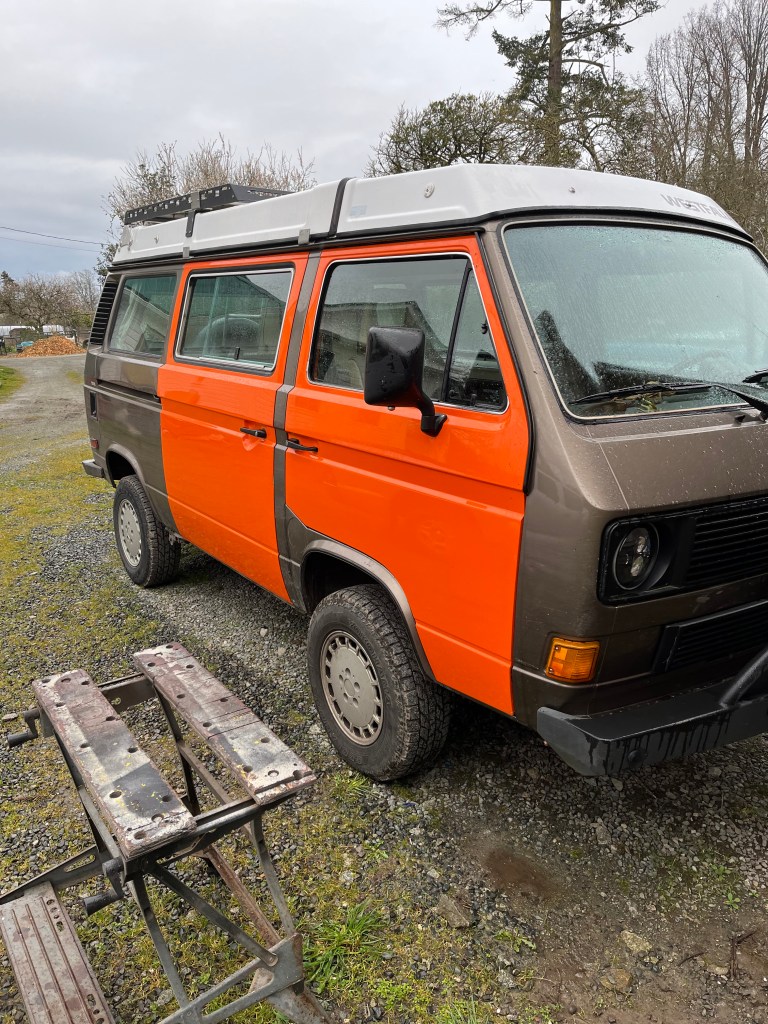
Vanagon – when I’m old I shall wear orange
Posted by albell in syncro, vanagon, vanagon mods on March 20, 2022
One of the few *good* things about getting old, you care less and less about what people think 🙂
Two Broncos
Posted by albell in other cars on March 20, 2022
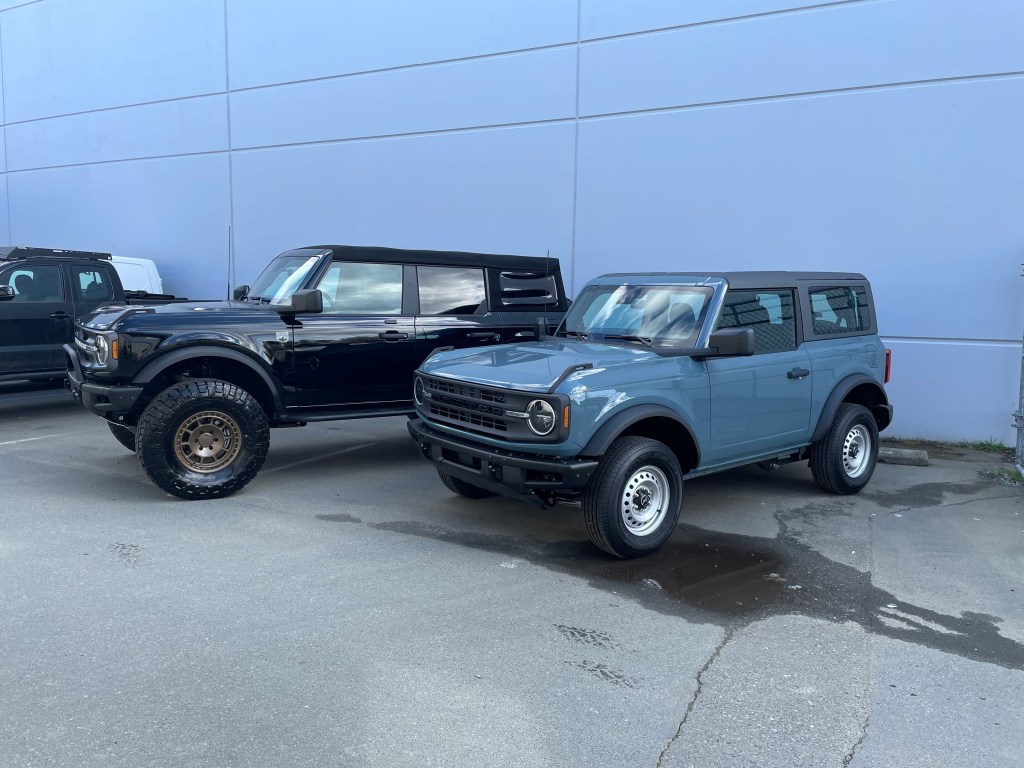
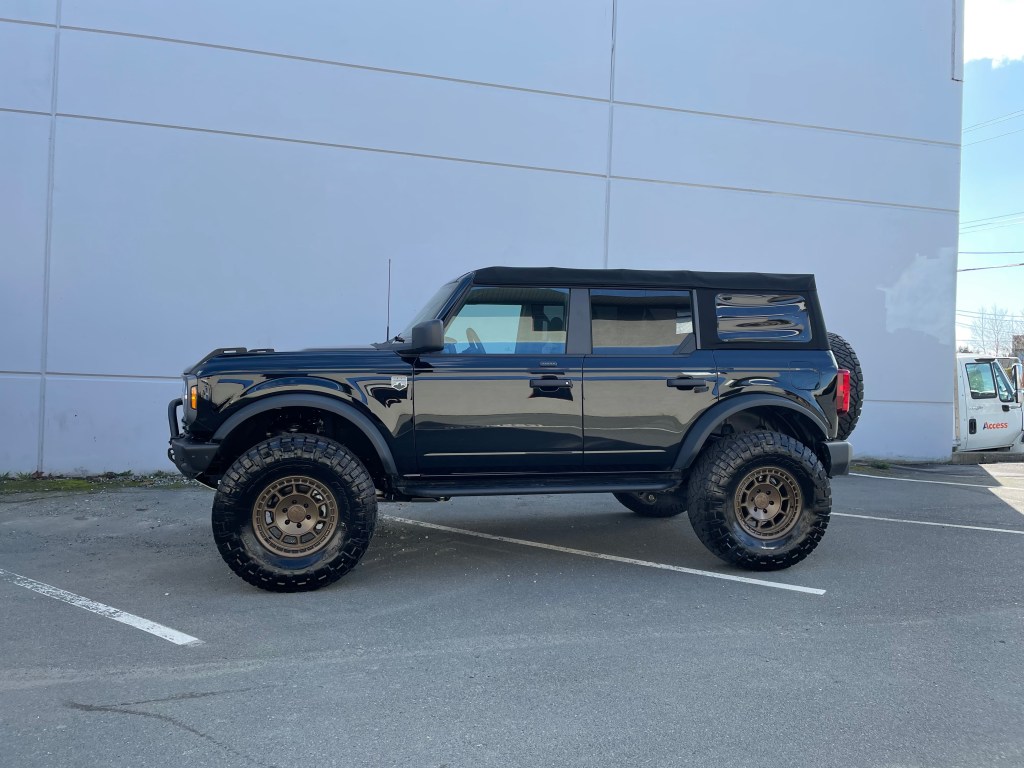
At Greenlane Offroad. Quite a difference between blue and black, the latter got some mods.
3” lift with upper control arms
New wheels with less offset
37” tires
Grille hoop, side steps.
Vanagon – trailing arm rebuild part two
Posted by albell in vanagon, vanagon mods on March 20, 2022
I had this thought that I’d make modified spring perches. To replace the rusty stock ones I pulled off, and…
This is where I doubt my thinking. The spring perch is really at an awkward angle when the trailing arm at fullest low position. I’m sure it’s more aligned with the upper spring bump stop when fully compressed. But I thought I’d cant the spring perch a little to make it align “better” with spring when trailing arm at a more neutral position.
You probably know that the diesel 16” Syncro had wedge shaped aluminum spacers on the spring perch to do the same thing. But I’m guessing it was more to accommodate the change brought about by the 16” Syncro longer trailing arm.
So it’s very debatable if what I’ve done is wise or needed. But hey ho! Off we go.
Perch made from circles of 3/16” steel. I modelled a tapered spacer from same stock , and made developed shape to cut out. I just hand bent it to slightly smaller than the discs, welding allowance.
Tacked up , you get the idea


Tacked, getting the idea now?
With an extra home made plastic pad, had milled in recess for spring pigtail. That’s about 1.5” at the back. I can make thinner plastic pad if this is too much of a lift. The pad as is, 1/2”.


I put some rust converter on the trailing arms and plug welded the three holes under the perch. I didn’t attempt to fill the divots left from drilling out the spot welds that held on the original perch

And then clumsily mig welded onto arm. I’ll drill a hole in the sandwich and squirt in some waxy stuff for rust protection. Then weld up the hole.

I don’t know if all this is a good idea. But I did it 🙂
Next is to pop in some m6 riv nuts that I’ll use to secure clios for both the brake hydraulic arm, and the e brake cable. I’m thinking about welding closed some of the seam area left open from factory, not sure about that though. And I might shave the seam for more tire clearance, as the kids are doing these days ( I did that on the pair of arms I gave to Simon). Apart from that the next steps are another sandblast then powdercoating .
Vanagon – syncro transmission rebuild
Posted by albell in syncro, vanagon, vanagon mods on March 12, 2022
This is Quentin’s work, he’s at Vivid Vans. A series of pics with his comments interspersed. I’m envious.
Teardown:

You can see the make shift m5x.7 puller I made for all the idler shafts to the left of the housing. An m6 bolt ground down and tapped to m5 haha. You can also see wear from axial movement of the mainshaft bearing in the casting.


I took a photo of each gear with its respective syncro for easy reference at reassembly. You can also just go off the number of teeth but it was easier for a newbie like me.


Nice and clean after being glass bead blasted and thoroughly cleaned.

Test drilling old diff housing for pinion oil squirter. Right on the money first try. (housing was trashed)


My NOS S.A. aluminum diff housing I had modified by Mr. GAS in Colorado for a locker and extra material for the pinion bearing squirter. Yes it would have looked a lot nicer if I had it milled down but I ran out of time.

AN4

4th Gear cool oil bath squirter. Questionable effectiveness but doesnt hurt nonetheless. Bathes 4th gear in cooled oil.

Main bearing oil squirter. Squirts cooled oil directly into the main bearing from the front side.


Main bearing retainer plate. South African style reproduced by Alika Motorsports. Prevents axial play. (I had the wrong thrust bearing pressed into the housing please ignore! Fixed it the next day.)

Cut the oiling groove in the pinion race using my CNC angle grinder. Drilled with 1/8 carbide drill bits.


Setting up the ring and pinion with the help of our head Tech Tony. Didn’t get photos of final pattern but It was spot on. Probably the most difficult part of the rebuild.


gear stacks assembled. I literally spent months labouring over the gearing. Ended up going with:
3.333 First
1.82 Second
1.125 big tooth Third
0.75 Straight cut fourth

Deleted the reverse/granny syncronizer and installed a 2wd slider instead. TDIs have been seen to rattle the syncro assemblies apart and destroy the low/reverse housing.

Fully assembled all aluminum goodness

Painted, torqued, ready to thrash. I just need to plumb the oil cooling circuit and it will be ready for break in.

One last photo of my trans temp gauge I custom built. My oil cooler pump is activated manually by a 2nd defroster switch. I considered doing and automatic cooler set up, but your brain is the best automatic controller money can buy.

Vanagon – start of trailing arm “rebuild”
Posted by albell in vanagon, vanagon mods on March 10, 2022
Years ago I had a pair of trialing arms which I fixed up for good friend Simon. I shaved the wheel side seam and welded in a reinforcing plate in that area. Also welded up the spring pad perimeter. He finally had them installed last summer. His old ones he gave to me.
They were heavily coated in tar like undercoating and had been quickly cut from the van. I burdened off the undercoating using a tiger torch, and also got the bushings out.
Had them sandblasted. Here’s what one looks like after that. You might be able to see the Zip disk cuts in the arm, and the bent tabs. No idea what that tab on the inboard bushing area is for.


I welded up the zip cuts, and then I drilled out the spot welds on the spring perches. Yup, that’s what it’s like under the pads. Even though though the arms were rust free, on the surface, under the pads it’s nasty.


I’ll go out on a limb and say, unless you’re living in a super dry part of the world, your good looking spring pads will have cracked paint and rust under. Just saying, not being a Cassandra 🙂
Vanagon – funny Trucklite headlamp behaviour
Posted by albell in vanagon, vanagon mods on March 6, 2022
Hi, I bought another, yes another, set of cheap led headlamps. Let’s not get into the pros and cons of that just yet. I’ll report on those later.
But I had the chance to compare quickly, the new ones with some older Trucklite headlamps. They differ completely in the led arrangement and number. But when I was doing a quick comparison ( very quick , shining onto a welding curtain) , I noted the Trucklite unit had a delay switching from high beam to low. You can see in this shaky vid. Trucklite on the right
Vanagon – quick autopsy of GW throttle body
Posted by albell in vanagon, vanagon mods on March 6, 2022
It’s from the burned out orange van. Engine fire so you can imagine all of the plastic parts in there are melted or burned up. I did manage to pull the throttle body and it’s a go westy one. Here it is, even after an hour in the ultrasonic cleaner. I’m guessing it was black anodized.

Took it apart. The bearings , sealed, 22mm OD, 8mm ID, 7mm thick, we’re toast of course. And the throttle position switch burned off.


I did my best with scotch Brite pad on the main body and I skimmed a couple thou off one end ( lathe). The small parts I used vibratory tumbler, mix of walnut shells and grit. Put it back together using a a pair of cheap ceramic open bearings that I had. Of course you should use sealed , ti reduce the air bypass along the shaft.
Couple of notes. It’s a well made thing. I’m impressed by the build quality. The shaft has a very small groove where the bearings sit. There was something in the groove but maybe not an o ring, maybe it was some sort of sealant. The butterfly is a simple flat disc, no ramp or bevel as in the stock plate. The fit in the bore is very good, very close.


Good friend Greg has one in his van. He says it’s great. I don’t doubt it, it’s well made.
I’ll keep this one for a spare, yes I’ll swap out the bearings and see about something with that tiny groove in shaft under the bearings. And I need to get a tps either a kit from the usual sources or make one up. I’d did notice GW kit uses a 3D printed cam.
