Archive for May, 2017
Vanagon – that westy table mod update
Posted by albell in vanagon, vanagon mods on May 30, 2017
A couple of things to say. The somewhat clunky adapter that I made to allow the newer style table top to fit the older style table leg has raised the table enough to partially block the USB outlets I put in the vent grill on the side of the stove unit.

I think there is enough meat in the adapter to take away and lower the table. The next thing is the knob that tightens the table leg to the cupboards. I bet most of you find that it’s difficult to tighten that knob enough to prevent the table from moving a bit when driving. Many have made retainers of one form or another. Maybe magnets on the van wall, maybe Velcro. You know what I mean. I did something along those lines on my old 82 westy. But this time I thought about changing the knob to something I could tighten, and equally as importantly, loosen easily. So I quickly made a knob substitute from some 1 X 1/8″ stainless flat bar. I welded a M10 socket headed bolt to it and added some “speed holes” ( as Travis would call them ). Much easier to tighten and loosen and when tight it holds the table firmly. No need for any other fix.


It’s not very stock looking, but it’s not an irreversible modification.
Vanagon – westy table, old type leg with new type top
Posted by albell in vanagon, vanagon mods on May 28, 2017
I used the interior of my old 82 westy when I converted the syncro tin top to a westy. You might know that the old style table leg to table top connection is a spigot into a tube arrangement. The newer type has the end of the leg flattened and a bolt runs up thru that and into the table top. The later style is much better, in as much as the table doesn’t have the short spigot on it and stores a little easier. In addition, I never did have the front table or table leg until a few years ago when good friend Stephen gave me the pair, but the newer style. That was around the same time the kid left home so big table when camping wasn’t needed, we just used the front table. Actually, the front table was used much more often in the Swellegant™ conformation.
But then the other day I was poking around in the first circle of hell, aka the home workshop, and found two late model large table tops. I had forgotten that same good friend Stephen had dropped them off after salvaging the edge trim. I grabbed one and cleaned it up, pulled the edge trim off my old style table, and whacked it on. So now I had a functioning late model table and I could use it with the Swellegant™ table stand and have a bigger outdoor cocktail table. And who doesn’t want that?
And then I got to thinking, why not make something so this larger table could be used with the old style table leg? I had a bit of aluminum round stock that I had machined to make shaft aligning tool which turned out not to be needed so I whittled it down to make a table adapter. Welded a bit of flat stock with holes in it to a suitable bolt and bob’s your uncle, a table adapter. It’s a bit clunky but note that’s the flat stock handle used to tighten the table top to leg is much easier to use than the stock round handle and I made it so that the handle ends up more or less above the table leg when tight. That’s just to reduce the chances of snagging something on the handle.
Oh and the old stock knob that screwed into the tube on top of the old style leg, I replaced with a short bolt which hits the flat spot machined on the side of the adapter. Don’t need to touch that again, the table top is held on by the through bolt ( the through bolt which has the holy handle).


Ad the table in place. The short front table in this instance.

Oh and just to be clear on the table leg differences between old and new, here is a new style rear table leg which I had shortened to be used up front. Completing the circle as it’s going to good friend Stephen.

Vanagon – minor transmission work.
Small stuff. First off, I changed the transmission oil from the Castrol gear oil that I put in back in 2011. This time I’m suing Swepco 210. Lots of discussion about gear oil on the Samba, Swepco gets a good rap, many are running 201 and more recently more are using the moly containing 202 or 212.
So after 6 years and over 100,000 km the transmission plug magnet looked like this. Not too much swarf.

The second thing I did was to add more holes to my homemade transmission skid plate. Blog post about original install here. Yes, the relative lack of ventilation holes finally got to me. Even though I live in a very temperate climate, and I don’t do many long distance hot weather high speed trips, I knew I should have more air going over the transmission. Drilled more holes ( and didn’t measure spacing, but no one is going to see that are they?) and also put in some slots. And as I am always game for a questionably valid idea, I put in a bit of plastic hinge material art of the slots and infront of the holes.
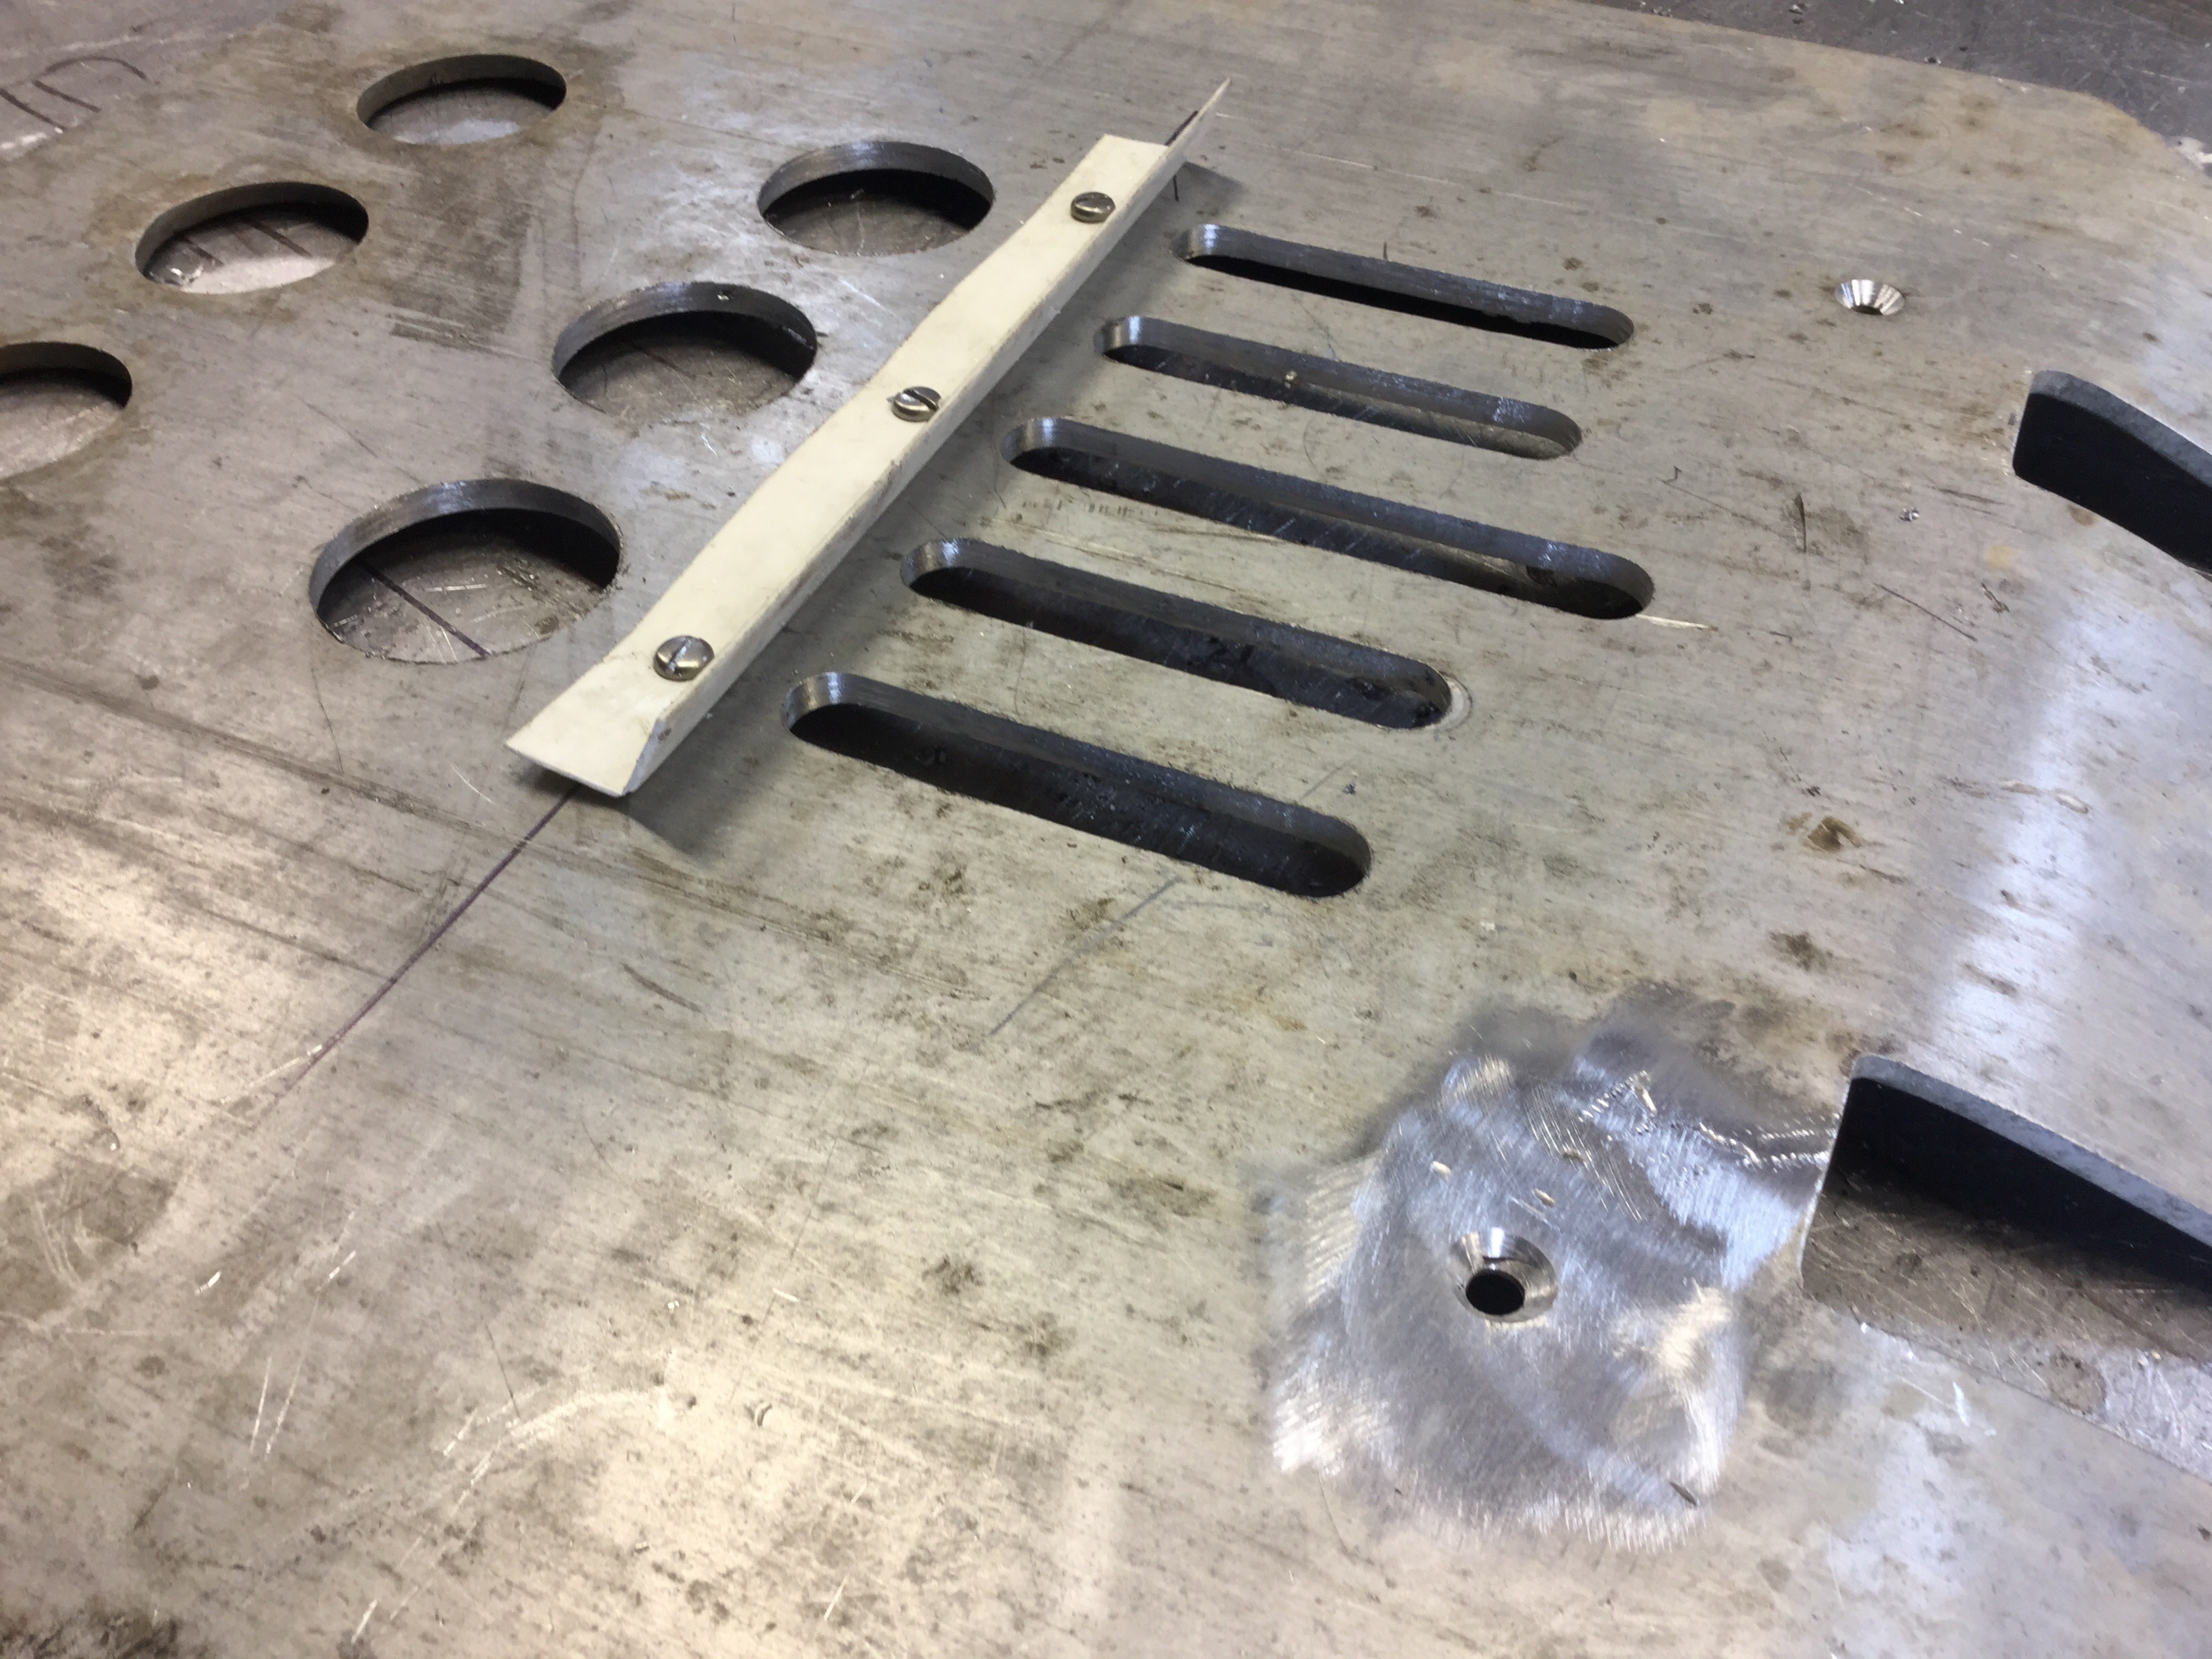
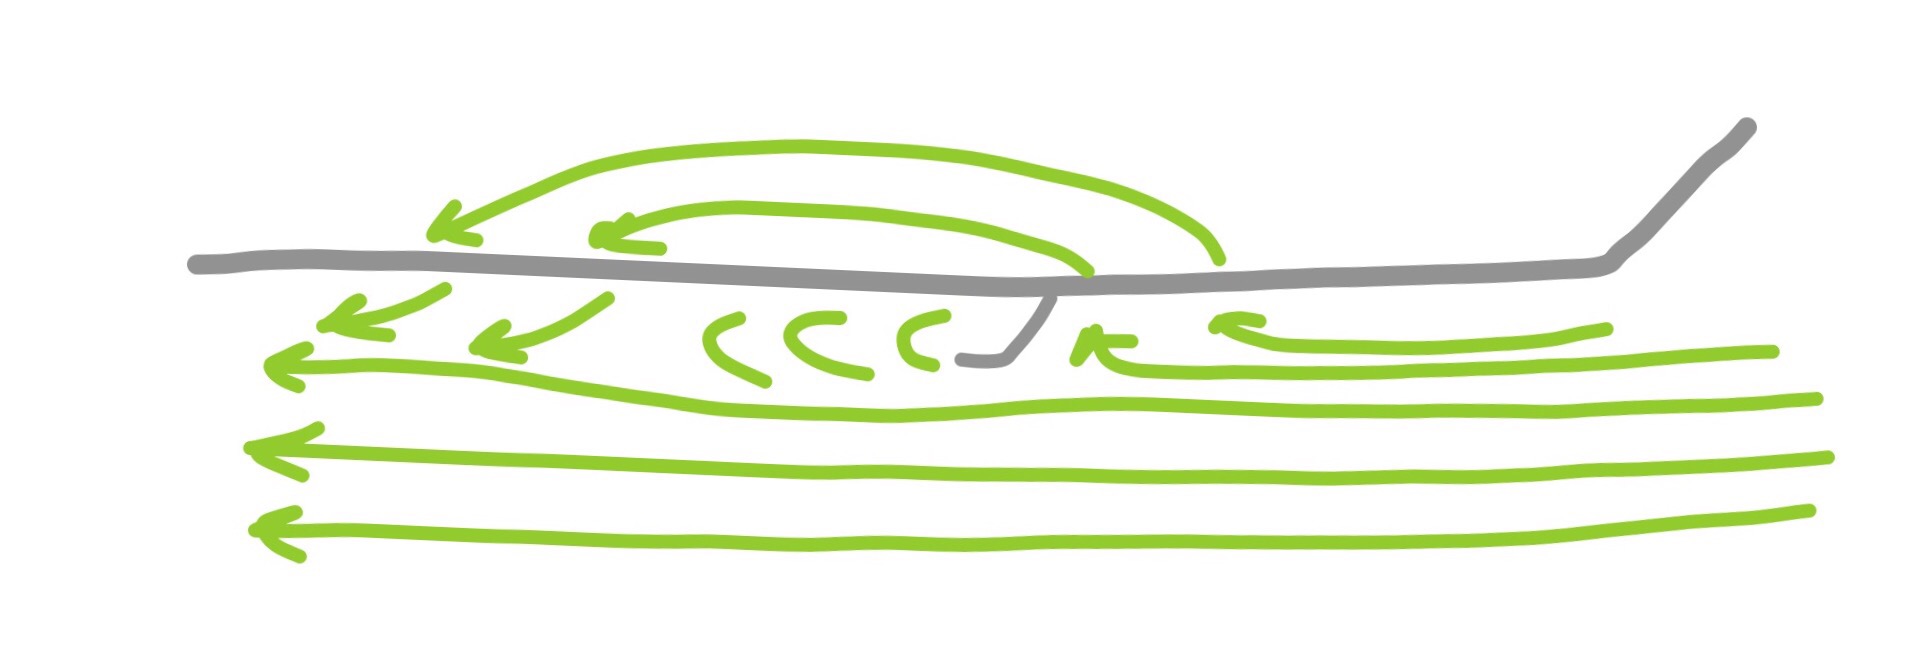
Here’s my thinking. The plastic strip will create a little bit of high pressure in front which will help direct air flow up into slots, the strip also will trip the air flow and make a lower pressure area directly aft of it. It’s all pretty shaky fluid dynamics but what’s the harm in trying?
Green is air flow, gray is skid plate.
Yeah, laugh it up 🙂
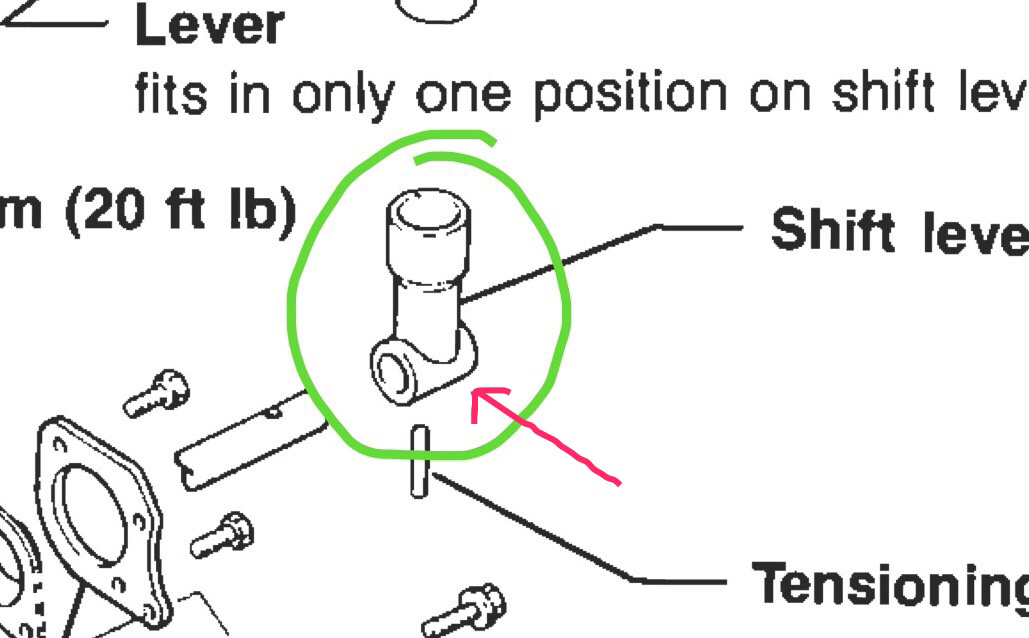
The last thing I did was adjust the ball and cup part of the gear shift linkage. The parts circled here.

But what adjustments can you make with that assembly you ask? I didn’t think there was any, I was thinking the fit of the ball into the cup was worn and loose. This supposition was a little bit of a Hail Mary wish, I had been having some shifting issues. The first to second, and the third to second shifts had been getting harder over the last few months. It felt like the linkage was hitting a stop rather than anything internal with the transmission itself. The low hanging fruit was this part of the linkage and I thought I’d have a look before working forward with adjustments to the rest of the system.
I think the specs for the ball and cup are that the cup has an ID of 30mm and the ball OD is 29.6mm. I was wondering if things were worn out and the fit sloppy. You can buy replacements. And also I was wondering if the splines on the ball part, where it fits in the splined shaft in the transmission, were worn.
Going at it I remembered that a previous owner had made a modification. The lower part of the cup lever had been cross drilled through the horizontal shift rod and tapped and nutted. The stock method of securing the cup lever to the shaft is a small roll pin coming up from the bottom. The red arrow approximates where the cross drilling was done.
Took the parts off and the cup and ball fit wasn’t that loose at all. But without the added cross bolt the fit of the cup lever onto the shaft was very wobbly. When I tightened up the cross bolt the fit became very secure. And miracle of miracles, tightening that bolt cured my shifting issues.
It would be a little bit of a chore to drill and tap the connection on the van. I think this was done when the transmission was rebuilt ( the previous owner mentioned, but had no paperwork proving, that the transmission had been rebuilt). Maybe this mod could be of use to some of you out there. It’s something to be aware about if you are putting on a new cup lever, check the fit on the shift rod.
Vanagon – the ignominy, the shame, the wages of procrastination (ball joint)
A few weeks ago I replaced an upper ball joint on the van. This was not preventative maintenance, this ball joint was dead.
The boot was ripped, and you can see the grease had long gone. I have no excuse for this lack of awareness of the joint failing. (You know, I think it might even be the original joint)

I replaced the other side’s joint some years ago, blog post of that here. Good god, it was back in 2009. It was a real chore to get the tapered part of the joint out then and I expected more of the same this time. But apparently god smiles on fools, and the tapered part practically fell out of the steering upright. Back in 2009 I used a Lemforder joint, which I think are pretty darn good. But couldn’t get hold of one quickly this time and went for the Febi version. I don’t think I would have touched any other brands, those two are the best. So do you think the Febi is actually made in Germany? Says Germany, but not made in Germany 🙂


Yeah so that all went fine, no drama in the install.

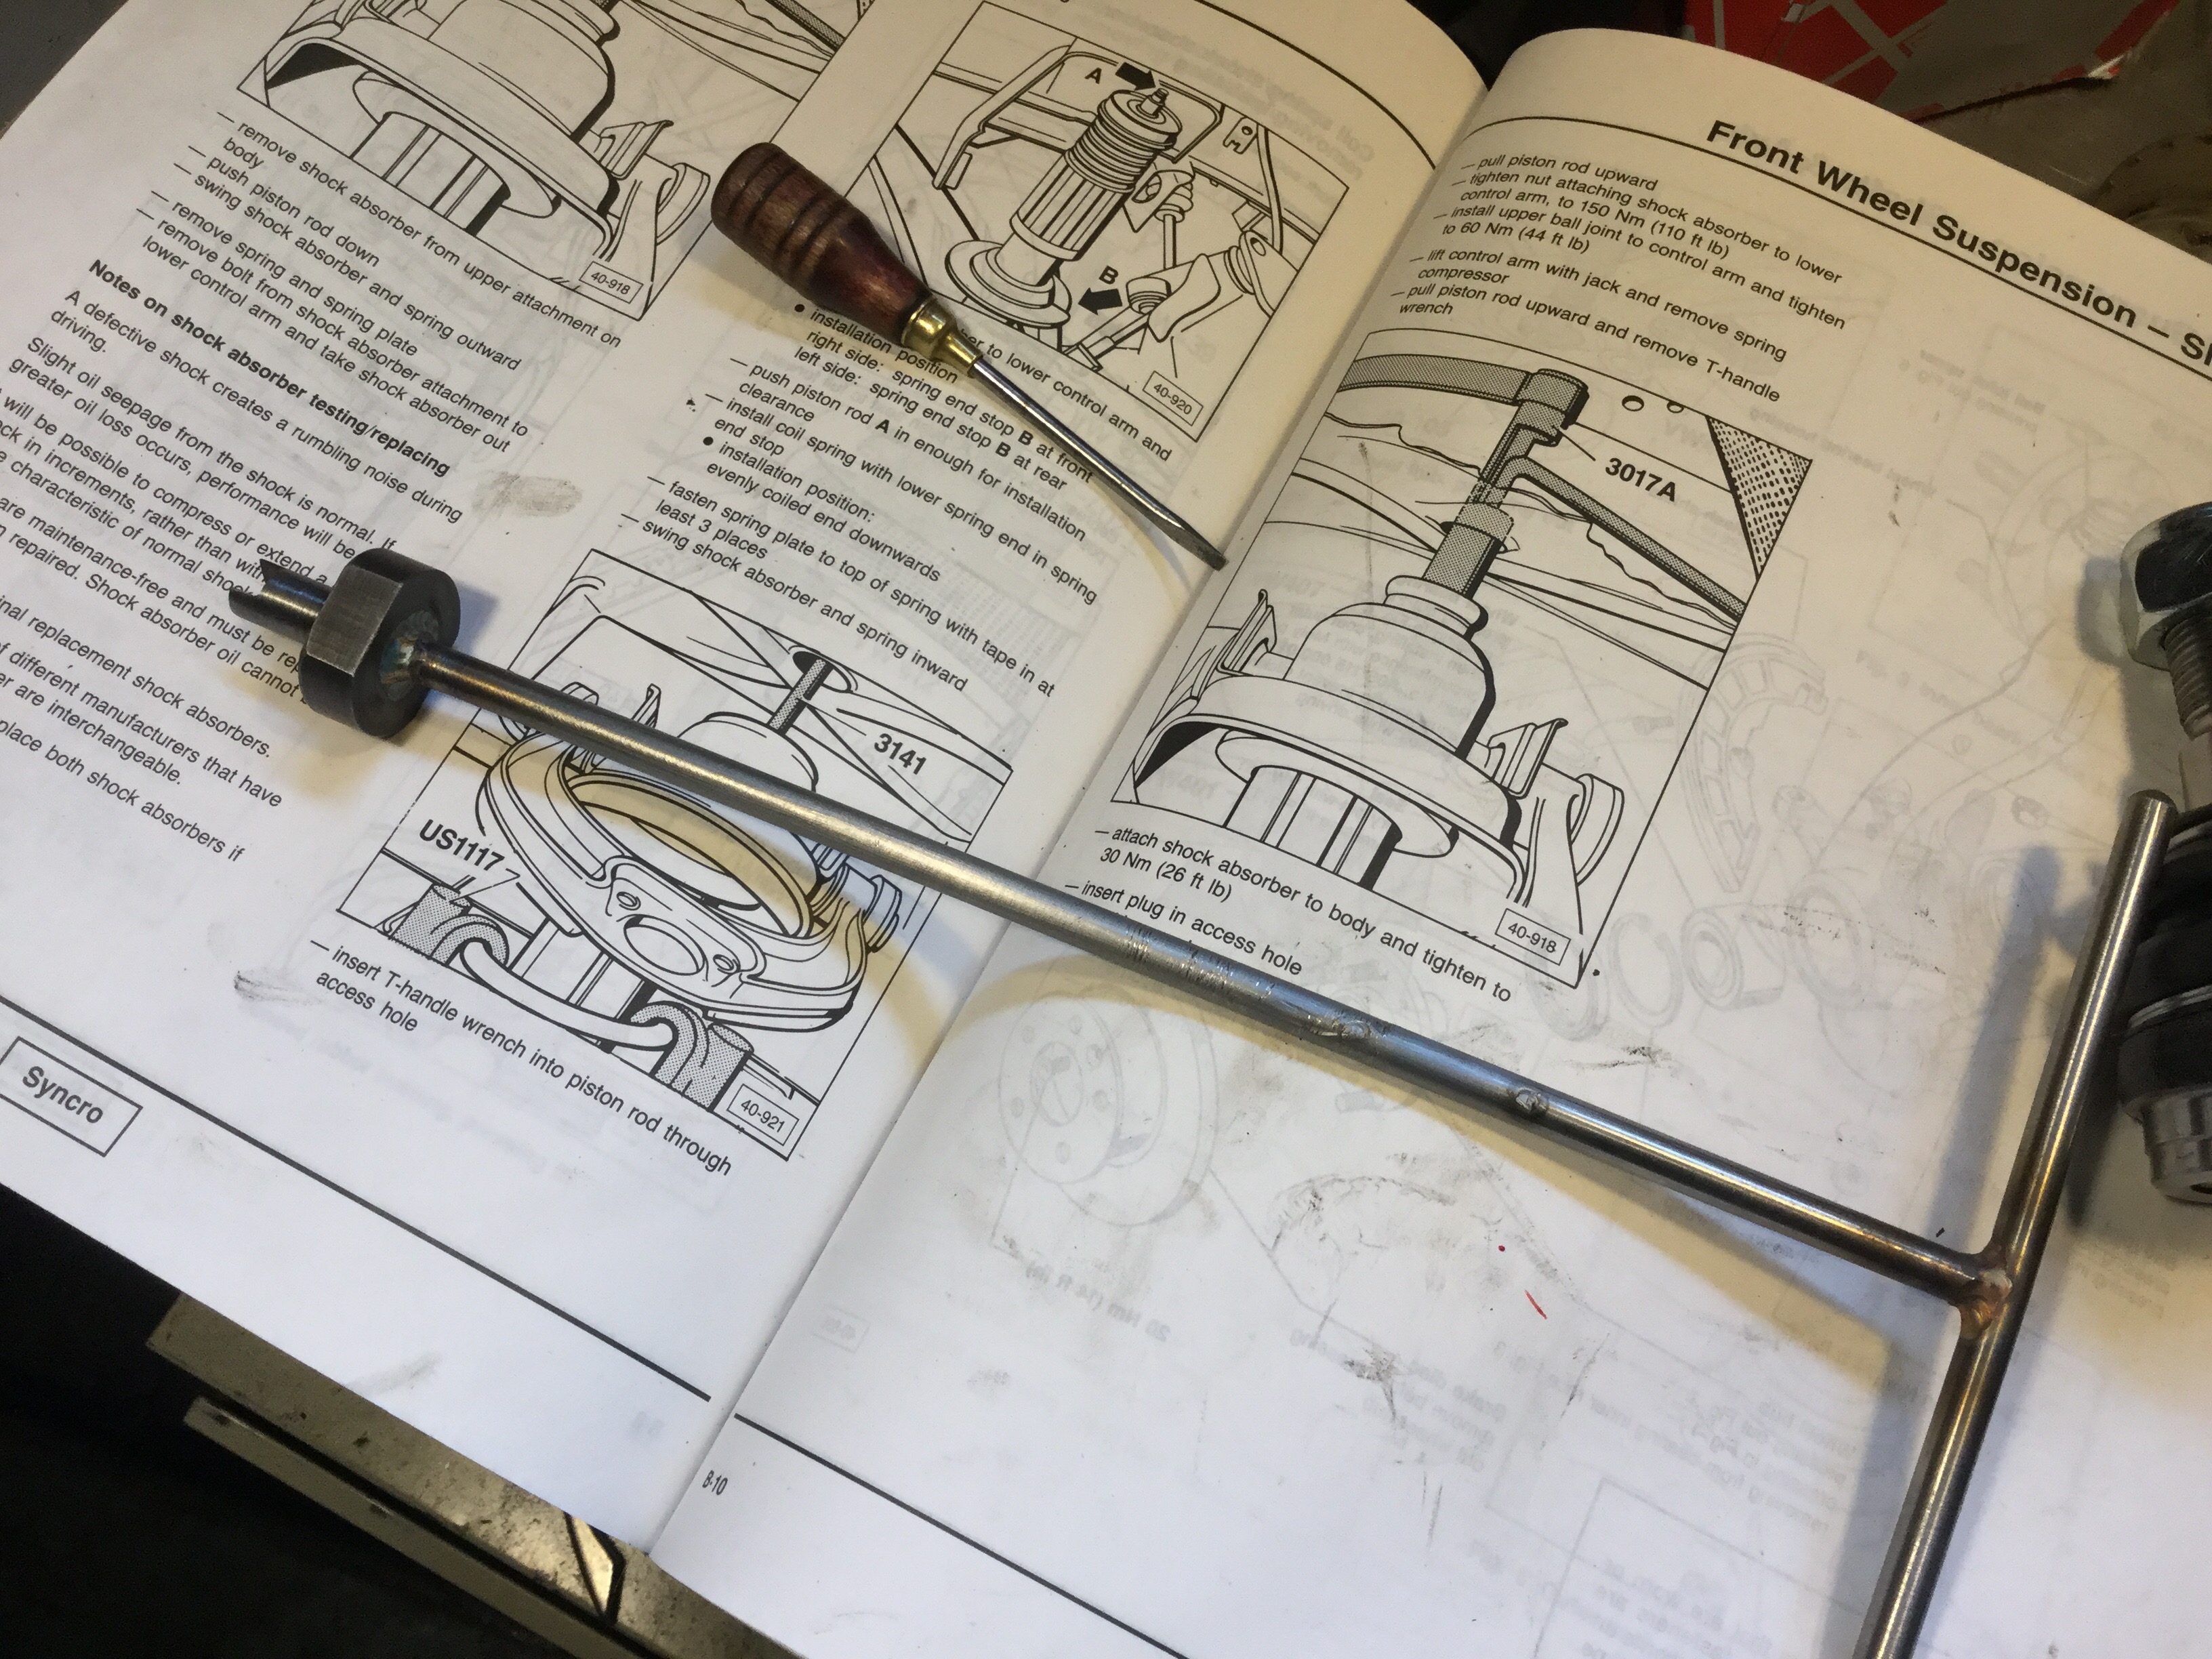
But I made life harder for myself. That strange looking tool in the picture of the new joint on Bentley may give a hint. The too was my quick effort to make something to hold the shock shaft while the nut is turned. There is a neat VW specialty tool for this.
And during my previous spring removals I’ve not needed to hold the shock shaft, the nut came off land went back on easily. But this time there must have been some damage to the threads and the nut was not cooperative. The tool was made from scrap hence the unusual shape at the business end. Really just amounts to a rod with a slot in the end to hold the flattened end of the shock shaft.
Yeah I was swapping springs again. Back in 2013 I installed 2wd westy front springs. They are a few cm longer and the wire diameter was ( and I remeasured) only about 0.5-0.8mm smaller than the syncro springs. I can’t give you better measurements than that, the paint thickness muddies things up. Back then I thought they were really the same wire diameter. But now I wonder. Anyway, the post about that is here. Over time I started to think maybe the syncro springs were stiffer or that the 2wd springs had sagged. Maybe they are, maybe they aren’t, but I had my old syncro springs sand blasted and I repainted them. Here is the shorter syncro spring beside one of the 2wd westy springs I removed.

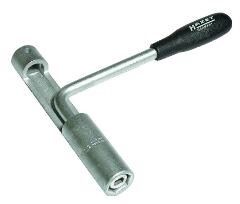
Well I don’t know. Probably should have left them in. But I didn’t and I had the fun struggle of spring swap. The other two tools I find useful, if not essential, in the spring swap are a ratcheting strap clamp to pull the shock into alignment and a guide tool to screw into the shock shaft to lead the shaft up through the shock tower. I made the latter years ago with a wooden knob for a handle. After I conked my forehead with the knob when I pulled up hard, but the rod was not screwed on securely to the shock, I changed the knob for a T handle.
Here’s the original at work.


And the highly recommended T handle version. Just a bit of tubing welded to the end.

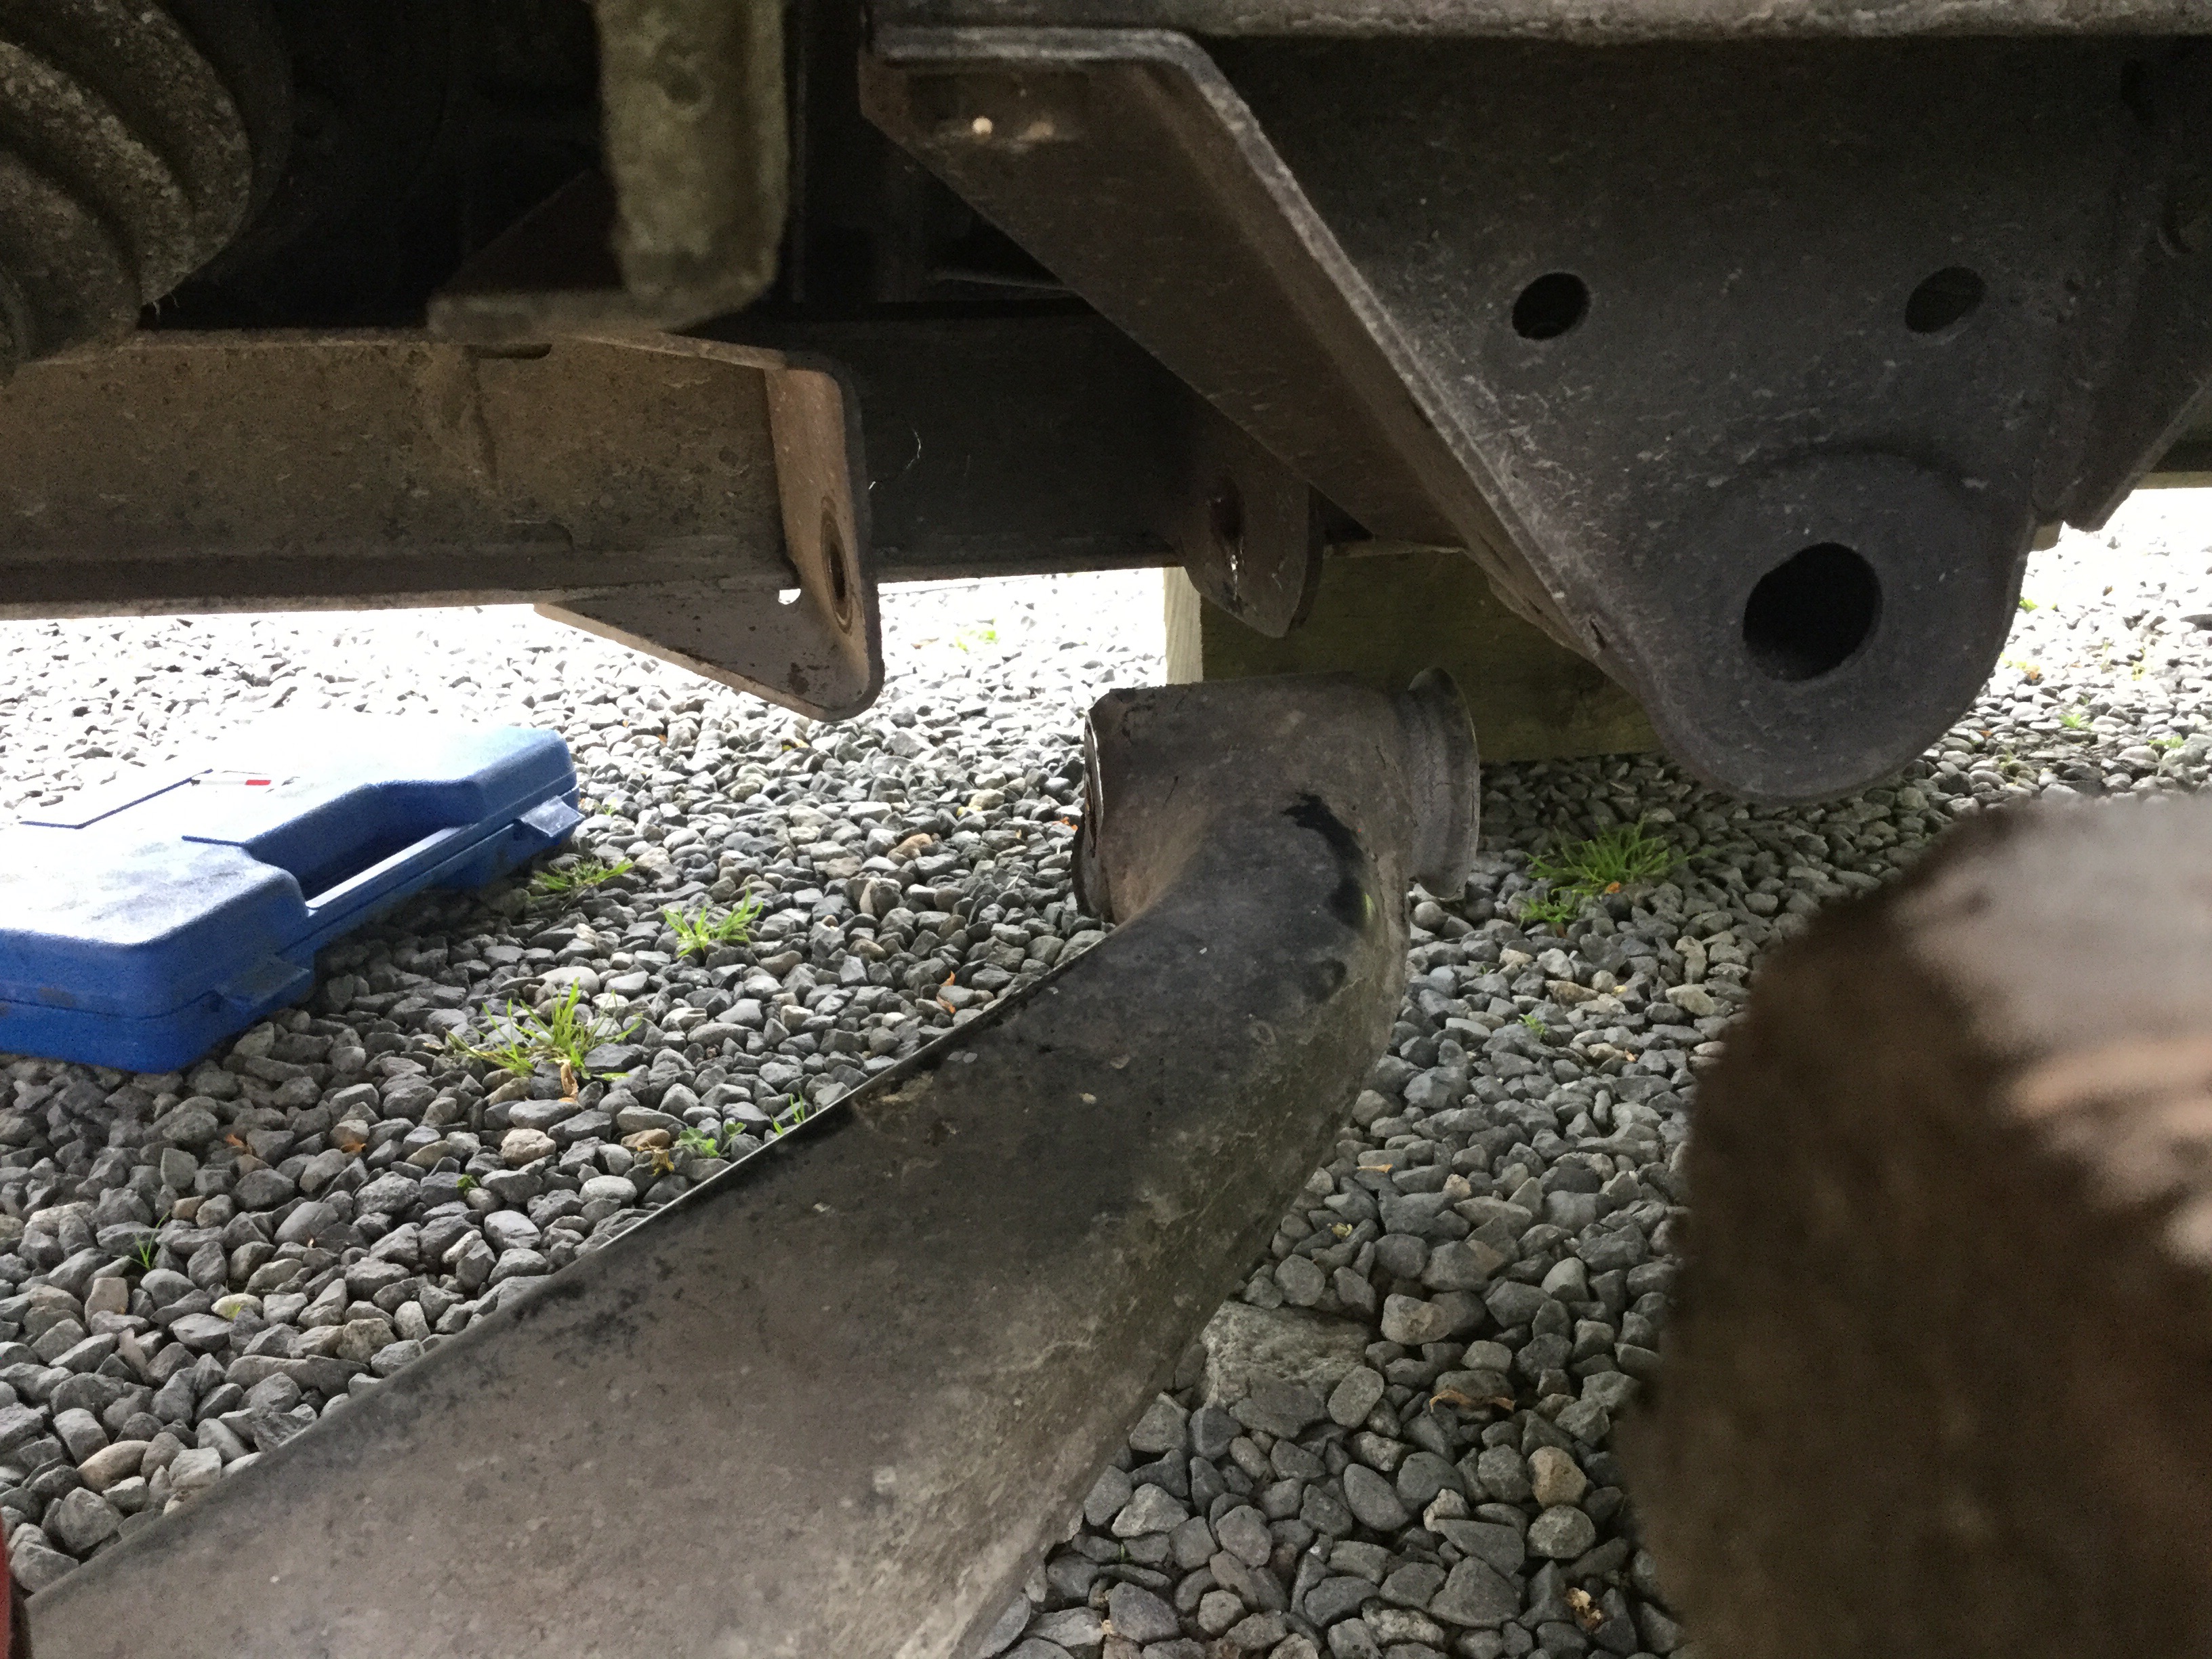
And… I finally, after a year, got around to replacing the driver’s side lower control arm inboard bushing with a polyurethane version. The original was just thrashed. All distorted, the control arm pushed forward in the mount . Hard to see in the pic, sorry.

This pic shows it better, you can see rubber bushing in the aft end but not on the forward end. Forward end of bushing all worn off.
Getting the rubber bushing out of the arm requires some threaded rod and bit of this and that to make a little press.
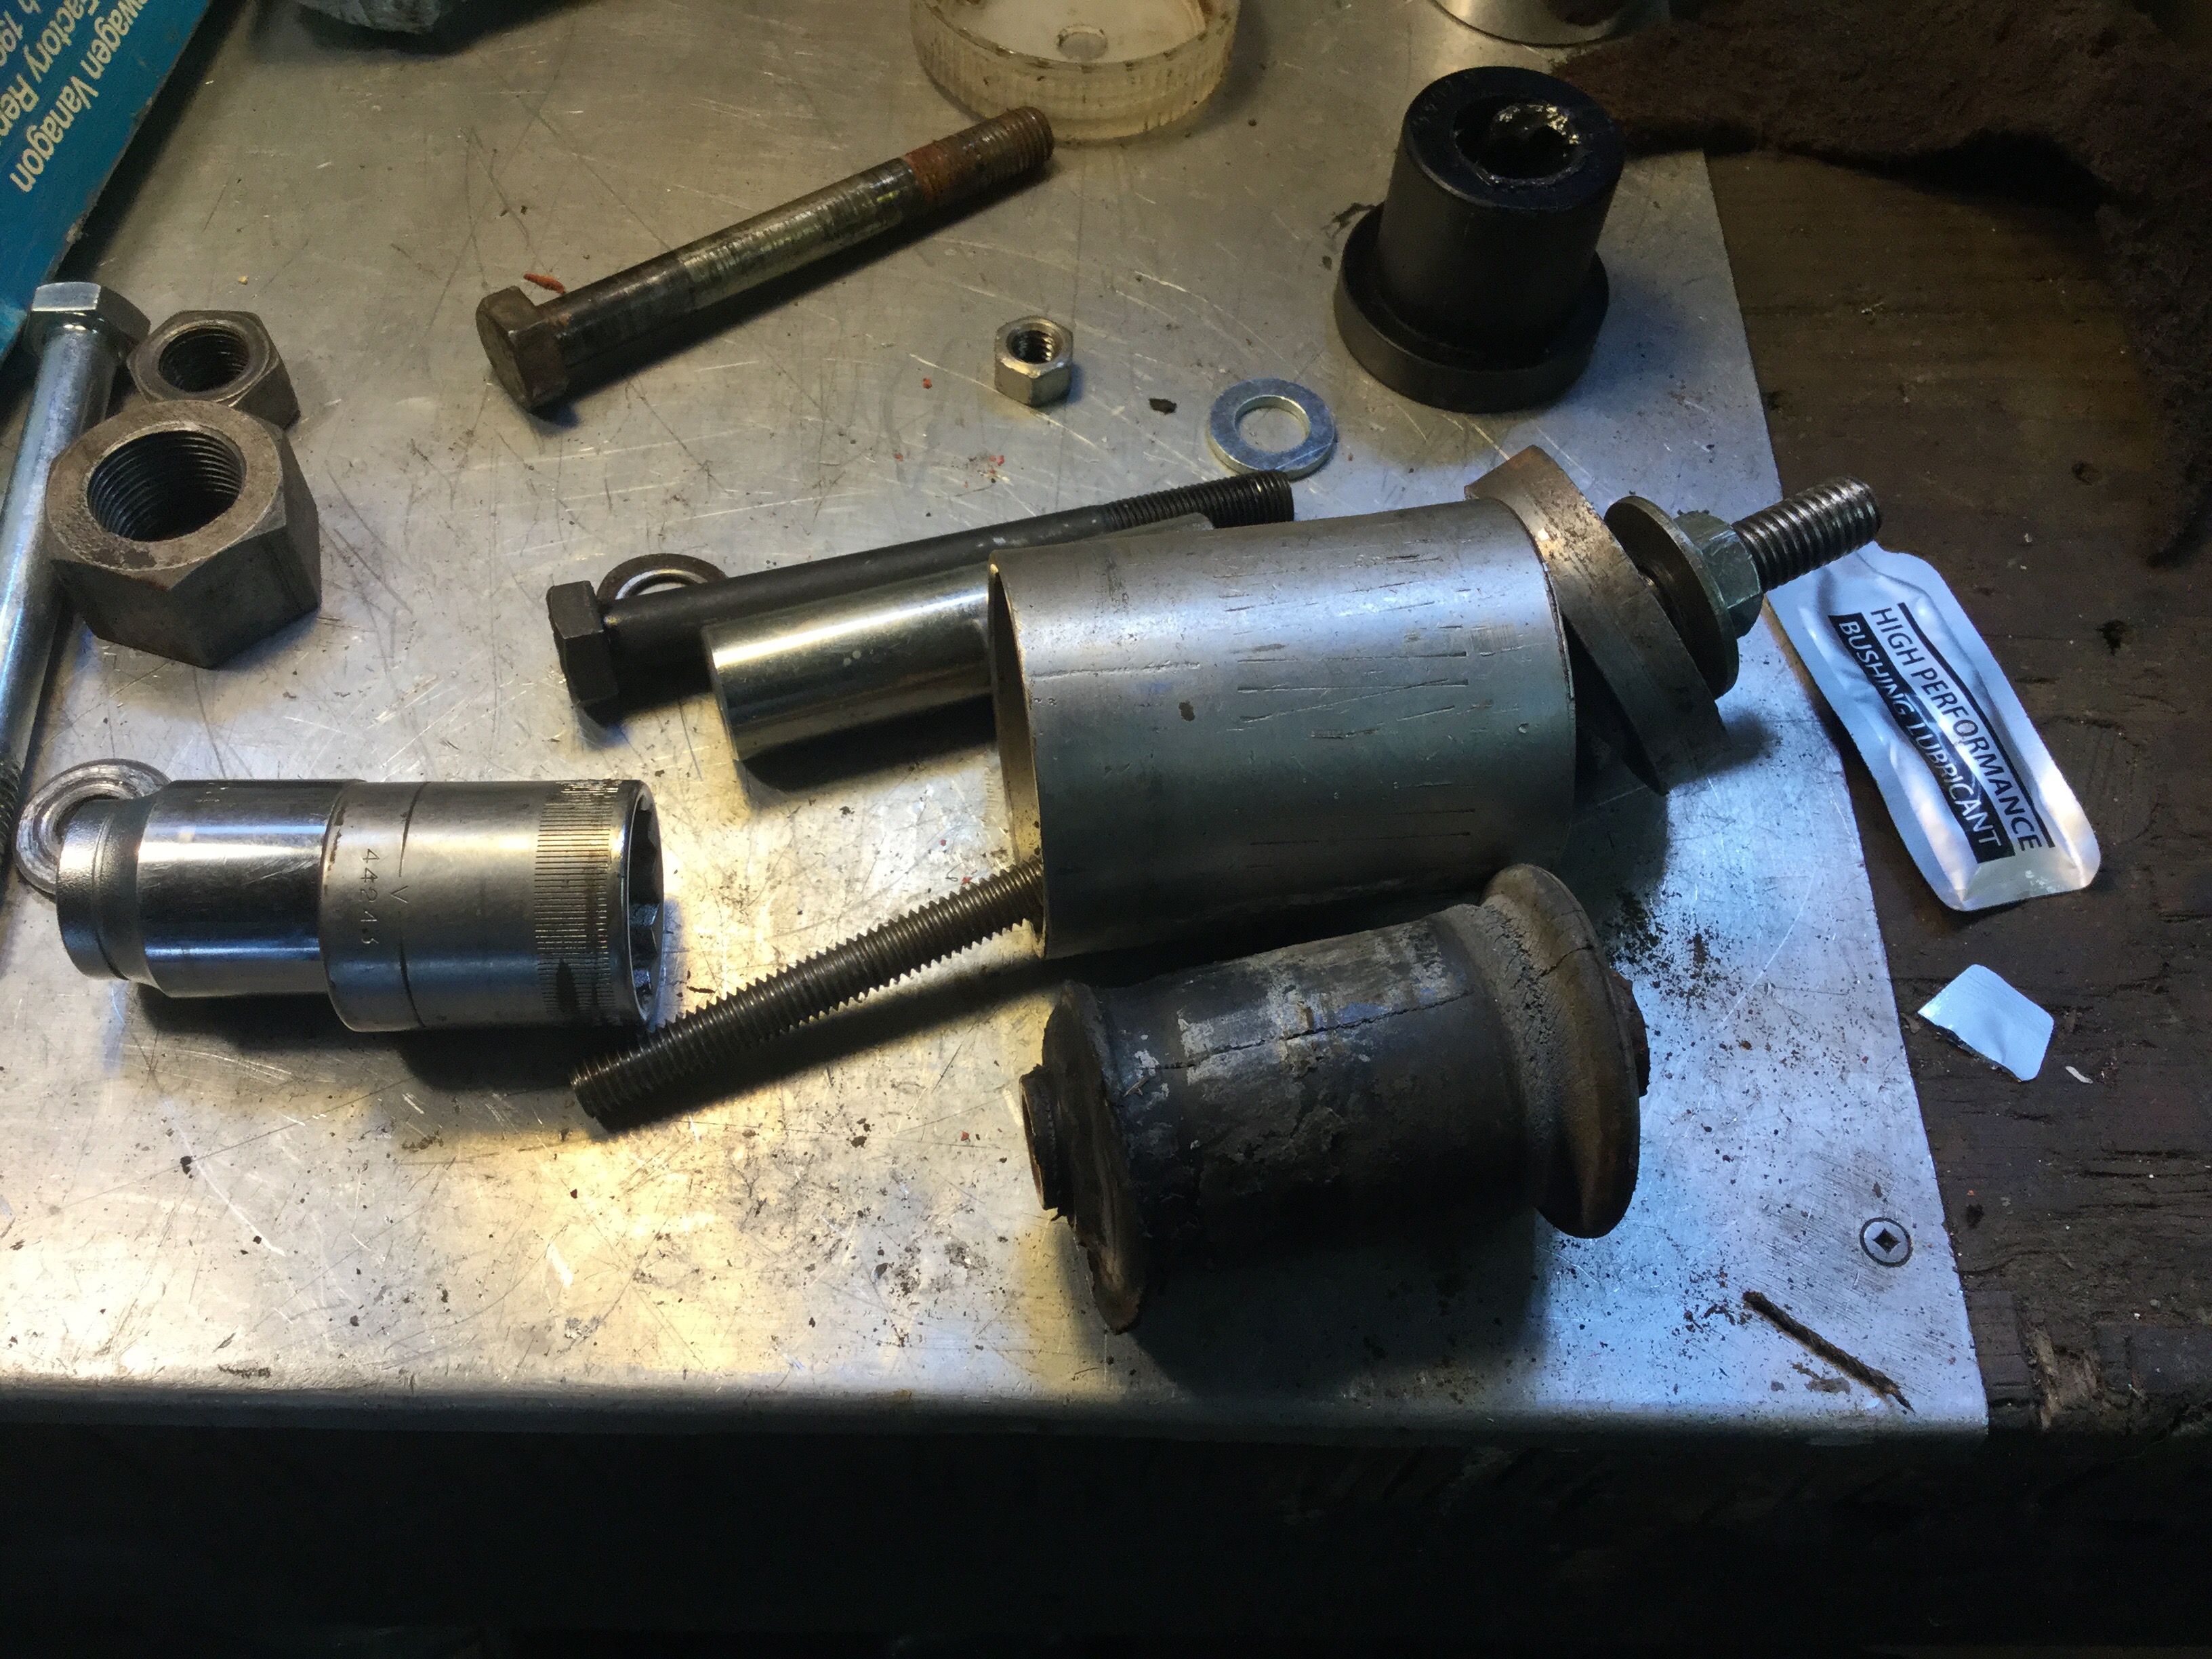
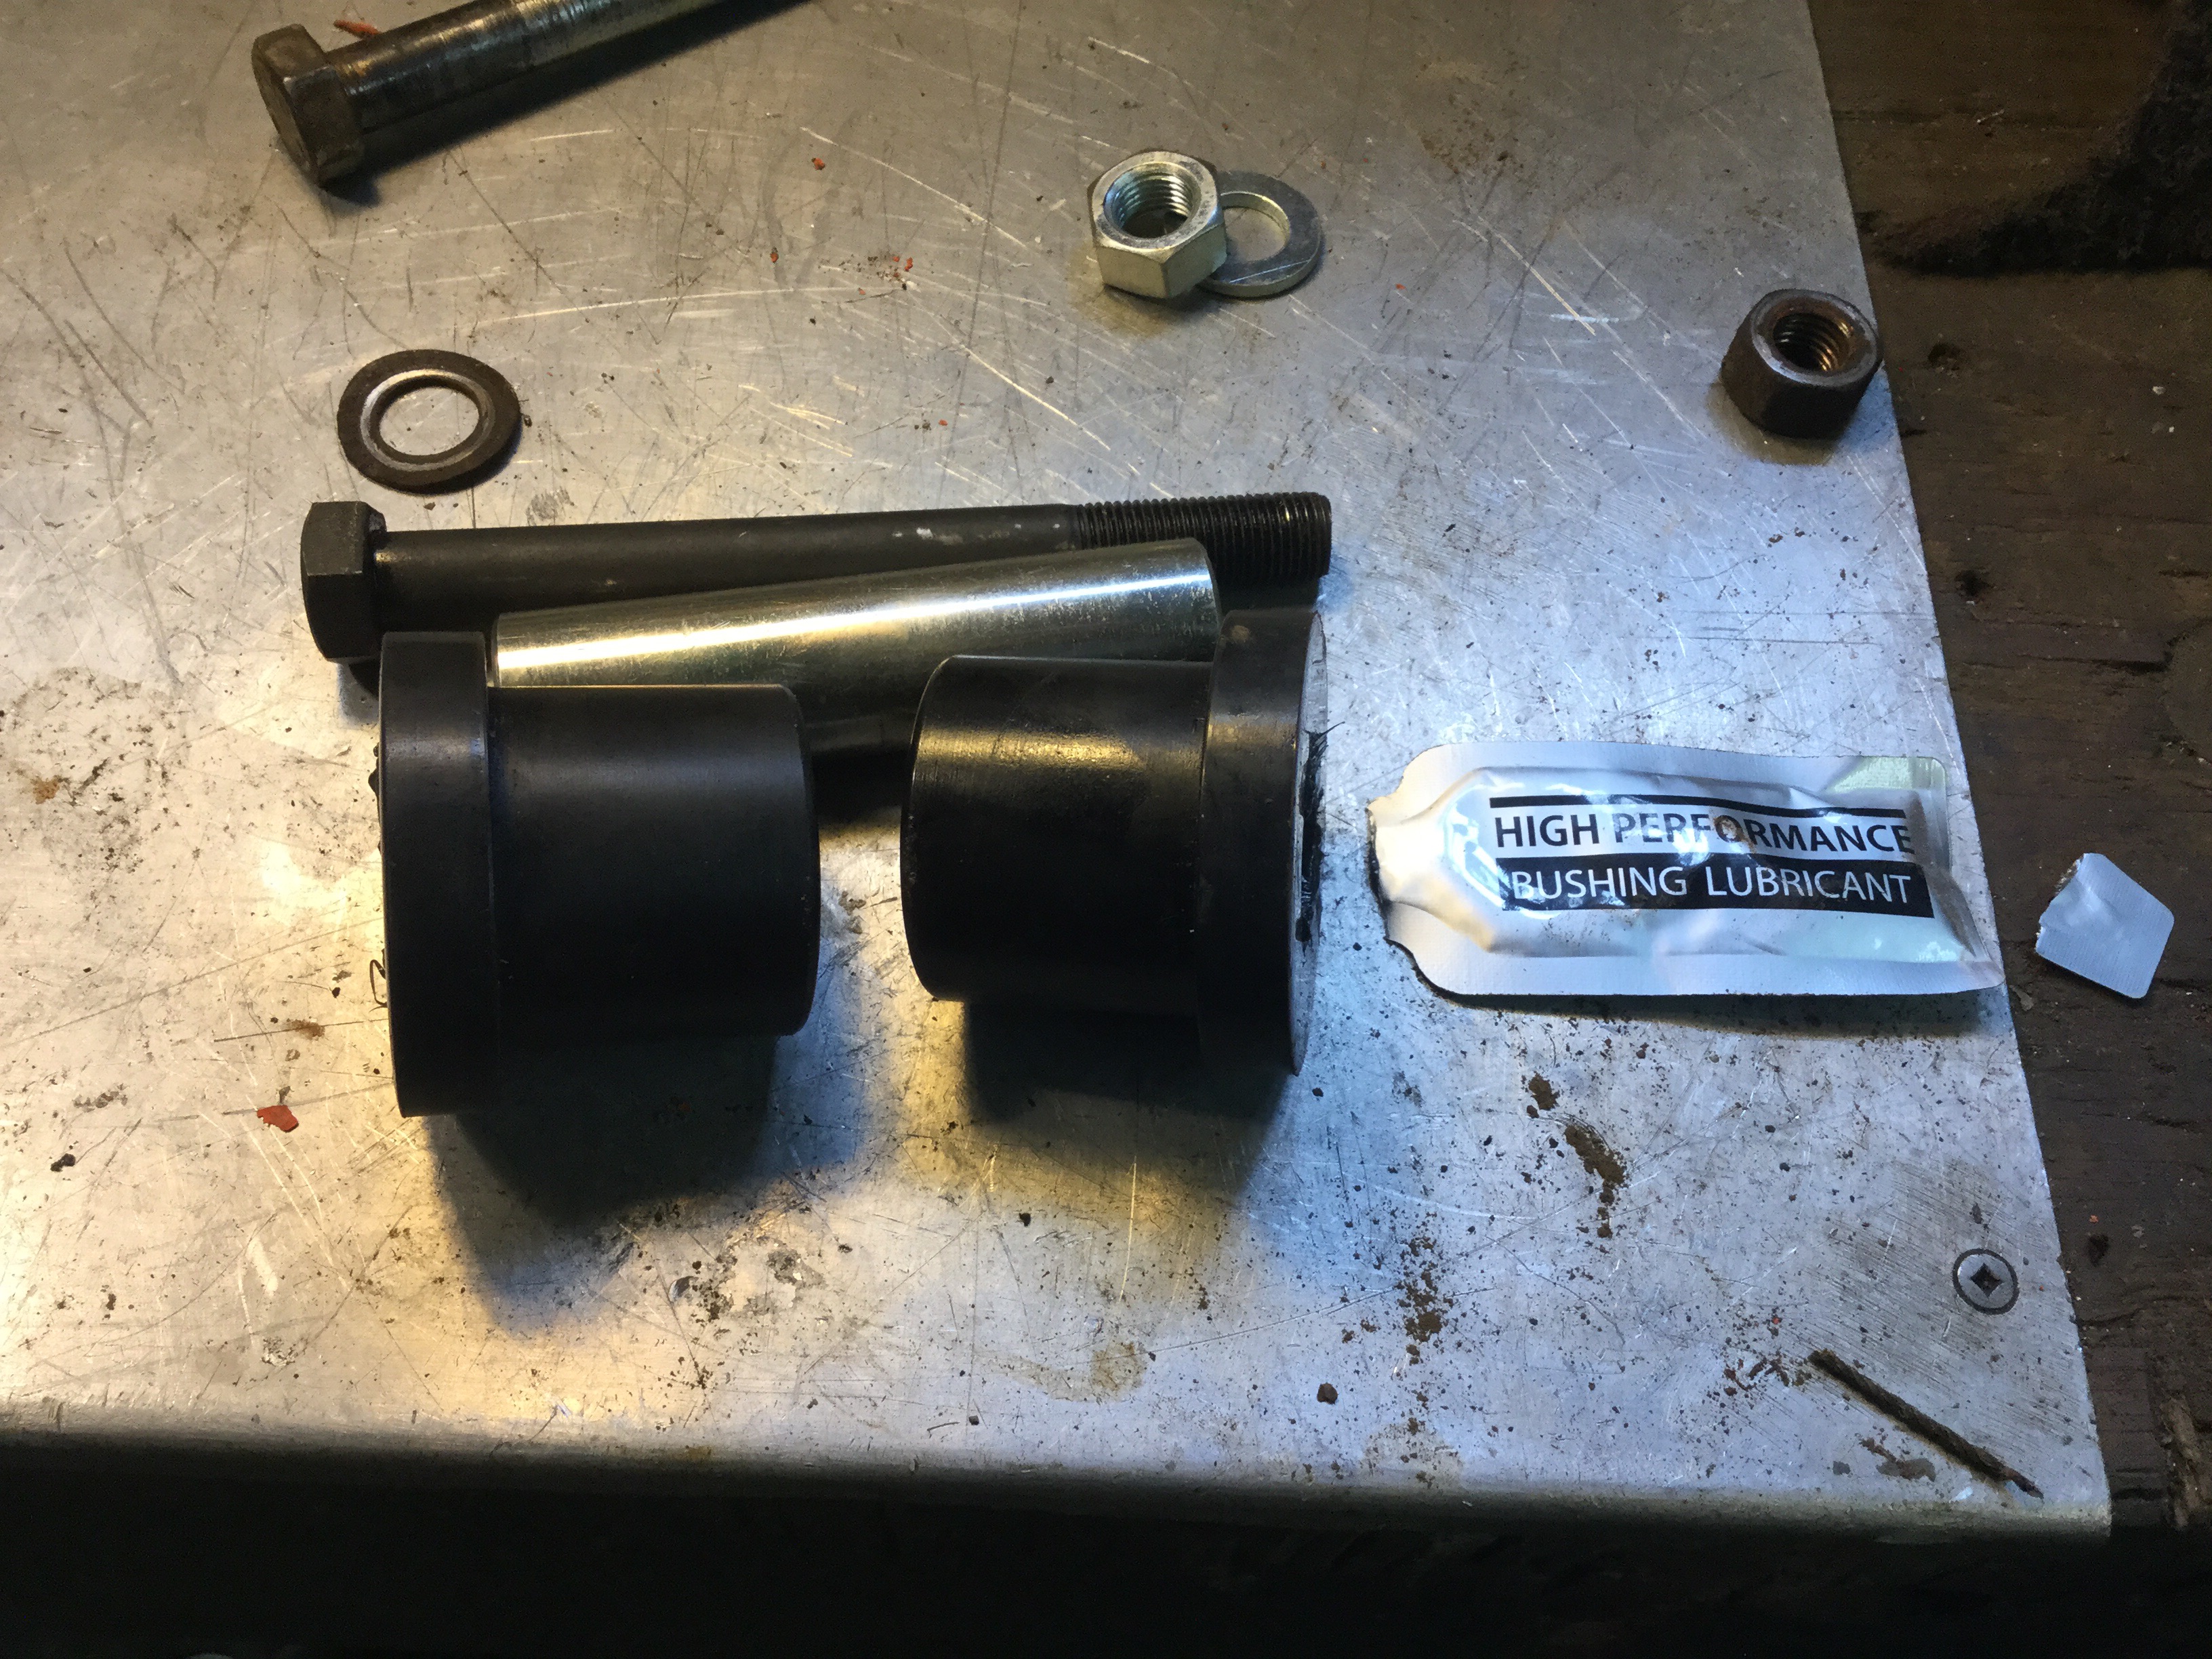
The polyurethane bushings are two part with a common sleeve, so it’s quite easy to push them in the arm.
Well that sums things up. But it doesn’t convey the agony of an old man on a gravel driveway working, again, on the van 🙂
Vanagon – that freshly painted hitop just north of S.F.
 Simon spotted a nice 4wd sprinter spoiled with the ludicrous trasheroo.

Vanagon – Thule ski box lid struts
Hey you know the strut I used to support the westy kitchen lid? This blog post. I had three left over looking for a home. Got to use two today in my old and venerable Thule ski box. Phil is wrong when he says it’s a clunky, ugly, and heavy old thing. Its a classic, and it’s strong with double wall construction.
But it has one annoying feature when used on the van, the stock support strut doesn’t hold the lid open enough for loading some things.
Gas struts to the rescue!
Vanagon – awning guy line tensioners
Posted by albell in vanagon, vanagon mods on May 21, 2017
Catching up on blog posts, some little things…
I have a Shady Boy awning on the van. Gosh, it must be well over ten years now and it’s worked well for us. But I never liked the plastic tensioners used on the guy lines. Came across some nice tensioners online, made by MSR and called “Camring Cord Tensioners”. Here’s a link to Mountain Equipment Coop listing. They looked pretty cool, thought I’d make some knock offs.
But whoa, you say, why bother making them when they are only about 11 bucks for four? Good question, I have no good answer. And to be honest, a little bit of me dies when I copy a good idea.
Ok, enough of that. Here’s a pic from the MEC link of the originals.

Nice aren’t they? Nicely finished and anodized. I just guessed about the dimensions and used the stock I had on hand to come up with these.

Thicker wall tubing and not as nicely finished. I replaced the old Shady Boy guy lines with some paracord and the tensioners.

I suppose if you are going to shamelessly copy a design make sure you copy a good design. And this is a good design, tensioner slides up and down on the guy line easily with a twist of the ring, and holds firmly when set.
Shoot, forgot to give approx dimensions for my copies. OD is 1.25″, 1/8″ wall, 1/2″ long. 1/4″ holes, 3, drilled 90 degrees apart.
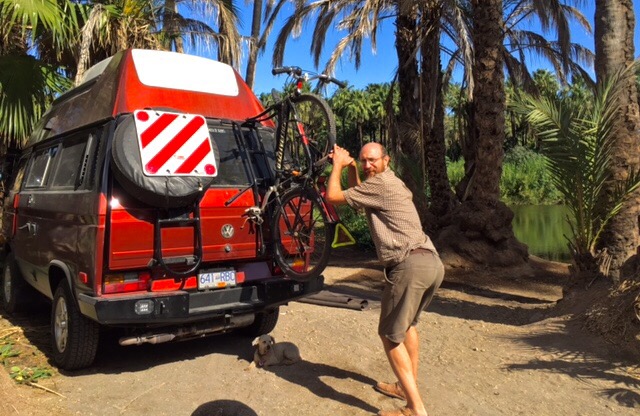
Vanagon – Sexy Simon’s van in Guerrero Negro
With the paint fresh and fragrant, the vanagon heads north up the peninsula.

Shake that money maker…
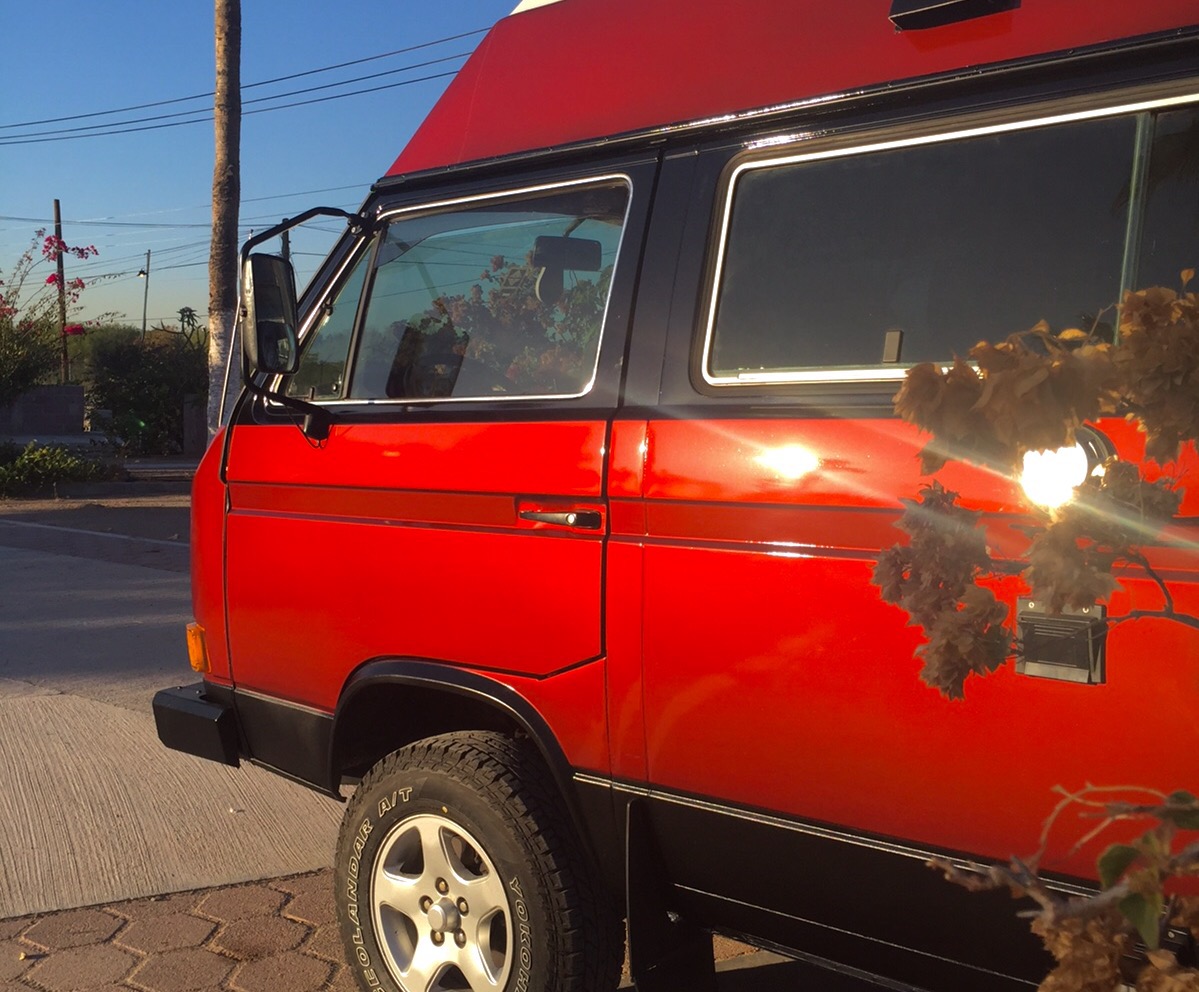
Vanagon – It’s a delicious spangle!
Just got the pics from Simon in Mexico, and the van is painted. Its Honda sunburst orange with black strip on window line and rockers. Simon says the colour really changes with the light and you can see that in the pics. I think it looks great, almost lickable 🙂
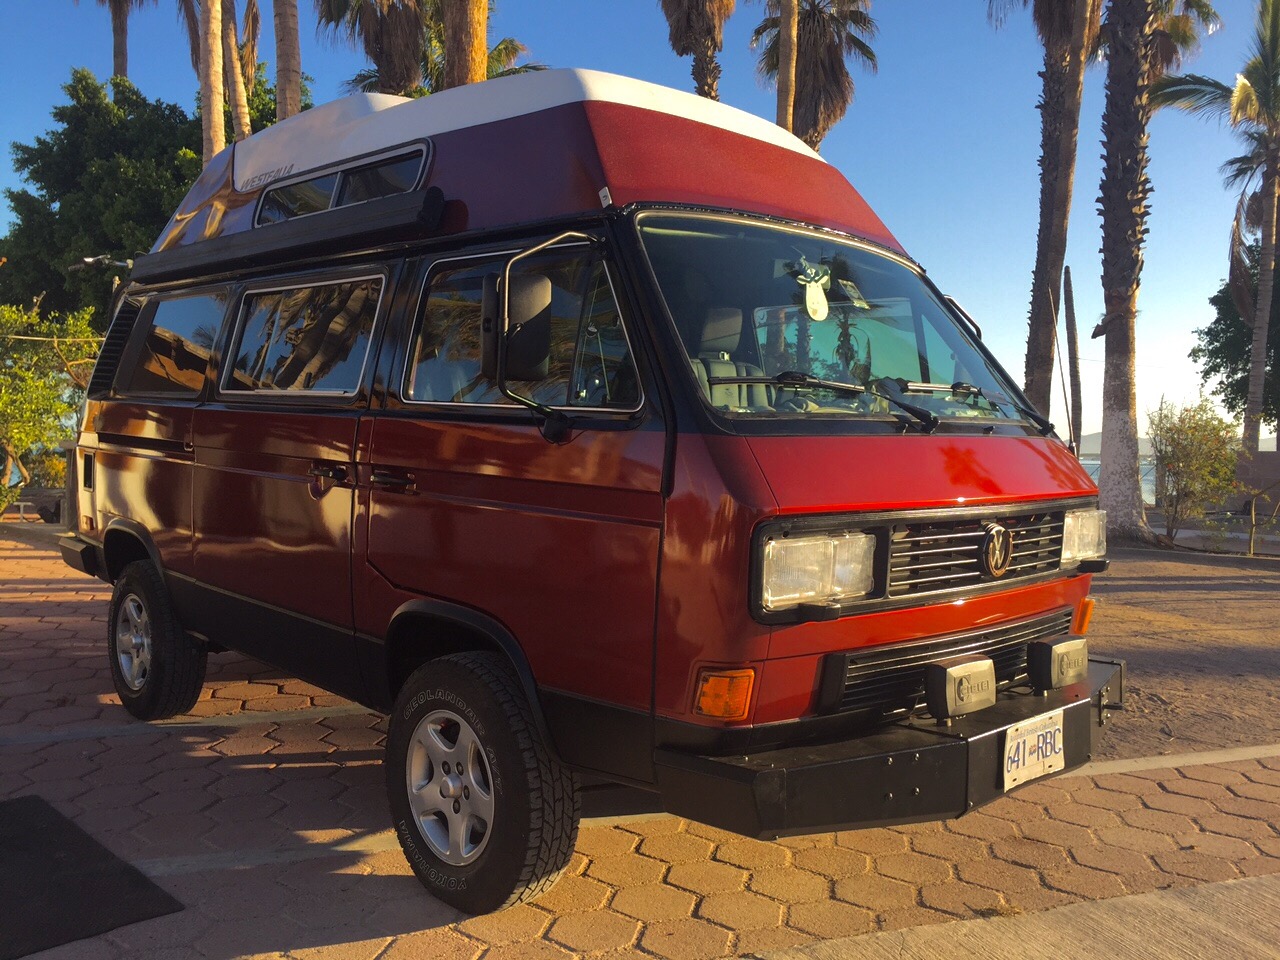


Addendum May 12, 2017.
Trevor commented that it reminded him of the new Air Canada livery. Yeah, I can see that .

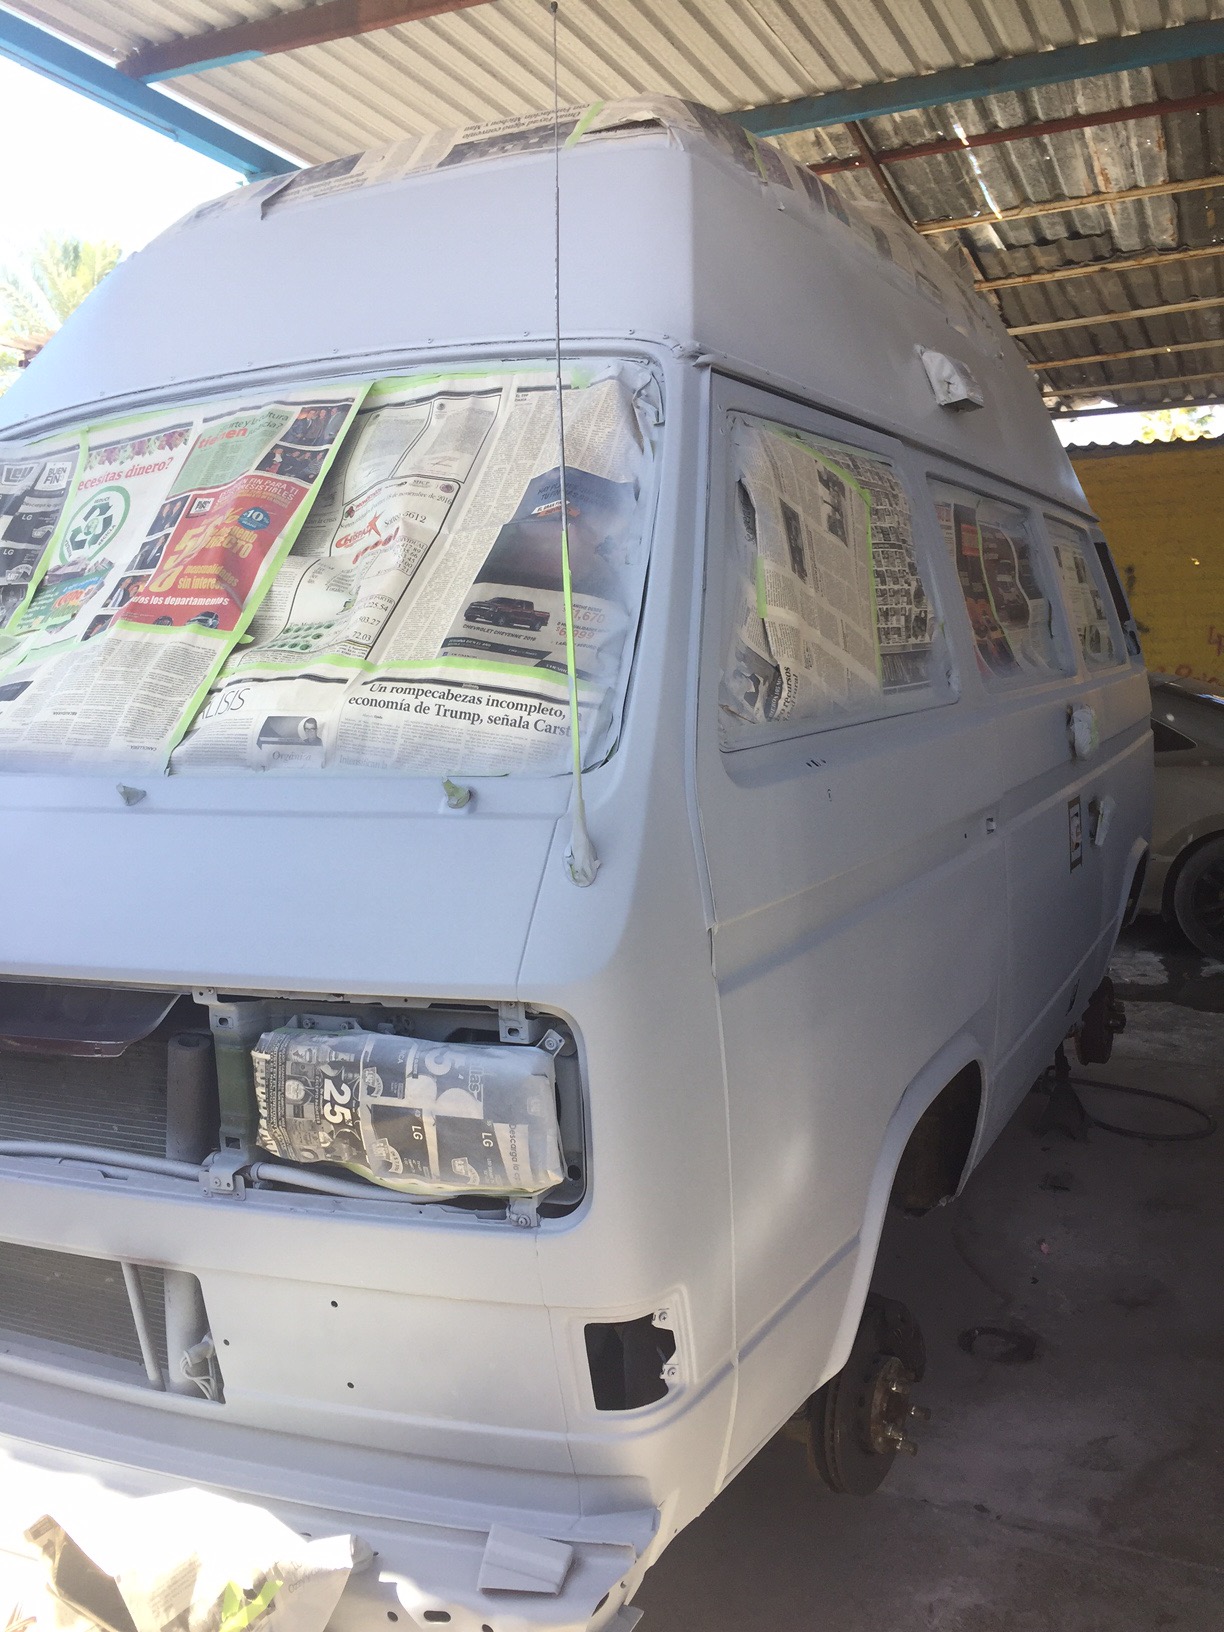
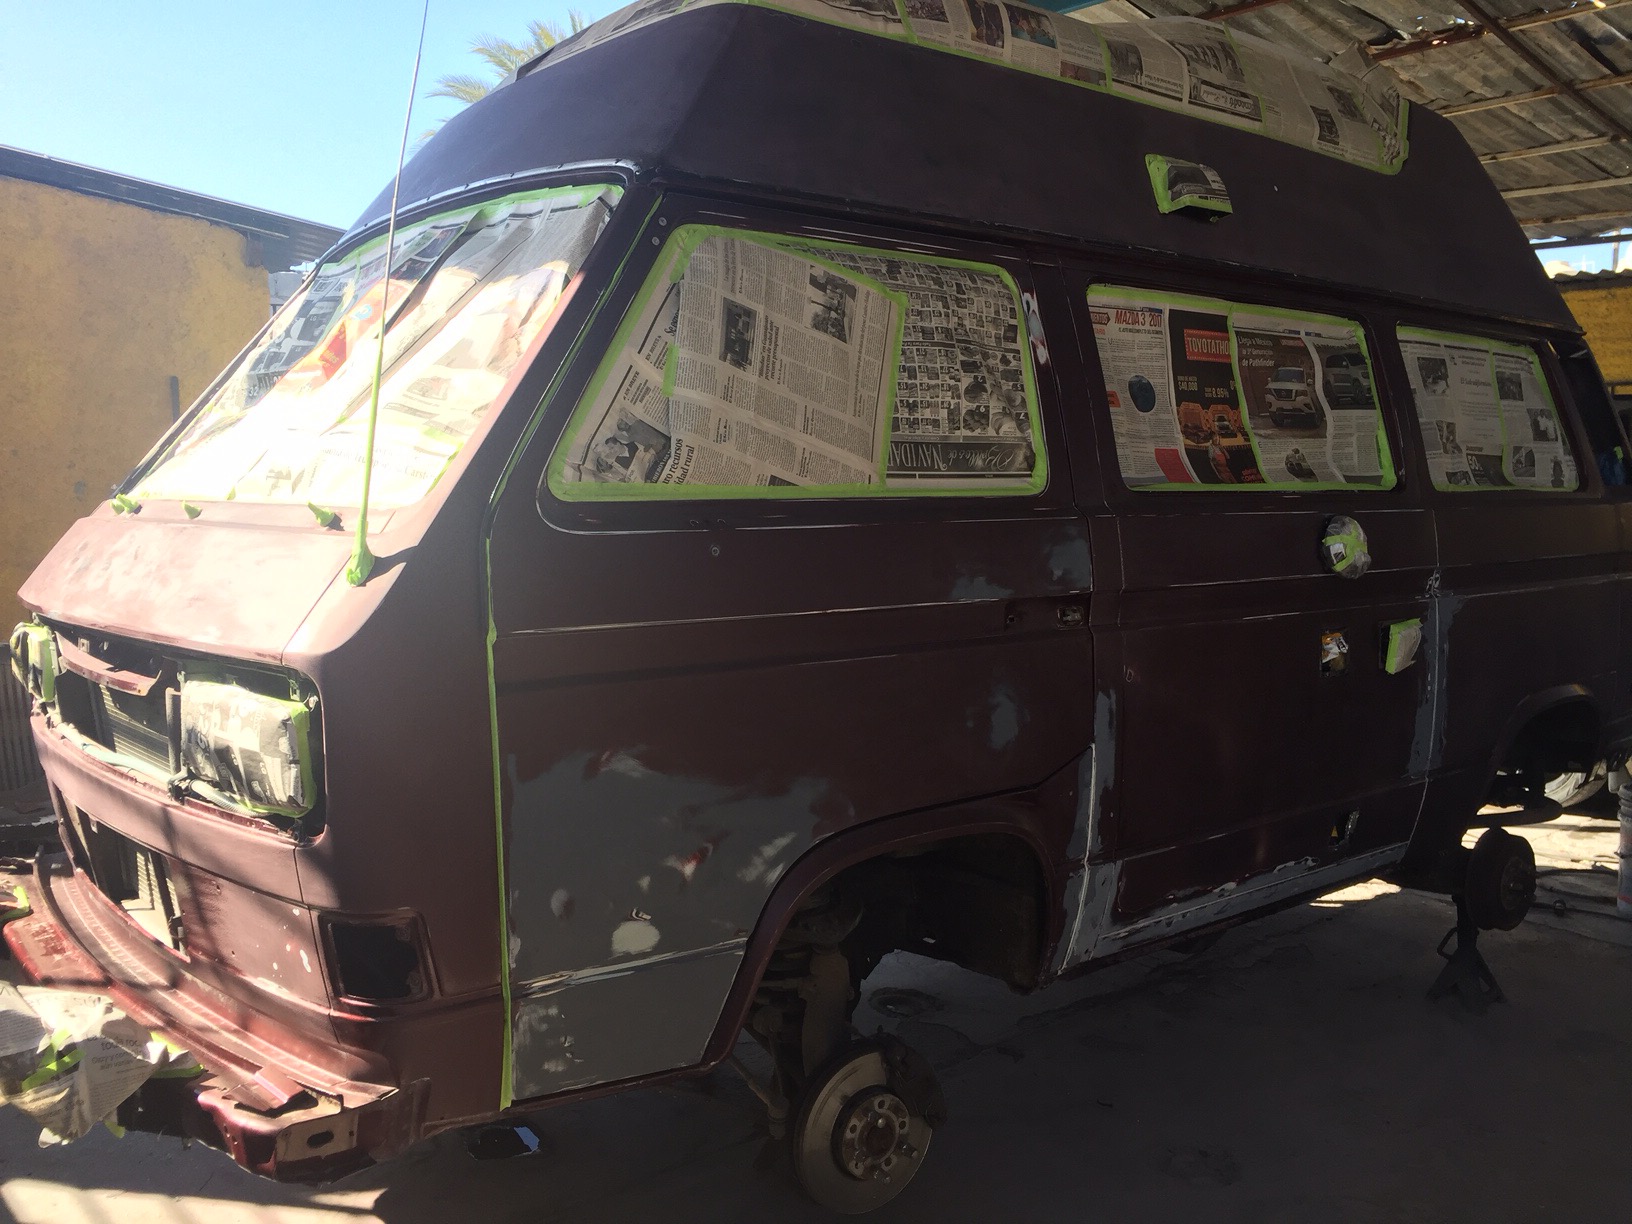
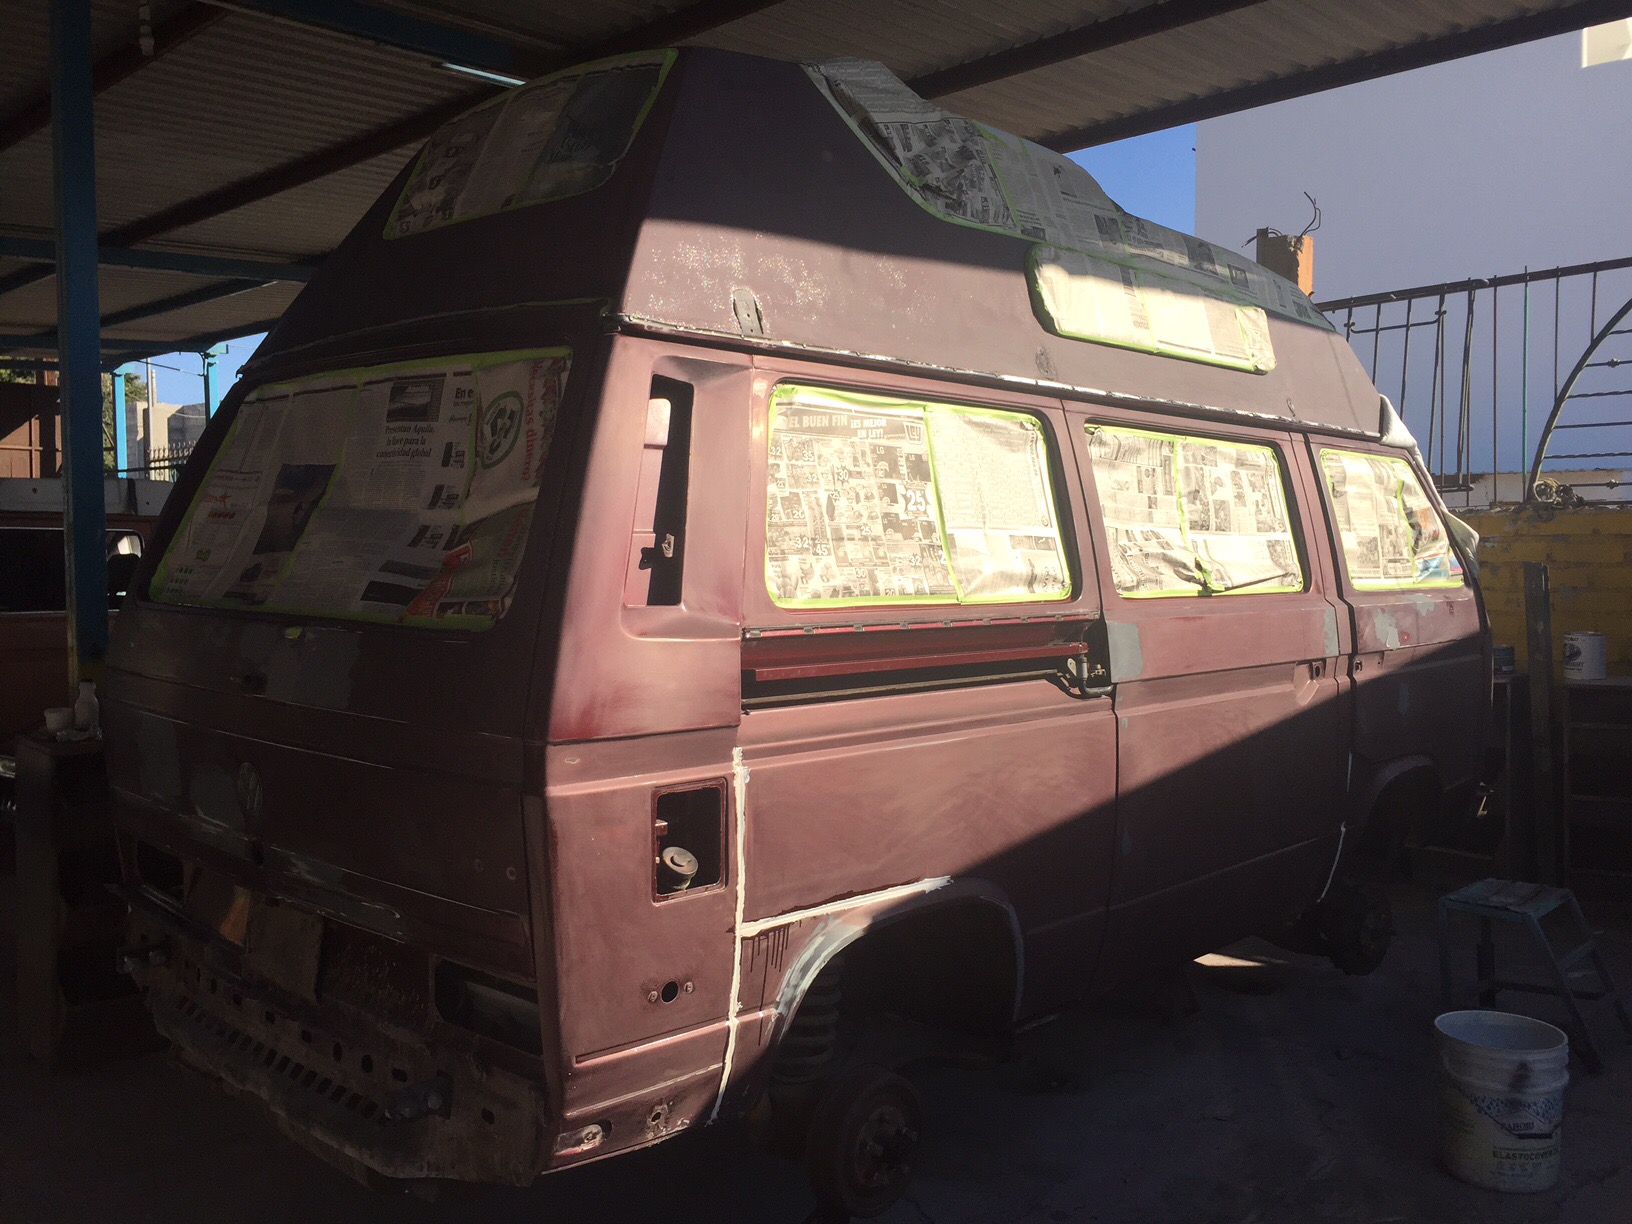
Vanagon – Simon’s hightop primed
Maybe more bits and bobs should have been taken off the body? I’m guessing the next pics will show the colour choice.

Aston Martin valve cover
Posted by albell in other cars on May 4, 2017
Whilst visiting the powder coating shop I espied this on the counter.
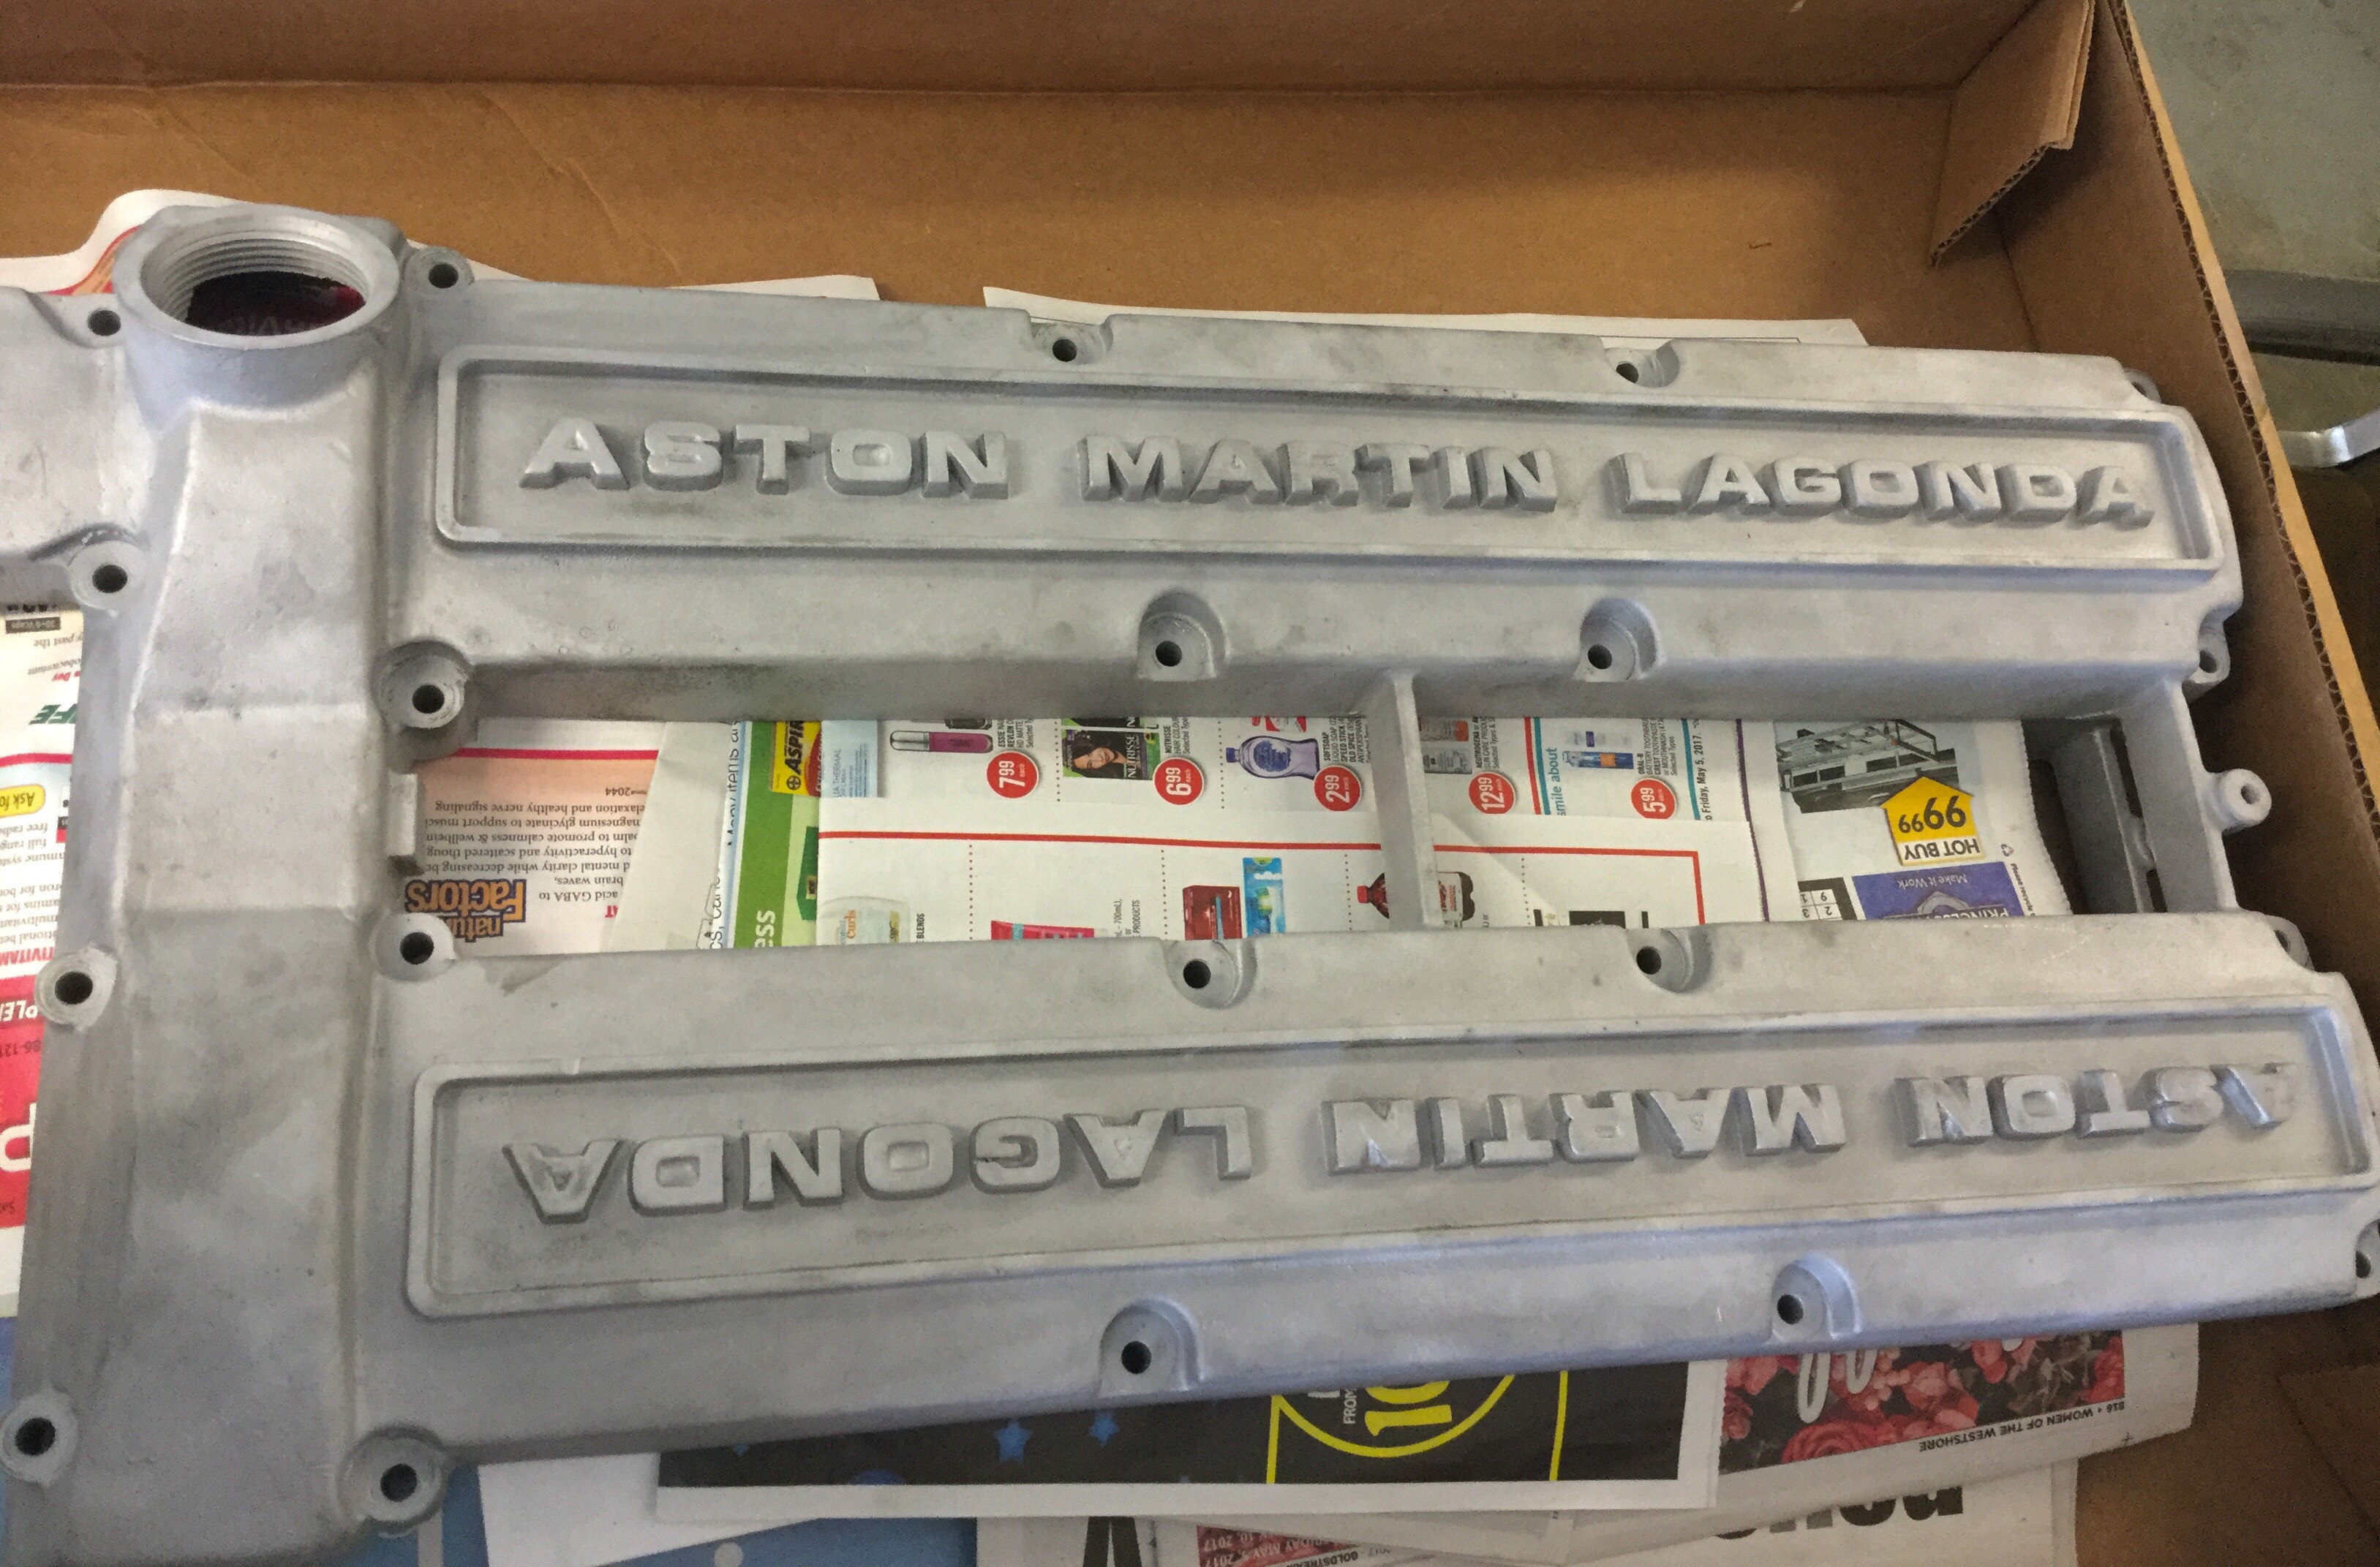
Looks like the valve cover from one bank of dohc V8. Did AM use the name lagonda on their engines in any models other than the wedgie Lagonda?
Well this site should explain, http://www.lagondaclub.com/cars/lagonda-v8/
Vanagon – Simons update from la Paz
He’s doing it, he’s getting the van painted, no turning back now.

Also, he saw the Go Westy entrant in the 2017 NORRA Mexican 1000.


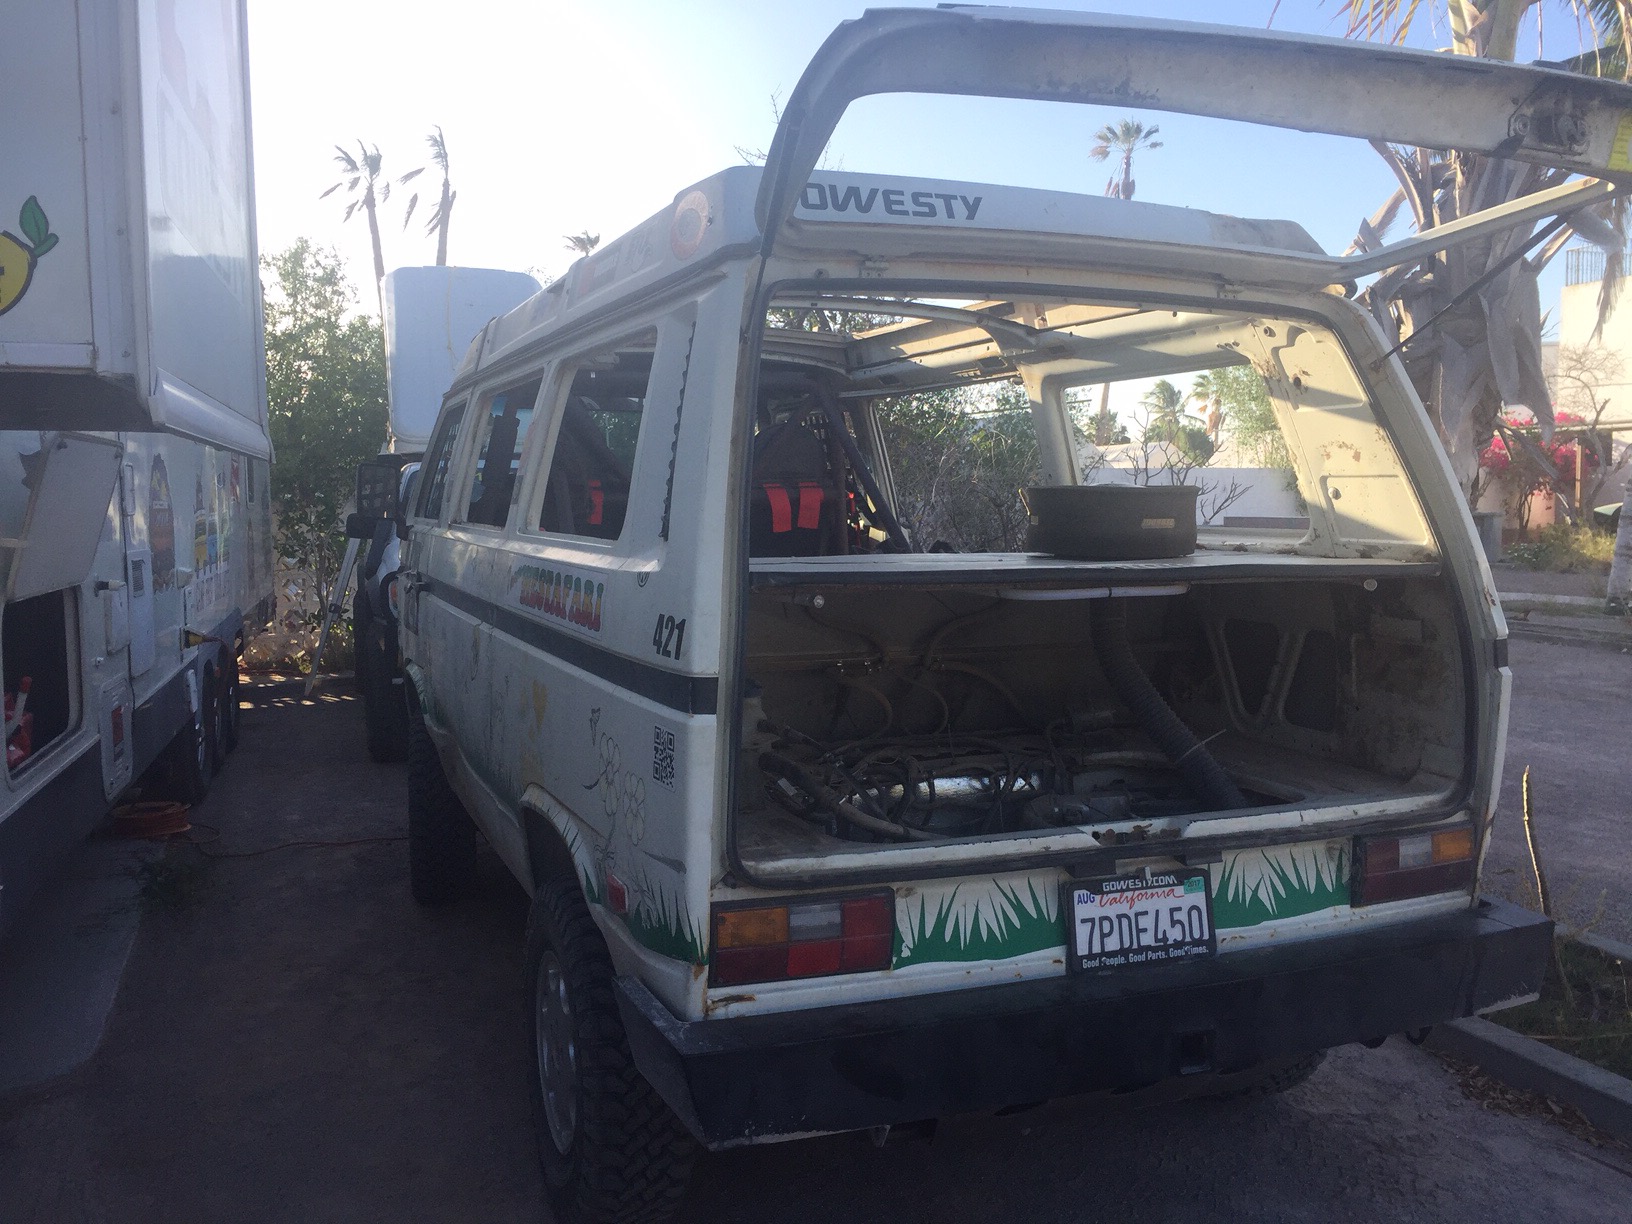
Simon writes: I met Lucas of GoWesty fame there, he mentioned that the rig has the new GoWesty 2.7L bored-out WBX (hadn’t heard of that, forgot to ask him if it was ‘super-duper’). 🙂
Cheeky Simon.
