Archive for July, 2013
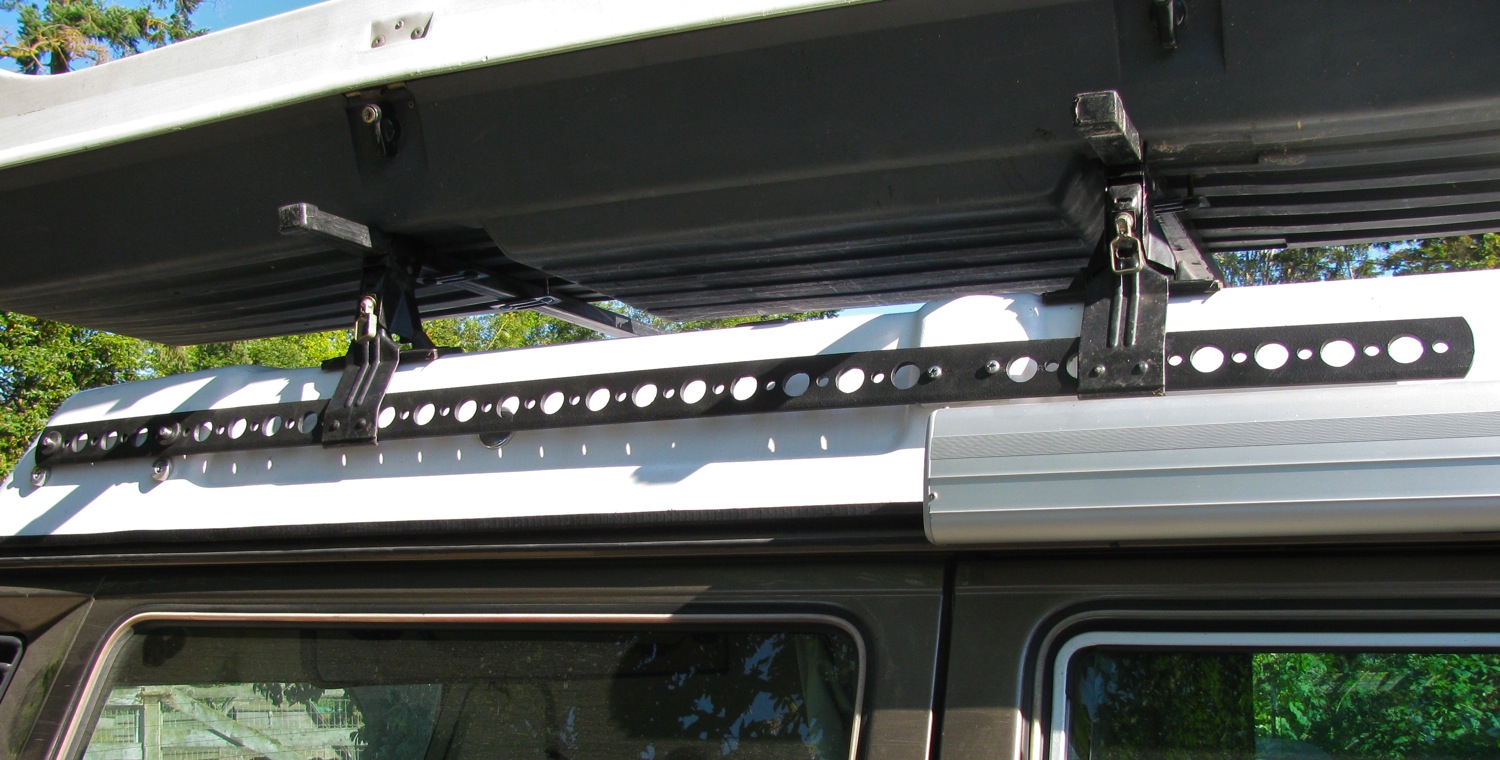
Vanagon – kludgy roof rack rail
Posted by albell in syncro, vanagon, vanagon mods on July 27, 2013
A while back I made some artificial rain gutter things to quickly get some roof racks on the van so I could carry my son’s kayaks. They worked even if they were ugly. But then this year I found a good deal on an old school Thule ski box. I think it is a Combibox 250, you know the kind, seemed to be on every Volvo station wagon around here during the ’80’s.
Anyhoo, the distance between the mounting points on is greater than the distance between the mounting points in my quick and dirty solution done for the kayaks. I didn’t want to drill more holes in the pop top to add another pair of mounting brackets so I came up with an another kludge.
I took some 1/4″ thick, 2″ deep 6061 aluminum flat and drilled some holes in it (for looks mostly). The rear end of the strip attaches to the top two bolts of the pop top hinge. Up front I screwed up and drilled holes in the centre line of the strip which did not line up with the holes in thhe pop top that I drilled for the old bracket.
So I drilled a bit of 1/2″ aluminum plate, and pressed in some nuts (M6). The plates then screw into the old holes and the pressed in nuts take bolts from the strip. I beveled the lower edge of the strip to fit the hooked arm of the roof rack. The strip got some rattle can bedliner as a finish.
I have some spacer blocks to go between the front end of the strip and the pop top. Just to prevent branches from snagging. But i ran out of double sided tape so they are not installed yet.
Well it works, no points for aesthetics, but it works.
Now I need to make a ladder to access the damn box!


Vanagon – LED powered rear side marker light
Posted by albell in vanagon, vanagon mods on July 26, 2013
Peter R. sent me this info on swapping in an LED bulb to replace the stock incandescent bulb on the rear marker light. He writes:
“Well here is an image of the new lense with LED bulb installed. As they say, the photo does not do it justice. Remember that this is with new reflector/lense and there is a significant improvement even without power as the old plastic was cracked, discoloured and scratched.
Biggest improvement will be the fact that the LED bulb generates no plastic deforming heat whereas the old bulb in that tiny enclosure was like an easy bake oven”
“hThe bulb part # is BA9S-4 LED”

Vanagon – Temp II sensor replacement
Posted by albell in syncro specific repairs, vanagon on July 25, 2013
A rather thin post but since I took pictures I might as well post them up. On our last camping trip the van had a strange missing/bucking/bogging problem. This has happened twice before, always in summer, and always cured by a fill up of gas. So I’m leaning towards the “bad gas” explanation but I’m not ruling out other causes. I have checked and re-adjusted the throttle position switch and perhaps I should take the throttle body off again, take some pics and do a post about that. The next on my list was the temp II sensor. This is the sensor that tells the computer what the coolant temperature is. Not to be confused with the dash water temp gauge sensor. The connector to my sensor was broken and I’ve always wondered if it was making a good connection all the time. I thought that if I was going to install a new connector why not put in a new sensor too. Dave, from Dave’s Automotive in nearby Sidney BC (great guy) found me a connector and wired in a pair of pigtails. So off we go then, with the install.

The sender takes a 19mm wrench, but I didn’t pull it until I spliced in the new connector.

I took a couple of resistance measurements from the new sender, one in the evening and one in the morning. Pathetic eh? 🙂
I used crimp style butt connectors and heat shrink to make the splice. Not shown in above pic are the two smaller bits of heat shrink to go over the individual butt connectors.
Here’s a shot of the damaged connector.

And replacement one spliced in. You don’t loose much coolant at all if you are quick with the sender swap.

New connector and sender in place. The extra wire (and it does help to have extra wire when you splice in situ) is taken up to some degree by one turn and a zip tie on the crossing.

And boy oh boy, the new sender really has transformed the van. No, I lie. No noticeable difference. But then again my strange bucking/bogging problem occurs every 18 months or so…h
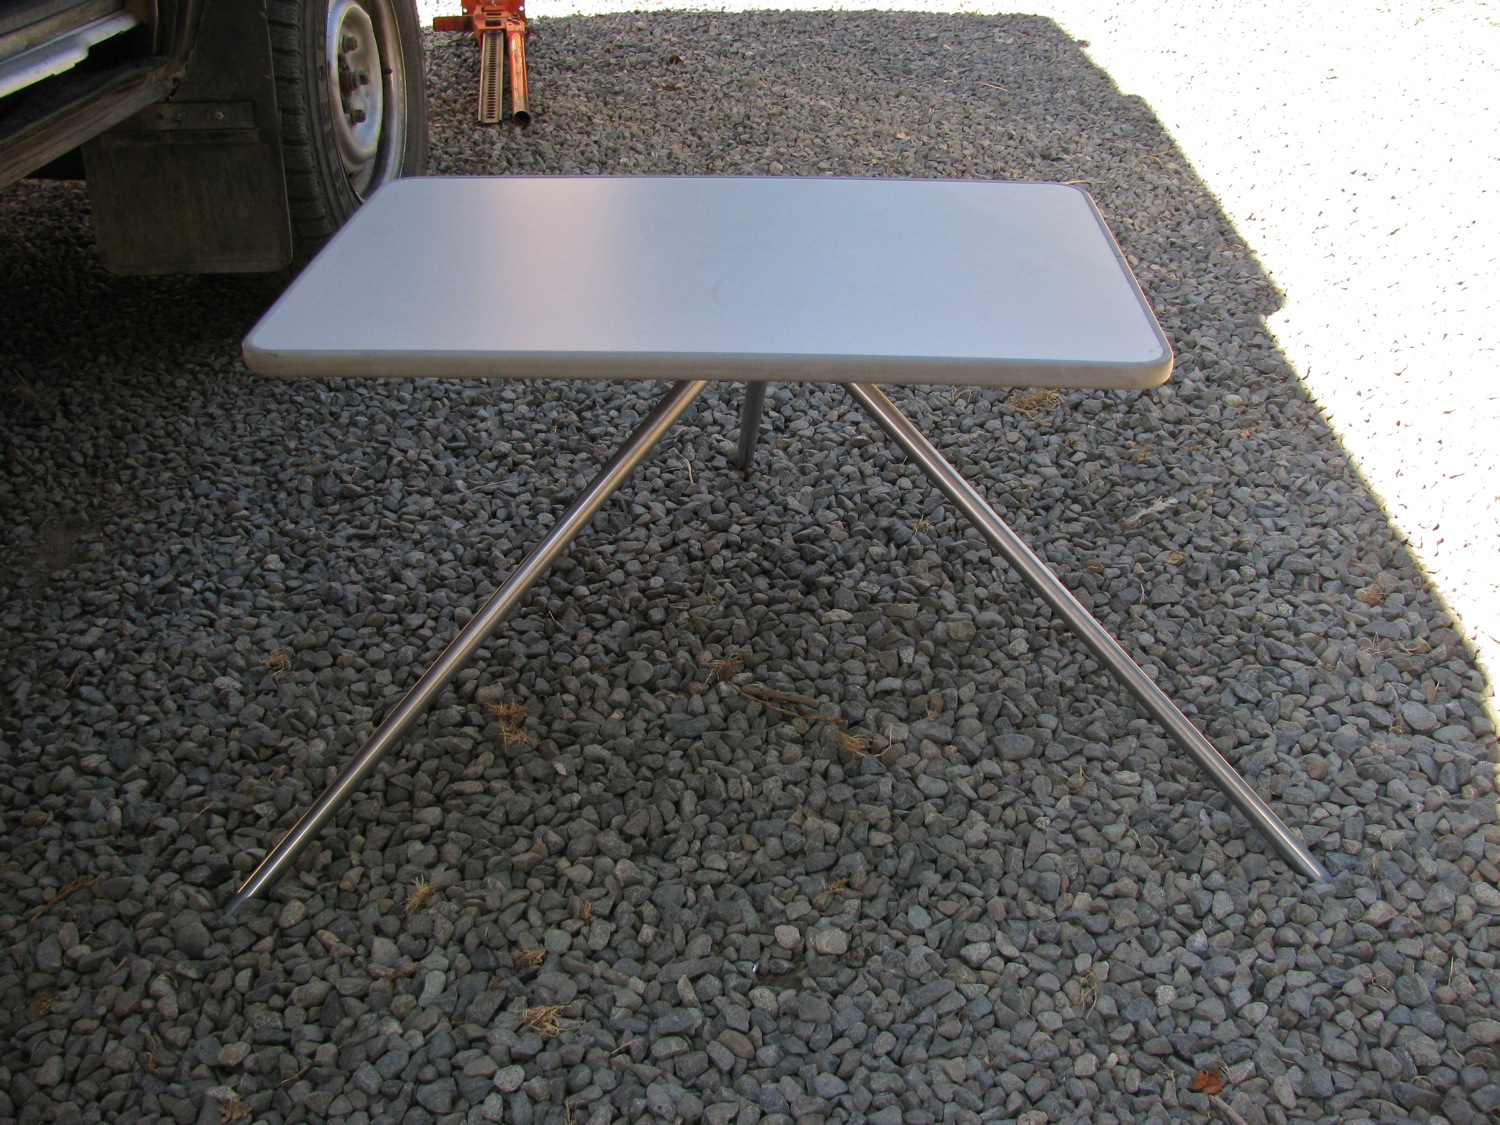
Vanagon – front table stand
Posted by albell in metalworking, vanagon, vanagon mods on July 21, 2013
From the same twisted R&D department that brought you the “Excelsior” toaster, comes this slightly silly stand for the Westy front table. It is kinda nice to have a low table beside the camp chairs, something to put your drinks and snacks on. One could modify a cheap camera tripod to do the same thing, but when one of those tripods are set low they don’t have a heck of a lot of stability. A box works well as a support, but really, that’s far too practical and sensible.
Again, made from scraps – 6061 aluminium, stainless bolts, and some Delrin. The leg to hub connection does look a bit weak, but if it fails I’ll go from the M8 threaded stud to a M10. You would be right thinking the 3/4″ diameter legs, at that angle, put some strain on the connection to the hub. But the open ends of the legs dig into the ground and stiffens things up.
Table sits about 16.5″ high.
Yes, I could have, maybe should have, female threaded the base of the hub so it could be left attached to the table and the stock “leg” in the van could screw into it. That was too much work to do 🙂
Oh I should mention this is a front table from a later year Westy. The older version has a short section of pipe sticking down from the table.


Vanagon – nasty
Replaced side marker light last week, took some pics of the nastiness. Eric, I hope you don’t find this under the boot.
One spade ok, one spade ugly.

Water in the lens assembly.

Tab on the right needs to be gently pried to the side to get the bulb holder out. Notice the plastic distorted? Some corrosion induced heat?

What the bulb holder should not look like.
WHat the bulb holder should look like.

Trip – again to Port Renfrew area
Can’t waste a sunny weekend staying at home, so off we went Saturday morning for an o/n trip to the area NW of Port Renfrew. Yeah, we go there a lot is seems, but it is secluded and pretty.
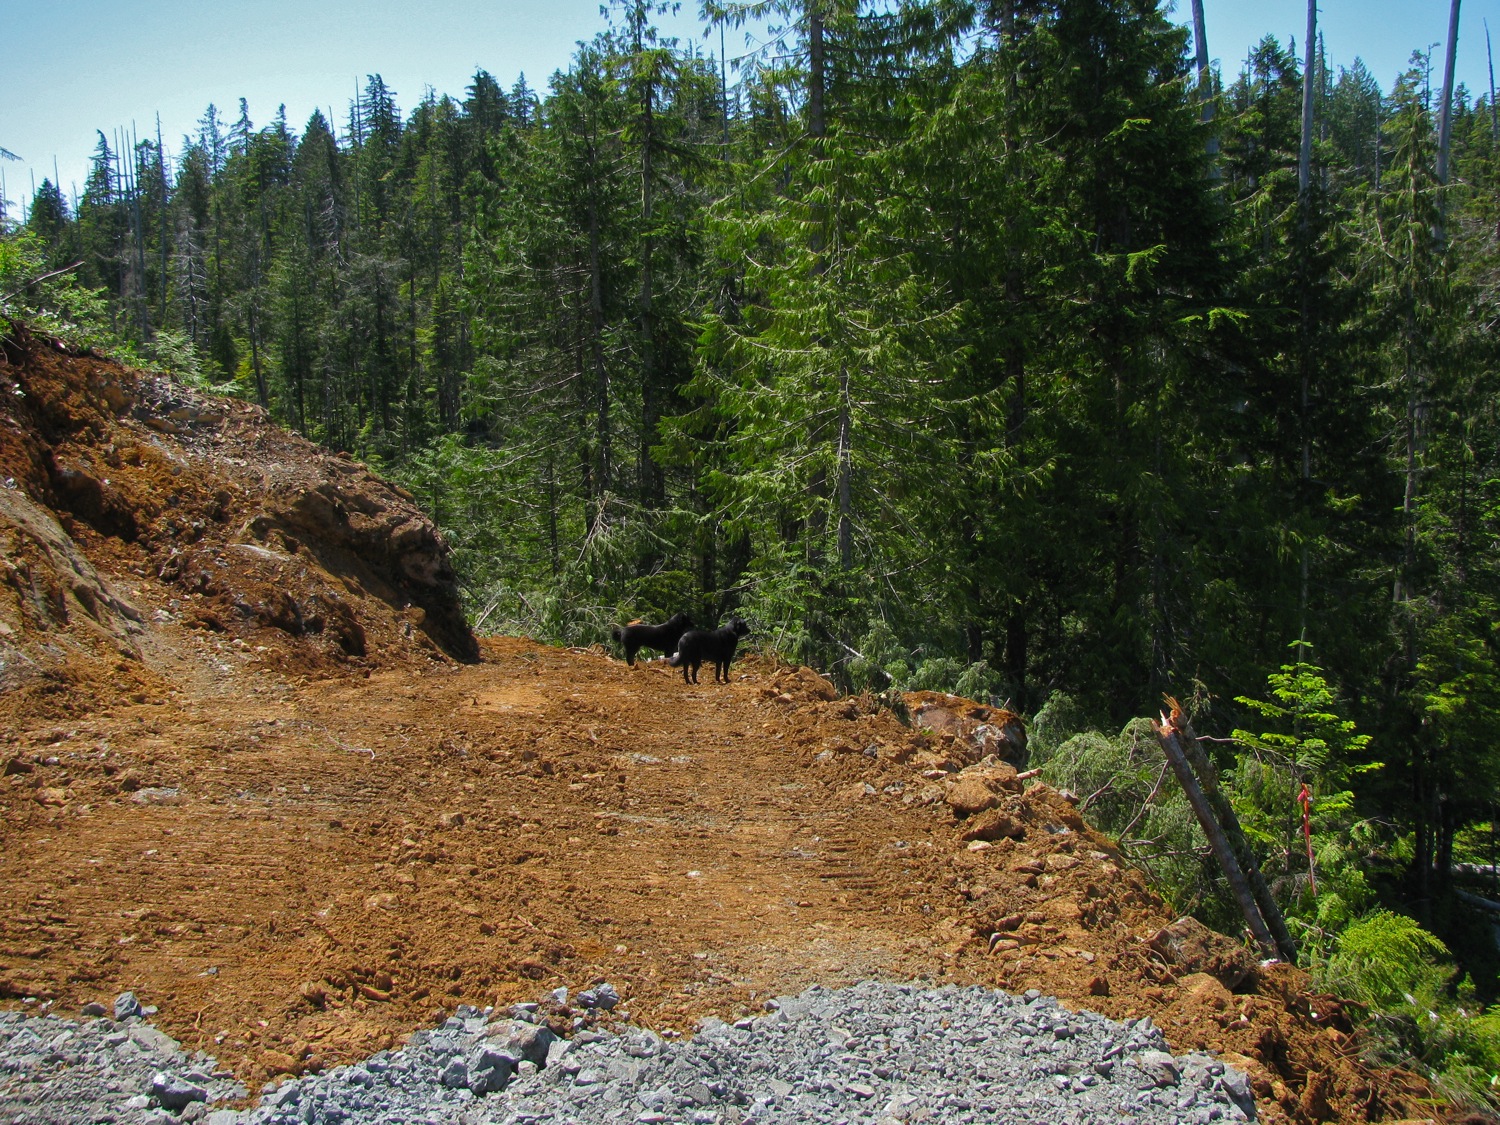
Before setting up camp we did some exploring on the Sad Lake main logging road. BTW, there is no Sad Lake in that area, no idea why the logging company gave the road that name. We got close (less than 1 km) to the southern boundary of the Carmanah-Walbran provincial park, and ran out of road at about 615 meters elevation. Most of the hills in this immediate area have been logged below this elevation and now we found construction of a new road to log some of the smaller trees (about 1 meter diameter and less). A fair amount of Yellow Cedar, lovely wood. I wonder what the market is for this species now that wooden boats aren’t very popular?


Nice view of the ocean fog from up there.

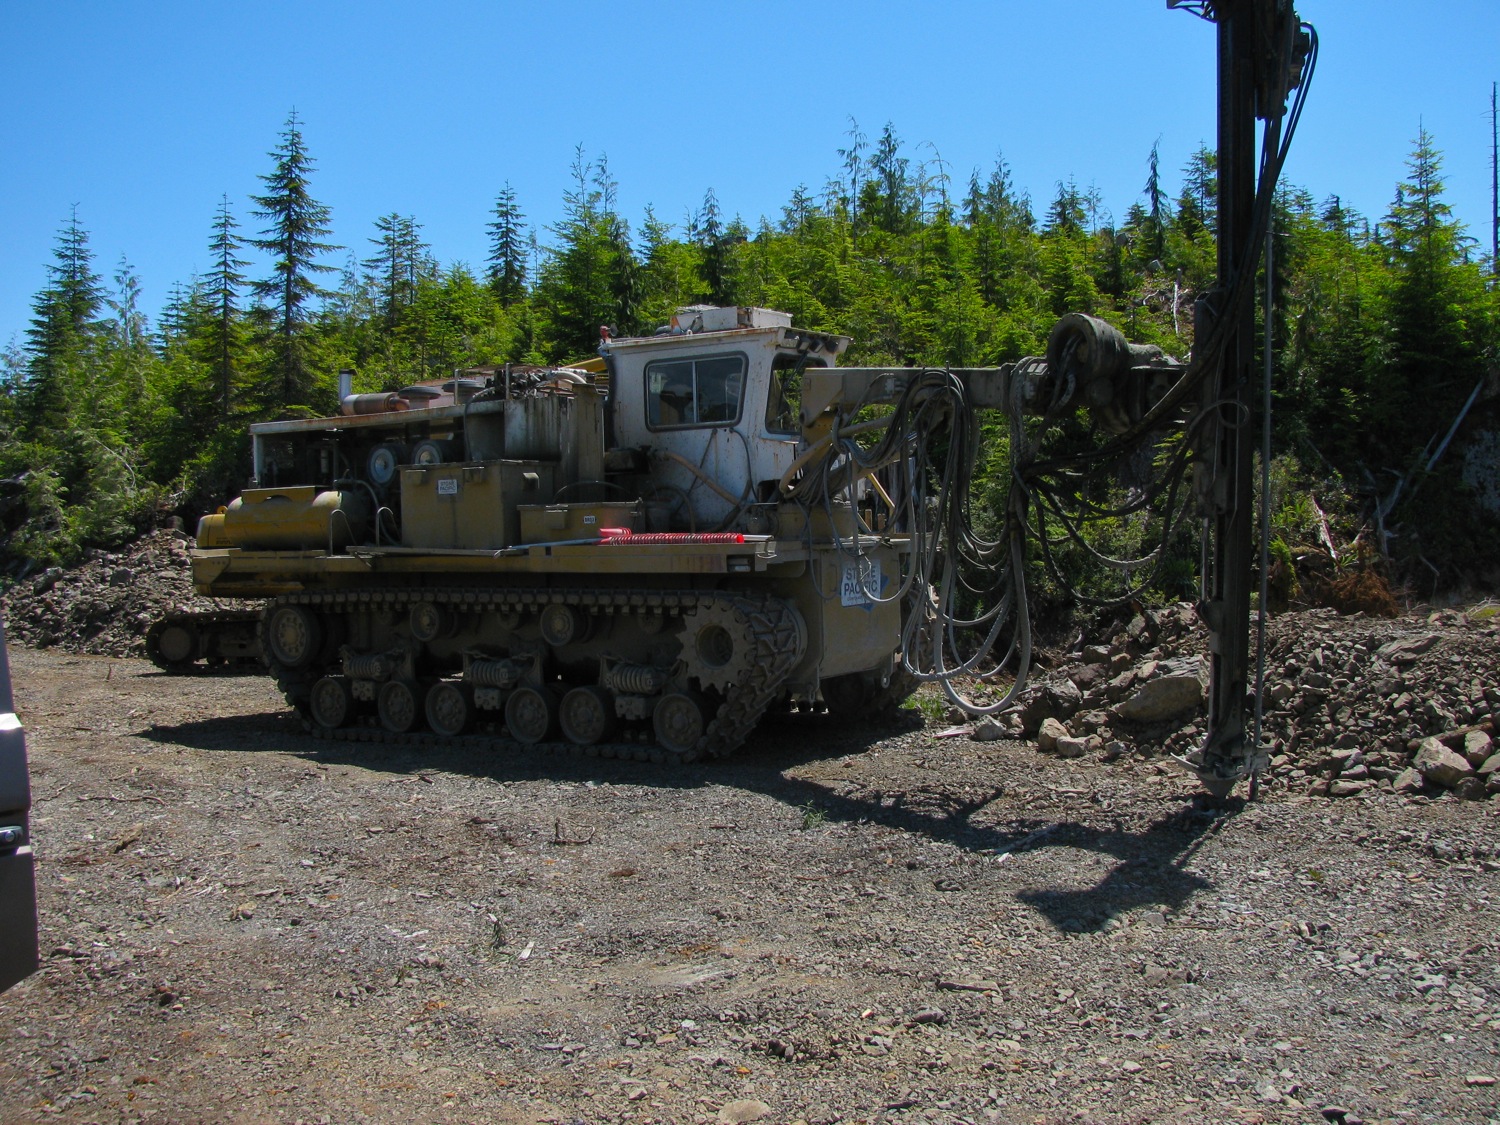
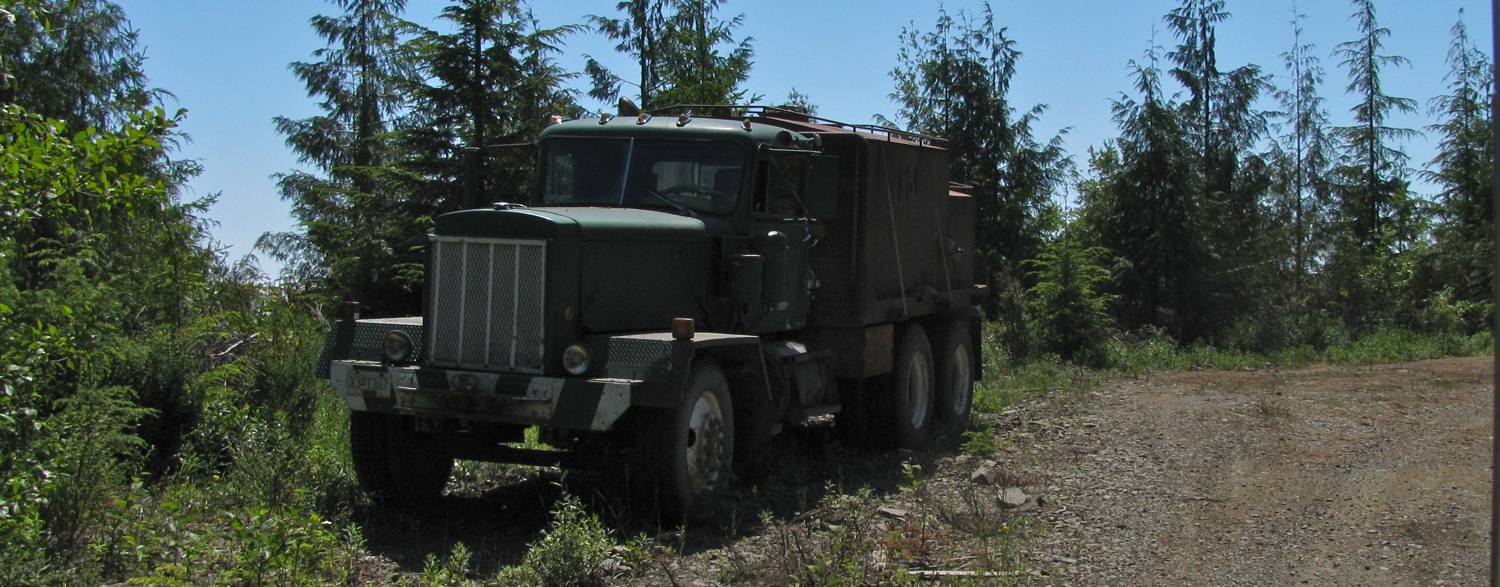
Oldish truck being used as a fuel tanker
A little further west. This is about as thick the trees get in this area. Combo of elevation and rocky ground. No shortage of rain here.

And then we headed to our old campsite. I’m telling you, the Dometic engineers just nailed the design specs for the Westy propane fridge, well at least for us up in the temperate rainforest 🙂 Yes, solid ice in the Barbie sized ice cube trays. A rather poor surface area to volume ratio with these cubes, they don’t last long in the G&T.

Yup, same spot, same picture. Poptop canvas different though.

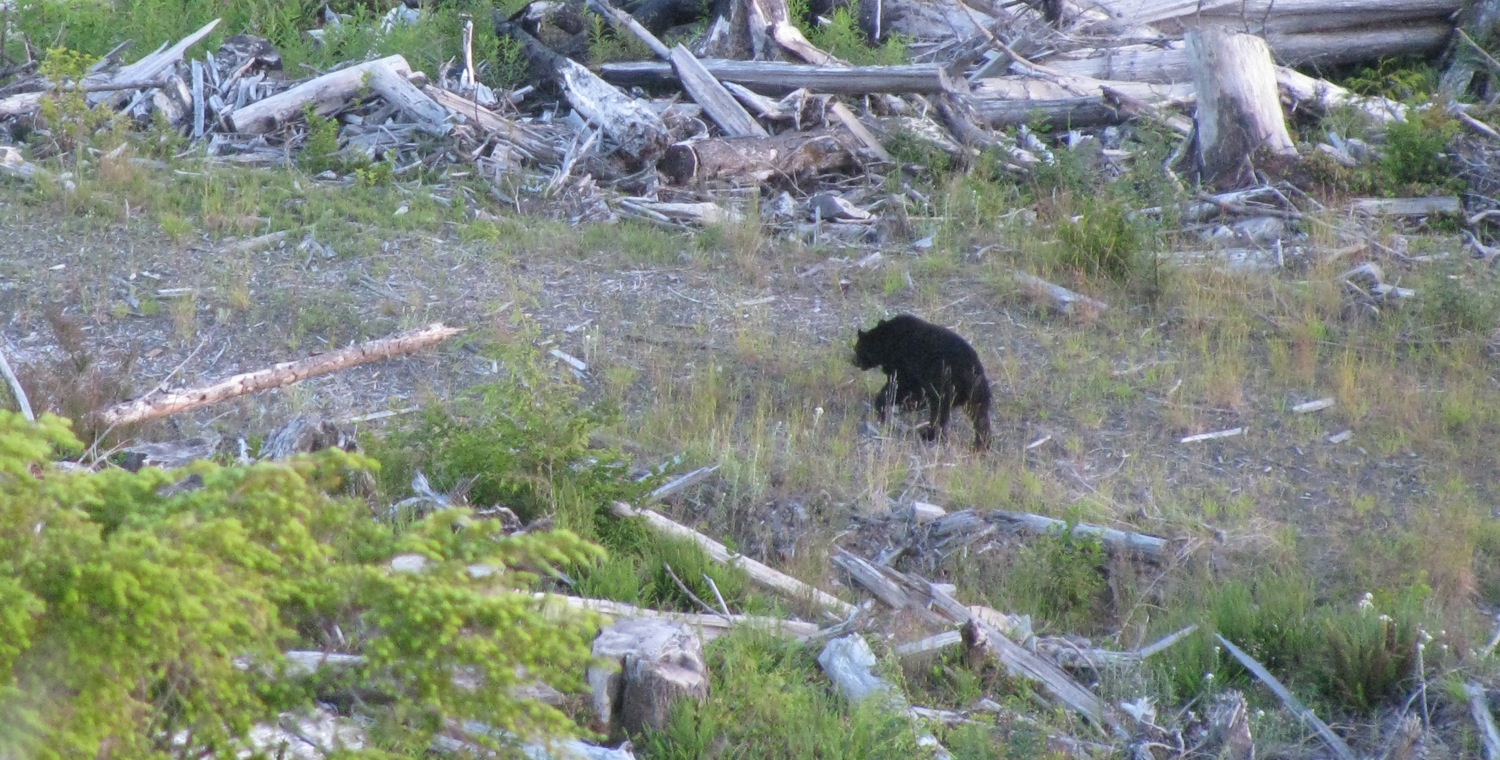
Just about then the dogs started casting about, some scent got them alert. Looking down from our campsite, 3 bears. Look to be 2 yearlings and what I presume to be the mother.
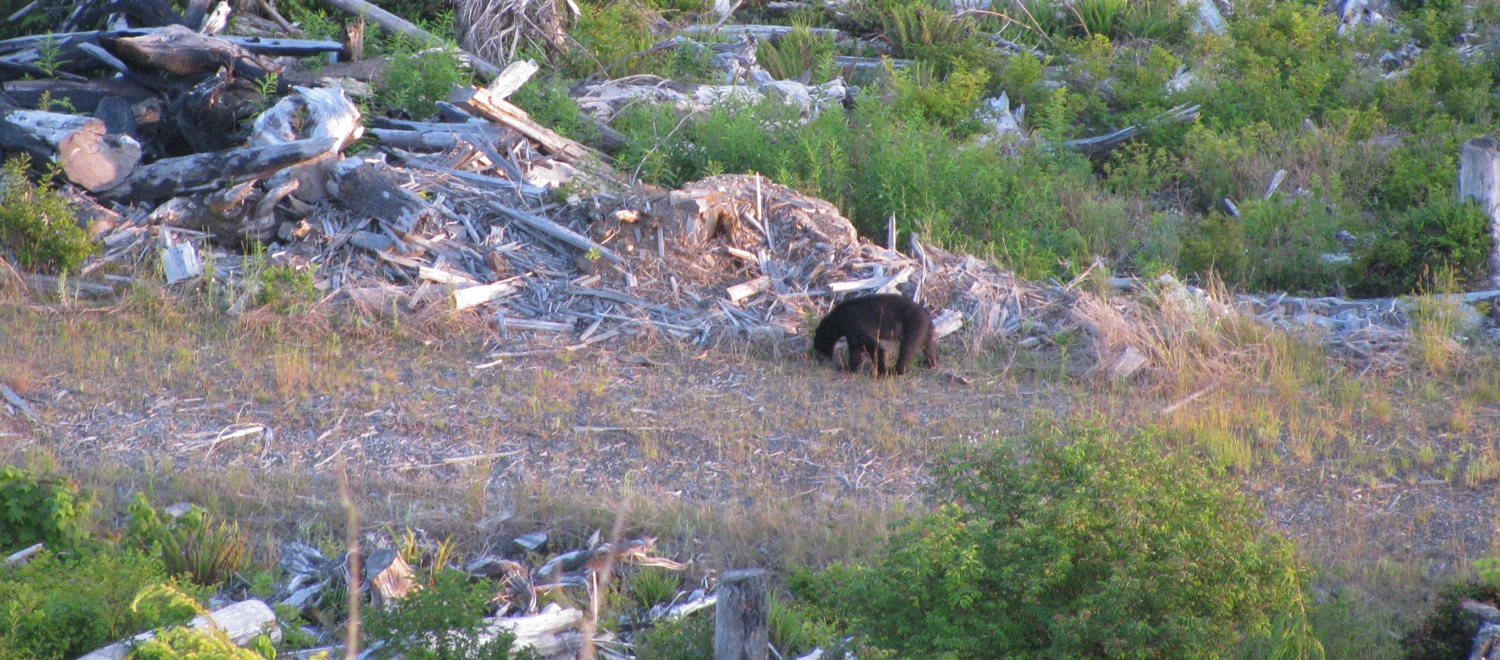
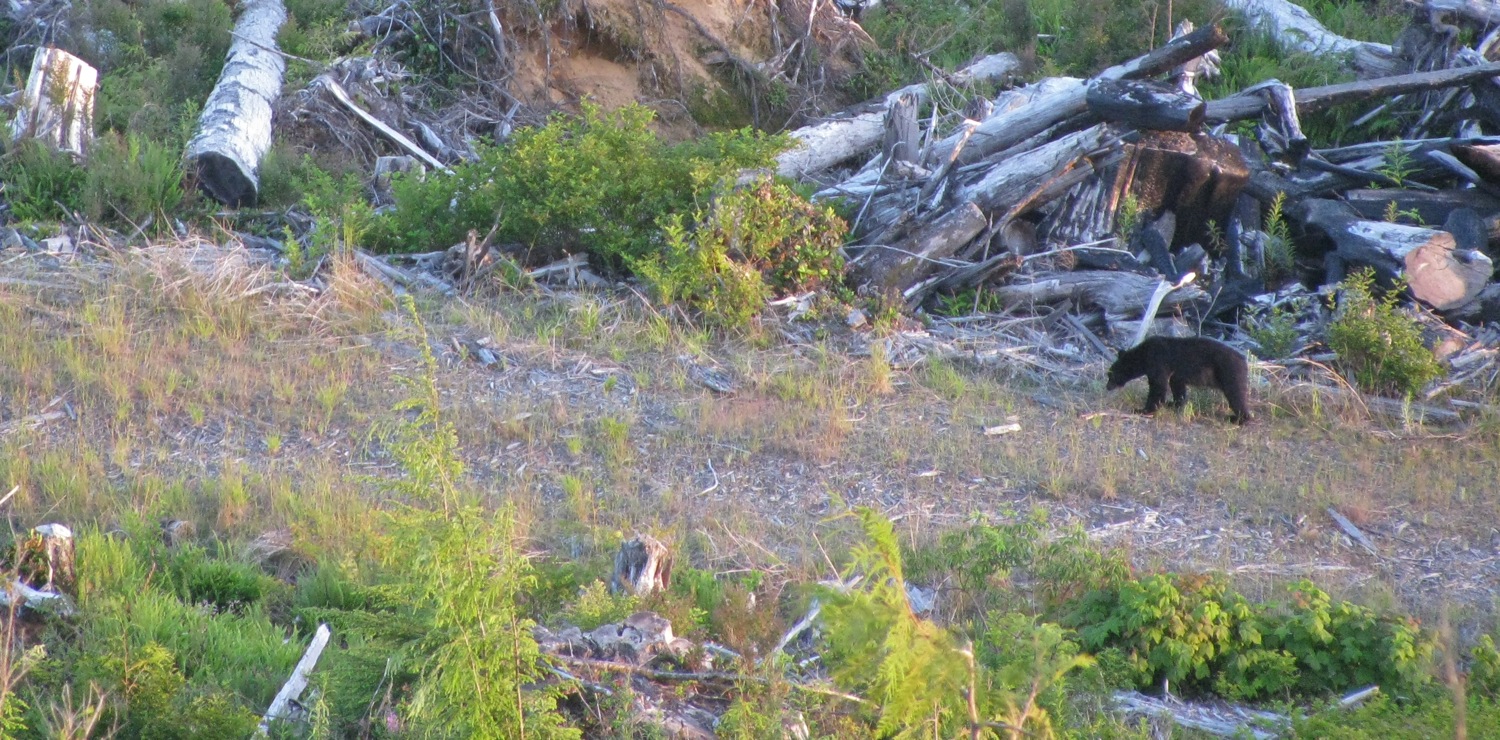

Mum?
Ok, all the LED lights on.

Next day we explored further. Nothing much to report except coming across a bear carcass. Been shot, hind legs were a few feet away, the paws cut off. Bear hunting pisses me off. The fuckers who buy bear paws and gall bladders should be… well, I won’t say.

So on the way back we took a few side tracks, exploring. On one track the van started to lurch and miss. This got worse so I stopped in Port Renfrew to fiddle with the engine. Nothing looked amiss, no vacuum leak or bad connection.O2 sensor was disconnected, no differance. At the worst point (and it was not consistent) when I moved the throttle valve just off fully closed, I mean *just* off, the van would miss, stumble, almost die. This was me moving throttle by hand. I replaced relays, checked evap/emissions tubes. Nothing seemed amiss. Then it would run well enough to get going again. For minutes it would be normal, then it would buck and die. For most of the trip I either had to have the pedal full down, or else coasting. I suspect the throttle position switch. Will check it out.
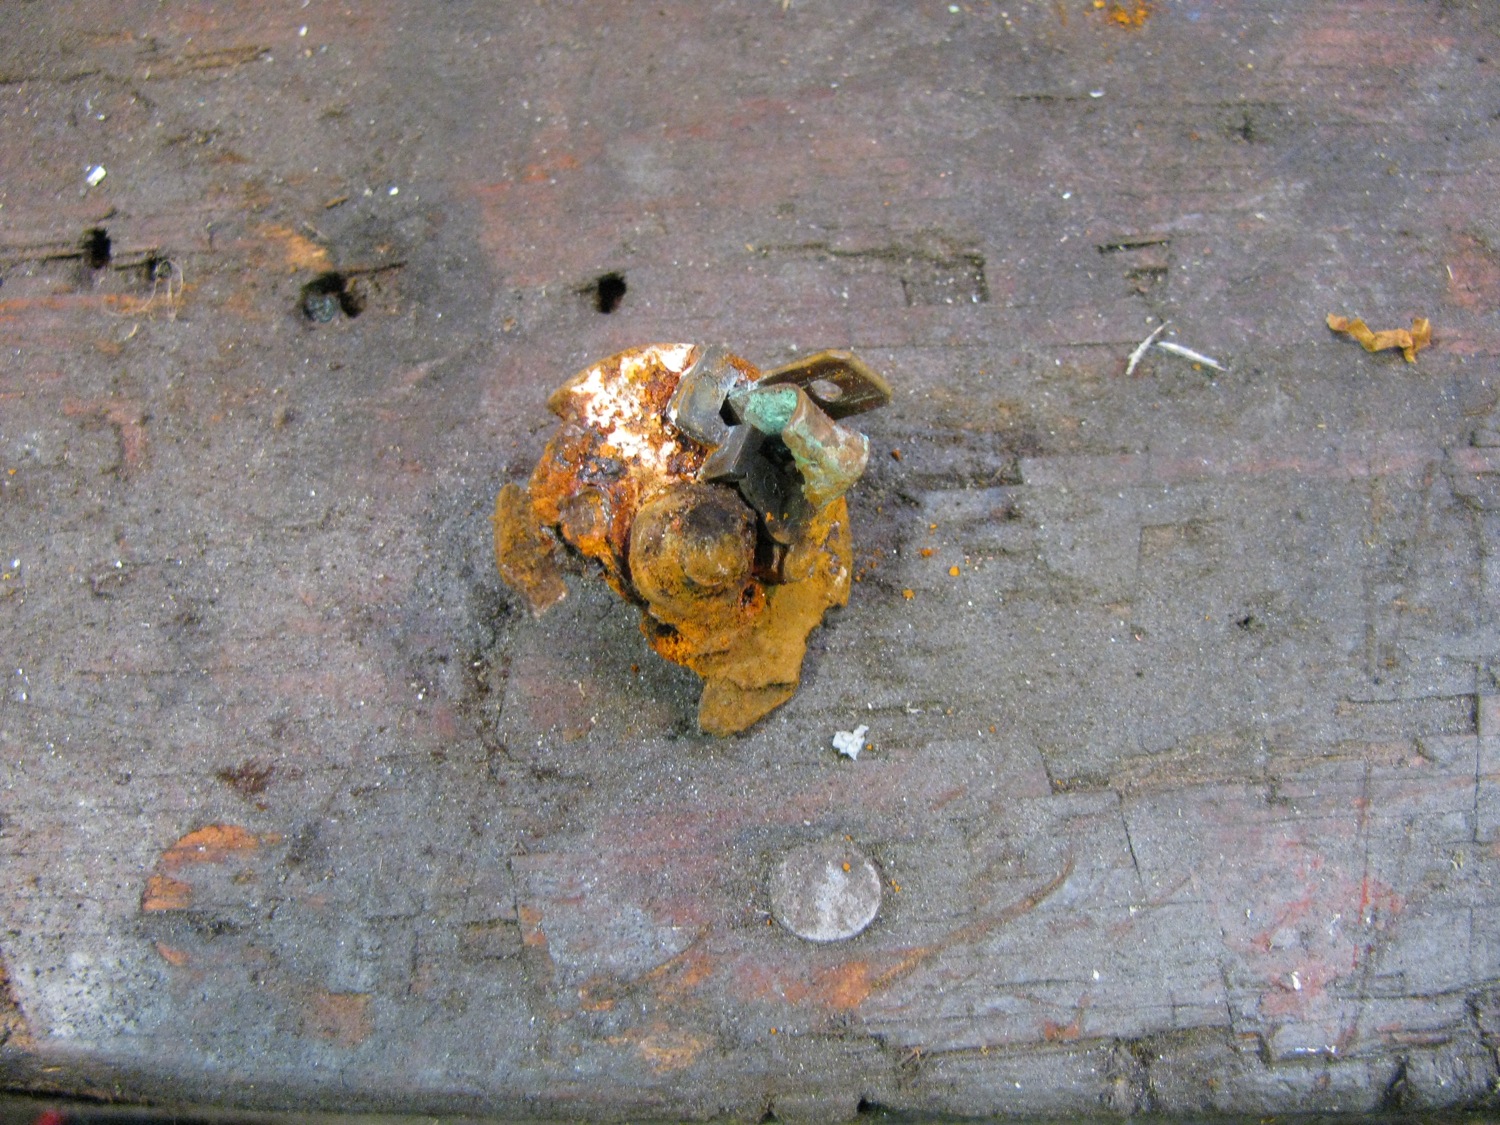
Vanagon – what part is this?
I was rummaging through the boxes of Vanagon stuff in what I charitably call the workshop. I was making an attempt at a clean up and I came across this thing. I don’t know where or when I picked it up, but I don’t think it was on any of my vans.
Answer is in the comments section.
Vanagon – how much power do all those LED lights draw?
Posted by albell in vanagon, vanagon mods on July 4, 2013
So I’ve bedazzled the interior of the van with a mile o’ LED strips, how much power do they draw?
Full brightness:
strip over kitchen area = 0.37 A, 4.7 W
strip over sliding door = 0.39 A, 4.8 W
strip over lower bunk = 0.30 A, 3.1 W
pop top perimeter strip = 1.43 A, 17.6 W
total = 2.47 A, 30.2 W
(funny, power values differ slightly than what I posted back in Feb when I installed the strips over the kitchen and the sliding door. Due to the different controllers?)
With the PWM brightness controllers, the power consumption does go down when lights are dimmed.
For comparison, the stock fluorescent light above the sink found in some westies draws 0.9 A and 8 W. I don’t know what the power draw is with the stock light and incandescent bulbs.
Update: David and I were discussing (in the comments) white LED spectrum. He sent me the pdf file about that subject that is buried somewhere in the Cree website.
Vanagon – pop top canvas swap
Posted by albell in vanagon, vanagon mods on July 1, 2013
Long weekend here in Canada, and it was a warm one. Others might laugh, but out here on the wet coast hitting 30 C is warm. What better time to put in a different pop top canvas. The one I had on was from my old ’82 westy and it had seen better days. My wife had patched it up and replaced zippers but the time had come to give it some rest. Last summer I helped my friend do 2 canvas install and one of the old canvases was in pretty good shape. All it needed was a new bug screen in the window. My wife sewed in a no-see-um proof screen last year so it has been ready to go for a while. Why not put in a brand new canvas you ask? After all it is a pain in the ass to install the buggers. I am storing a brand new (Just Kampers brand) 3 window canvas for the aforemetioned friend, why not whip that in? First of all I think he would notice, secondly I like the way the stock VW canvas fits, the cotton material looks better than the Sunbrella versions inmy eyes (Sunbrella tops often drape like elephant legs). I guess the third reason is that the top was free.
As I was trashing the old canvas I went at it with a knife. Easier than dealing with the lower screws with canvas in place.

After hinges and lifting mechanisms disconnected, I rolled the top back on a long dowel laid across the van. Neighbour was called in to help lift the top onto a worktable beside van.

A couple of years ago when I painted the top, I installed what I thought at the time was a great idea, a fabric covered foam pad on the ceiling of the top. Well, this innovation was a dud, didn’t stay up, dropped, sagged, looked like ass. The idea of having a foam pad up there still appeals to me but I have to figure out a better way of attaching the foam (removable way). This time I went the expedient rote and bought some cheap indoor-outdoor carpet from Canadian Tire. It is very thin carpet, but it’s a not unpleasing texture and colour. The length is just enough to fit the top.

Just a matter of cutting to rough size and spray gluing it down, in stages, to the top. Went pretty well except towards the end (and I foolishly started at the rear) and the limited stretch of the material and my lack of skill created some wrinkles.

But if you squint, and have another drink, the wrinkles disappear.

In the little space between the canvas and the ceiling I ran a strip, on all four sides, of LED lights.

I swear I tested them before I installed them, honestly. Little things like this really pisses one off. The photograph of the lit strips doesn’t really do them justice. It does make a good light up there, and the LEDs are on a dimmer so it doesn’t need to look like the Blackpool Illuminations all the time. I’d show you the wiring and controller but I’m not really happy with the wire routing (down the lifting mechanism) and I want to tidy it up.

Not a bad job, perhaps a little loose at the back, but sides and front are tawt.

One more thing… a little thing to hold a flashlight.

