Archive for February, 2020
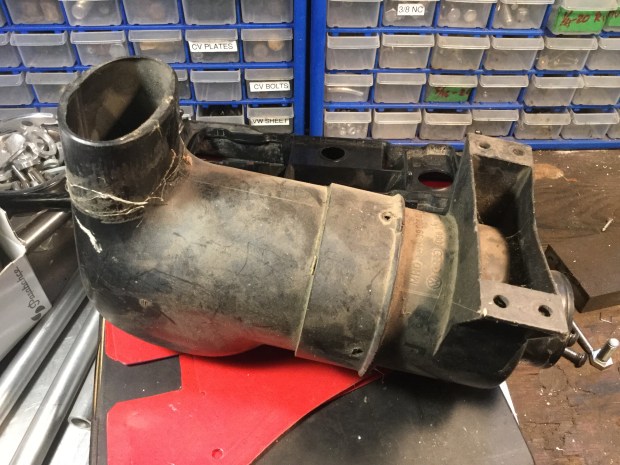
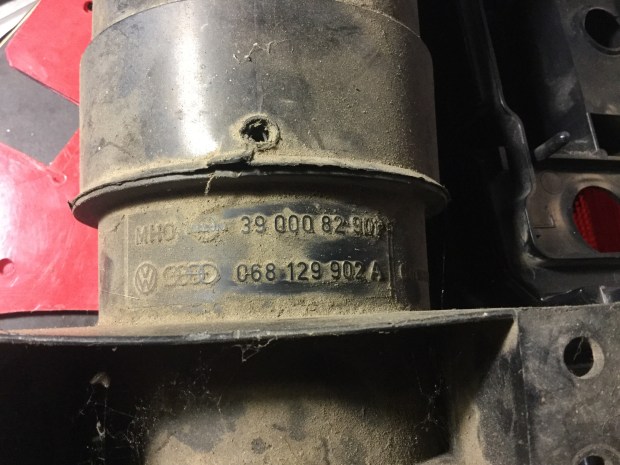
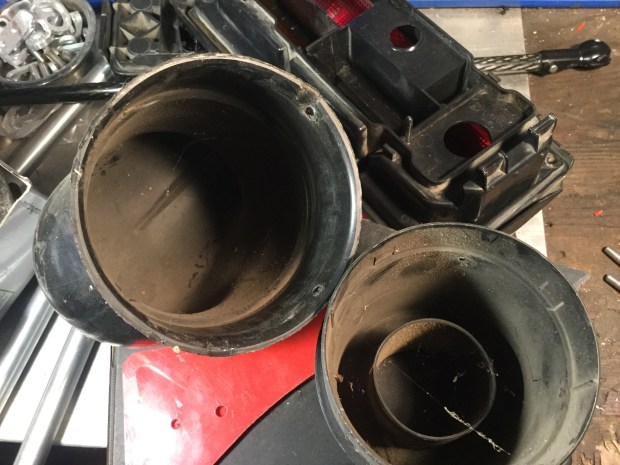
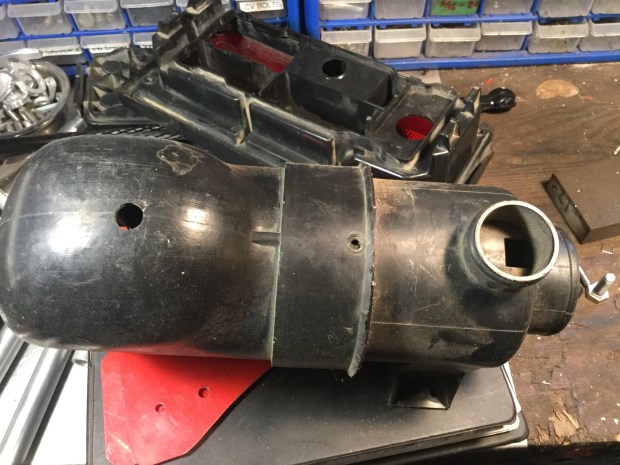
Vanagon – 82 diesel air intake elbow
Posted pics here for vanagon mailing list discussion.
The two parts were originally riveted together.
Vanagon – led headlight as auxiliary lights
Ok, just hold your horses about the pros and cons of led H4 replacement headlights, just for the time being anyway. I’ll write about these particular lights later. For now, I’ll describe using one particular type as auxiliary lights.
I bought a pair of these from Banggood last February. Here is the link: [CA$104.34]7 Inch H4 H13 105W LED Headlight Hi/Lo Beam With Turn Signal For Harley Jeep Motorcycle from Automobiles & Motorcycles on banggood.com https://banggood.app.link/4DKhkY87b4
Used them as headlights for a year, they worked out fine, but I was struck by the idea of using them as auxiliary lights from the get go as they are completely sealed and have M8 threaded holes on each side of the body casting.
I made a pair of simple brackets to hold them to my light bar and wired them in to my old auxiliary lights switched power source. That’s switched by the fog light switch ( the posts about that set up is here: https://shufti.blog/?s=Fog+light+).
I’m sure there are other lamps that have mounting holes on the side, obviously the model and dxf linked below are for this particular light.
The old aux lights and the led light bar removed and the new lights wired to be low beam with first position of Switches and high beams in second position of switch.
I plan on rewiring system so the high and low beams on the new aux lights will be controlled, when they are switch one, by the stock main lights hi lo beam stalk switch.
Here is a dxf of the flat pattern of the mount. Btw, sorry about having to be zip files, wordpress won’t let me upload dxf or fusion files ( not to mention a raft of other file formats). The mounts are made from 0.250” 5052 aluminum. Love the spelling mistake I made.
aux-light-baracket-flat-pattern.zip
And a fusion file showing final bent shape.
Vanagon – another approach to wiper arm rivet
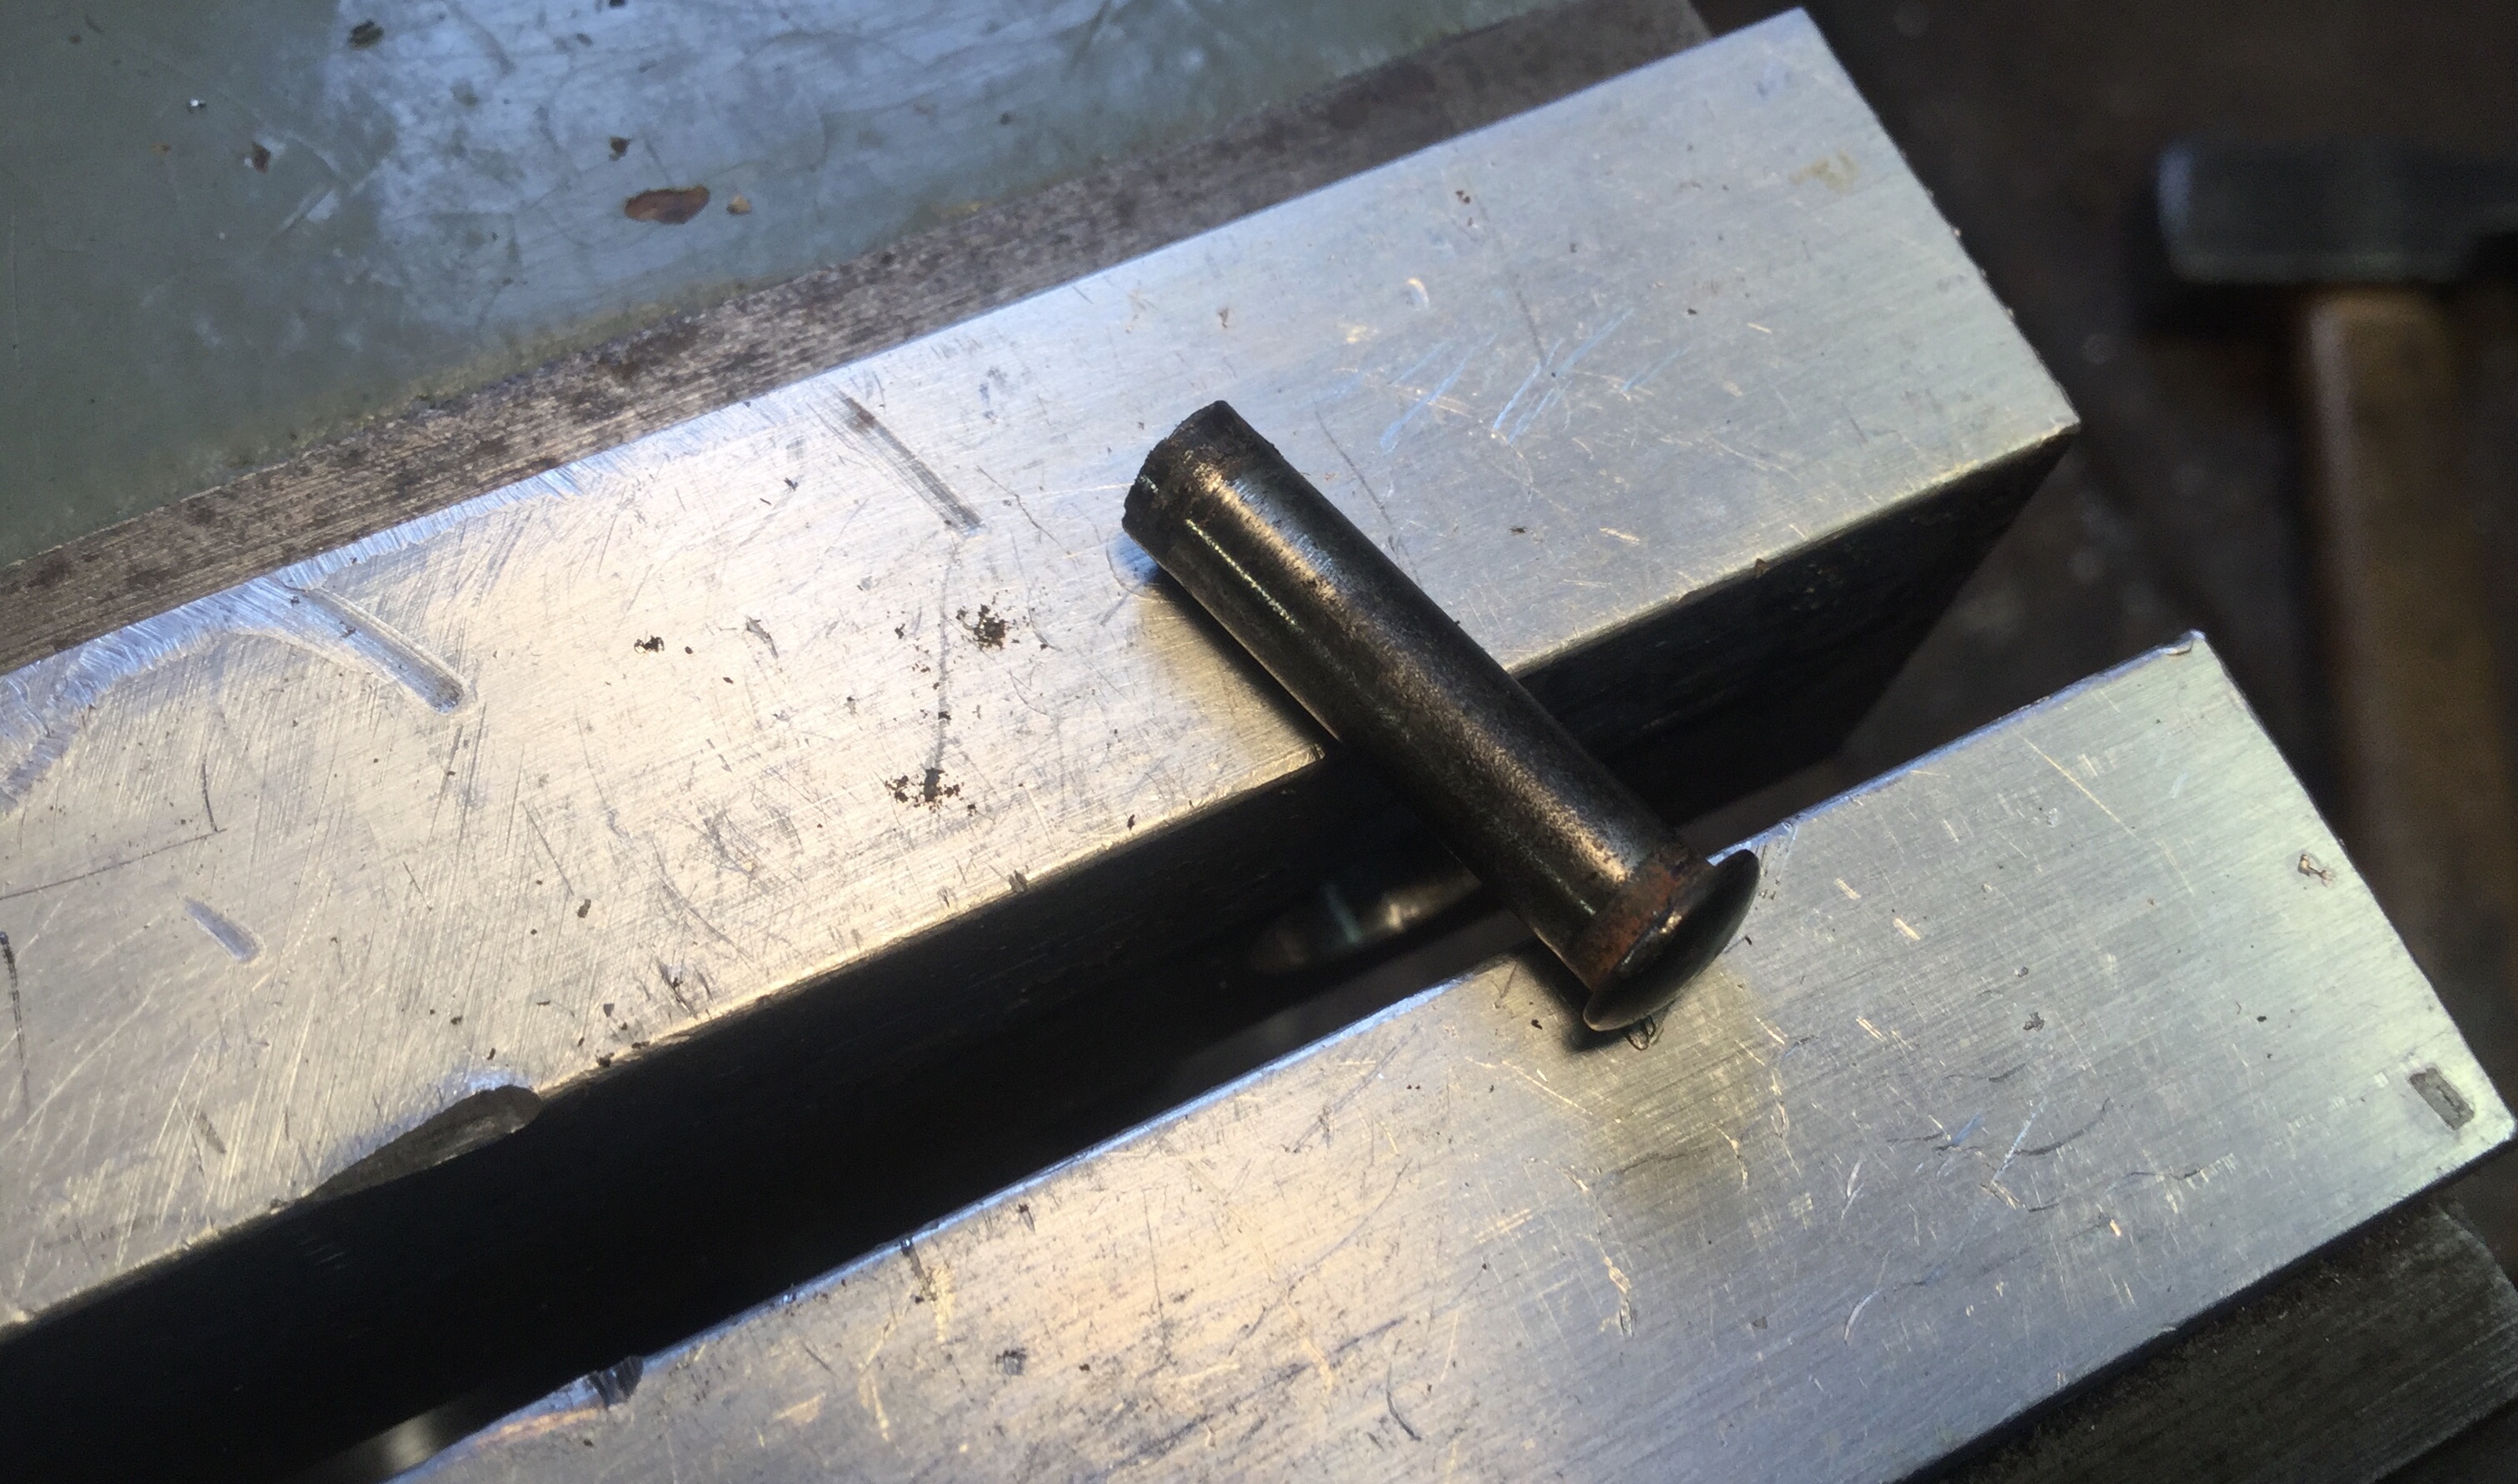
Short story, made a rivet from stainless rod. One end with shoulder, the other end with hole ( to make that end easier to flare).
Worked really well. But I think it’s unnecessary work. Both friend and I had the same idea of finding Chicago screws that will do the job. And those screws are out there.
Funny thing they are called M5 Chicago screws, but the actual screw portion is M3. Pictures show better. Oh and you’d have to trim the length a tad. Is brass hard wearing and strong enough? I think so.


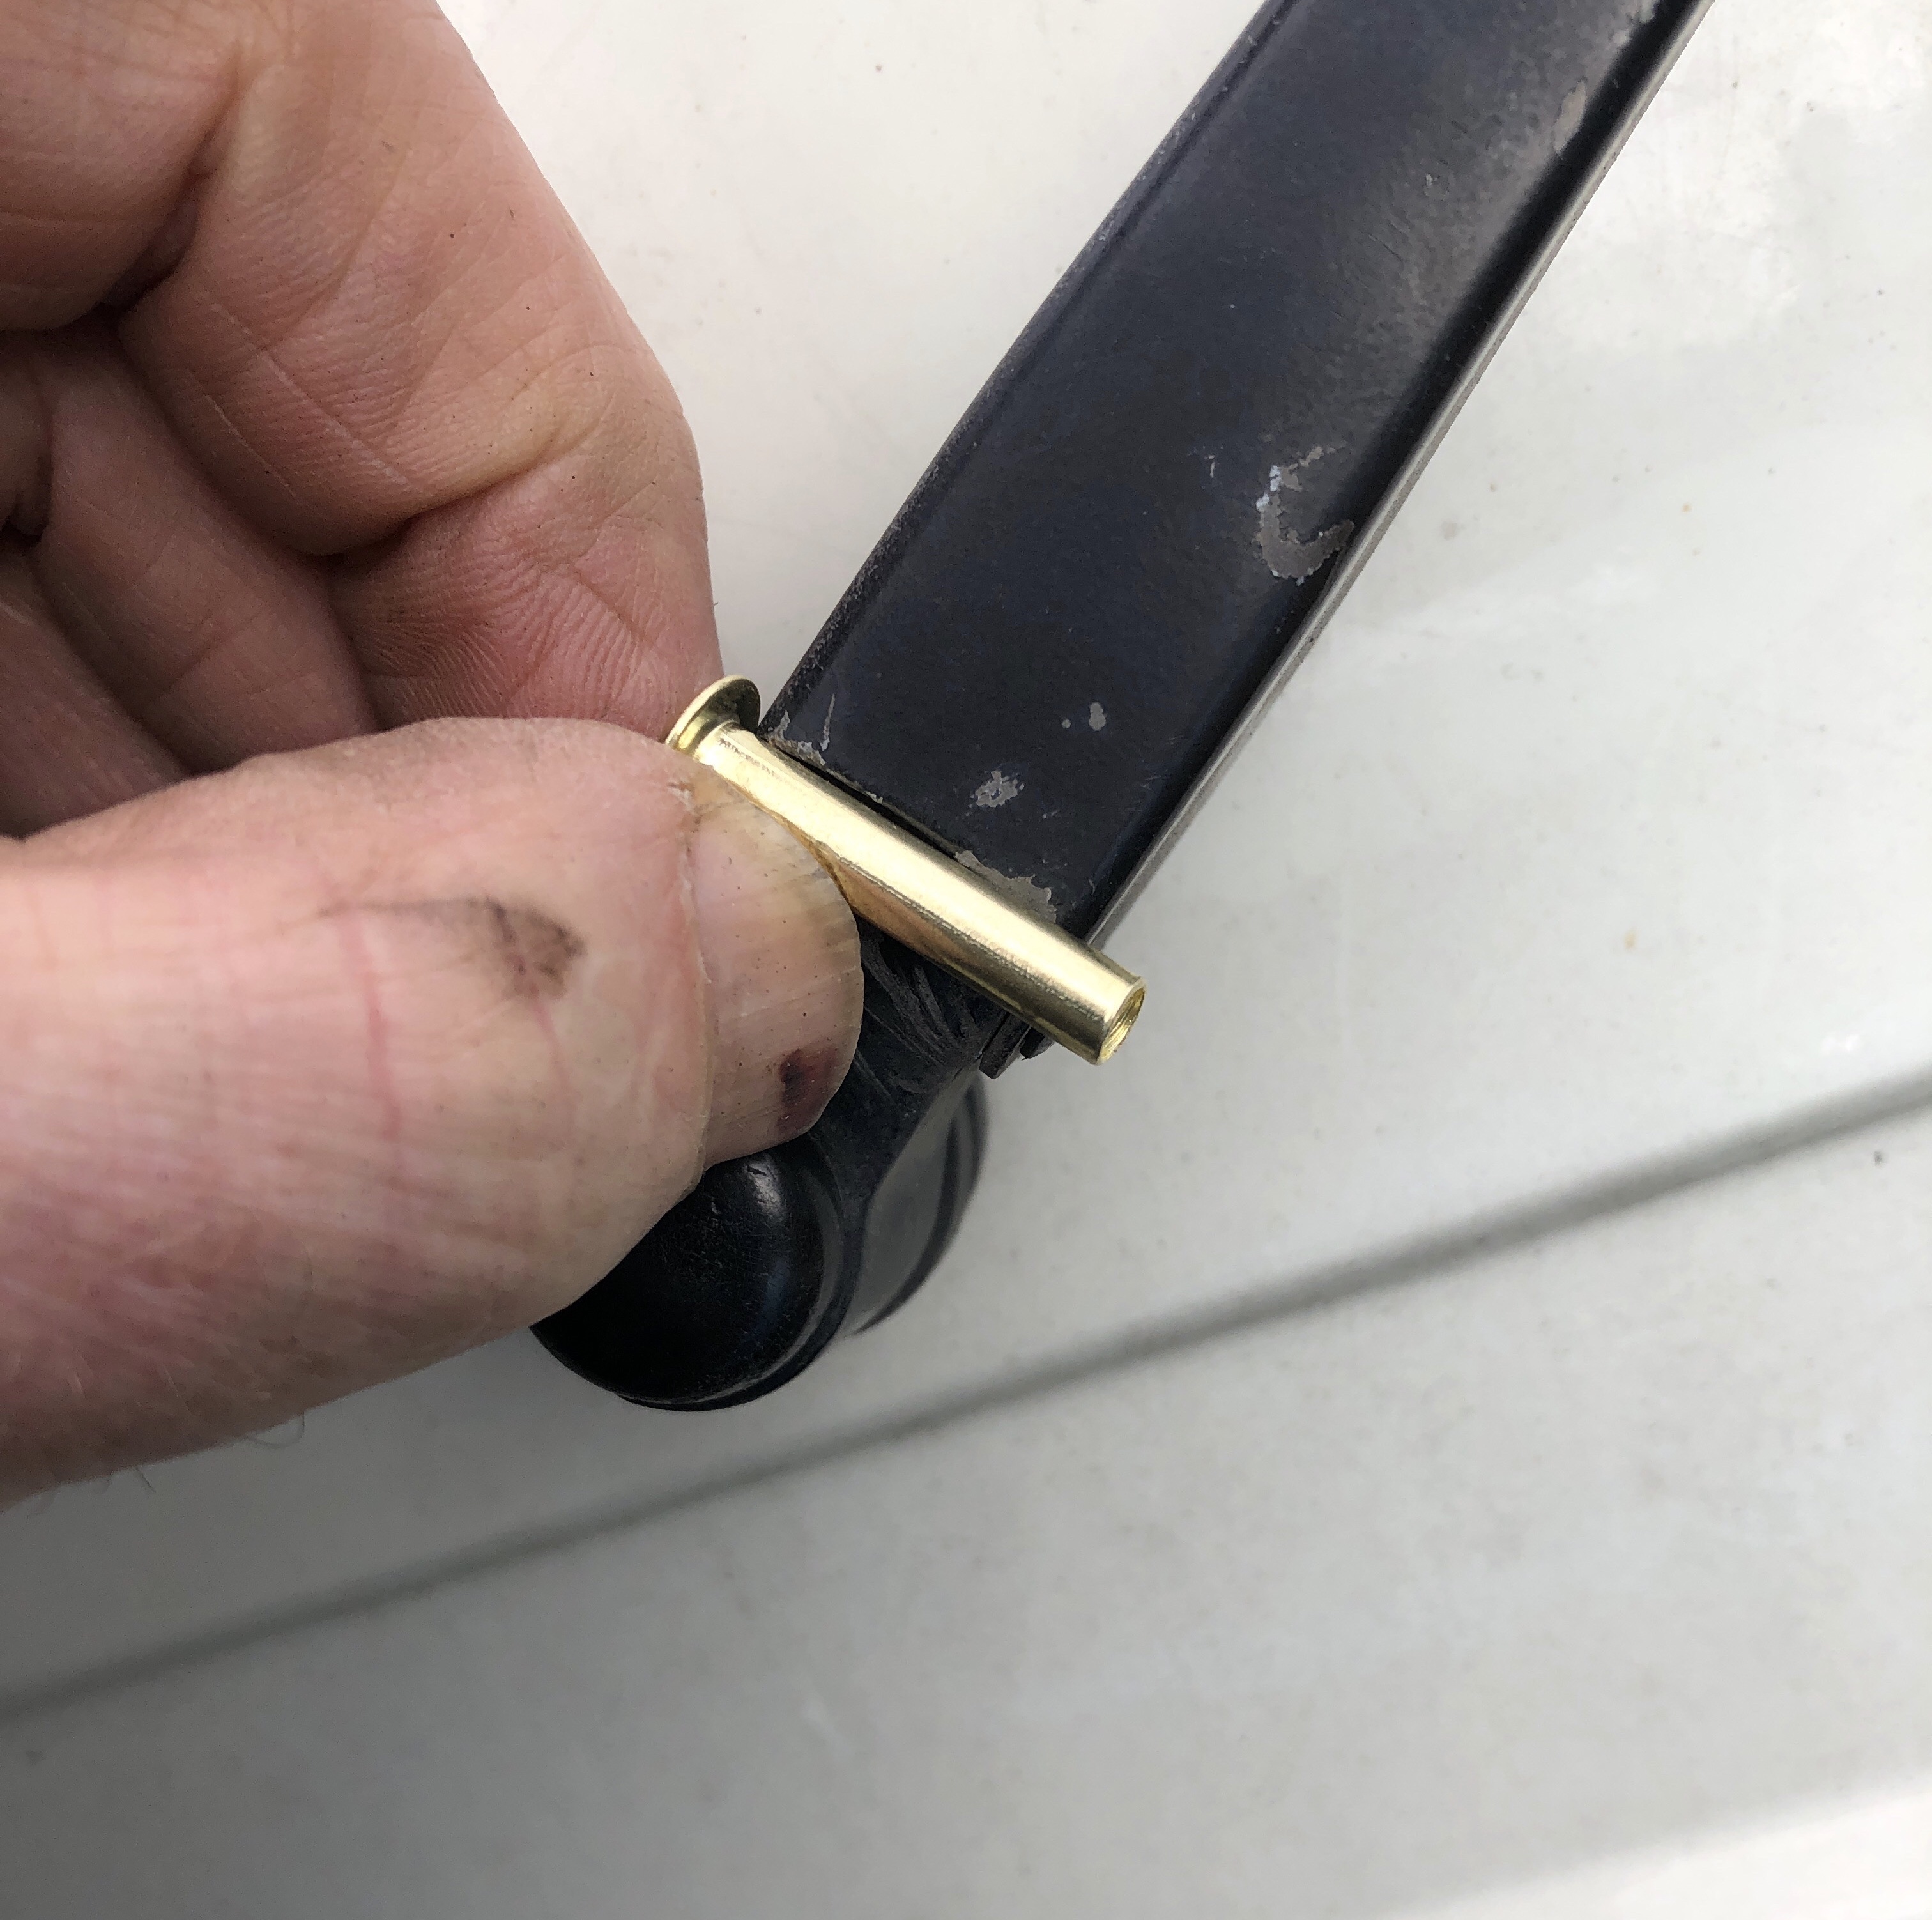
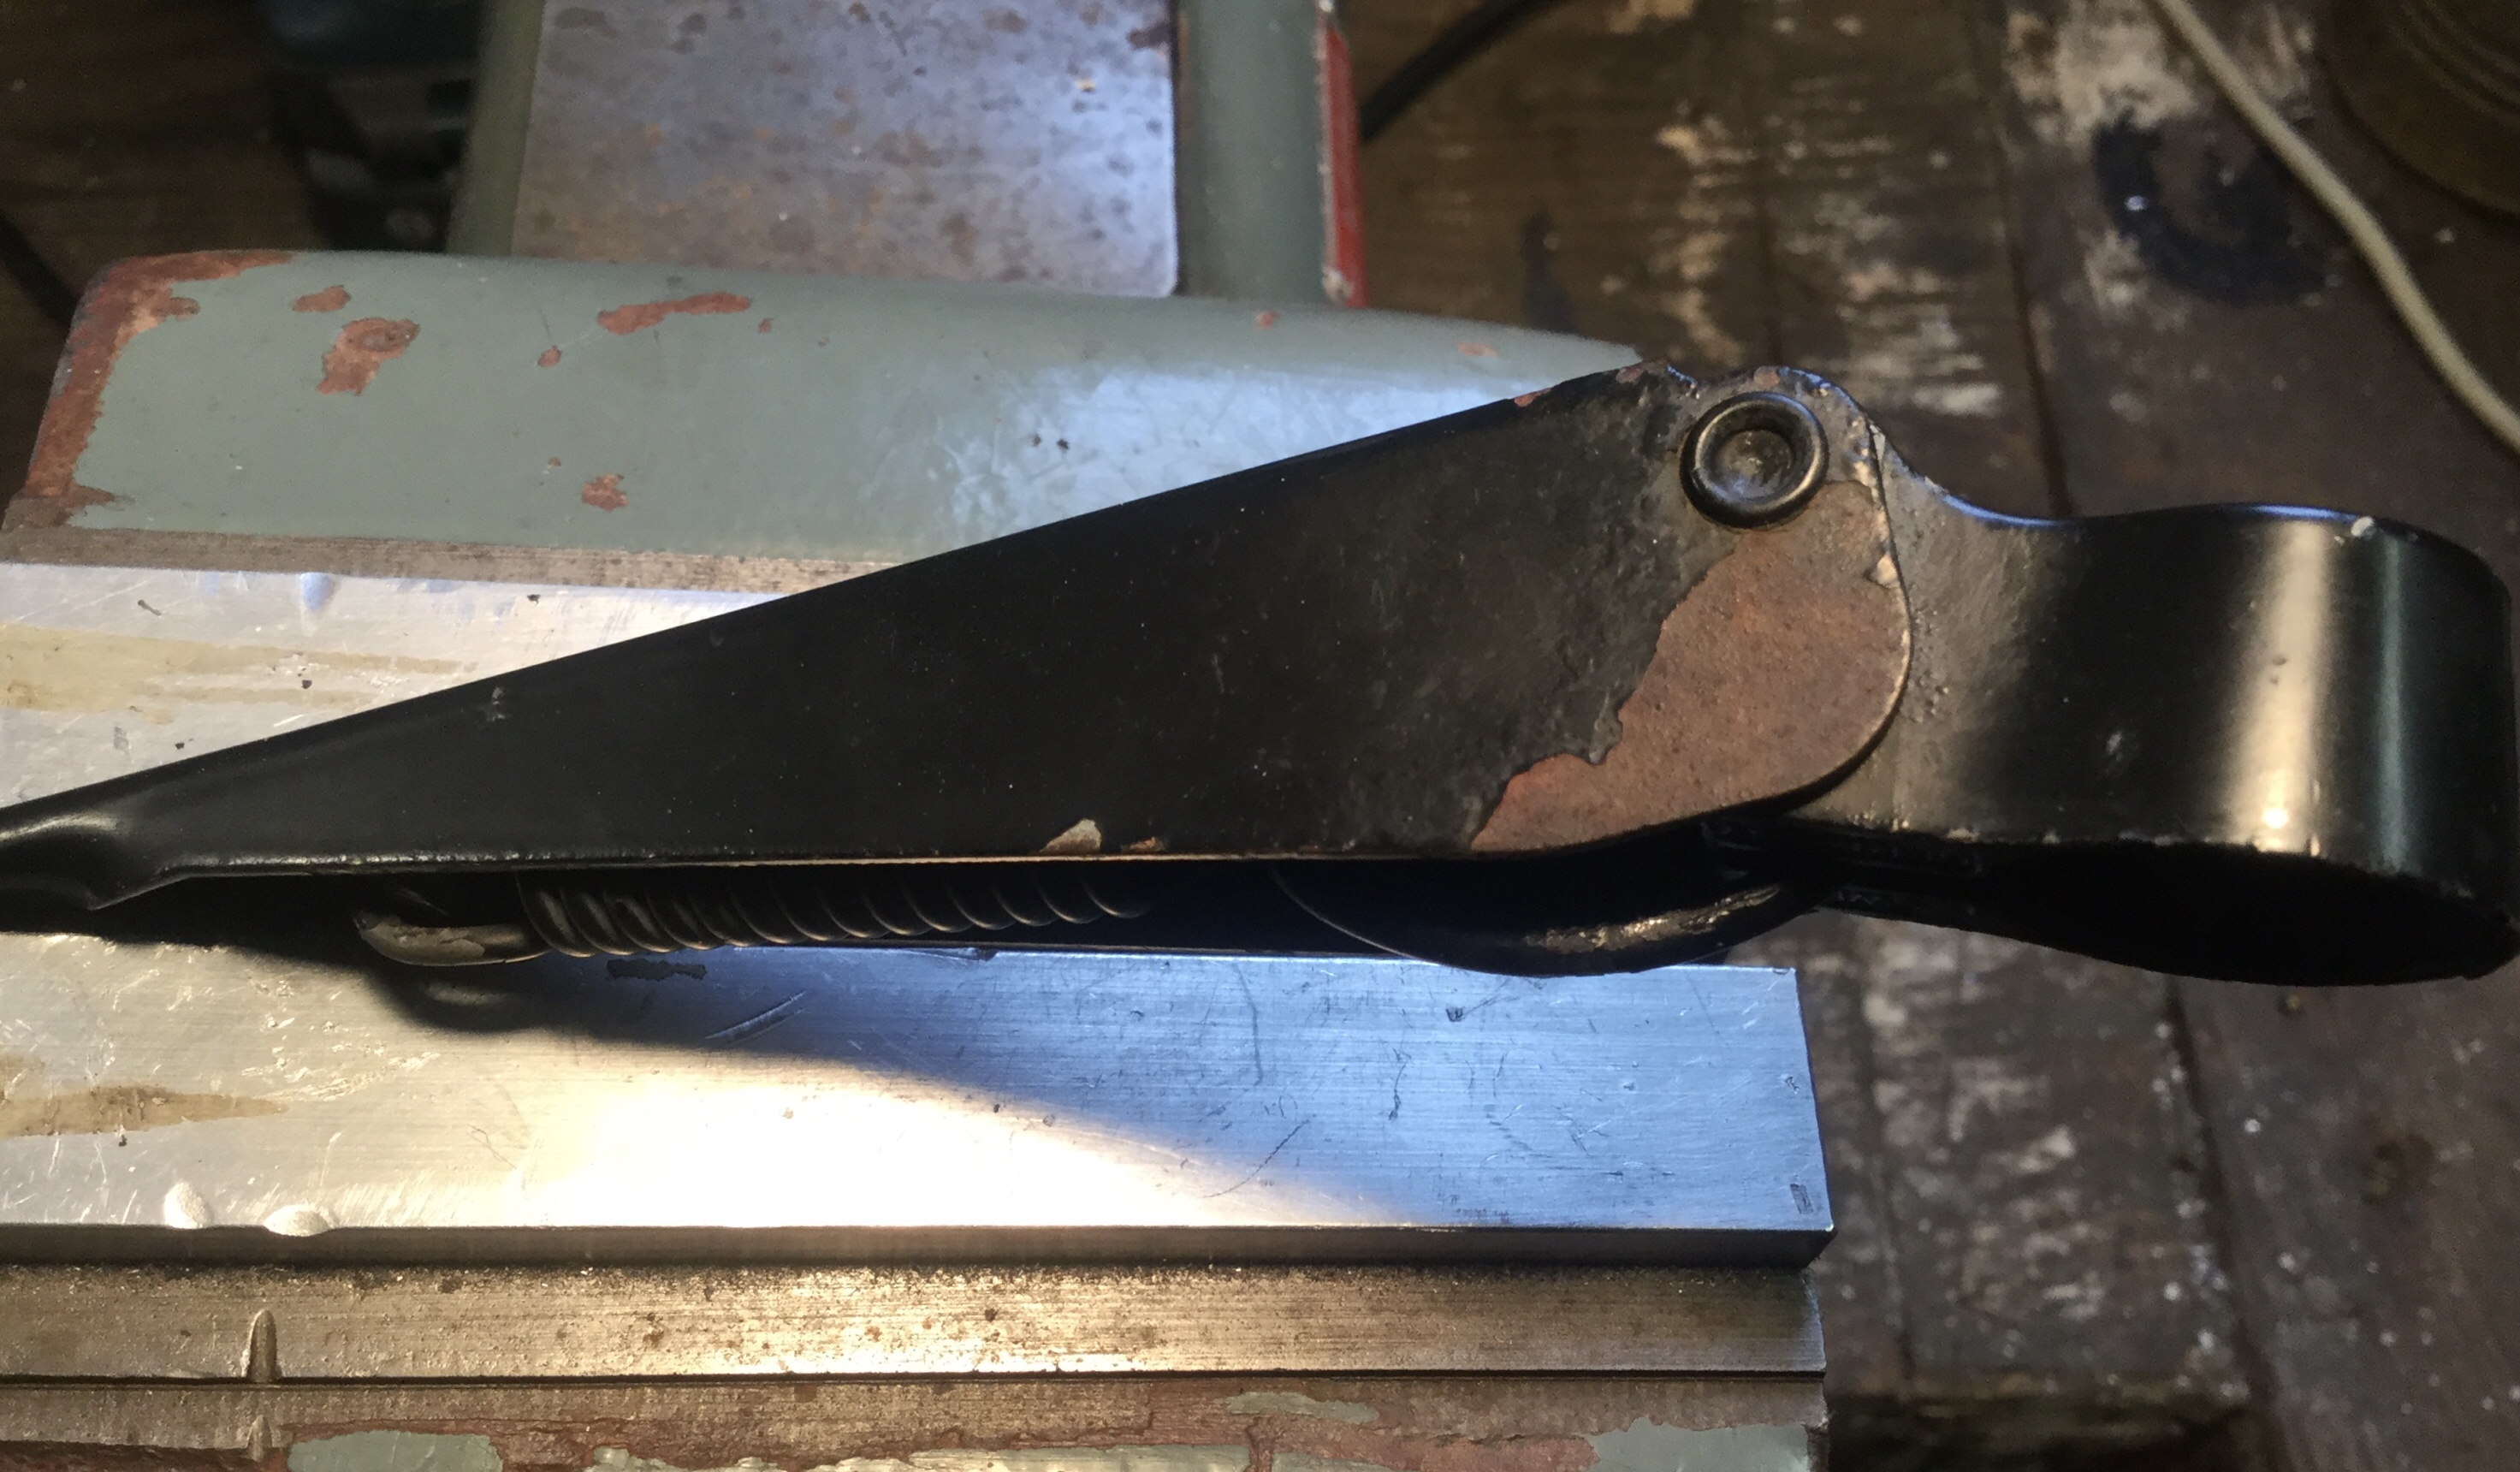
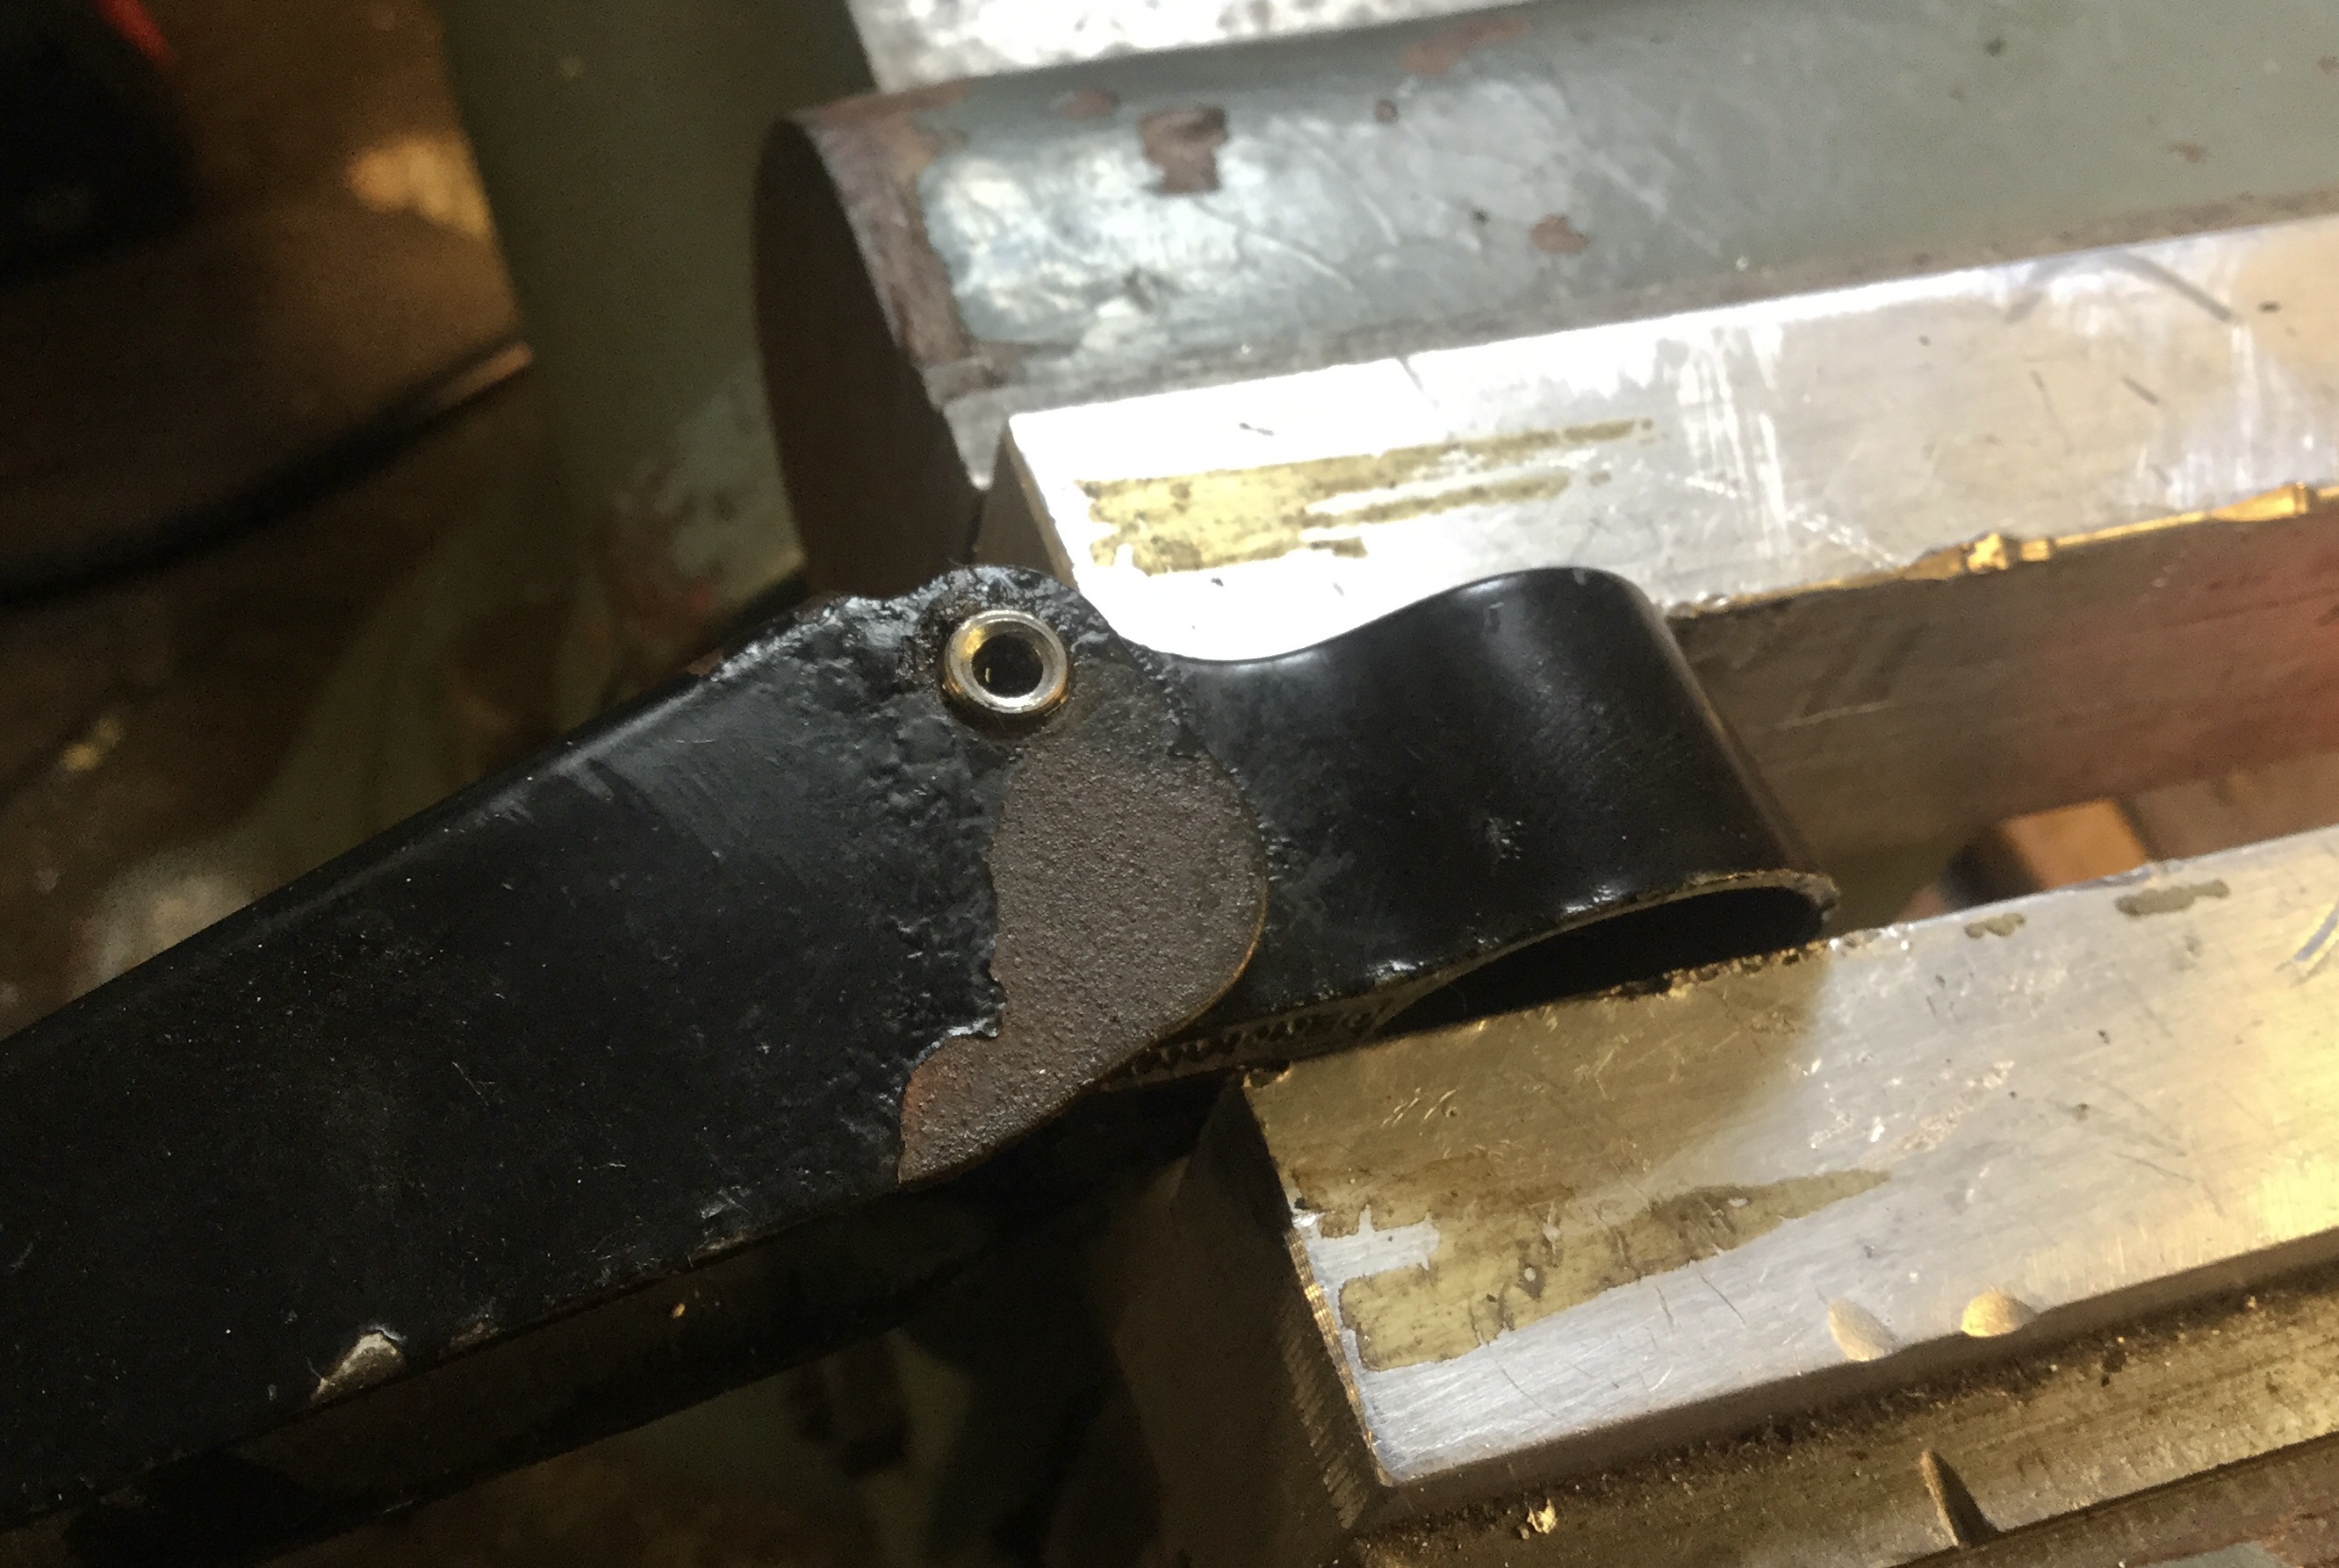
Back to my rivet. Here’s a sequence of pics using another old wiper arm. First couple show how you can hold the “c” connector in a vise and pull back on the arm to release hub. Head of the stock rivet drilled out and punched thru. Stock rivet 50 microns larger diameter than the Chicago screw… yadda yadda yadda…you get the idea.


Vanagon – trying out a wiper hinge rivet sub.
A few posts ago I wrote how I took apart my spare wiper arms for powdercoat. The hinge between the arm and the hub was a steel rivet, had to drill that out. So what to do about reassembly?
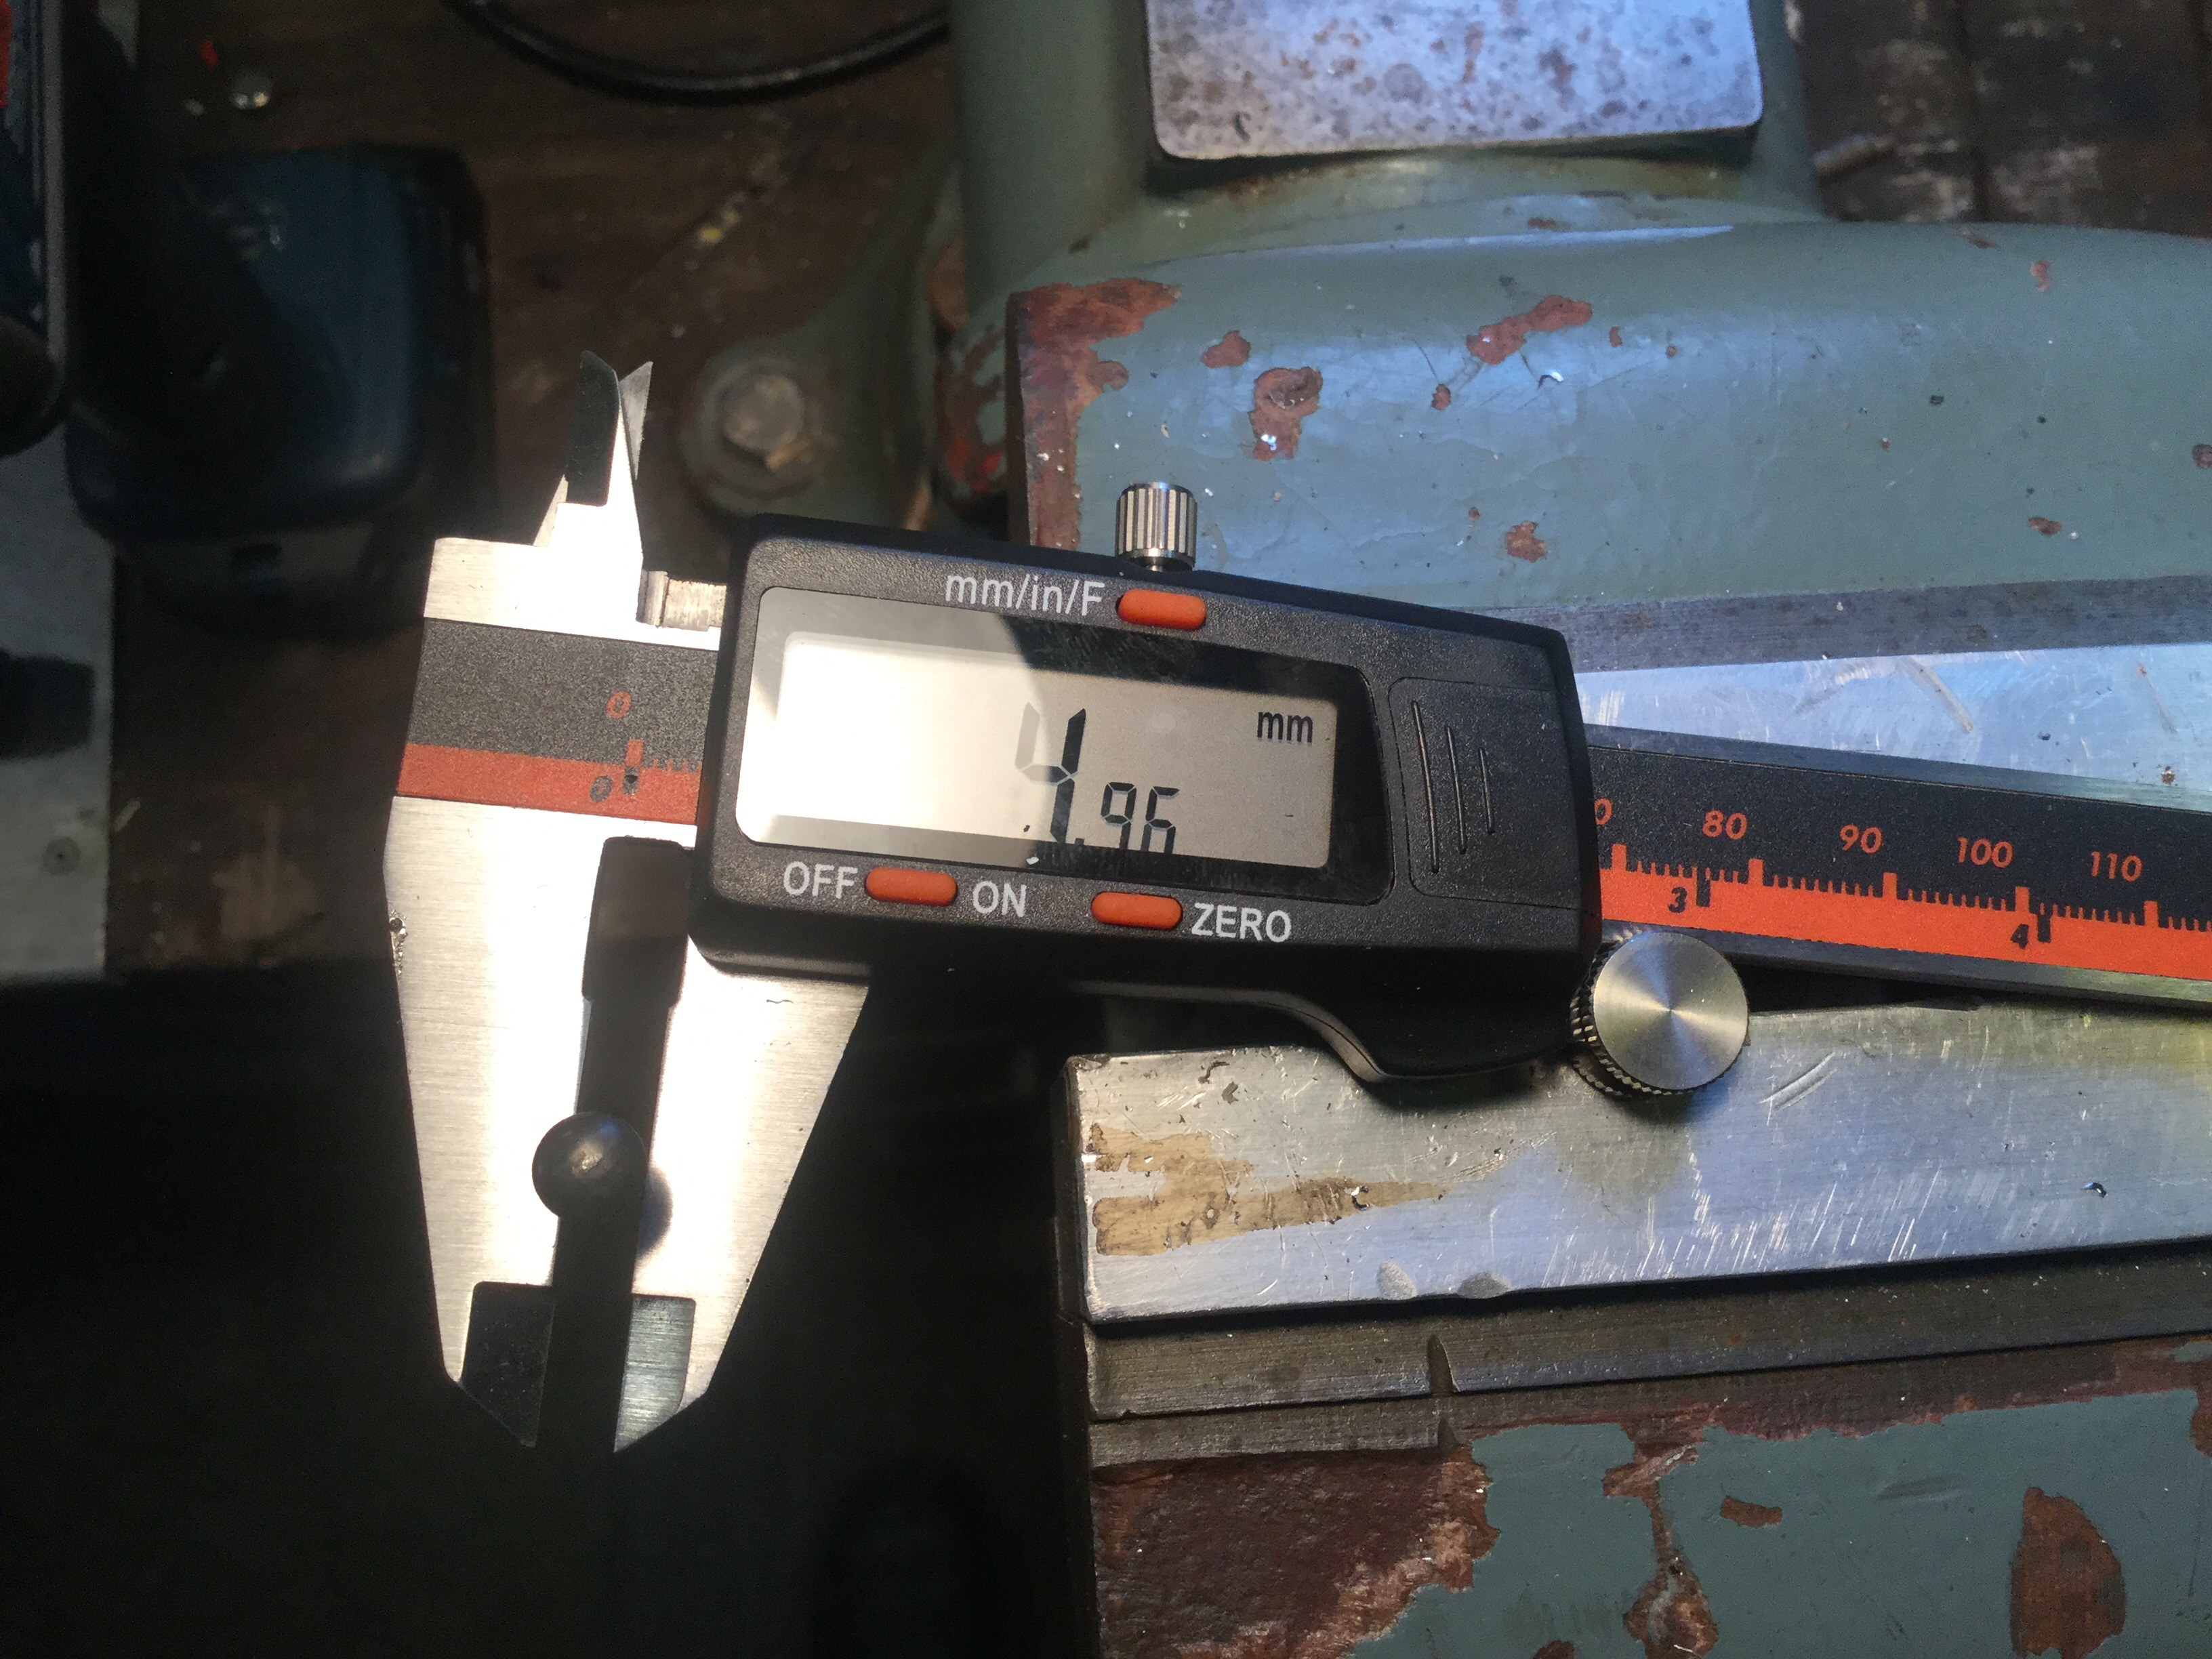
Tried something this afternoon. Yeah, perhaps an over thought idea. Turned down some stainless rod to around 4.8mm, with a poofteenth narrower shoulder on each end ( the arm holes are smaller than the hub hole. Maybe it’s the paint.)
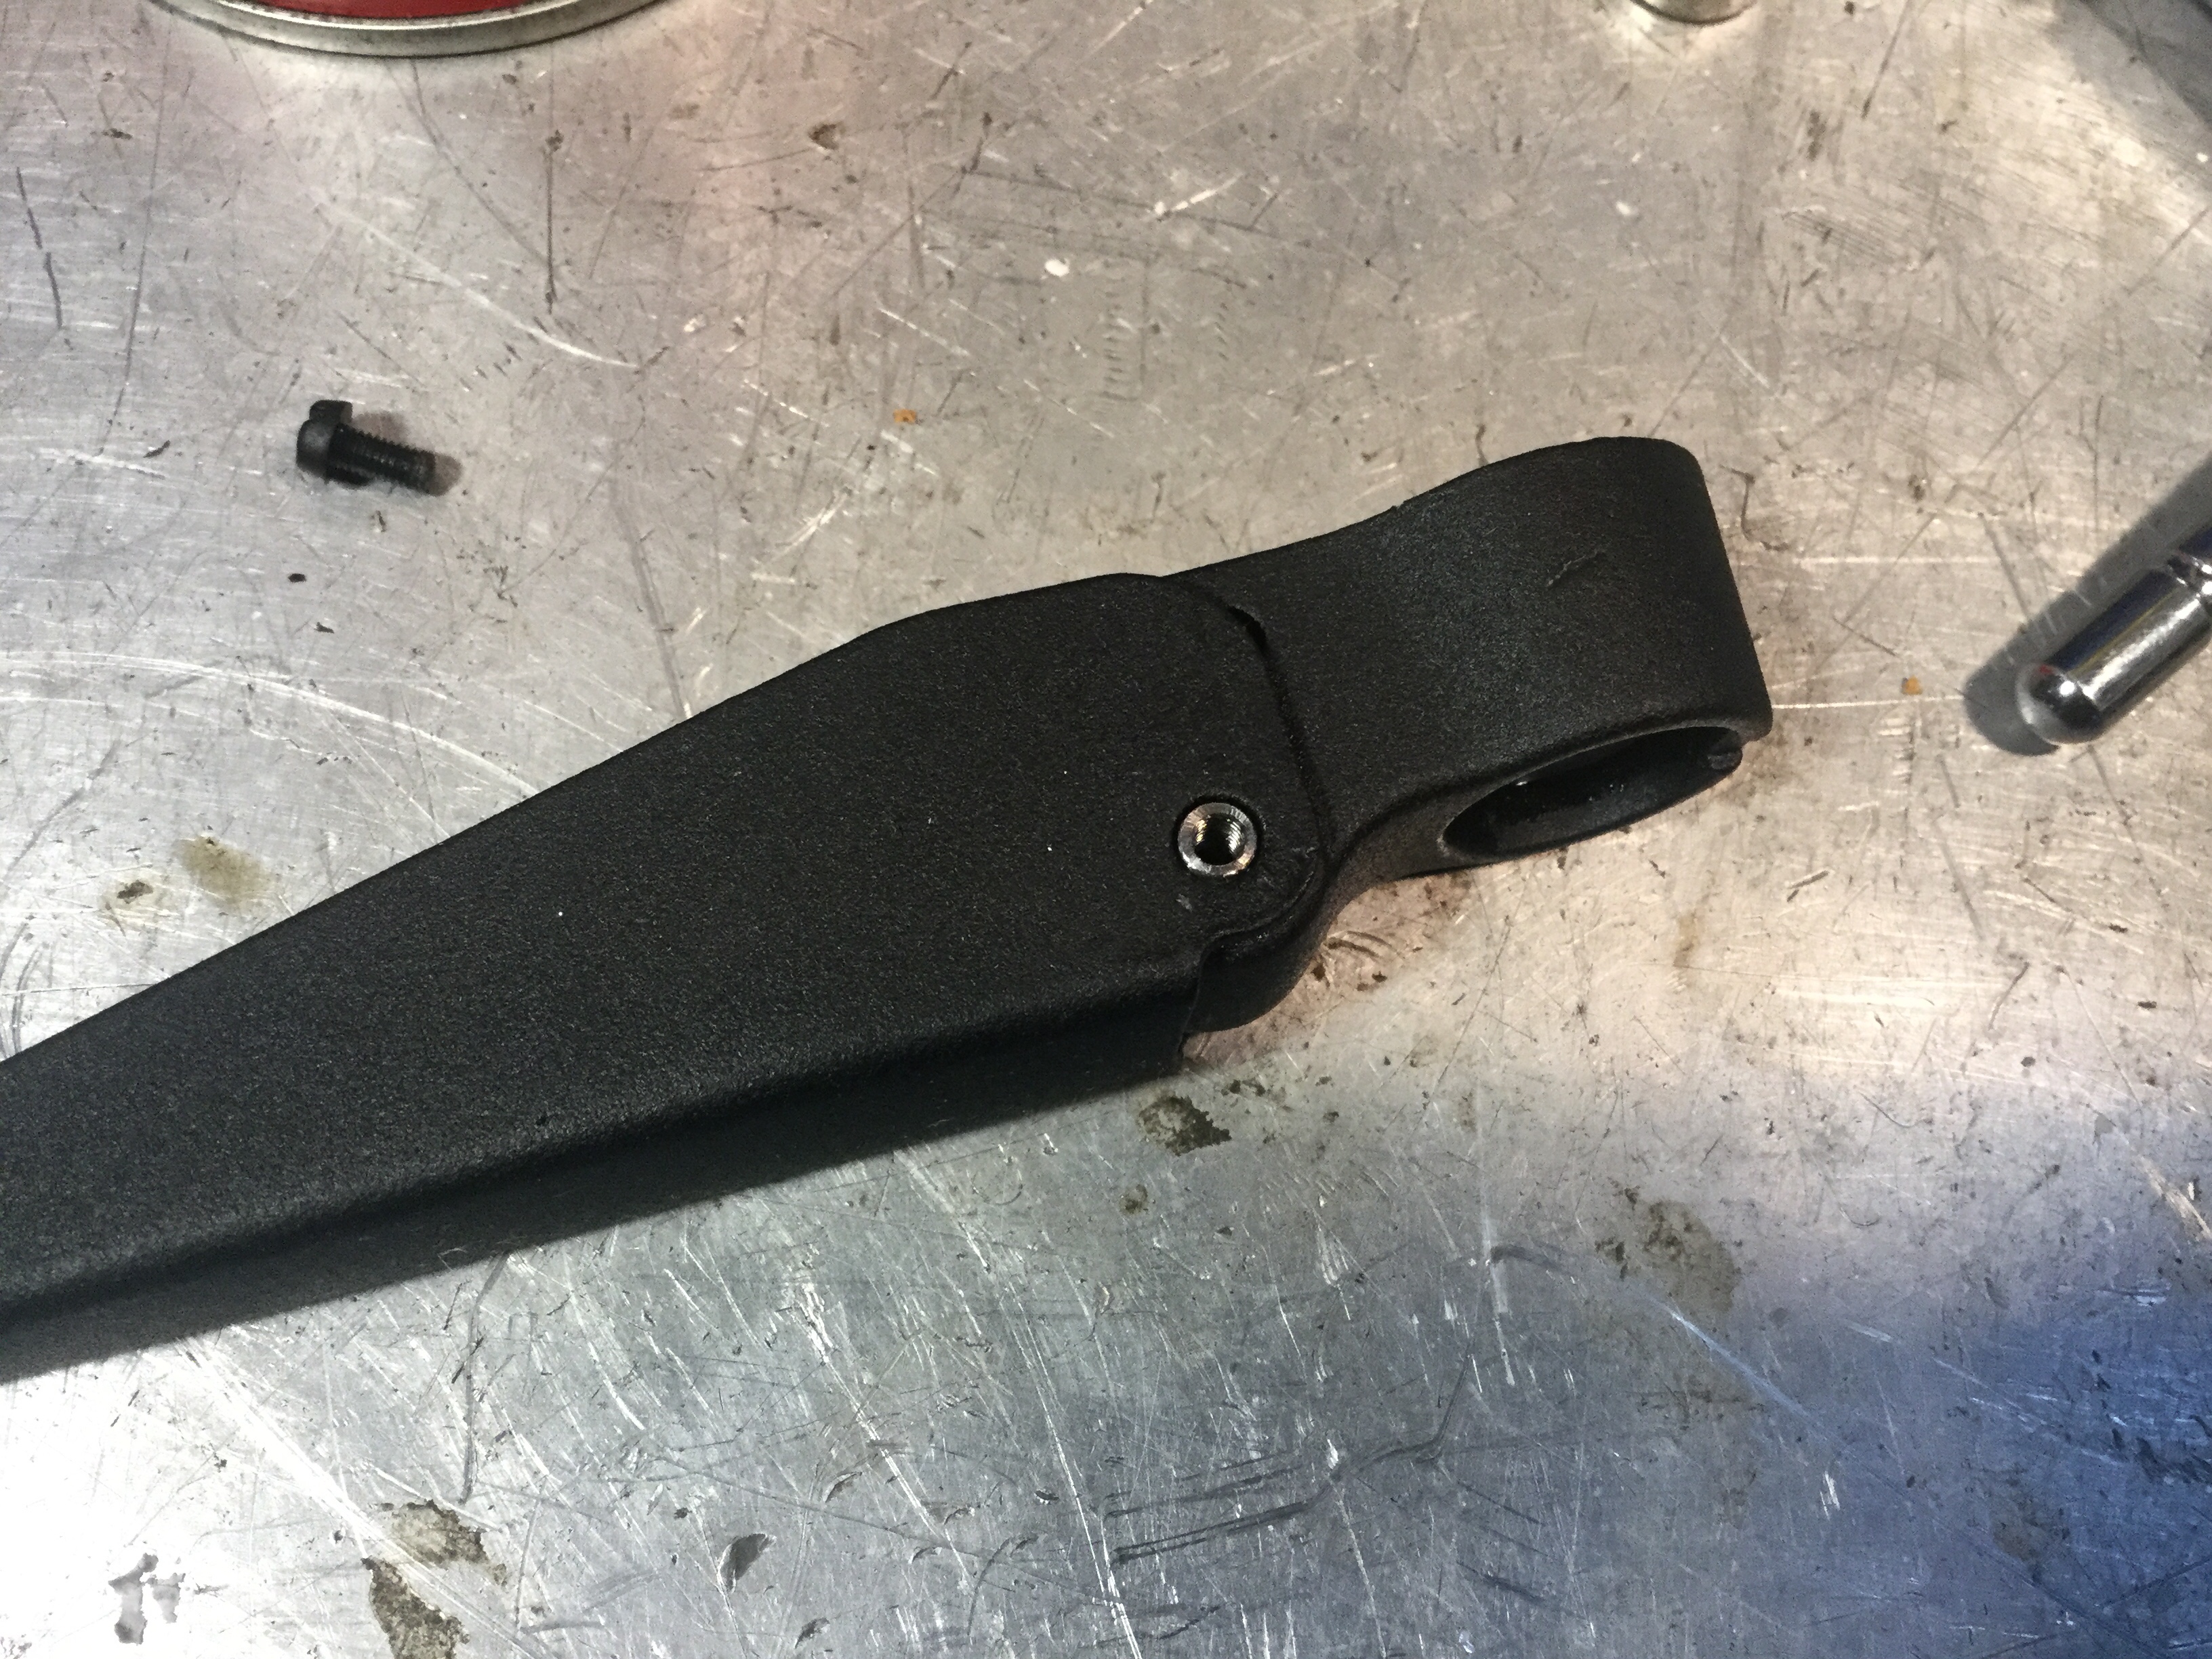
Tapped each end M3. I have some plastic pan head M3 machine screws, I’ll get some black stainless versions if I decide this is a good method. What gives me pause is I have to bend the wings of the arm apart to get the shouldered hinge pin, in the hub, inserted into arm. It’s kludgey.
But looks ok, arm moves nicely too.


Vanagon – conversion table for VW tool 1301
I found this table online and I apologize for forgetting where, I’d like to be able to credit the source. I think there have been posts on the Samba with the same info.
In any case, the VW is used in Bentley procedures to test fuel and temp gauges.

David B. commented:
The Vanagon gauges are electrically the same except for the blinker circuit in the temp gauge.
Gauge resistance ~52R, input voltage ten volts plus/minus a half for tolerance of +/- half a needle width.
Top mark ~35R (fuel full or temp ~130C)
Temp blinker starts ~45R (~125C)
100C touching high side of LED ~82R (OE sender)
90C touching low side of LED ~106R (OE sender)
Top of reserve ~170R (adopted in later models as the calibration low point instead of bottom of the gauge)
60C/empty/bottom mark on gauge ~265R
Very much not Vanagon – Glock sight mount adapter.
Posted by albell in Uncategorized on February 15, 2020
Was asked to make a reproduction of a plastic shim that, oh I’ll get this wrong, sits between red dot and mount on a Glock 99. The difference is, the new one was to be wedge shaped, around 4 degree taper. I had a go, black Delrin, and it worked. Little rough around the edges, I need to find a way to gently de-rag small plastic parts. Maybe a vibratory tumbler.
Anyway, just sitting back and waiting for the rush of new orders 🙂


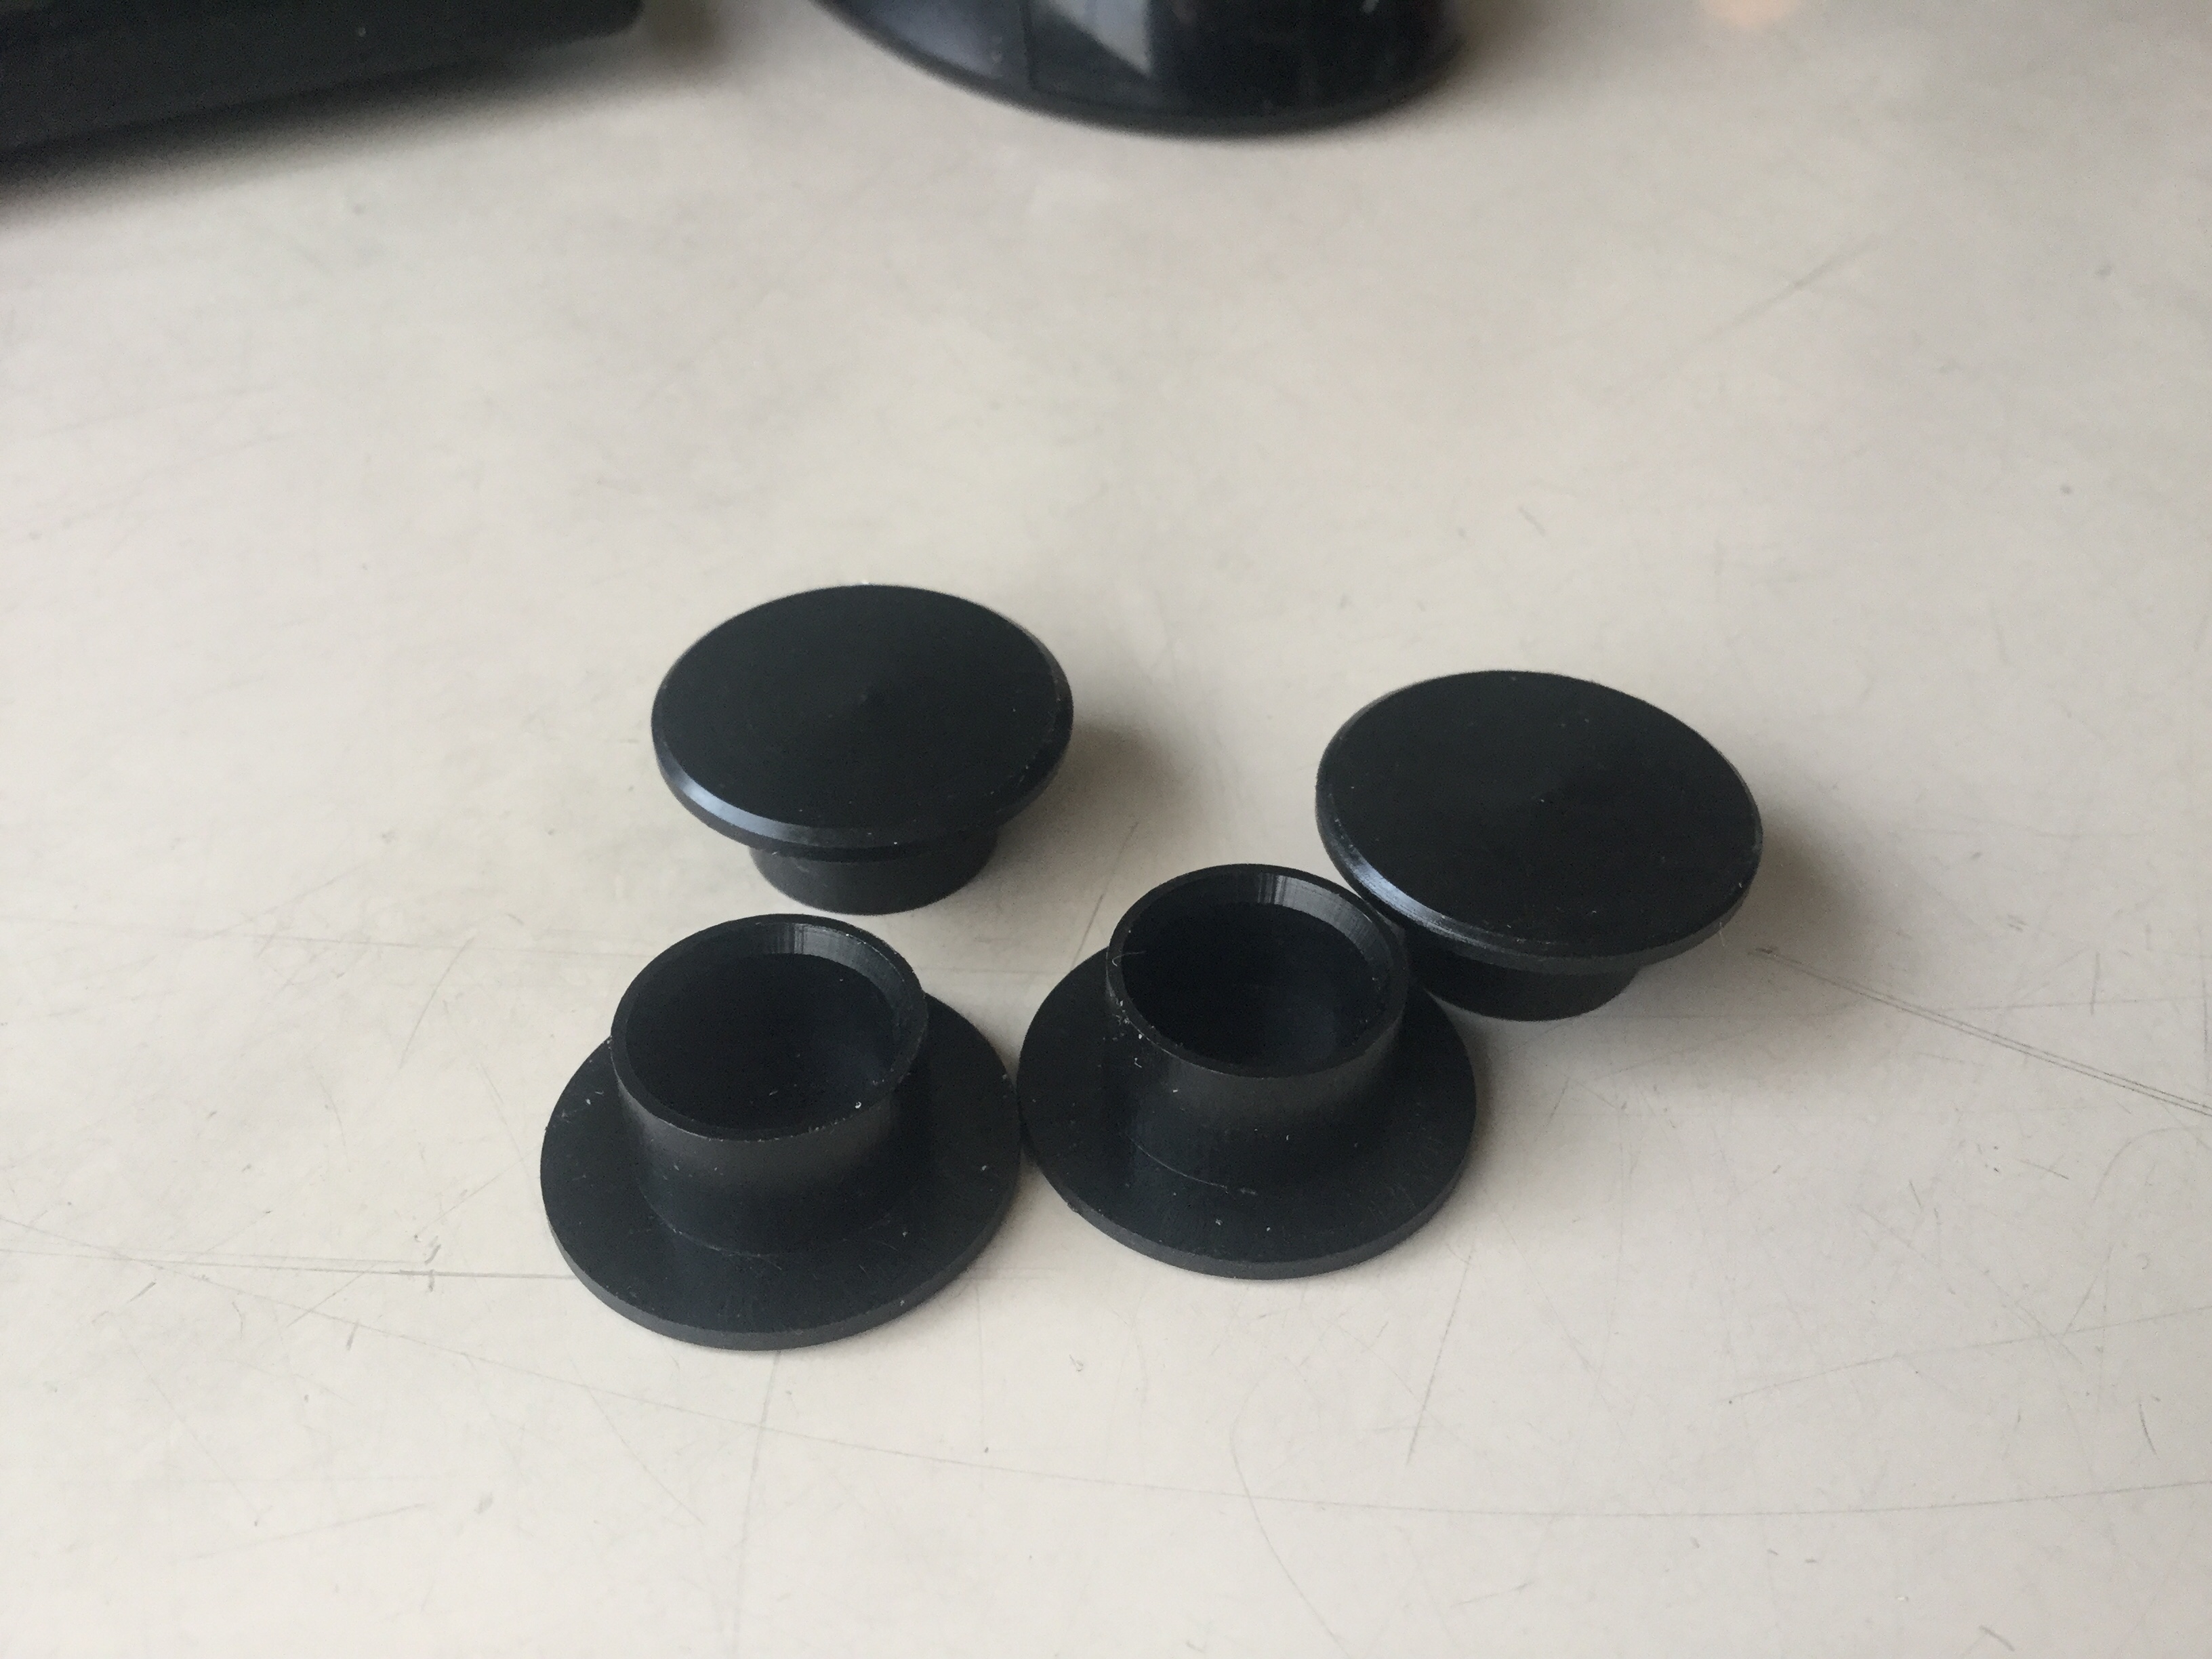
Vanagon – quick fix, arm rest bolt caps
Originals were a bit ratty, and a couple wouldn’t stay put. Made a set from black Delrin. You 3D printing folk have an advantage over us subtractive makers 🙂
Ok, bear with me, trying a link to the fusion 360 file, might take a few tries. Grrr, trying to insert model into a frame here, dint have the skill. This link though will take you to model and I think you can download.
Hold on, managed to have a zipped file of the fusion model, to download without going thru fusion’s meat grinder.
what a lot of palaver for such a inconsequential thing.

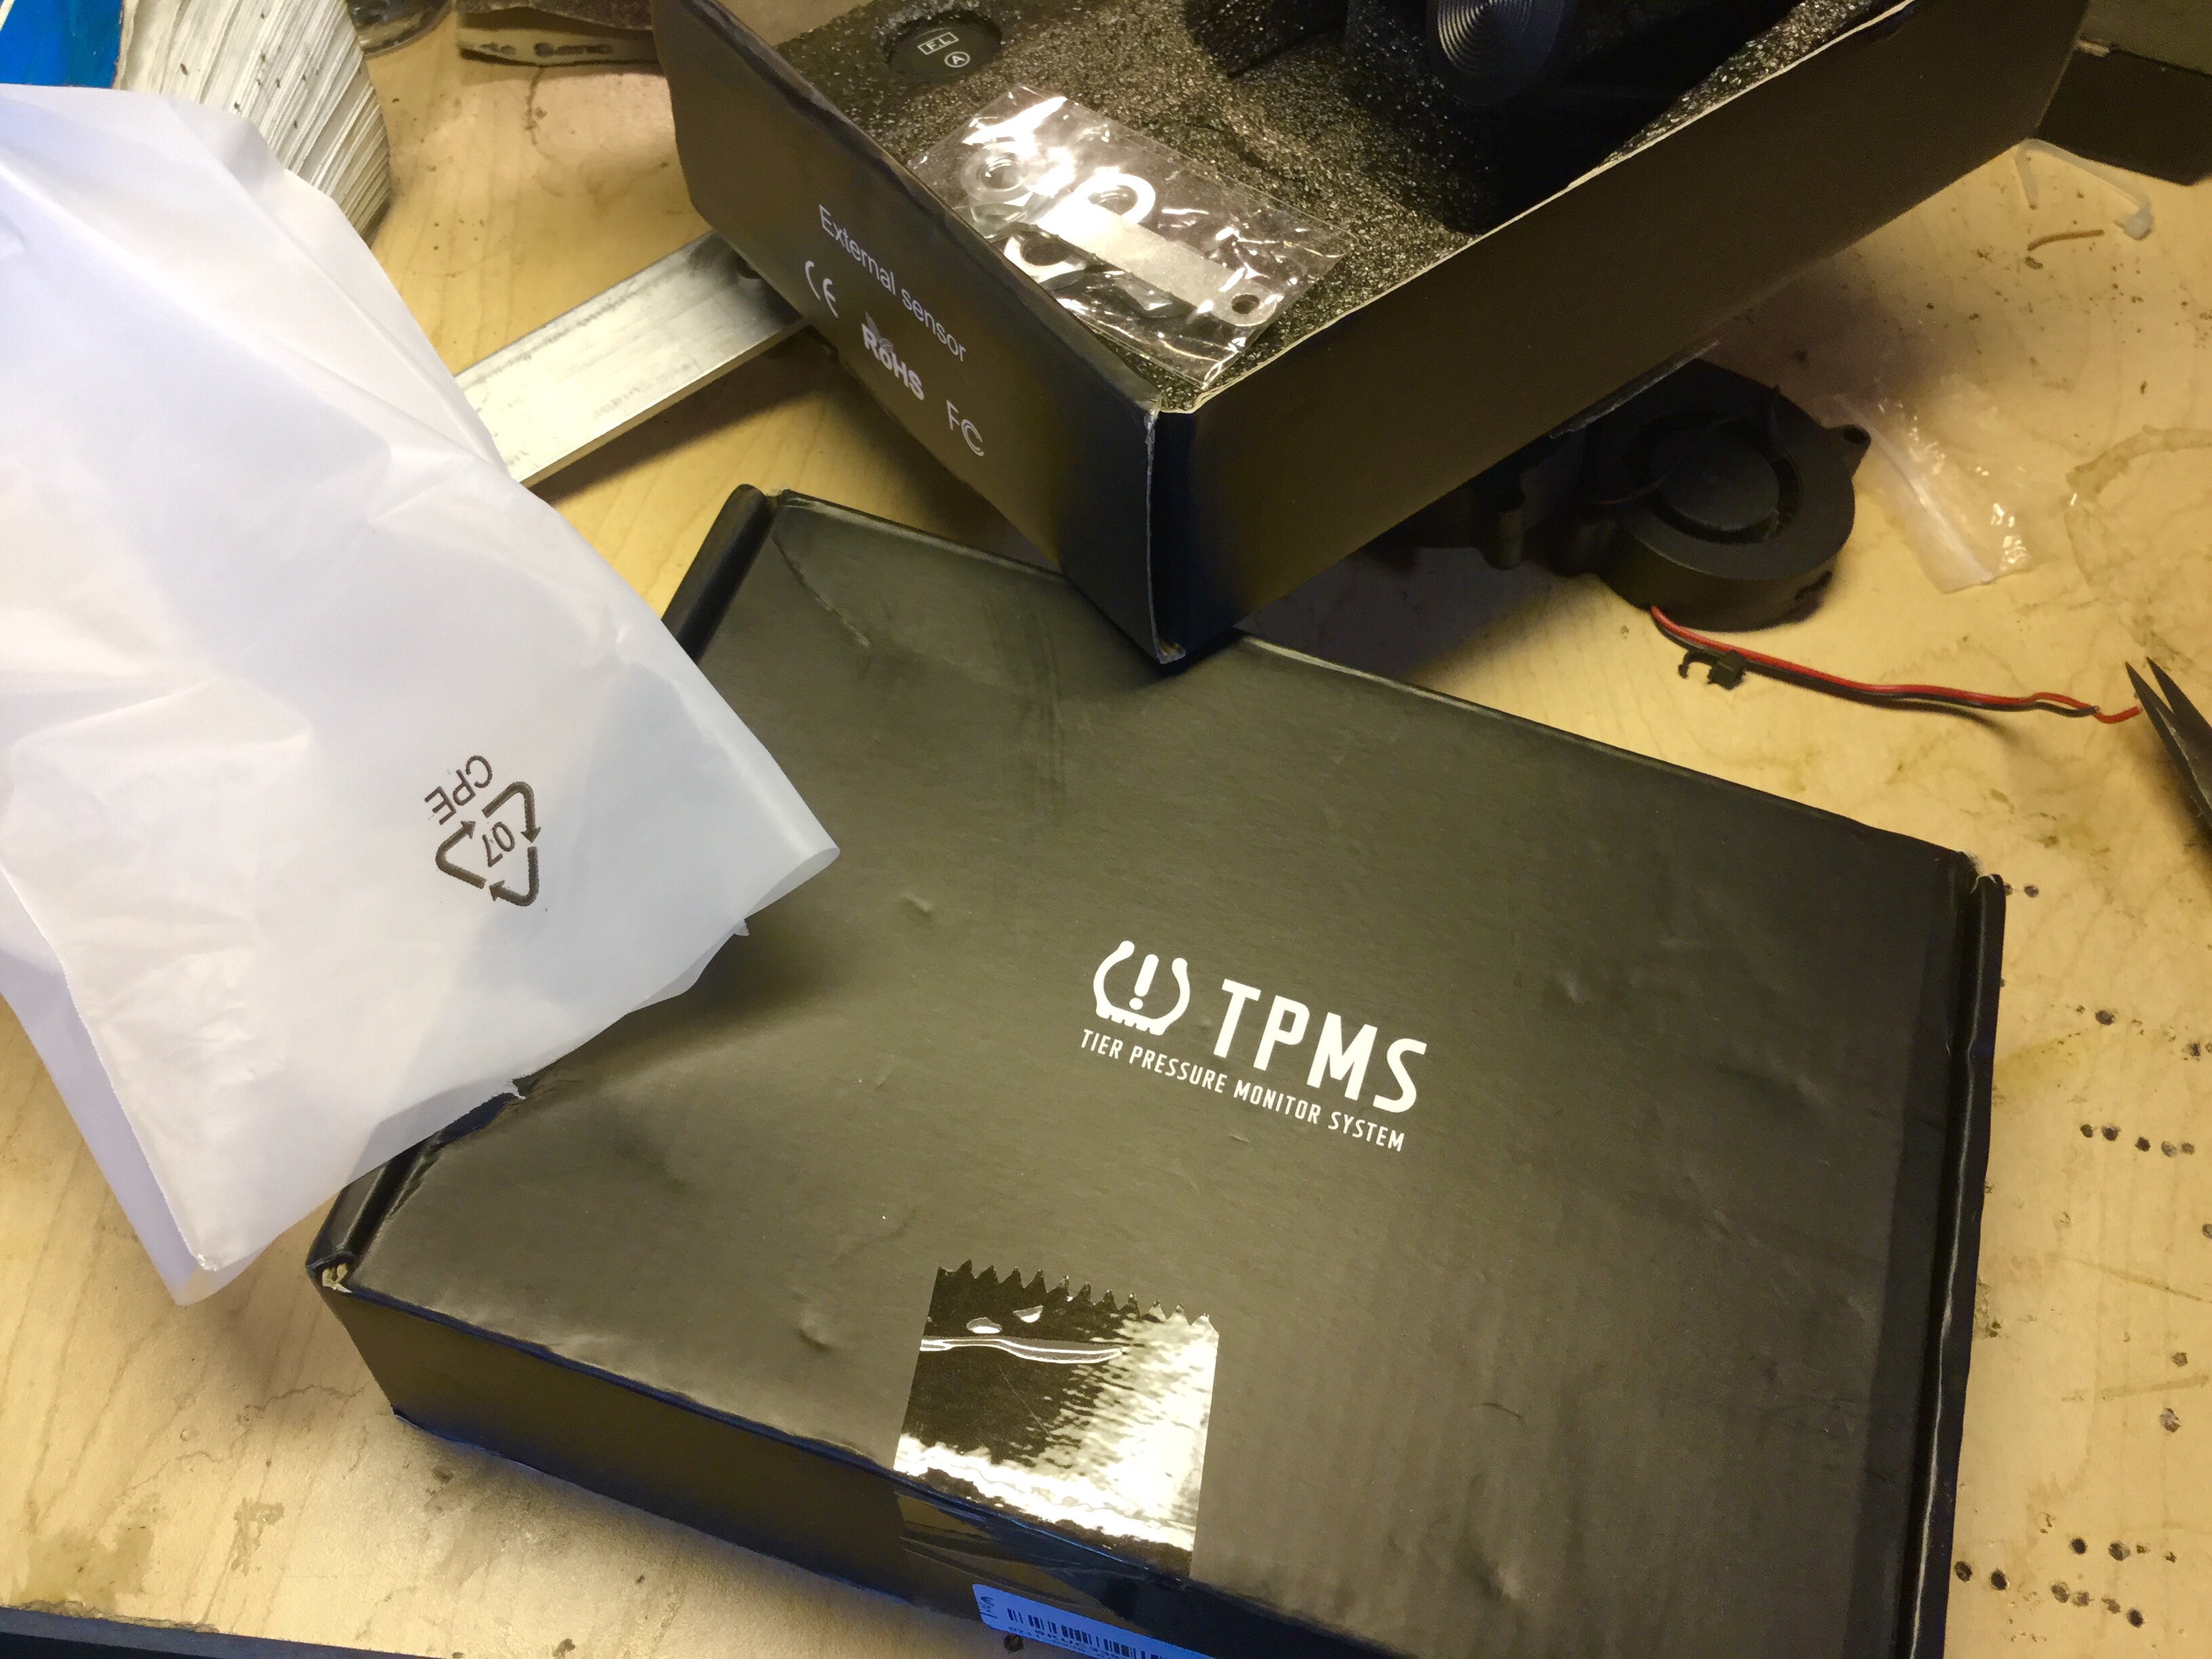
Vanagon – cheap wireless tire pressure monitor
You must have seen these around. All the usual suspects sell them and I went for one last summer.
Around 30 bucks, worth the gamble.
It has a wee solar panel and function buttons on top of it and a micro USB port on one side ( kit comes with short micro to standard usb cable). There is a sticky type gel pad on the bottom to keep it in place on your dash, and that works well.
The solar panel keeps the unit charged up, mostly, after an initial charge via USB. I say mostly as the panel couldn’t manage to eek out enough current during a one week period in December. Weather was very dull, days were short.
Buttons on top of unit for setting things up. You can have low and high pressure alarm limits, and low temp alarm. Alarm is beeping and display flashing. The display changes from off to on when it feels movement , ie when I open the drivers door to get in.
The pressure and temp senders replace the tire valve caps. There is an additional locking nut supplied for each sender thats supposed to hinder theft and loosening. Of the senders that is, not the van.
The senders connect to the base unit with no fuss, and I haven’t had any disconnects between the two. Each sender has a button cell powering it, I haven’t replaced any yet. I thought the senders stuck out from wheel more than I’d like, but I haven’t knocked one off yet.
For the first while I was obsessed by watching the pressure and temp during trips. I wanted to see if there were any temperature differences between front and rear wheels during braking on long descents. Maybe I saw a 5-10 degree difference sometimes, but as the senders are sticking out in the airstream I’d say it’s not a good way of monitoring brake temps, but you do find out which side of the parked van the sun is shining on 🙂
All in all I’m pretty pleased with it . It sits on the dash, drivers side corner, not too obtrusive and getting some light for the solar panel.


Stuff found in the workshop – ureometer and nebulizer
Posted by albell in Uncategorized on February 8, 2020
In a box of old glassware I have. Yes, I’m sitting on a king’s ransom of miscellany 🙂
Ureometer ( Info on this old medical device here)

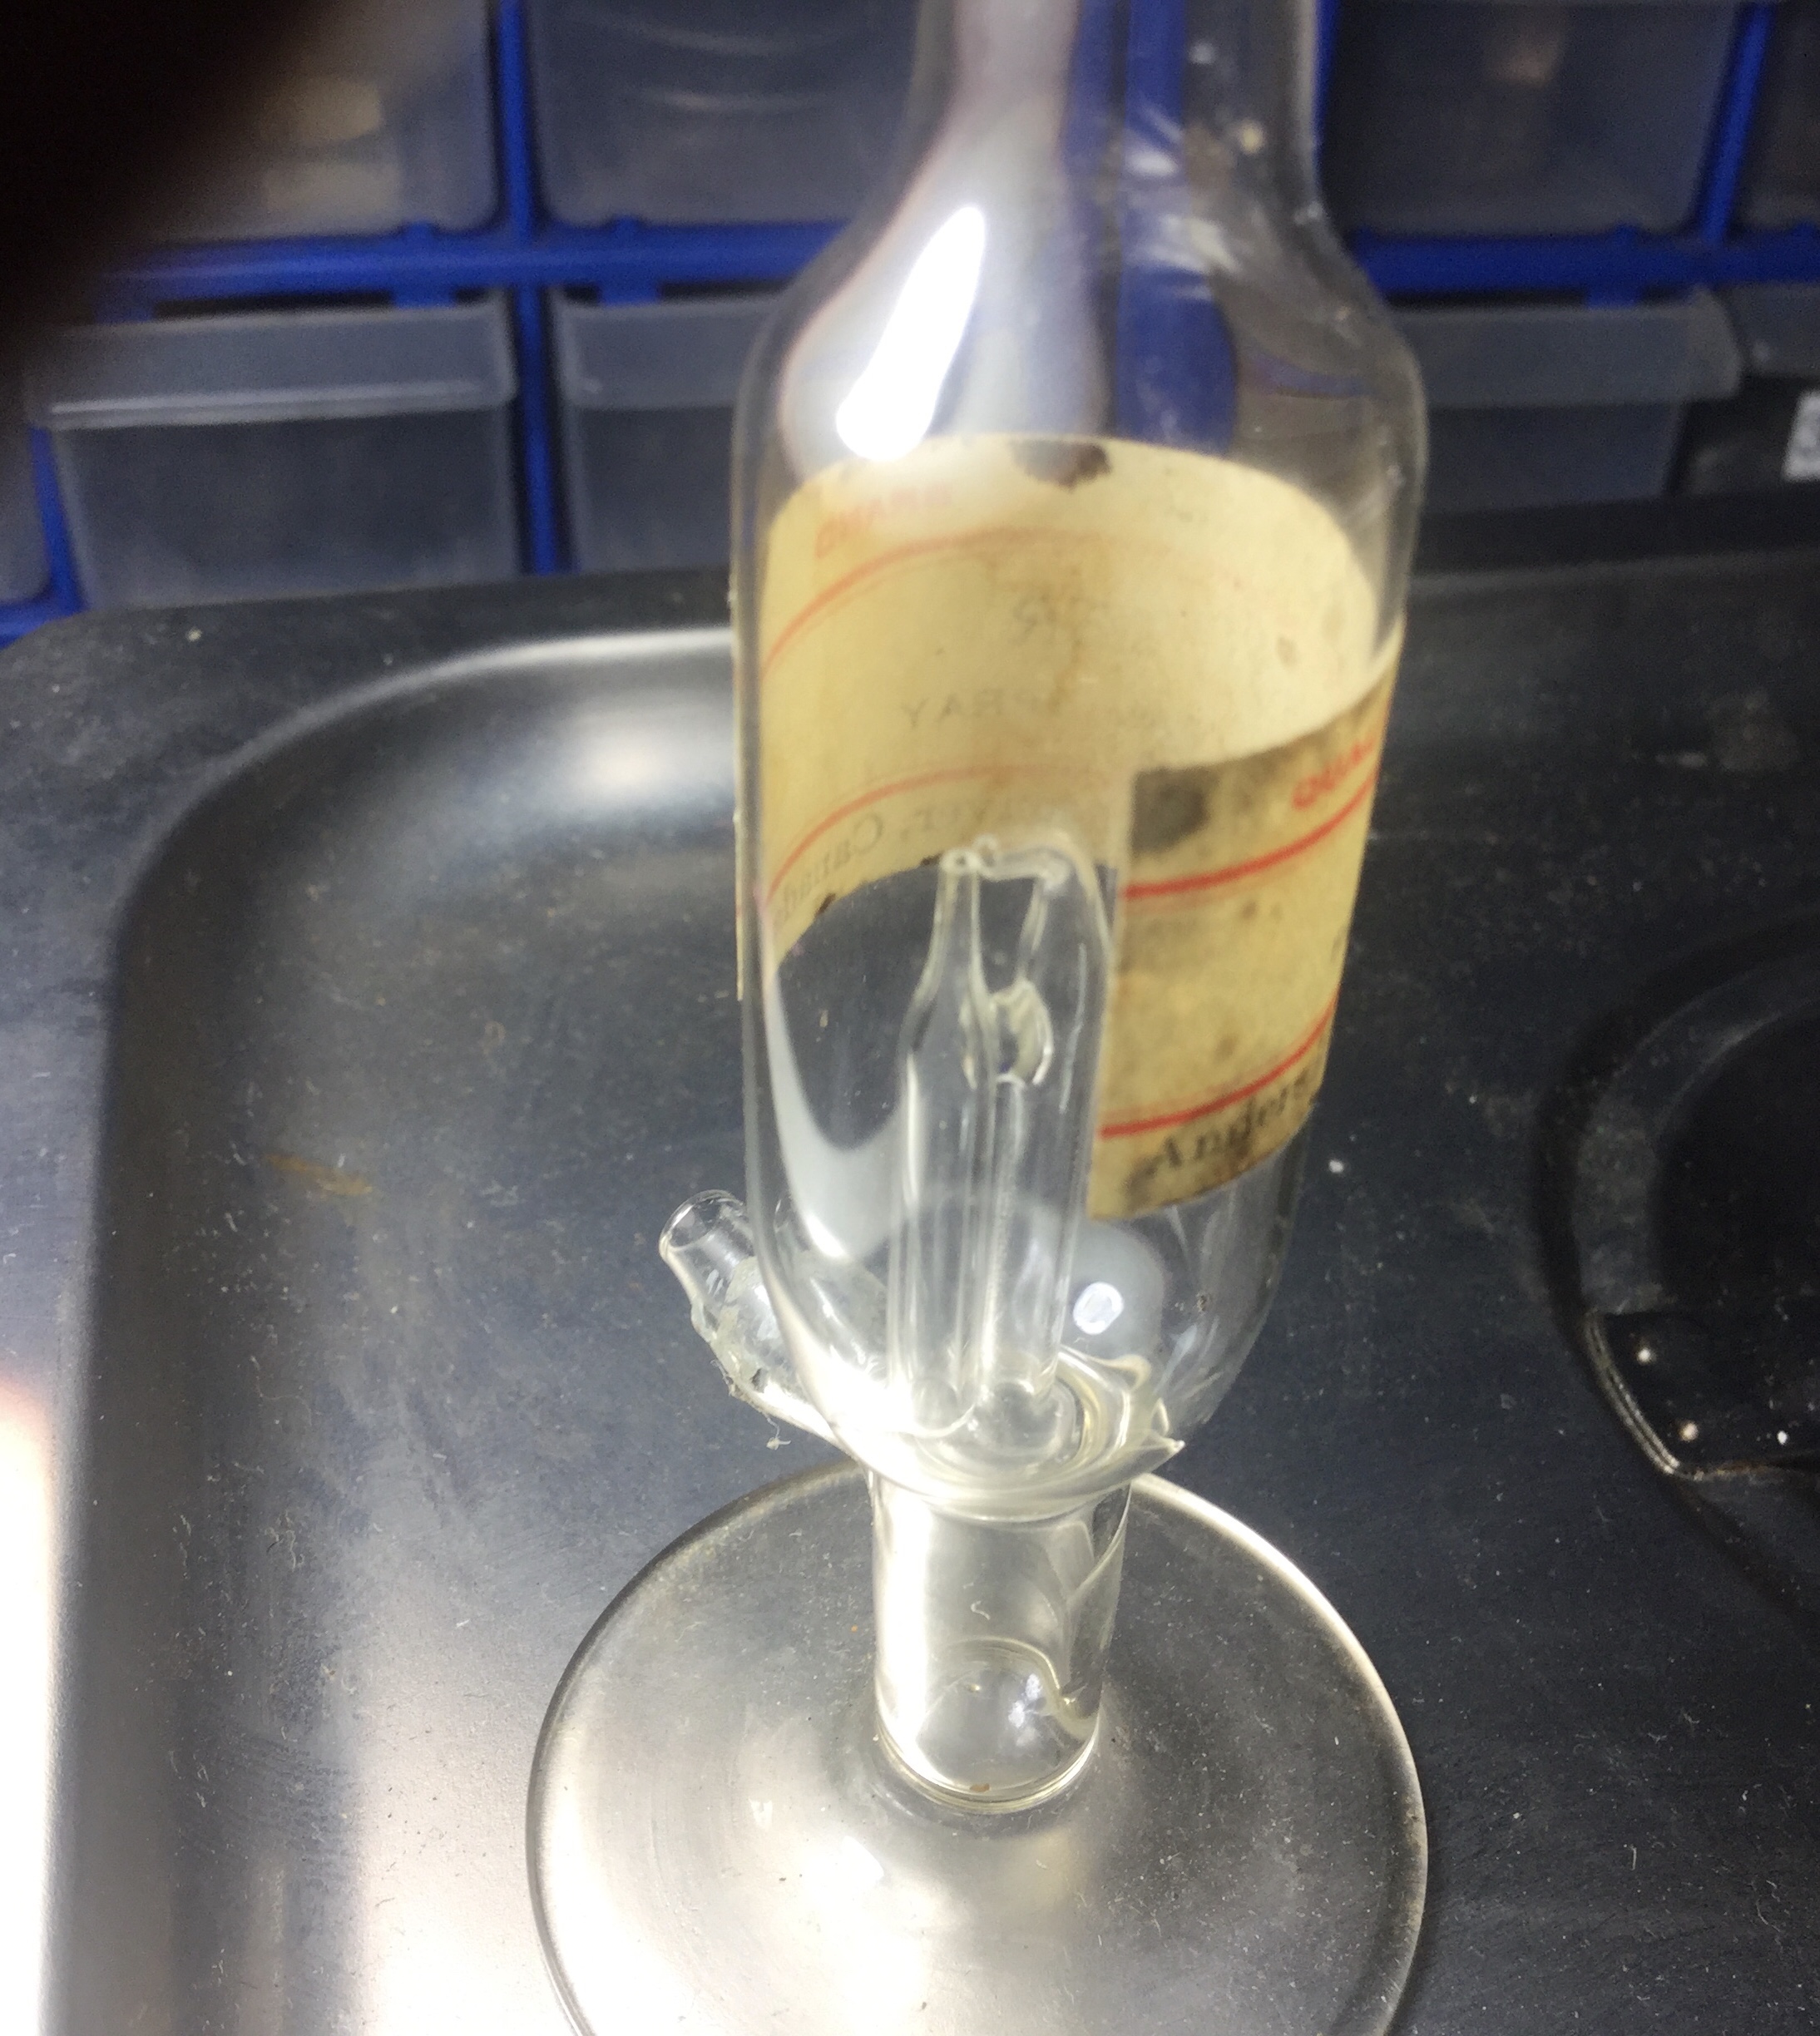
I really don’t know what this “nebulizer” was used for. Anders Brand, Vancouver!
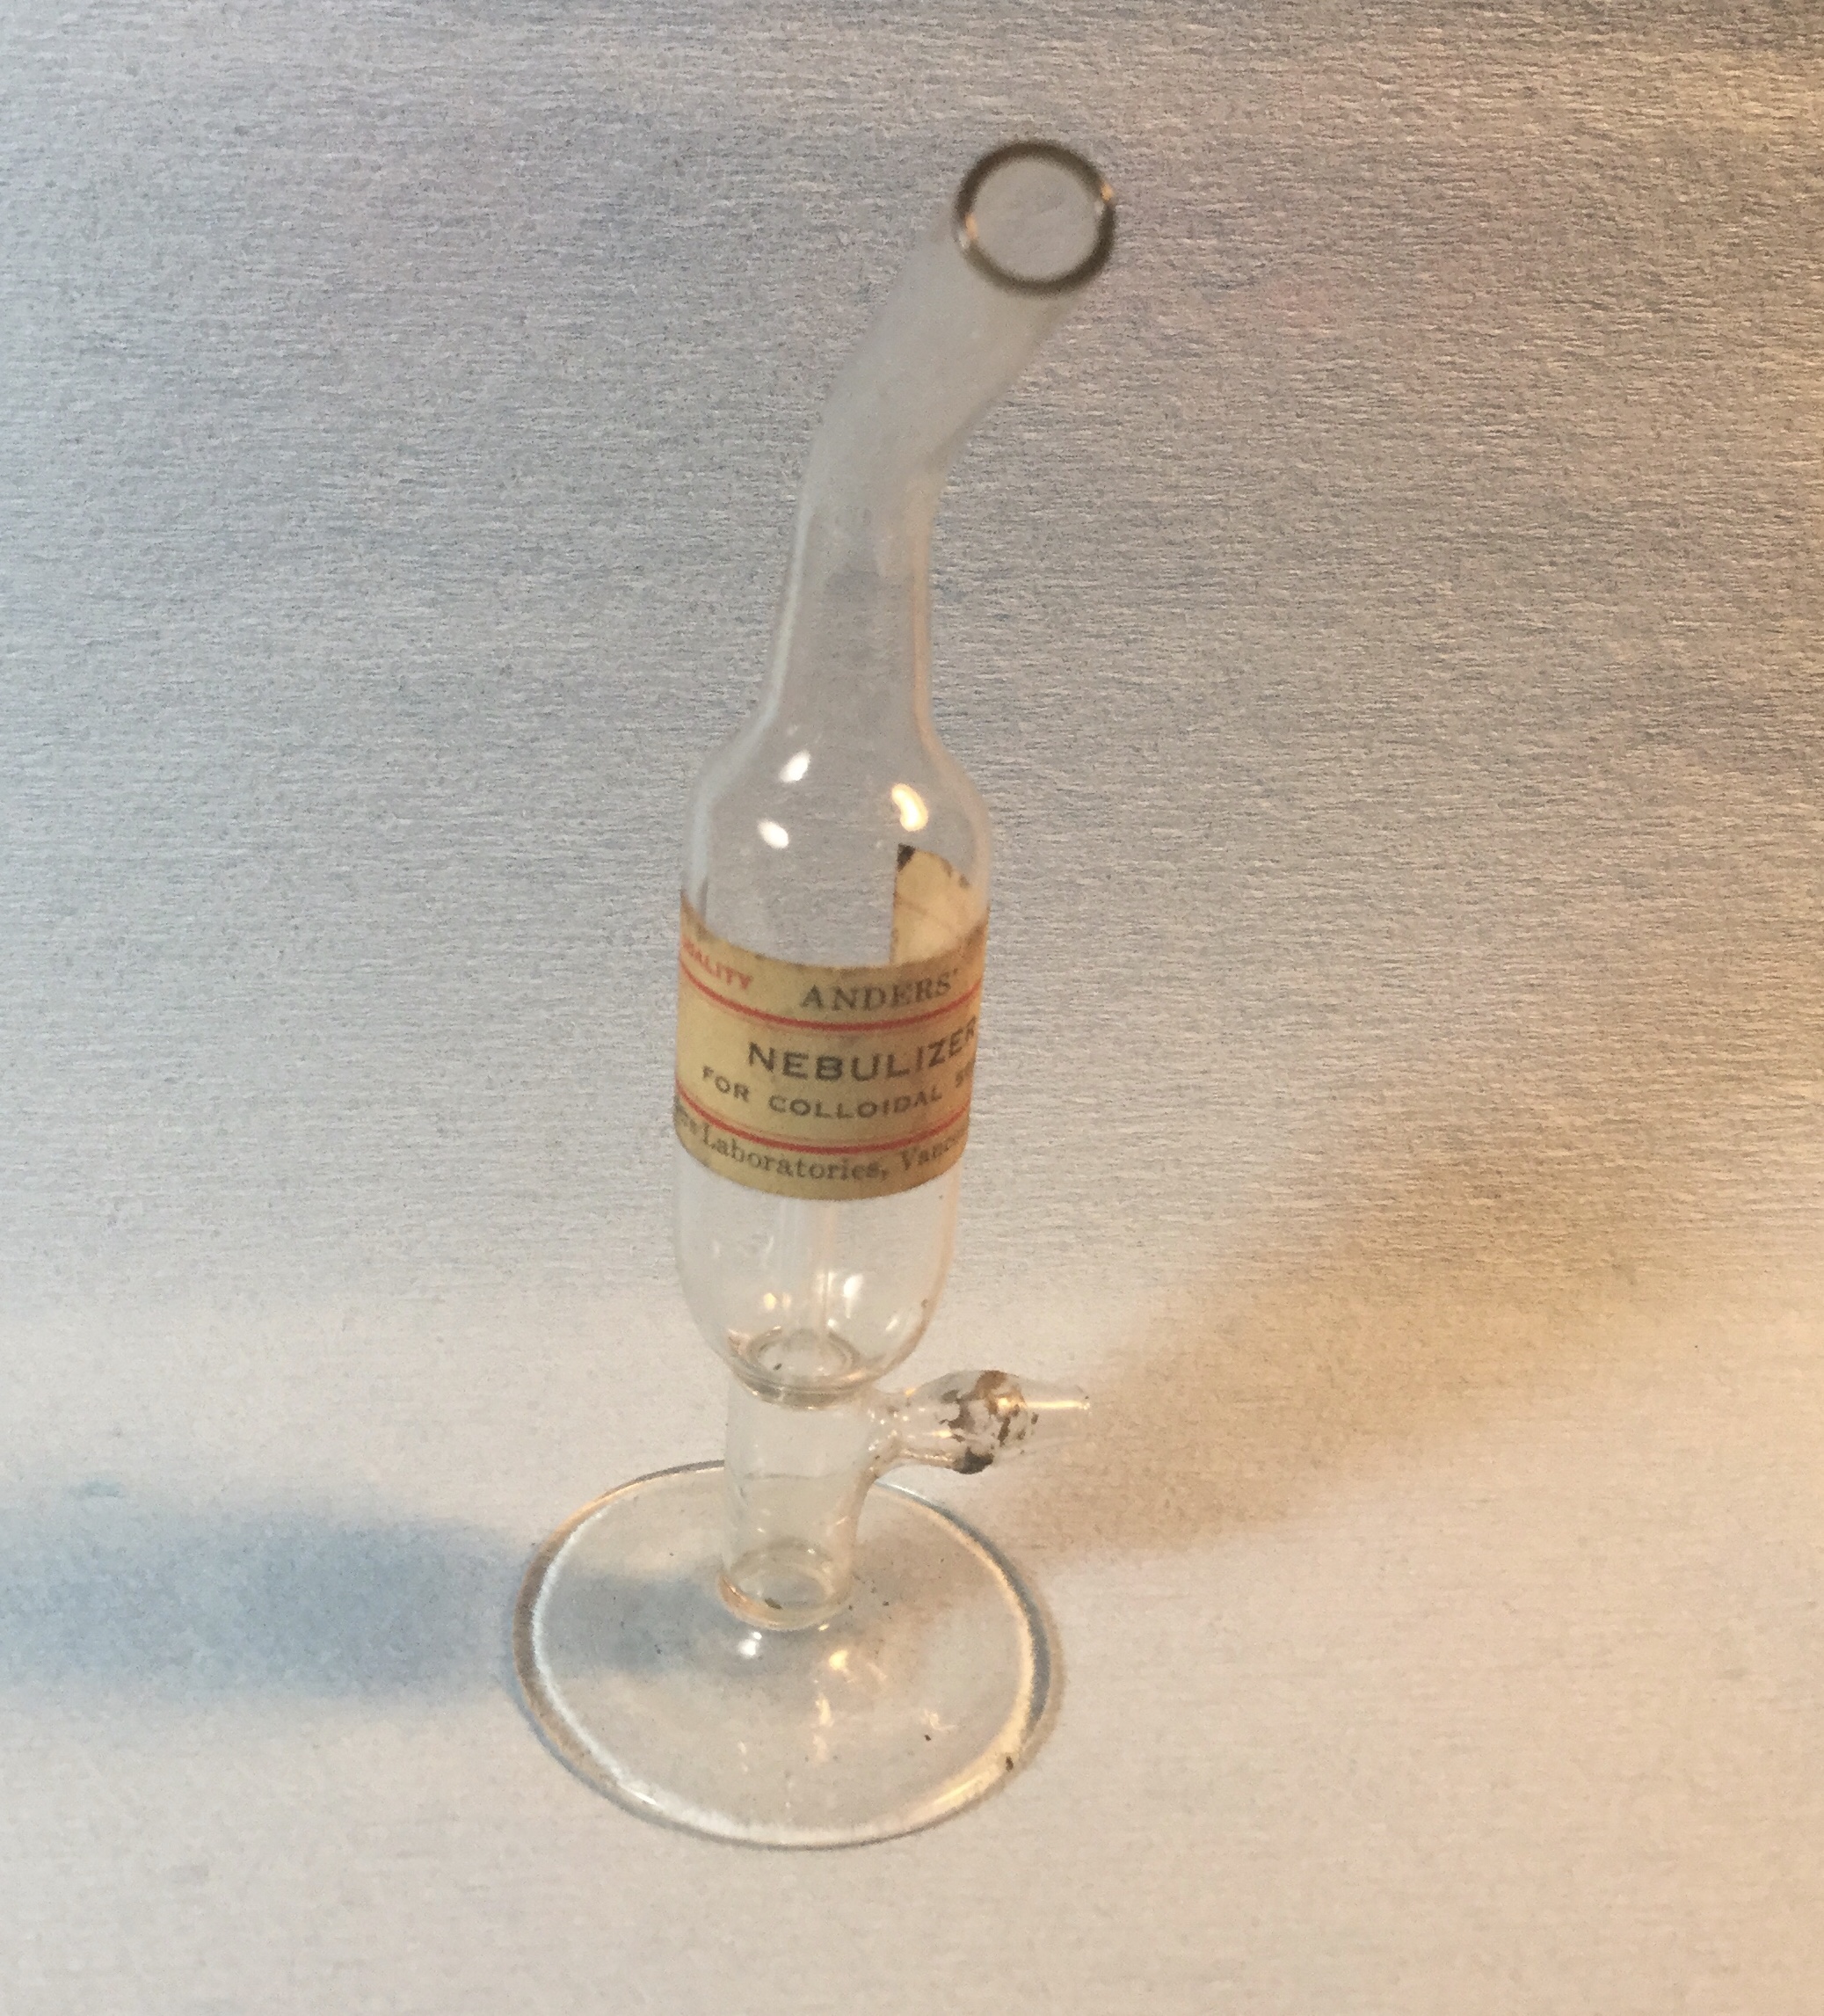
Update: more pics of the nebulizer. You can see the fine orifices on the end of the tubes inside. One tube is open at the bottom, the other tube is connected to the inlet. More label pics too.


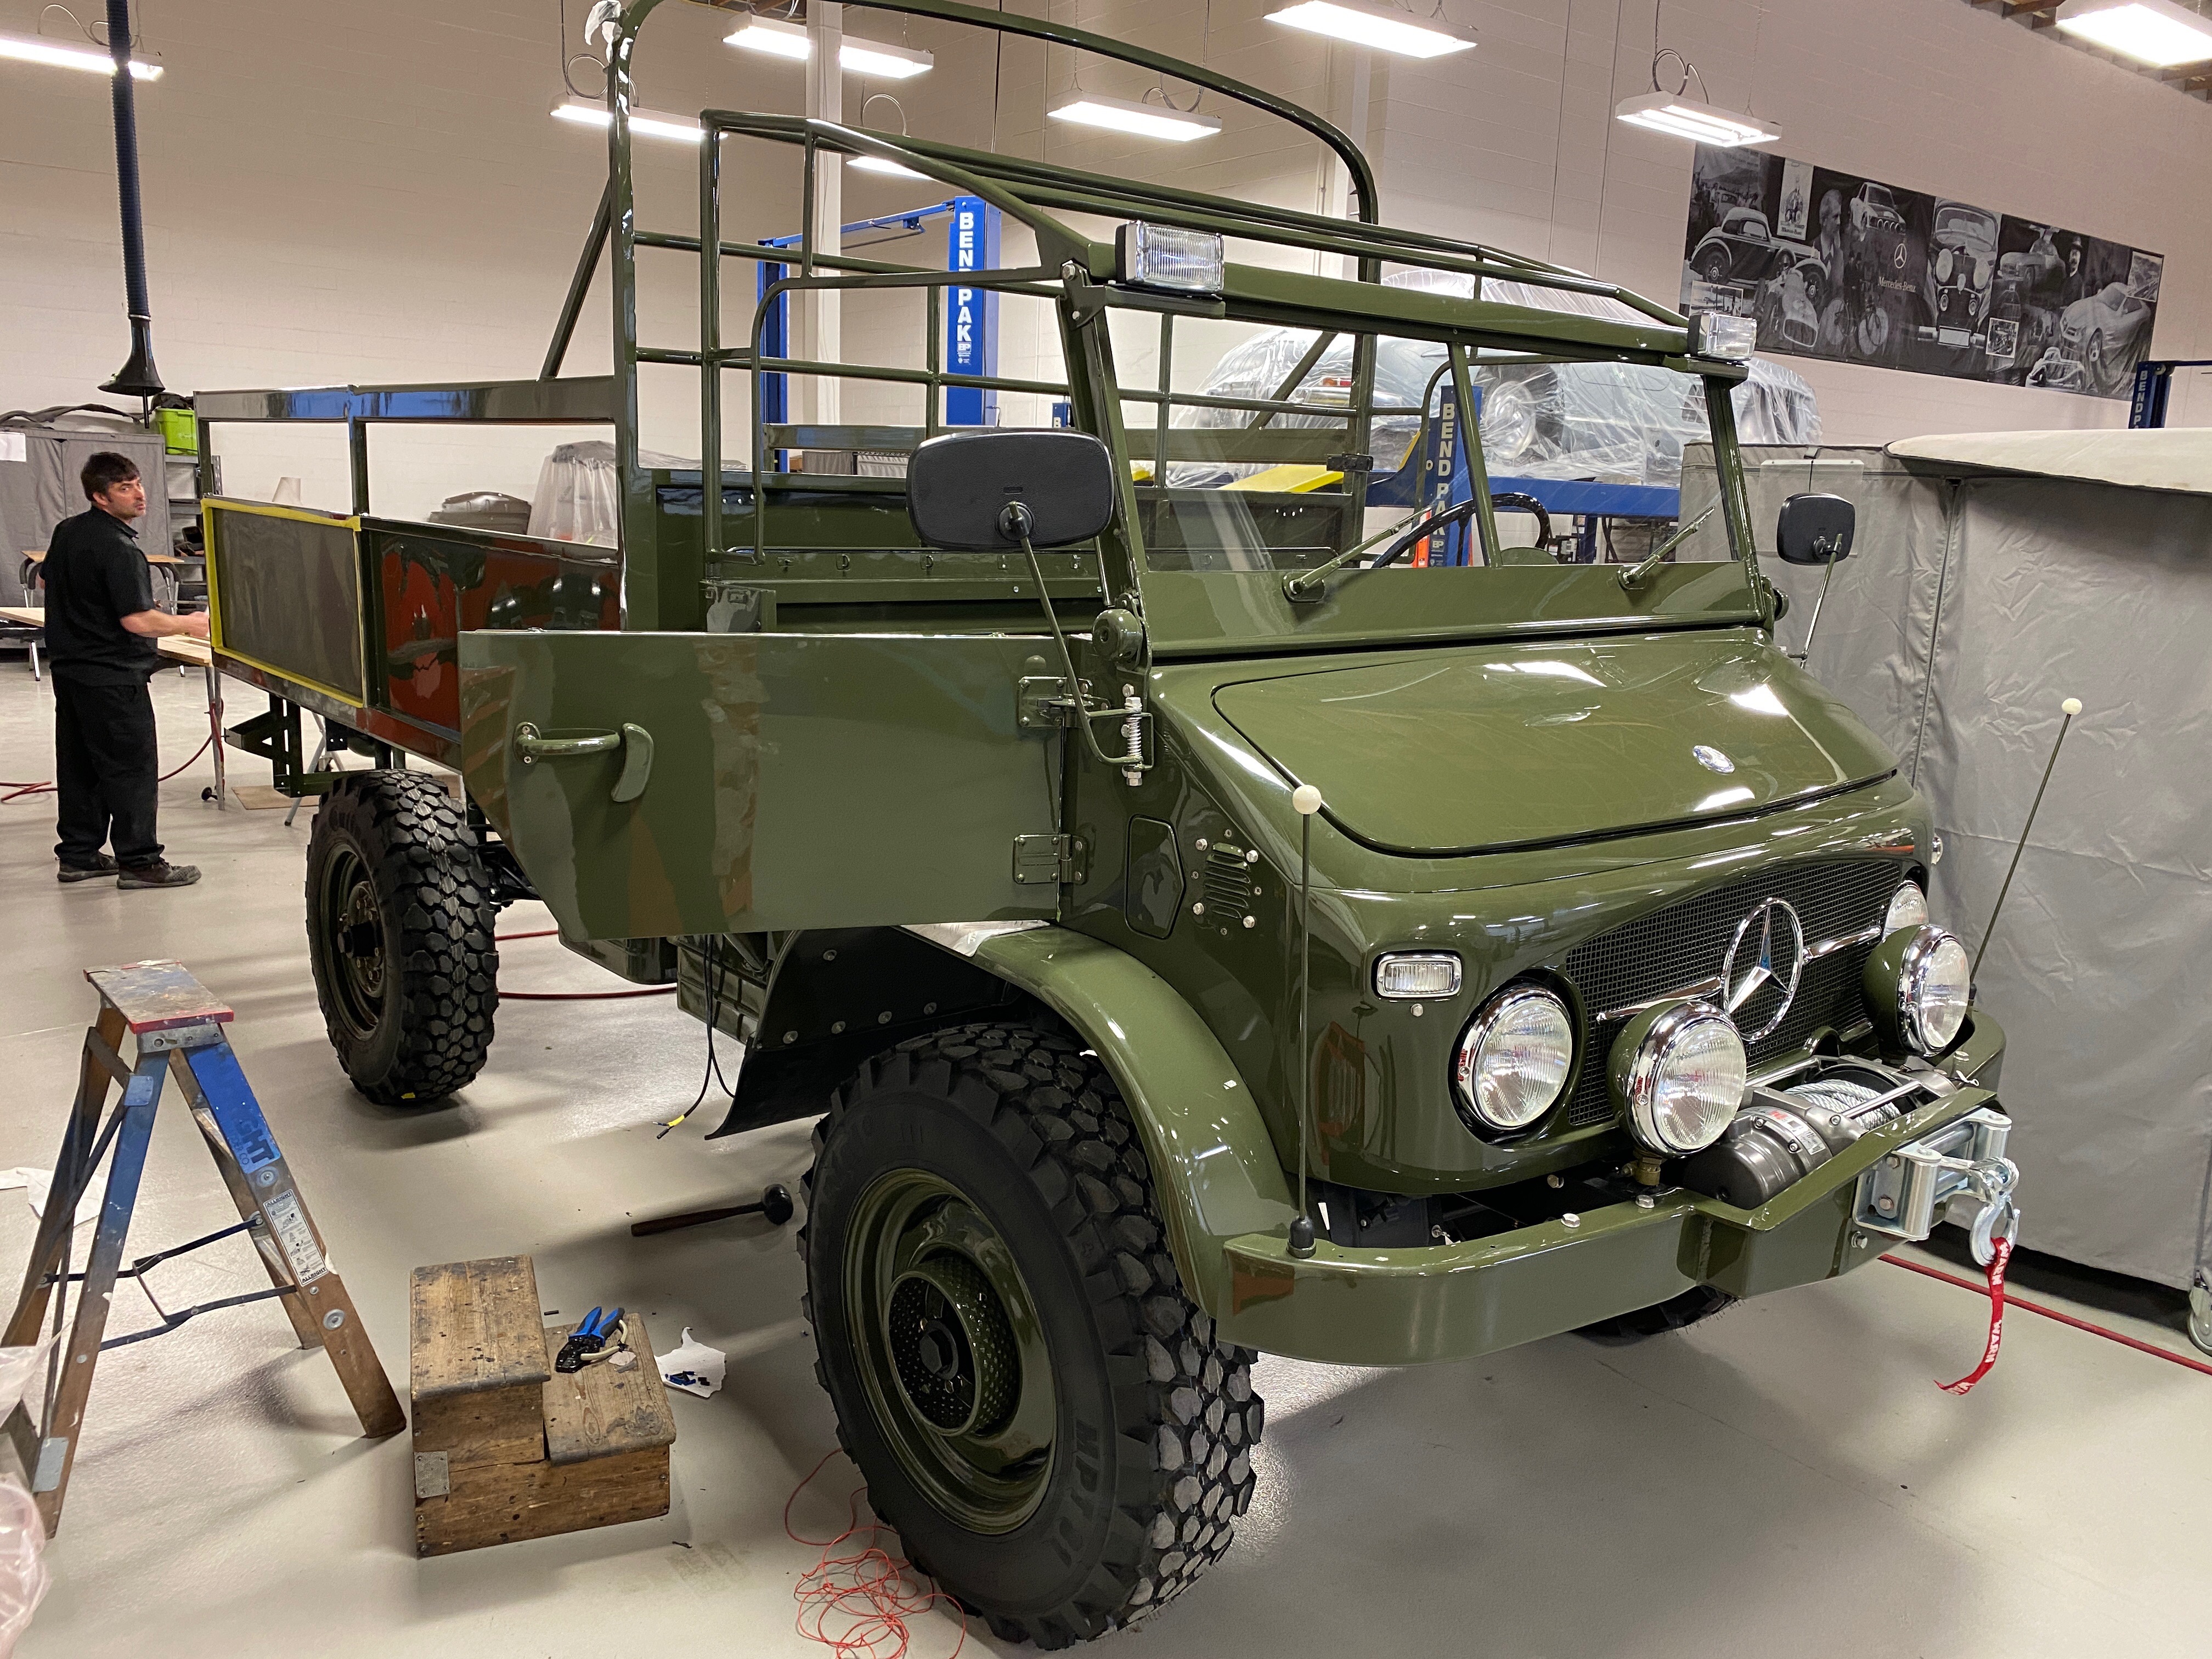
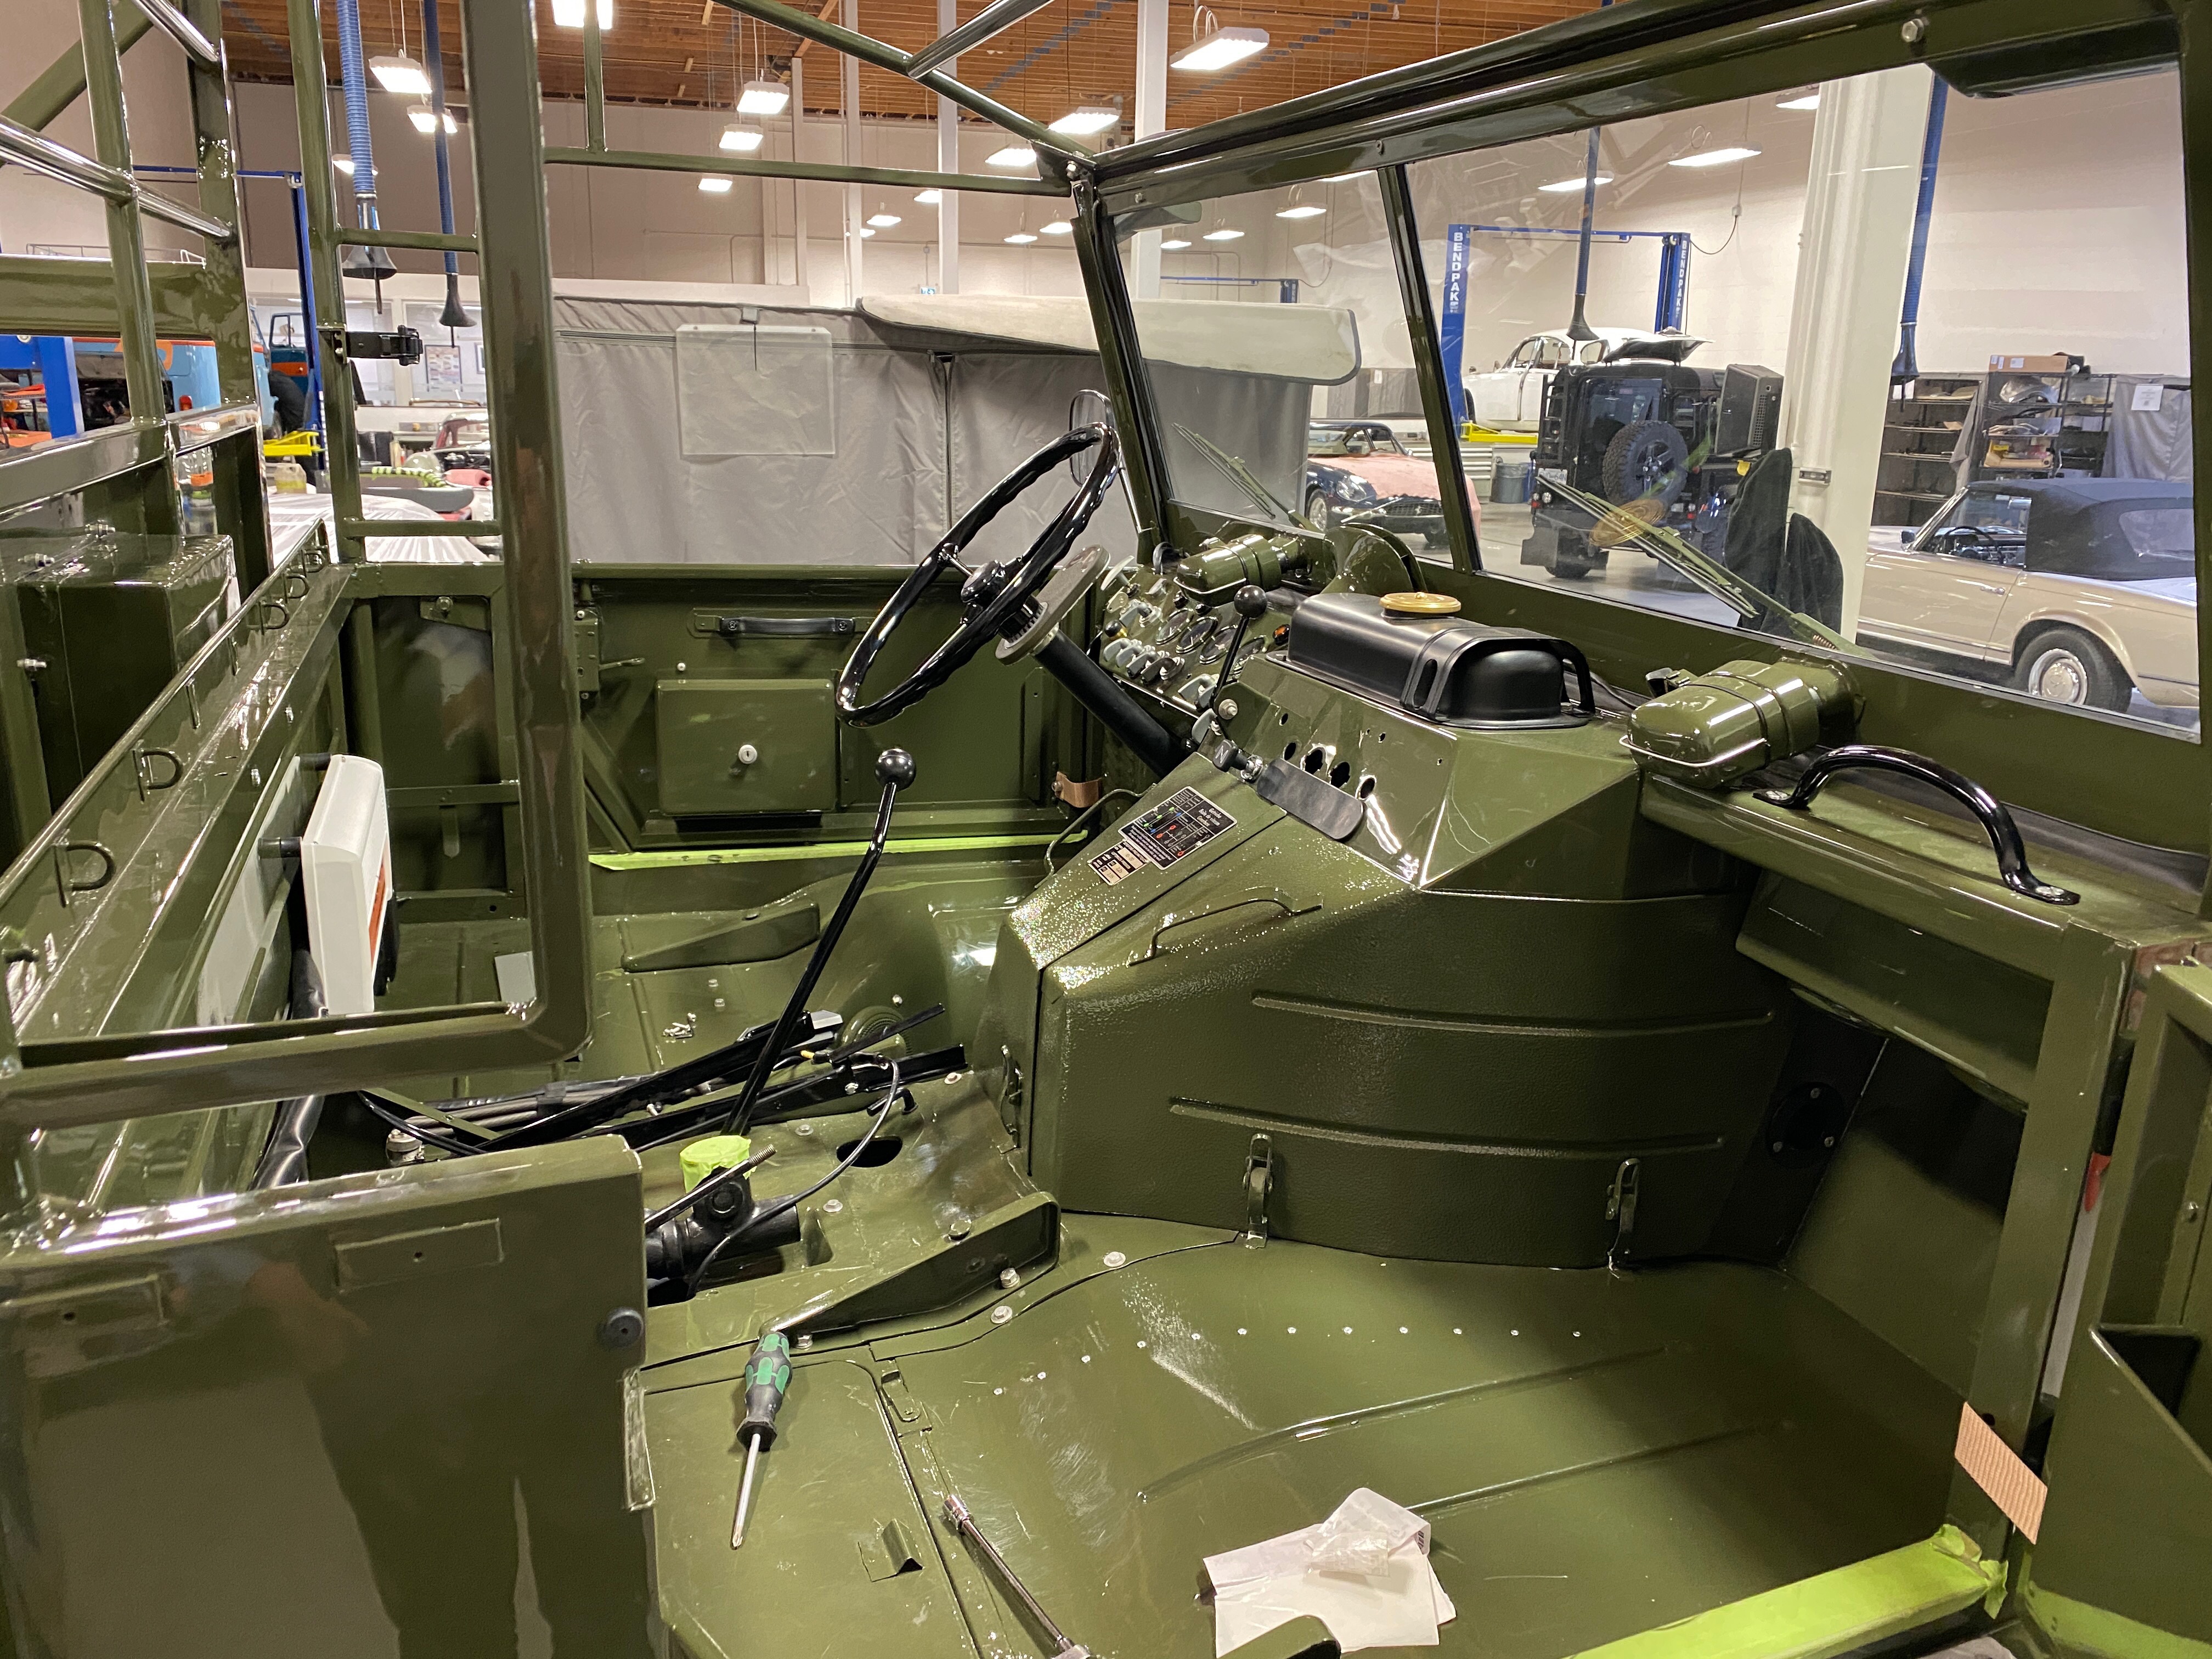
Other cars – restored Unimog
Posted by albell in other cars on February 6, 2020
Secret location nearby, in for a stereo install.

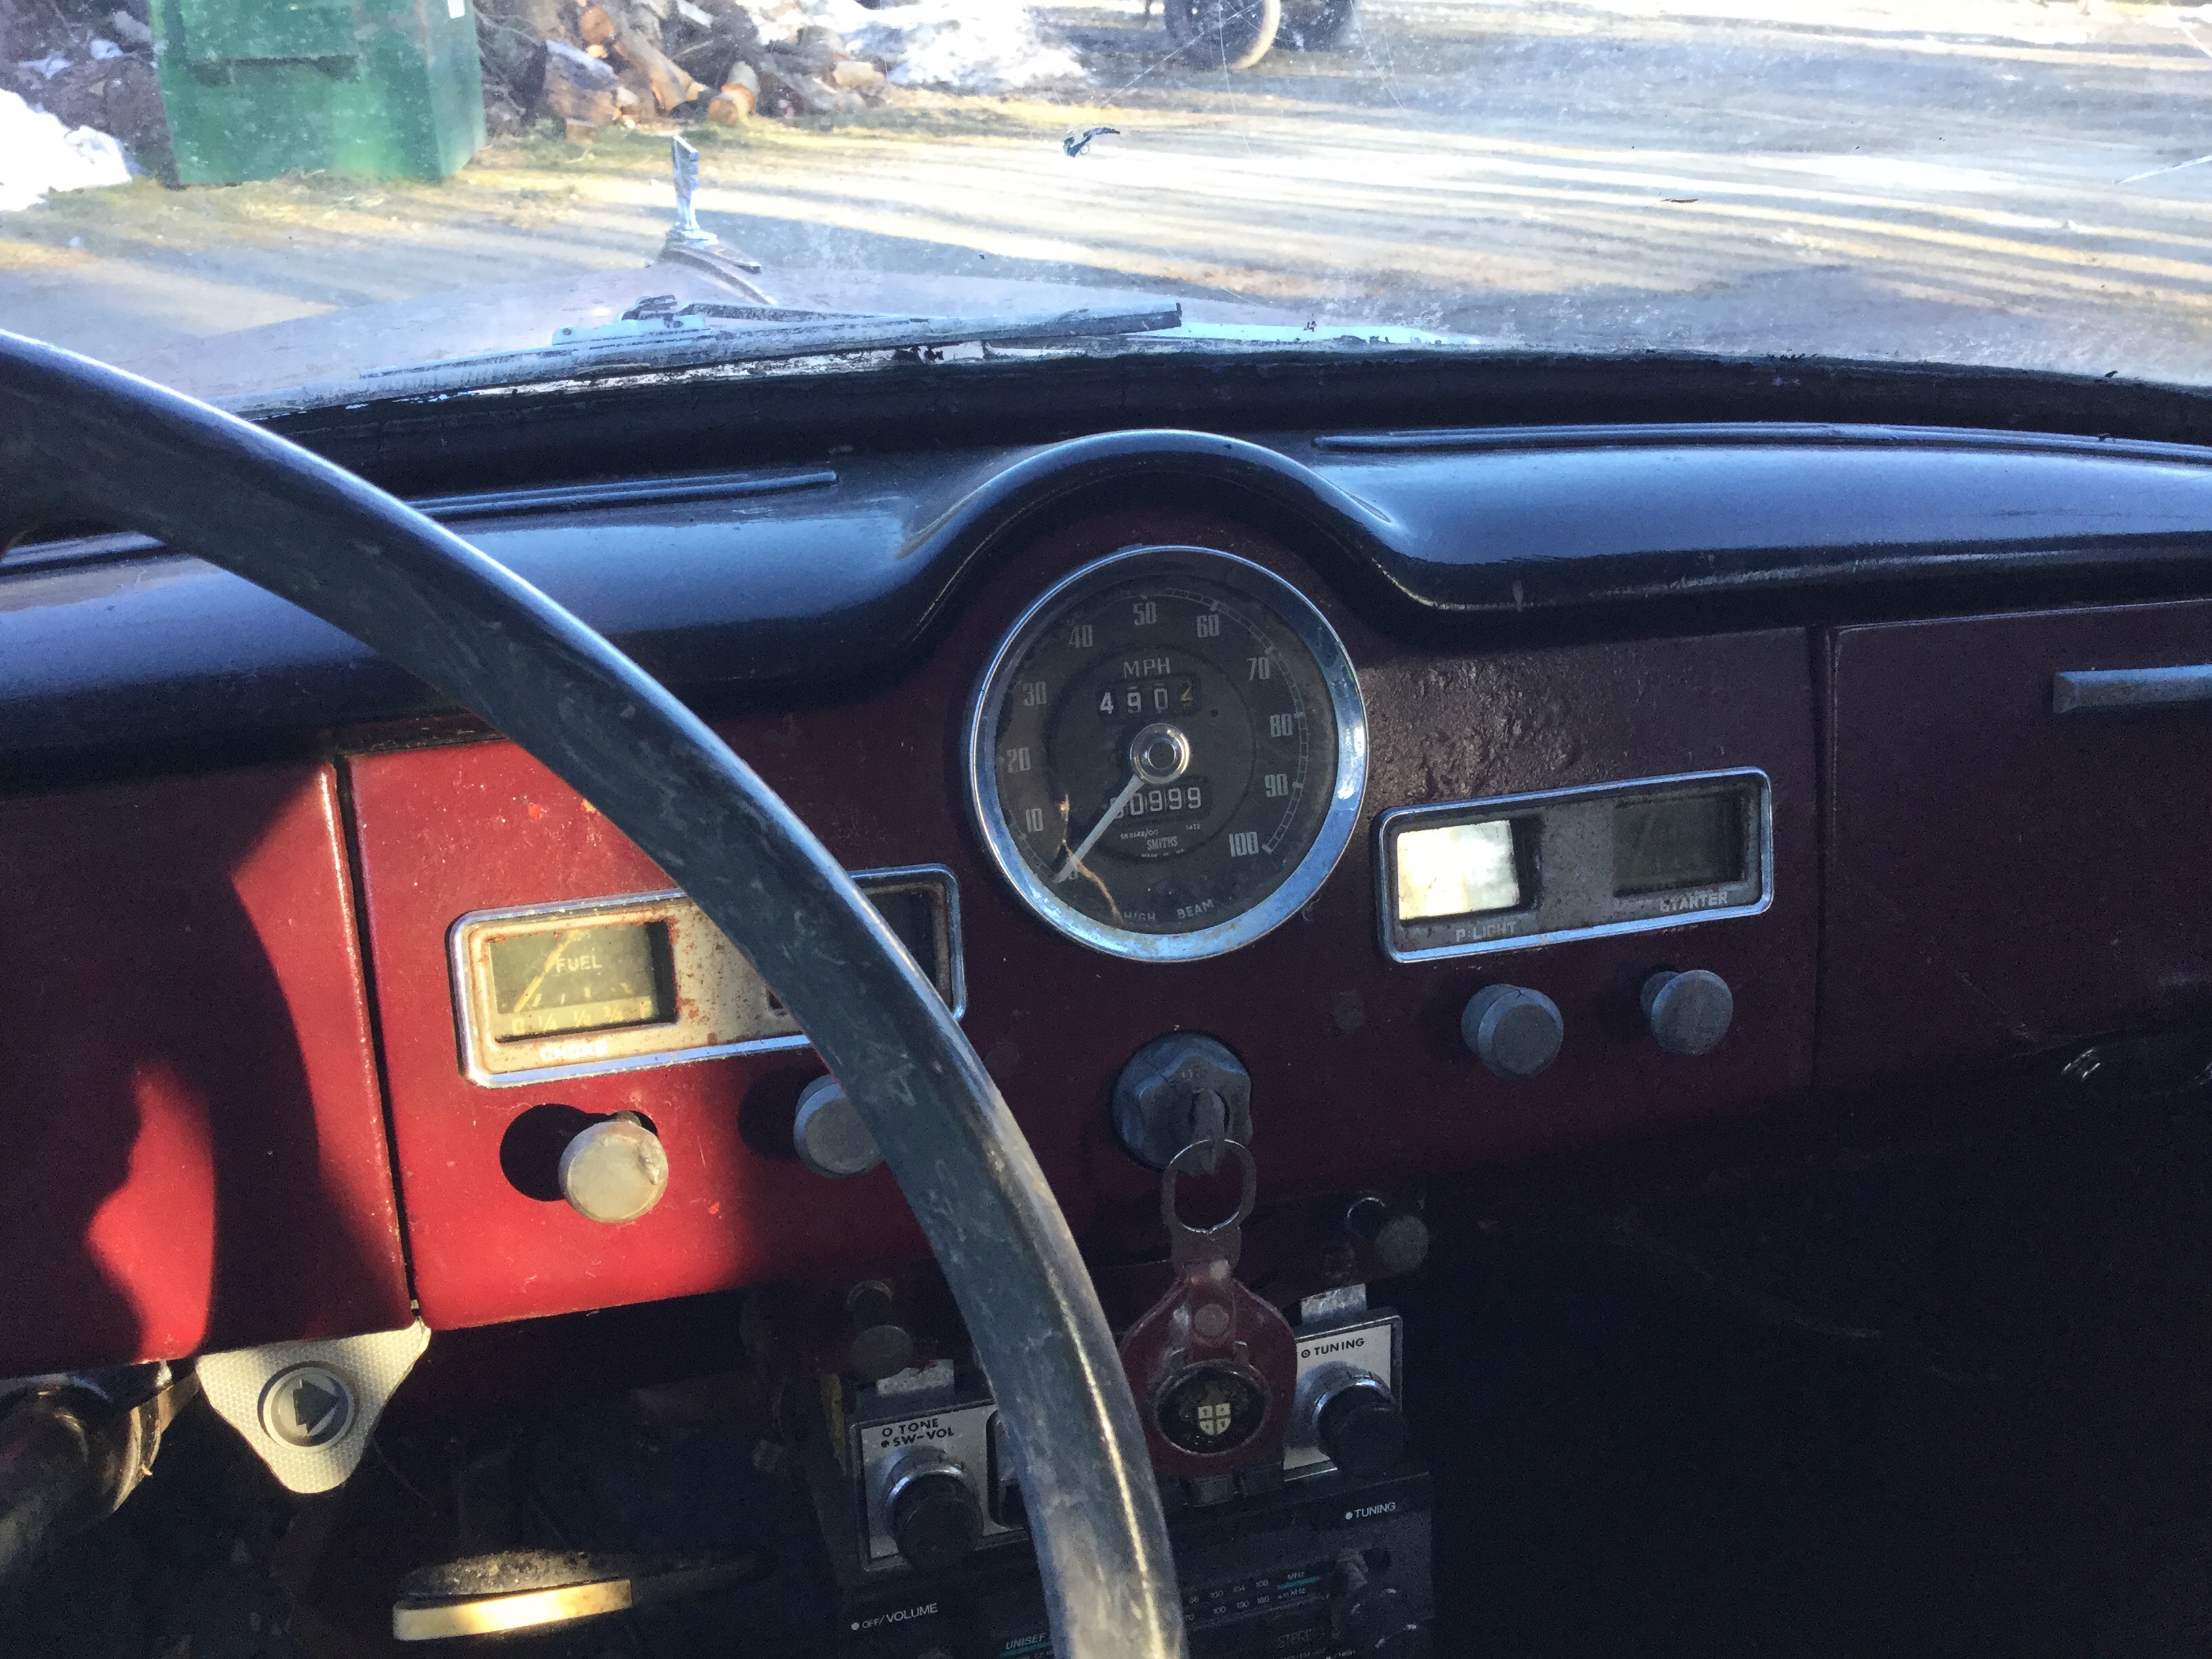
Other cars – oh the smell
Posted by albell in other cars on February 3, 2020
Been a year, and my brain didn’t retain the model name. But I did retain the memory of the sweet old English car aroma. It’s the one on the right 🙂
Oh btw, the plan is a FrankenAustin resto. Not me, my crazy neighbour.


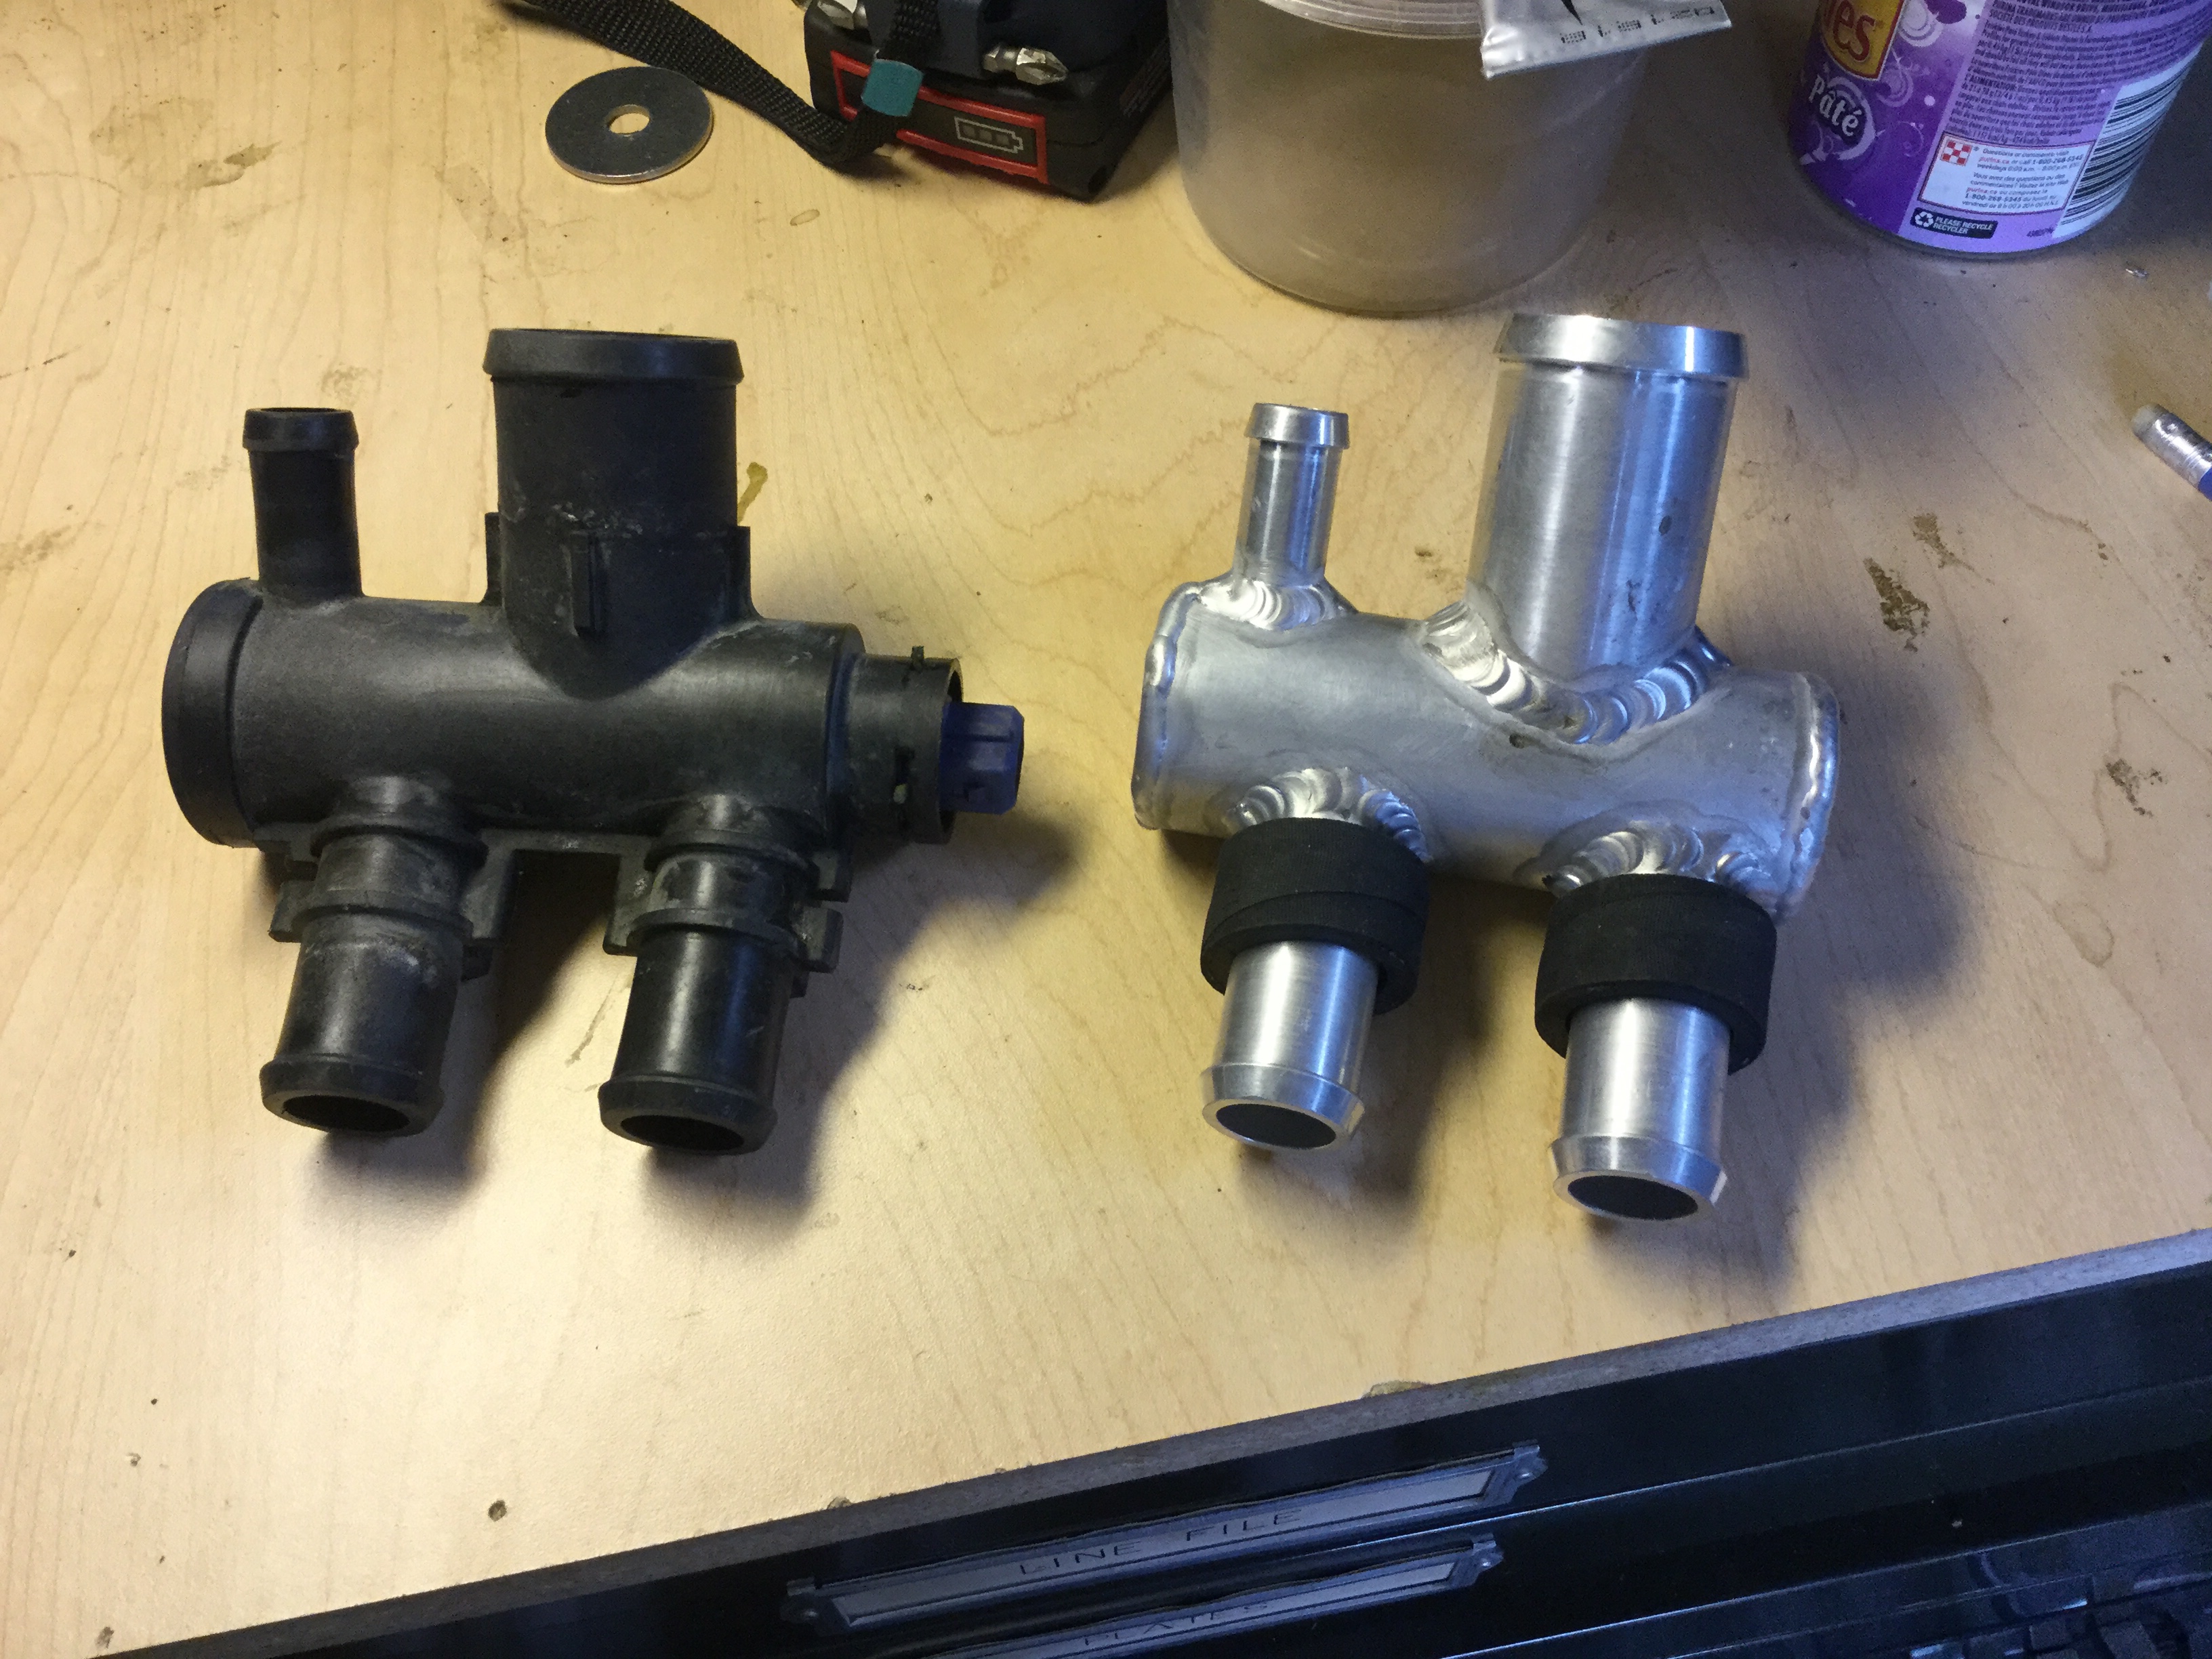
Vanagon – Syncro coolant distribution tower
Last summer my tower started to leak. Everyone knows the plastic distribution tower / manifold weakens with age. The 2 wd tower is different in size and shape but same thing happens to it.
What I posted to the vanagon mailing list:
A few months ago I swapped in an aluminum version of the stock plastic coolant distribution manifold. The 2wd and Syncro versions differ in shape but not in function.
I’d always wanted to do this but what got me off my duff was my manifold had the additional feature of a temp sensor plug in one end. This is for the optional webasto aux heater that warms the coolant and thus the heater box. It was fairly common on Canadian spec Syncro.
The temp sensor is very much like a temp II sensor in that it’s a push in device with an o ring and retaining clip.
The o ring on mine failed and leaked coolant. Temp fix was new o ring. The better fix was the aluminum manifold which was easier and less messy to install than I feared.
Bottom line is, if you have the webasto aux heater in the engine compartment of your Syncro, or if you had one and forgot about the temp sensor , check the sensor O ring.


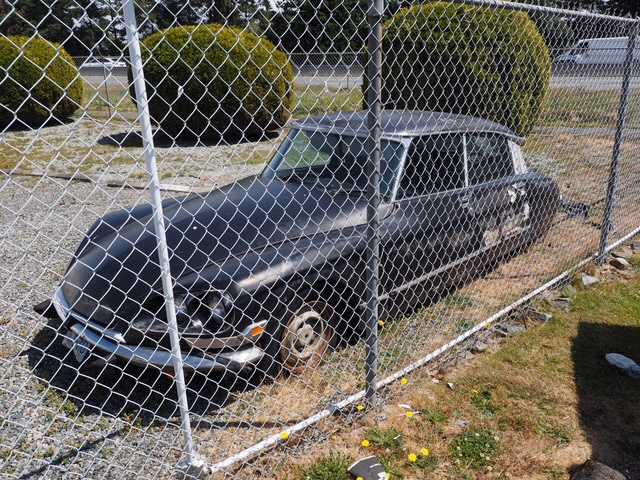
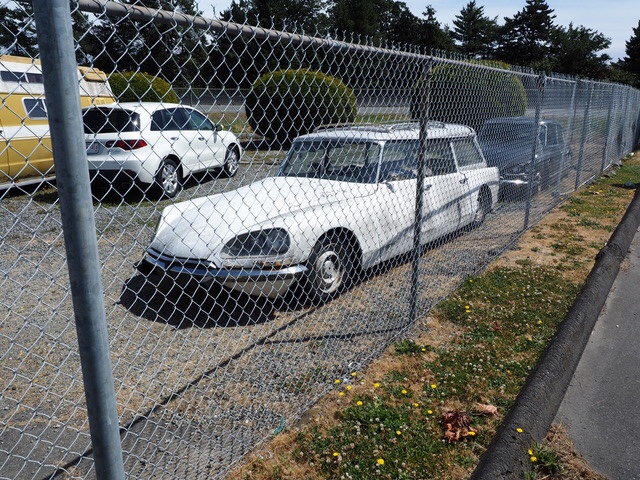
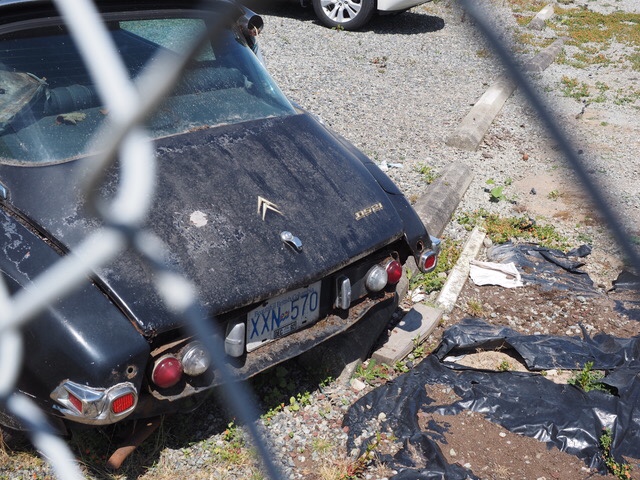
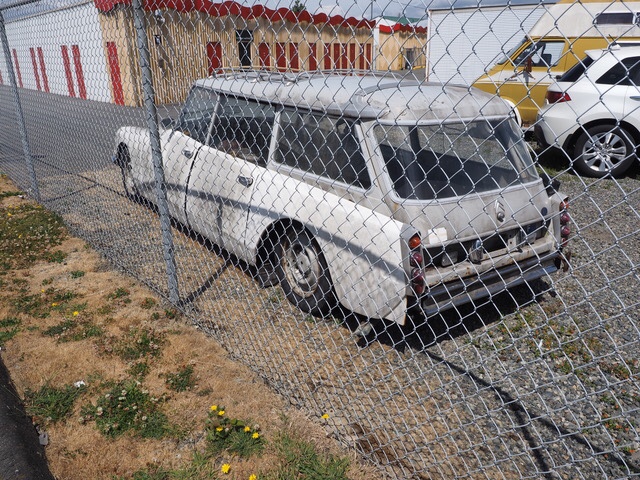
Dream cars
Posted by albell in other cars on February 3, 2020
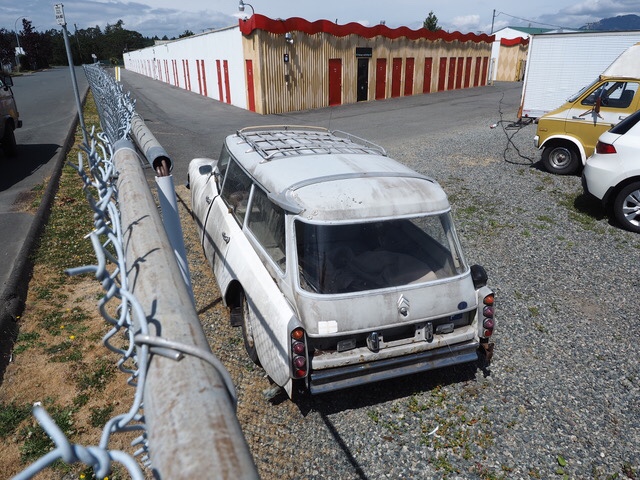
Last summer I found these beauties. Way back in the 80s I almost bought, well I test drove and looked at, similar station wagon (safari). That one was way too rusty and I was a poor student with no need or skill to manage a DS21 estate. But here we have a lovely pair, someone’s dream sitting in the open.

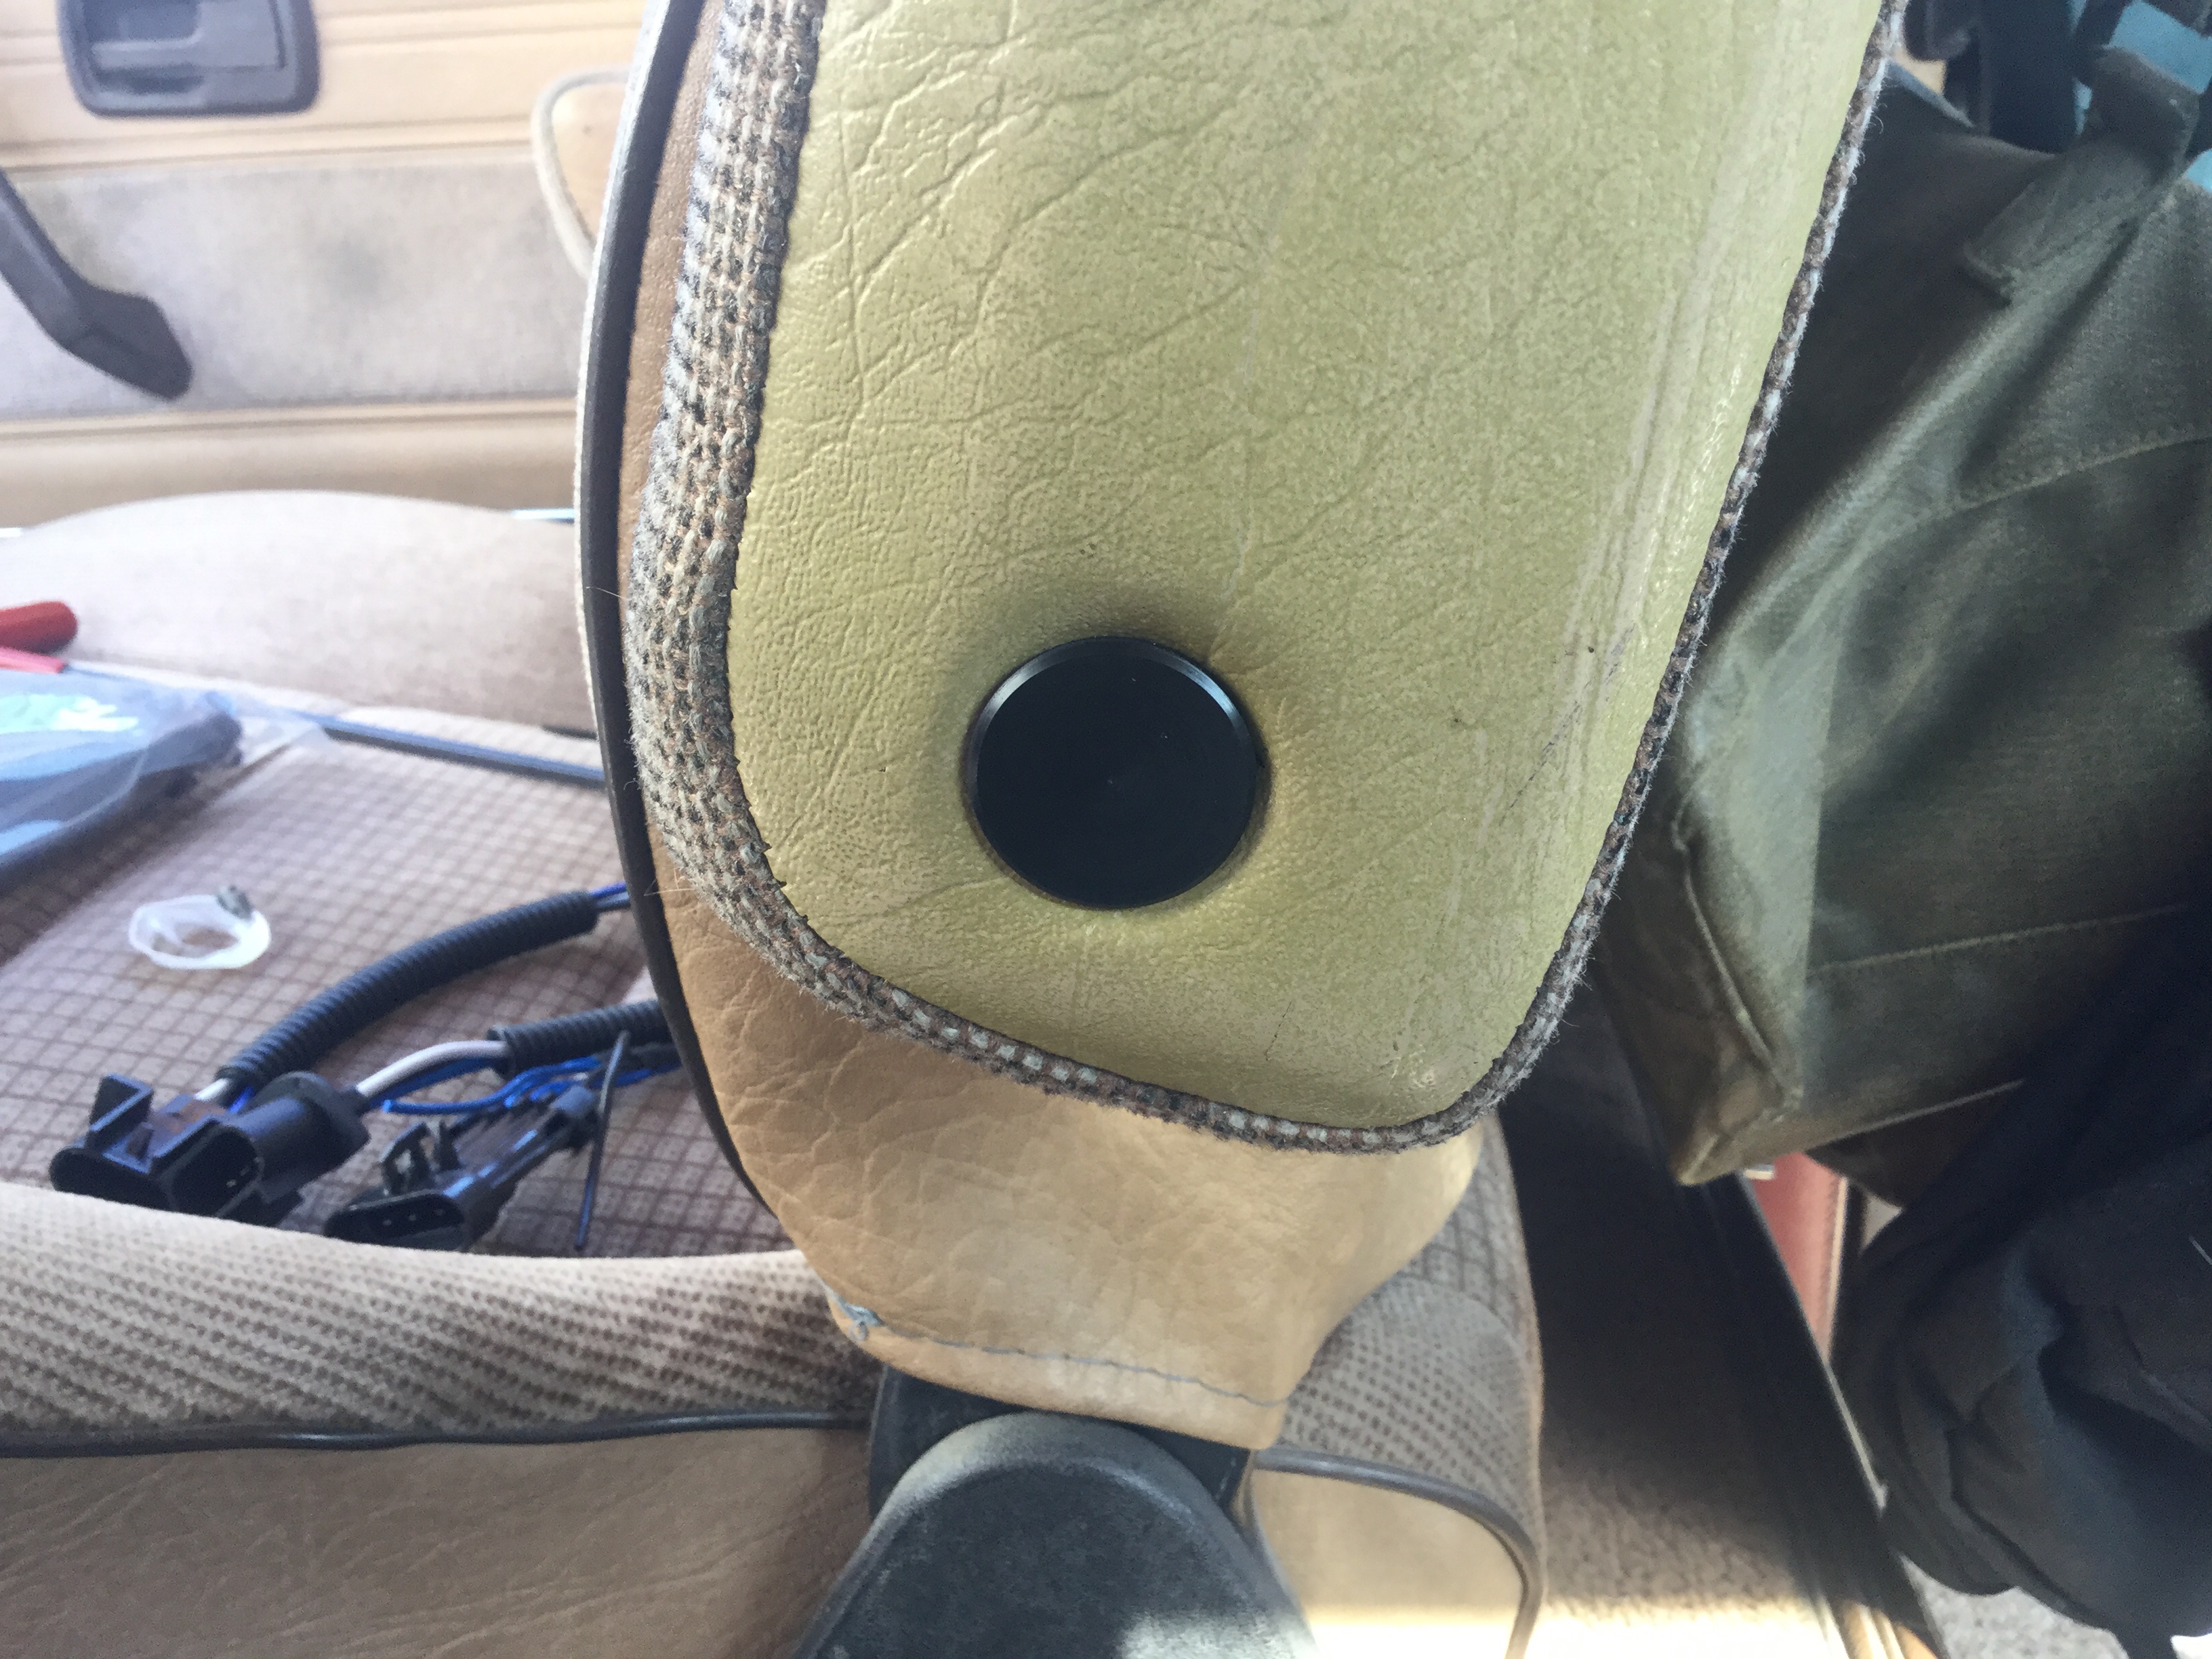
Vanagon – parking brake cover, recover
Another example of idle hands. I think it was from model year 85 on where ther parking brake cover was changed from a vinyl boot thing to a hard plastic shield. And on my 86 Syncro it’s the brown plastic. The brown plastic that does not age gracefully. So one Saturday last summer I took some thin leather, got it a bit damp, and glued it to the plastic. It looks fine, some little wrinkles at the hard curves, but acceptable. Have not yet figured out how to cover the actual handle.


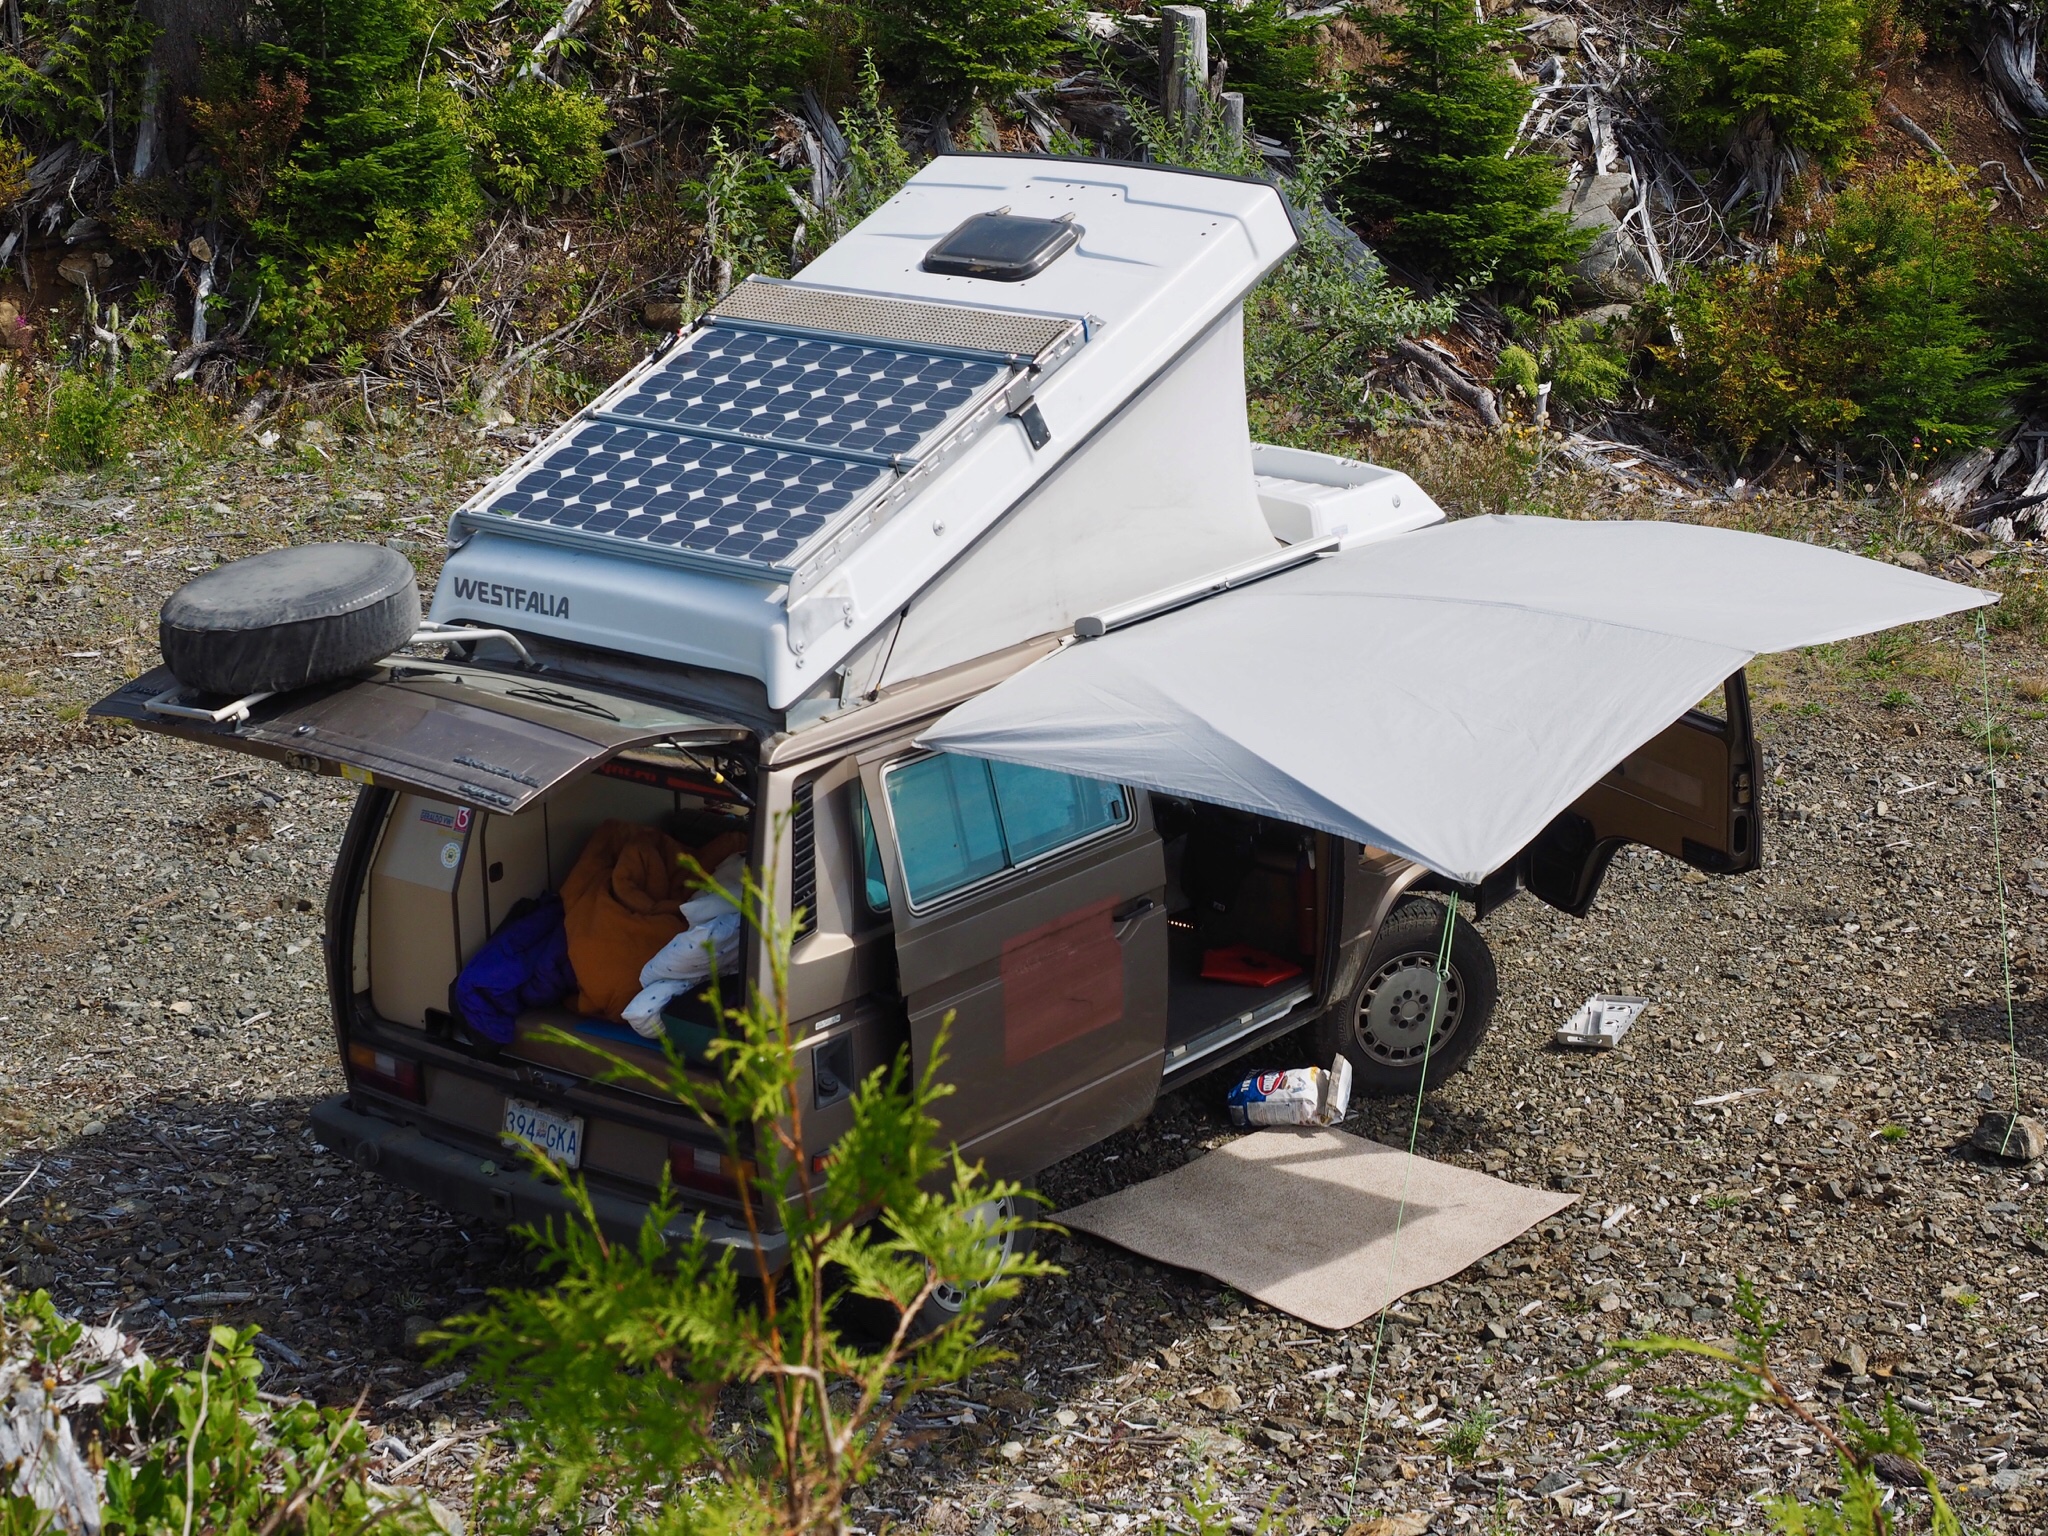
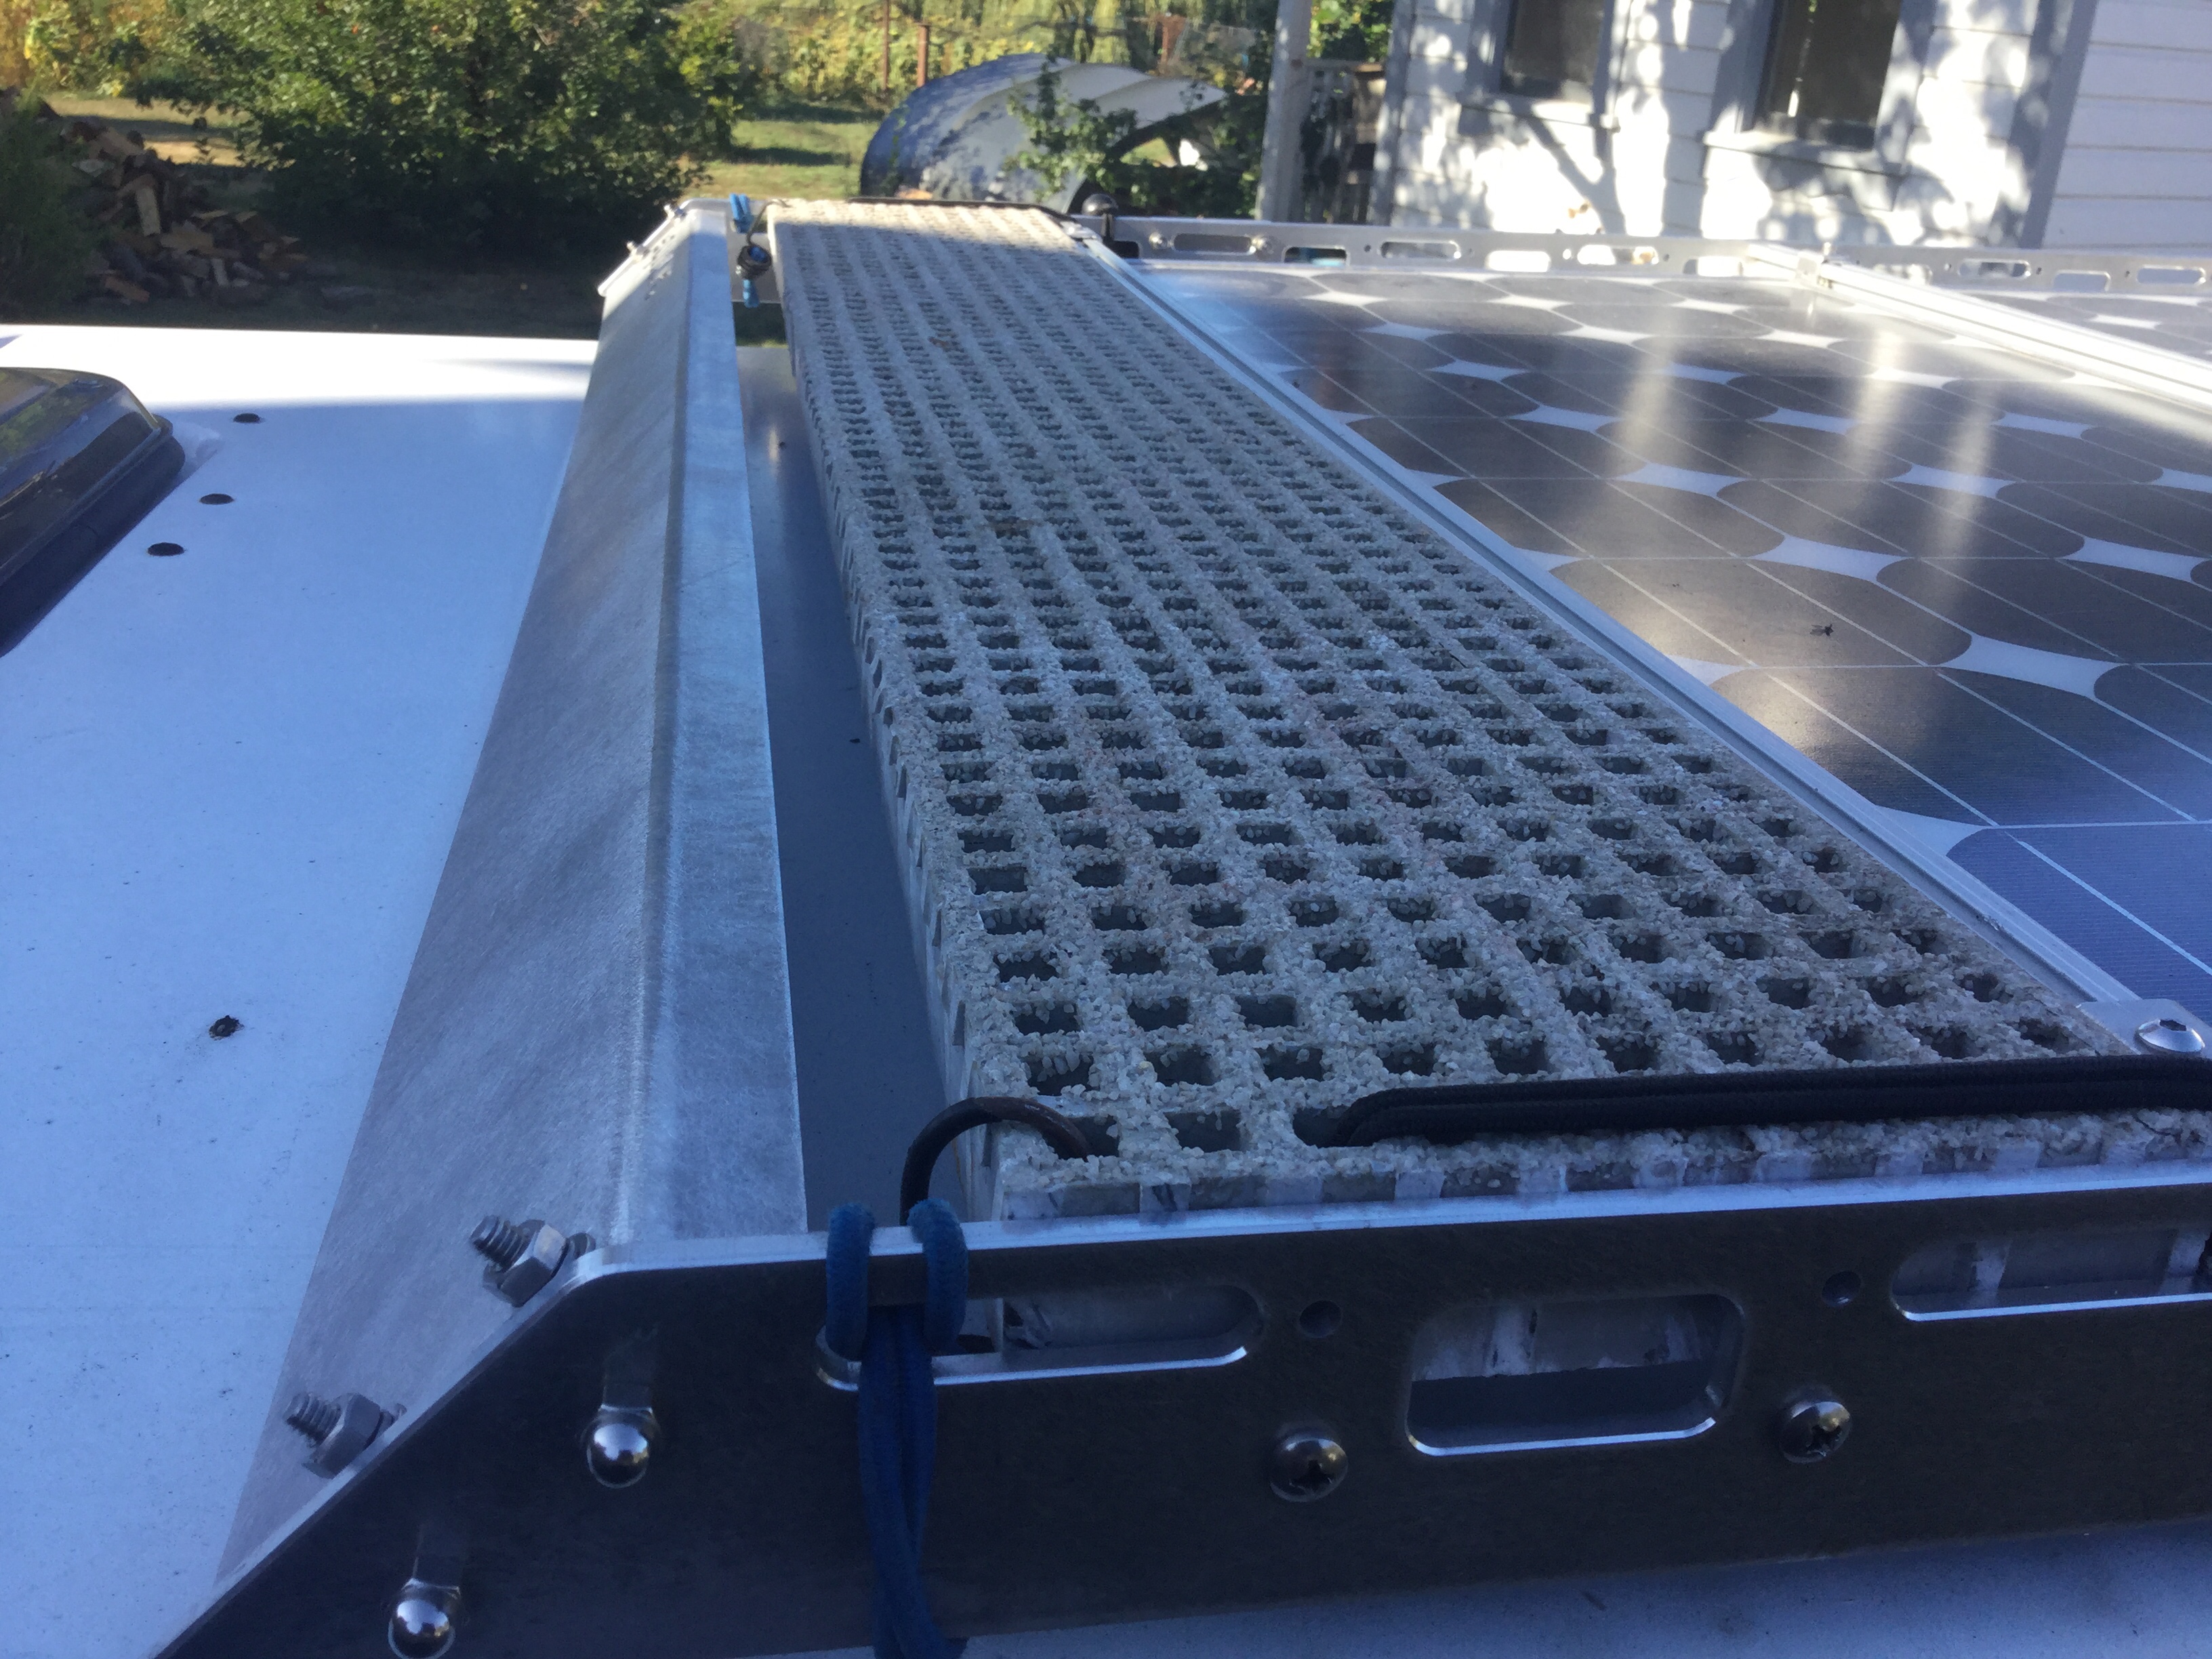
Vanagon – solar panel roof rack prototype
Still being worked on, as is, it’s fine. But front dam shape and side rail shape modified on the next version which is about to be powder coated black. Note that through complete luck, I can store one fiberglass bridging ladder up front. And disregard the clumsy fasteners used on front dam, that was just because… ran out of the correct ones.

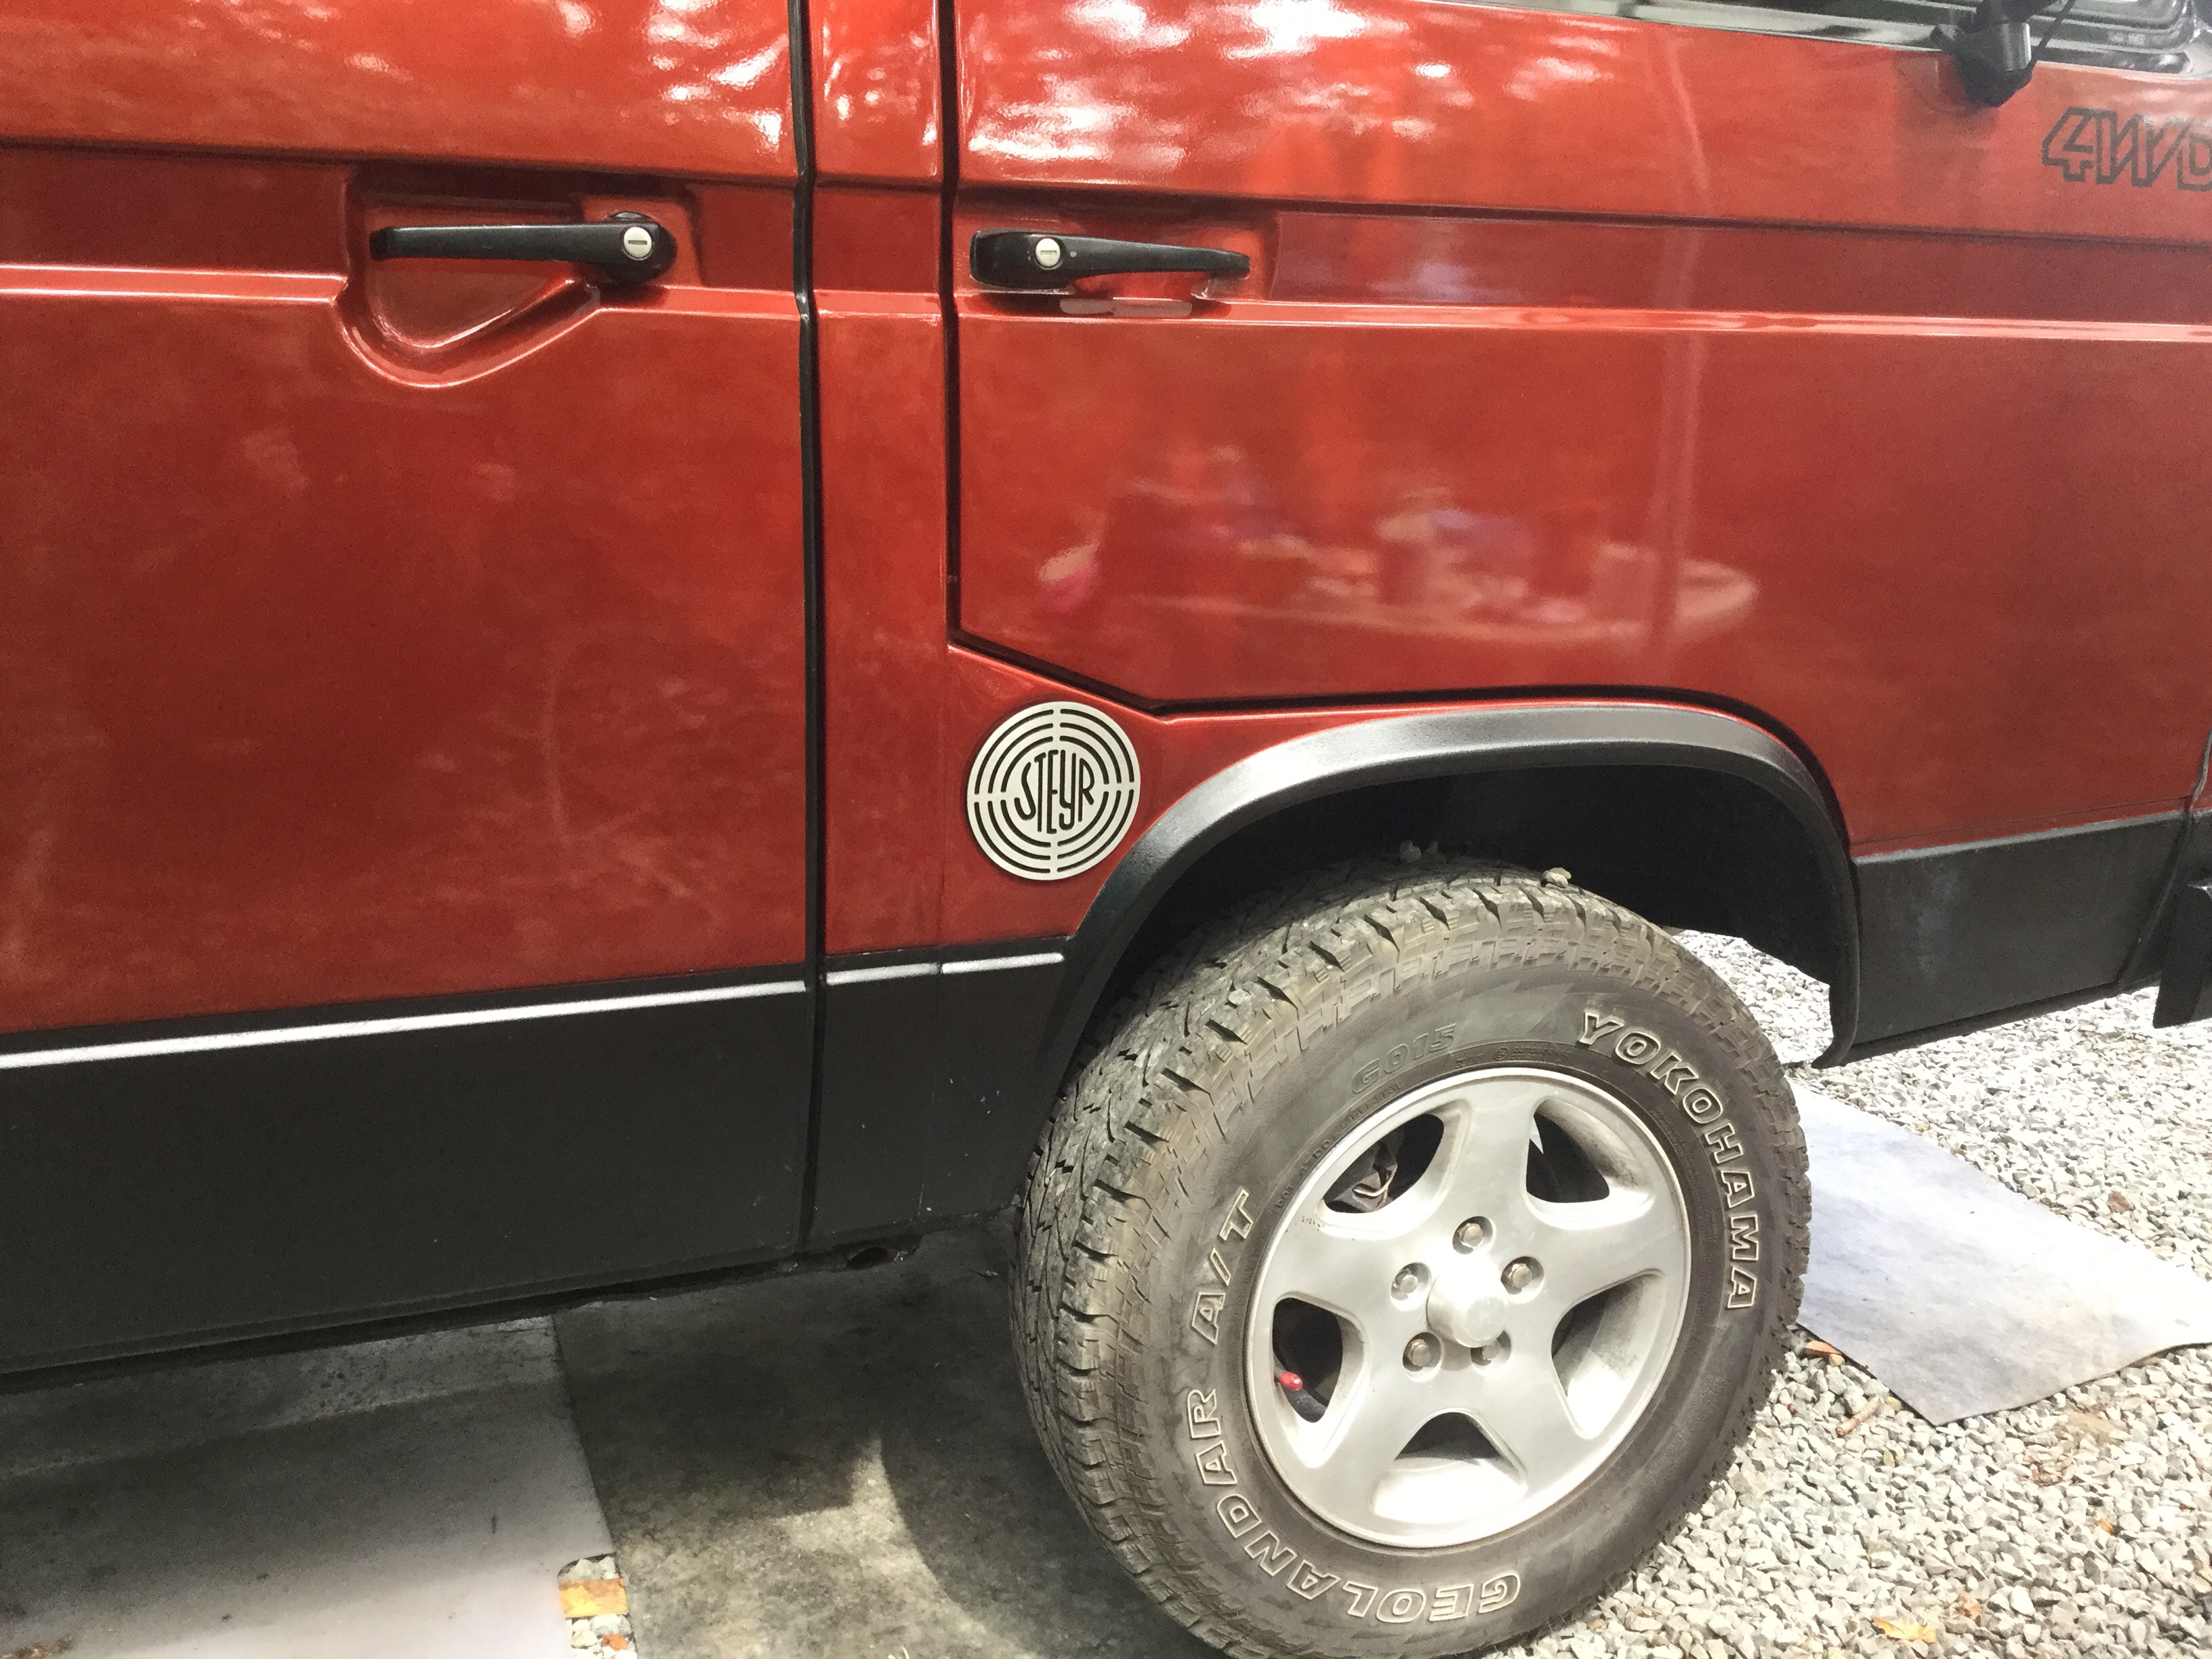
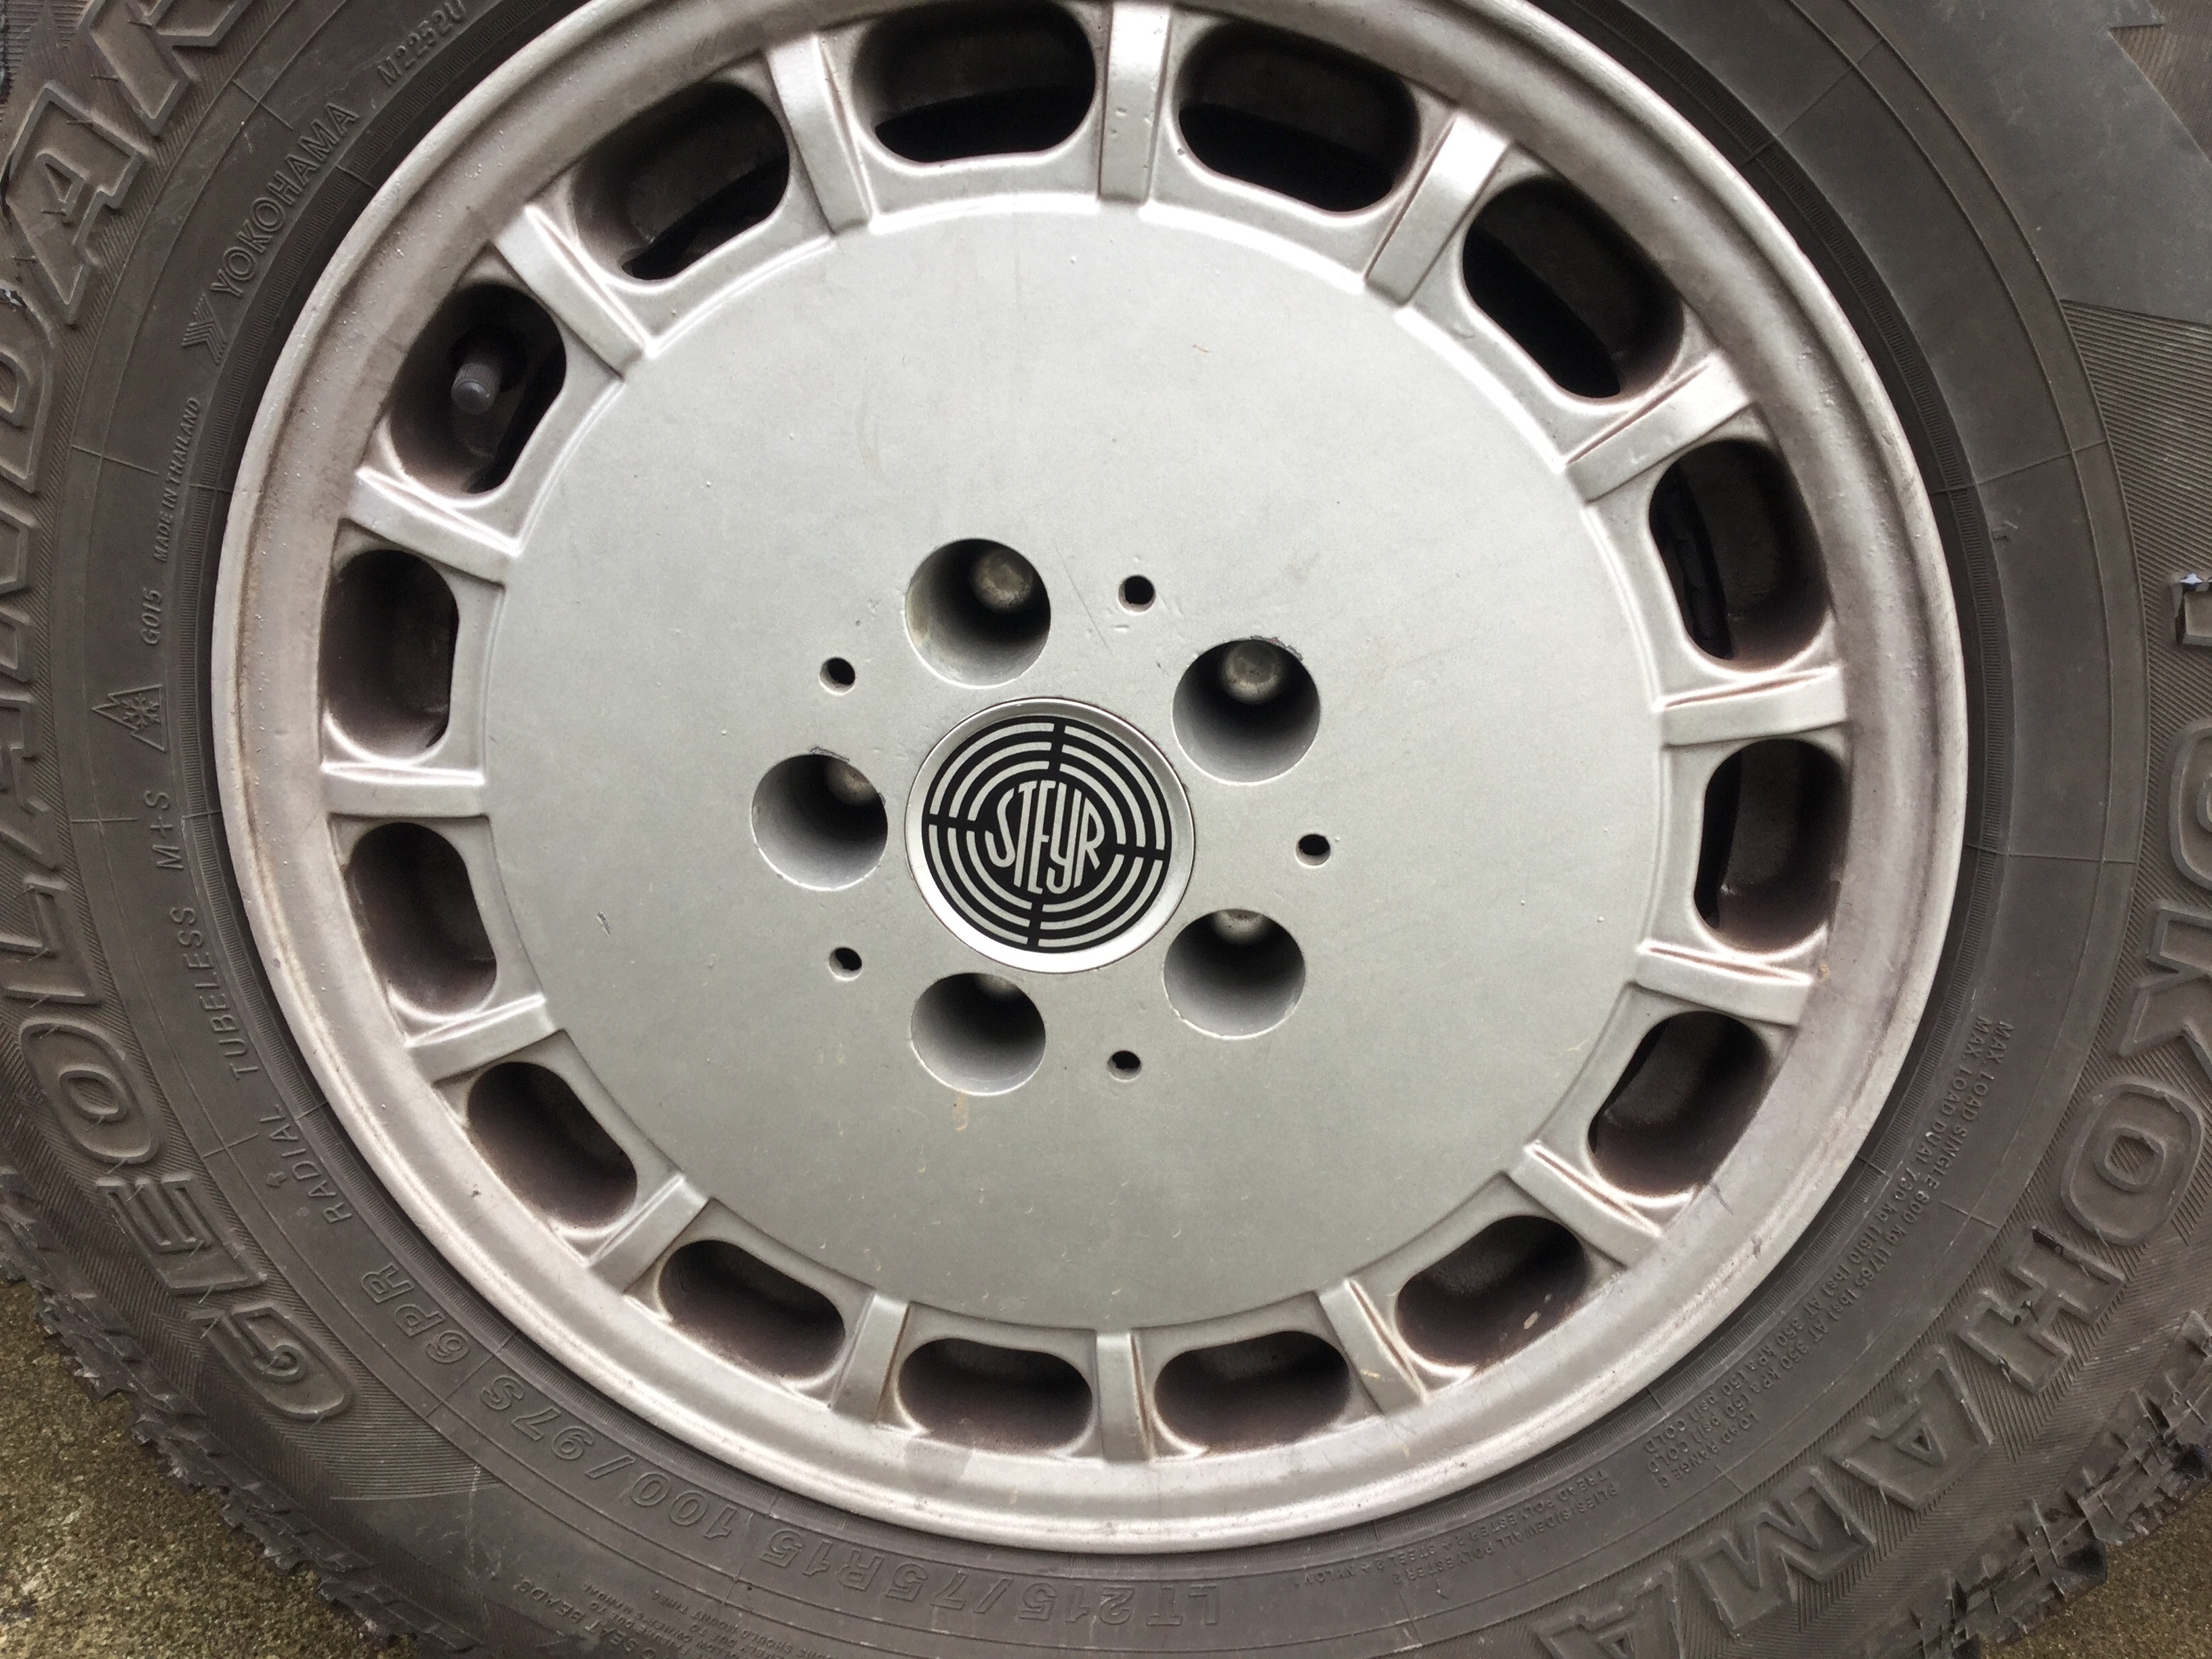
Vanagon – Syncro, Steyr badge
More output from the devils tools. Aluminum, on good friend Simon’s Syncro.
Vanagon Syncro – Steyr sticker
Idle hands are the devil’s tools etc…
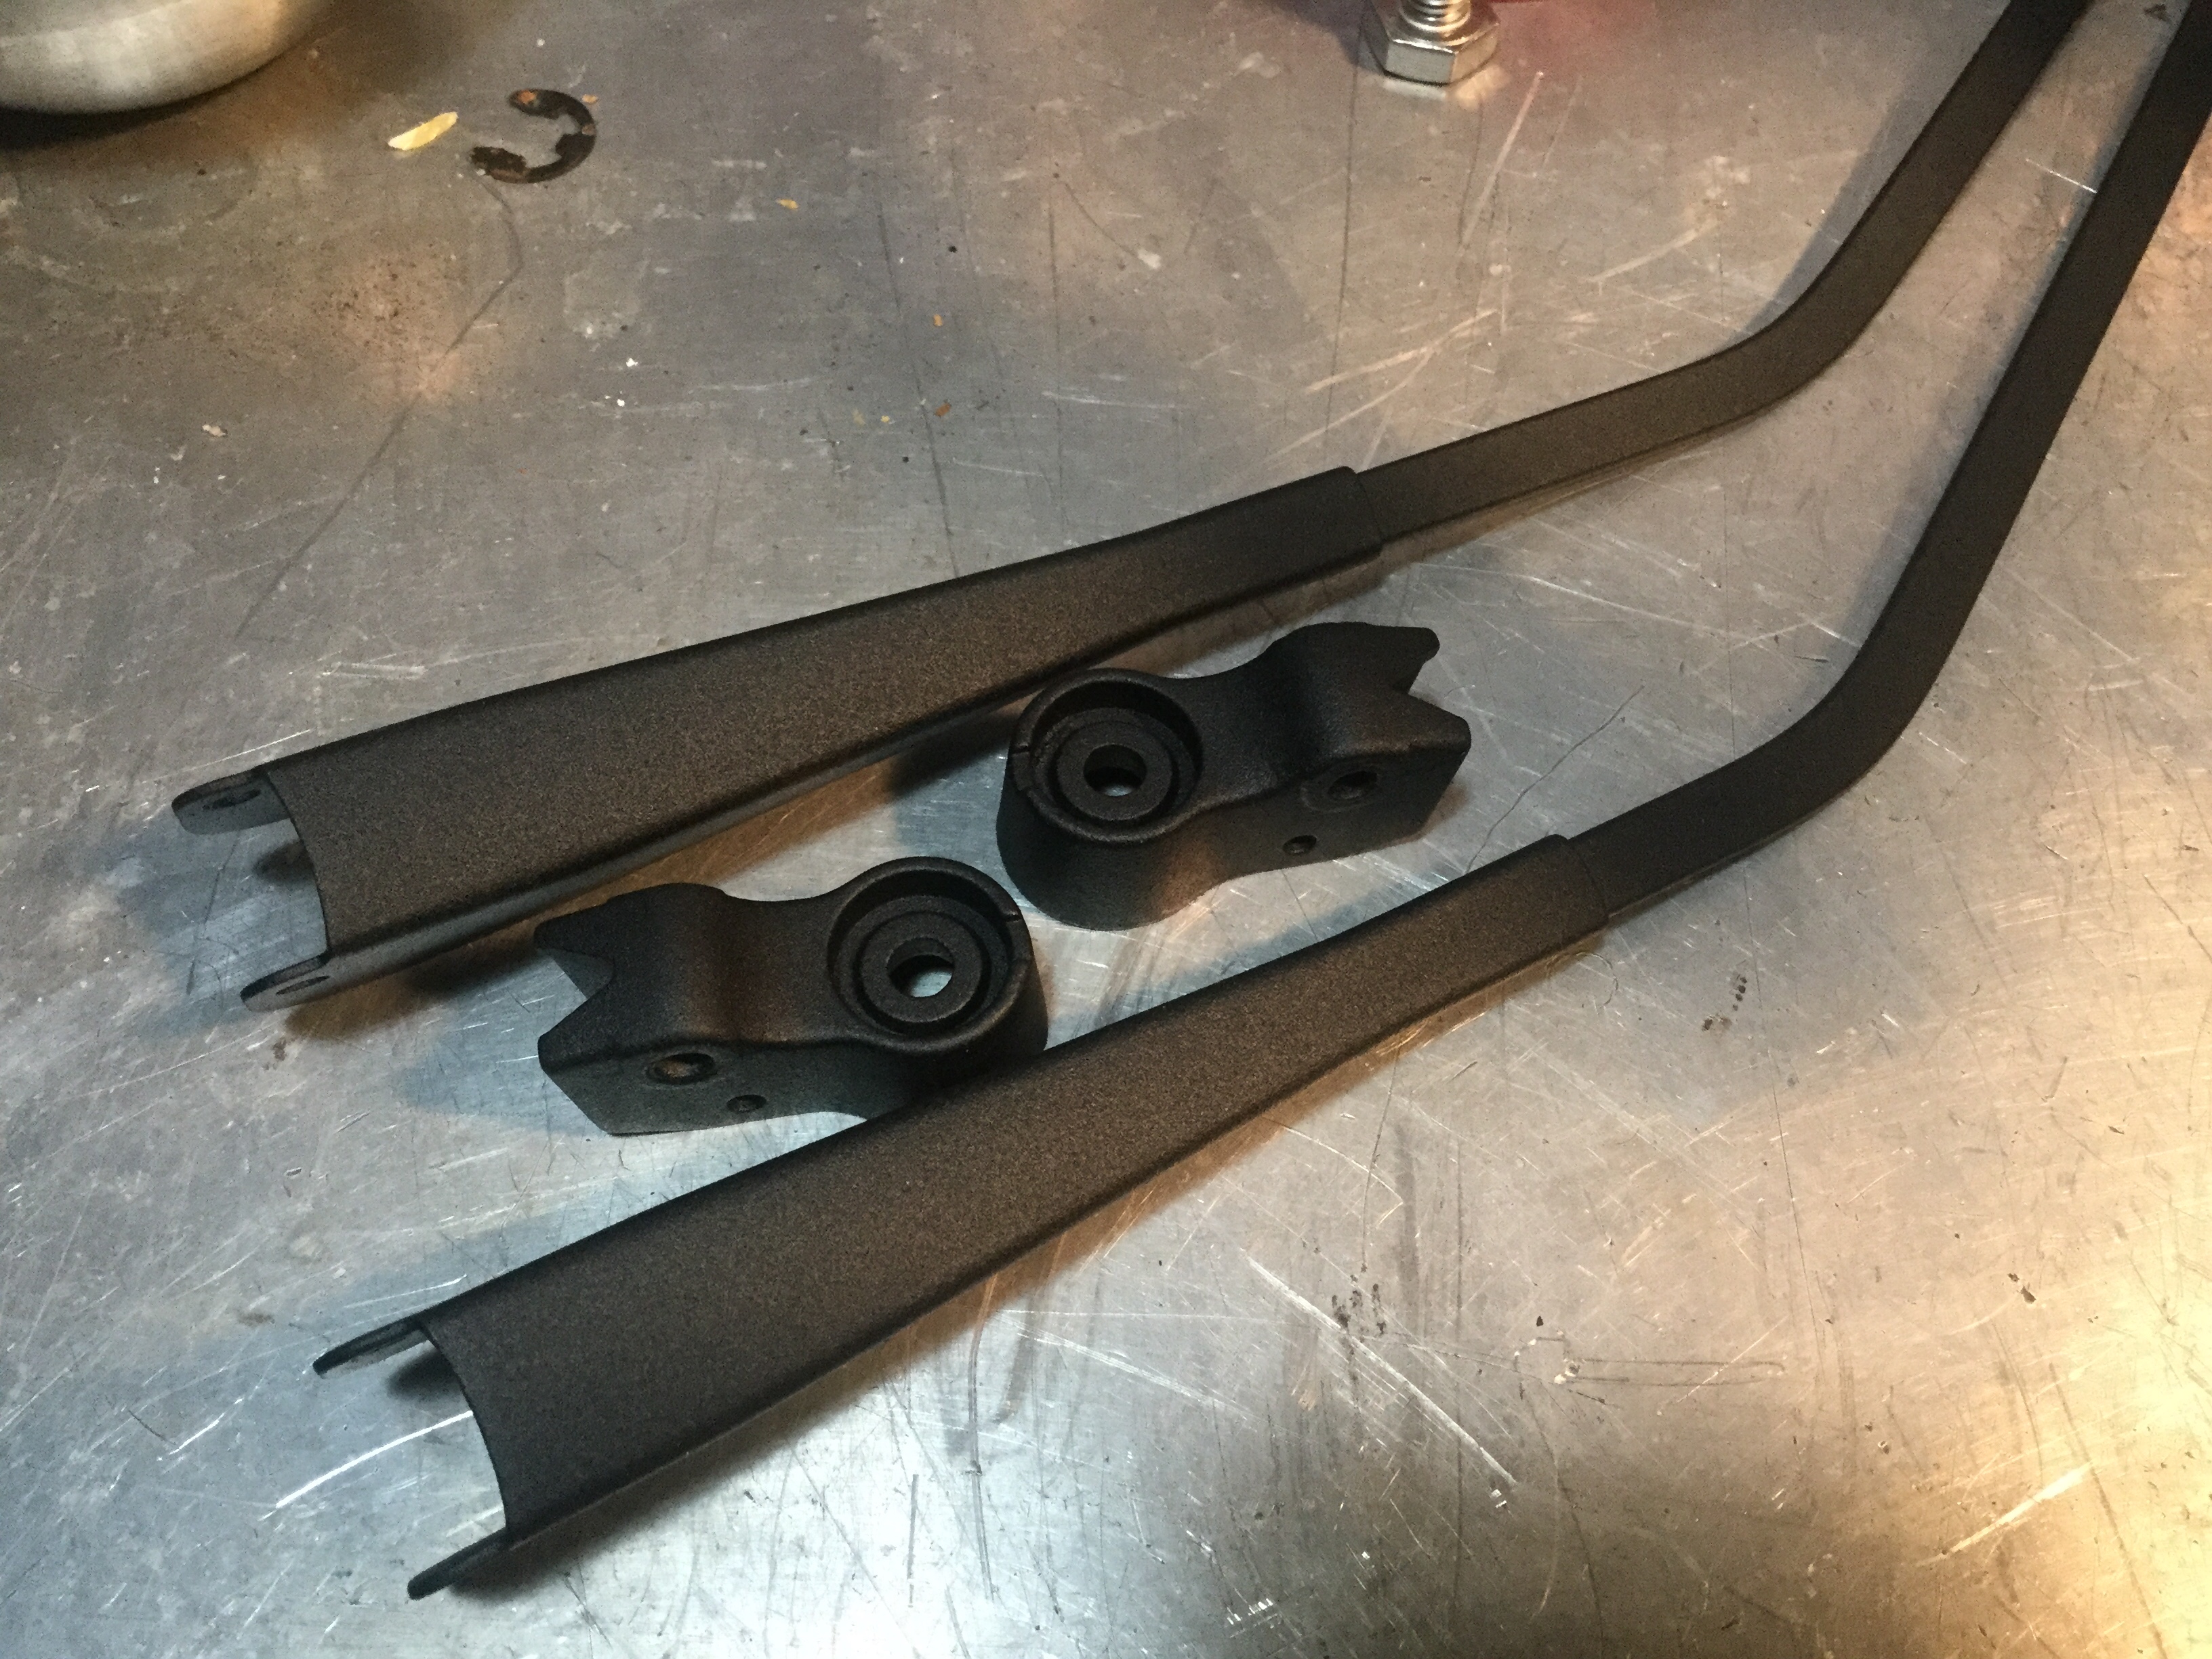
Vanagon – wiper length difference
Taking apart a pair of wiper arms and noticed for first time they are different overall lengths and different lengths between bends. 28 years of vanagon ownership and only now saw this, ha!

Update:
Close up of part numbers on arms. 251955409

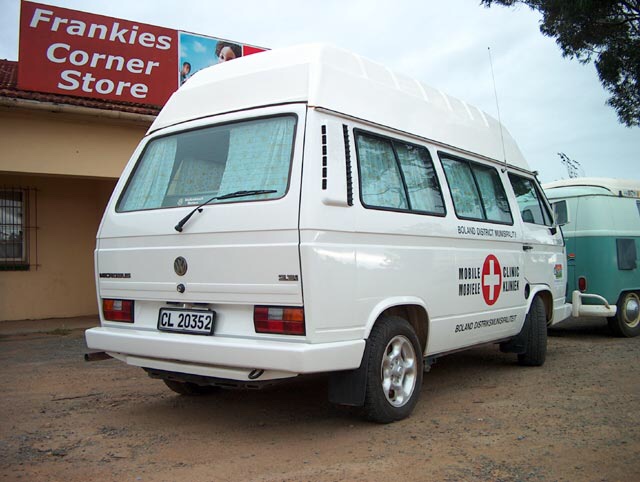
Compare to the rear wiper, mirror image, not swappable.
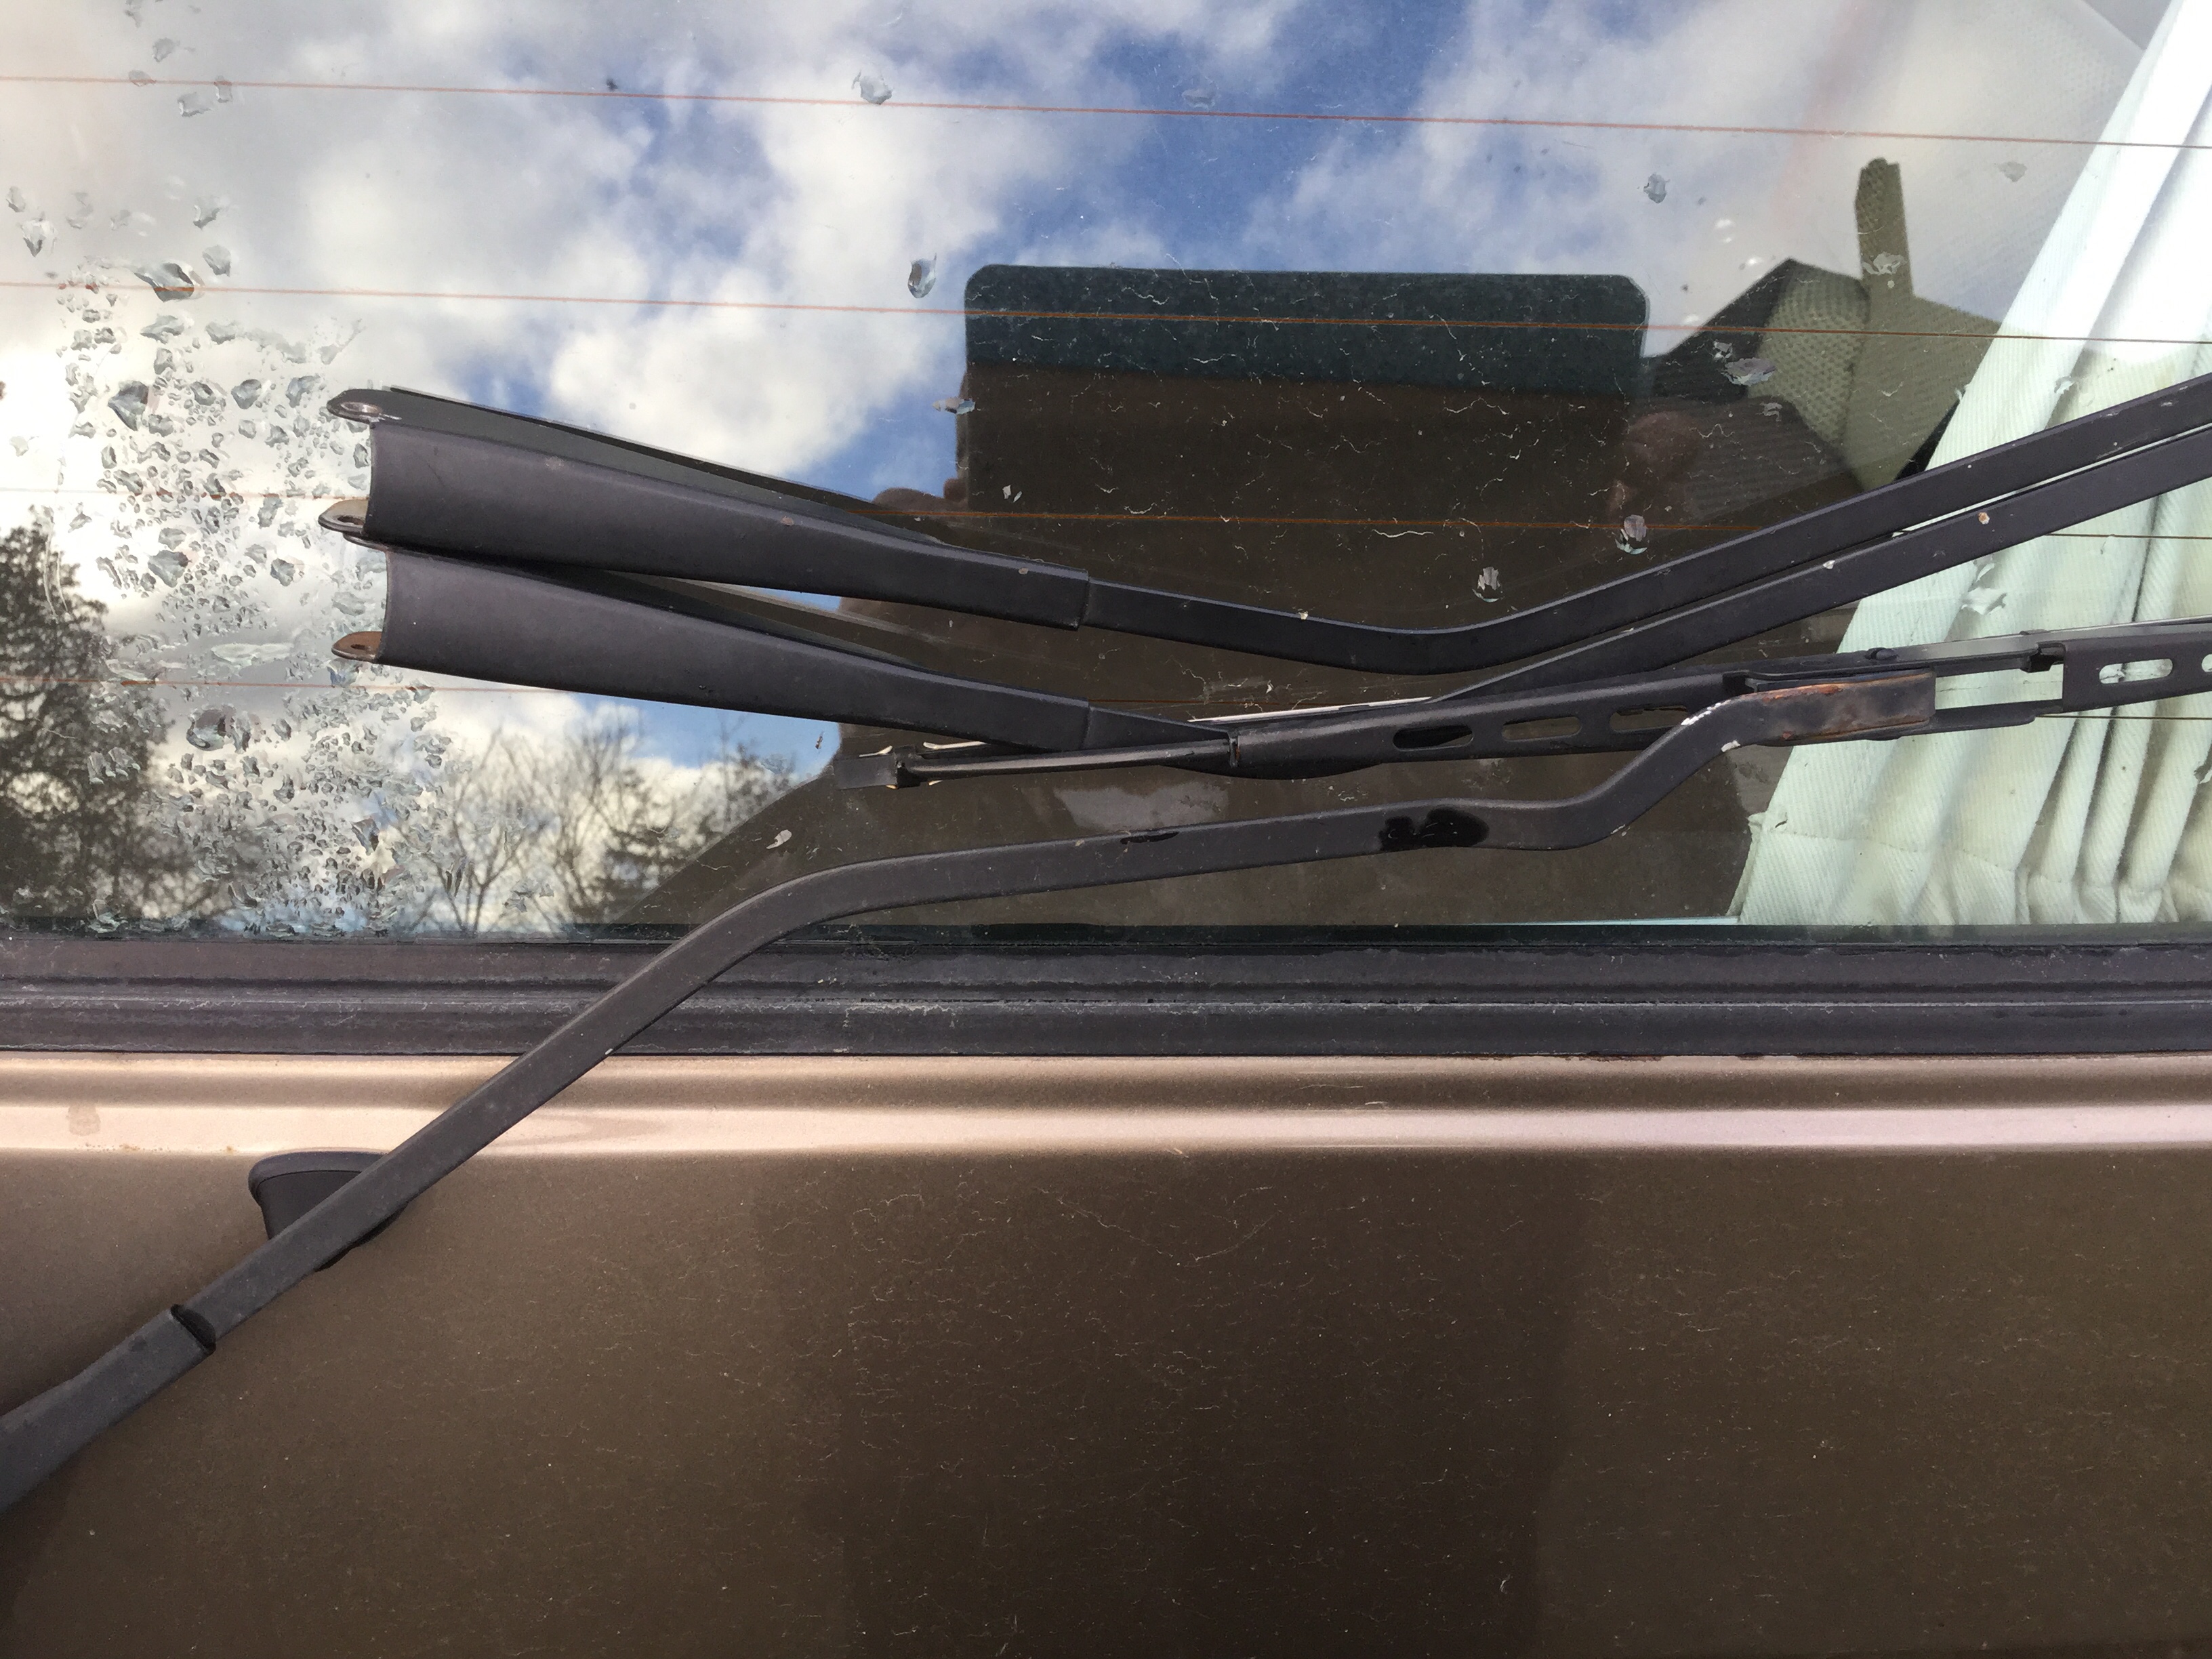
Photo of South African T3, Same rear wiper orientation as left hand drive. Photo taken from the Samba. Oh btw, my rear wiper part number is 251955707.
Update February 13, 2020. Got the arms back from powdercoat. I had them blasted and painted with slight texture finish satin black. They look really good, pic doesn’t fully convey the nice finish.