Archive for March, 2017


Vanagon – kitchen unit lid strut support
Posted by albell in vanagon, vanagon mods on March 30, 2017
I have the older type kitchen lid ( because I used 82 westy kitchen unit in my Syncro tin top to westy conversion), I think it changed post ’88 but not sure. The change was to the leading edge of the kitchen unit, lowering it which allowed a little more reclining of the driver’s seat back.
Anyhoo, I think both versions use the annoying “broken leg” style support strut to keep the lid up. I really didn’t like the strut. Finally today I changed it. Used a gas charged strut bought from banggood, the listing is here. It’s a small strut with 100 N (around 10kg force). I wish I could have used at least some of the screw holes from the stock strut but hat wasn’t possible.

And how does it work? I’m telling you Simon, ITS THE BEST MOD EVAH!!!
It is good, i was concerned that 100 N was too strong, but the placement of the strut in relationship with the hinge etc turned out to be perfect. And as a bonus, and this wasn’t planned explicitly, there is an “over centre” force from the strut when the lid is closed which gives a satisfying positive latching force. But I do I wish the old screw holes were gone.
Addendum May 2017
As requested, some measurement pics. Enough there to give you a start.


Vanagon – led rear side marker light prototype
Posted by albell in vanagon, vanagon mods on March 26, 2017
i took the mock up circuit described in my post the other day and rewired, sealed, shrink wrapped, connectores added etc,etc, and installed the led lamp with an unpainted aluminum guard onto the van. Pics show the lamp lit as running light ( as normal).
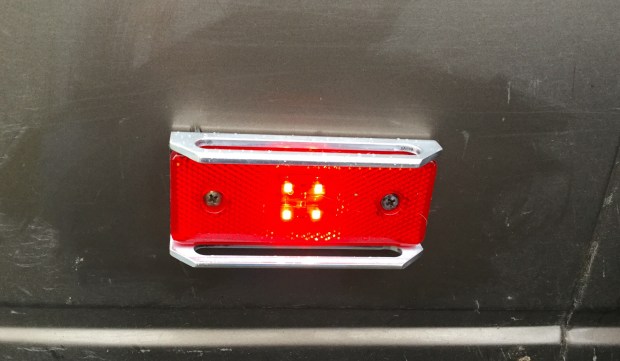

Looks fairly ok right? But I have to confess that I misled you in the last post about the led lamp size. Yes it’s not as tall, and just slightly less wide. But side by side comparison with the stock unit makes it look very much smaller overall.

Bet you didn’t think it looked that much smaller in the first pics. The flasher function works well.
I’m fairly pleased with it, and if I paint the guard black I think it will look better.
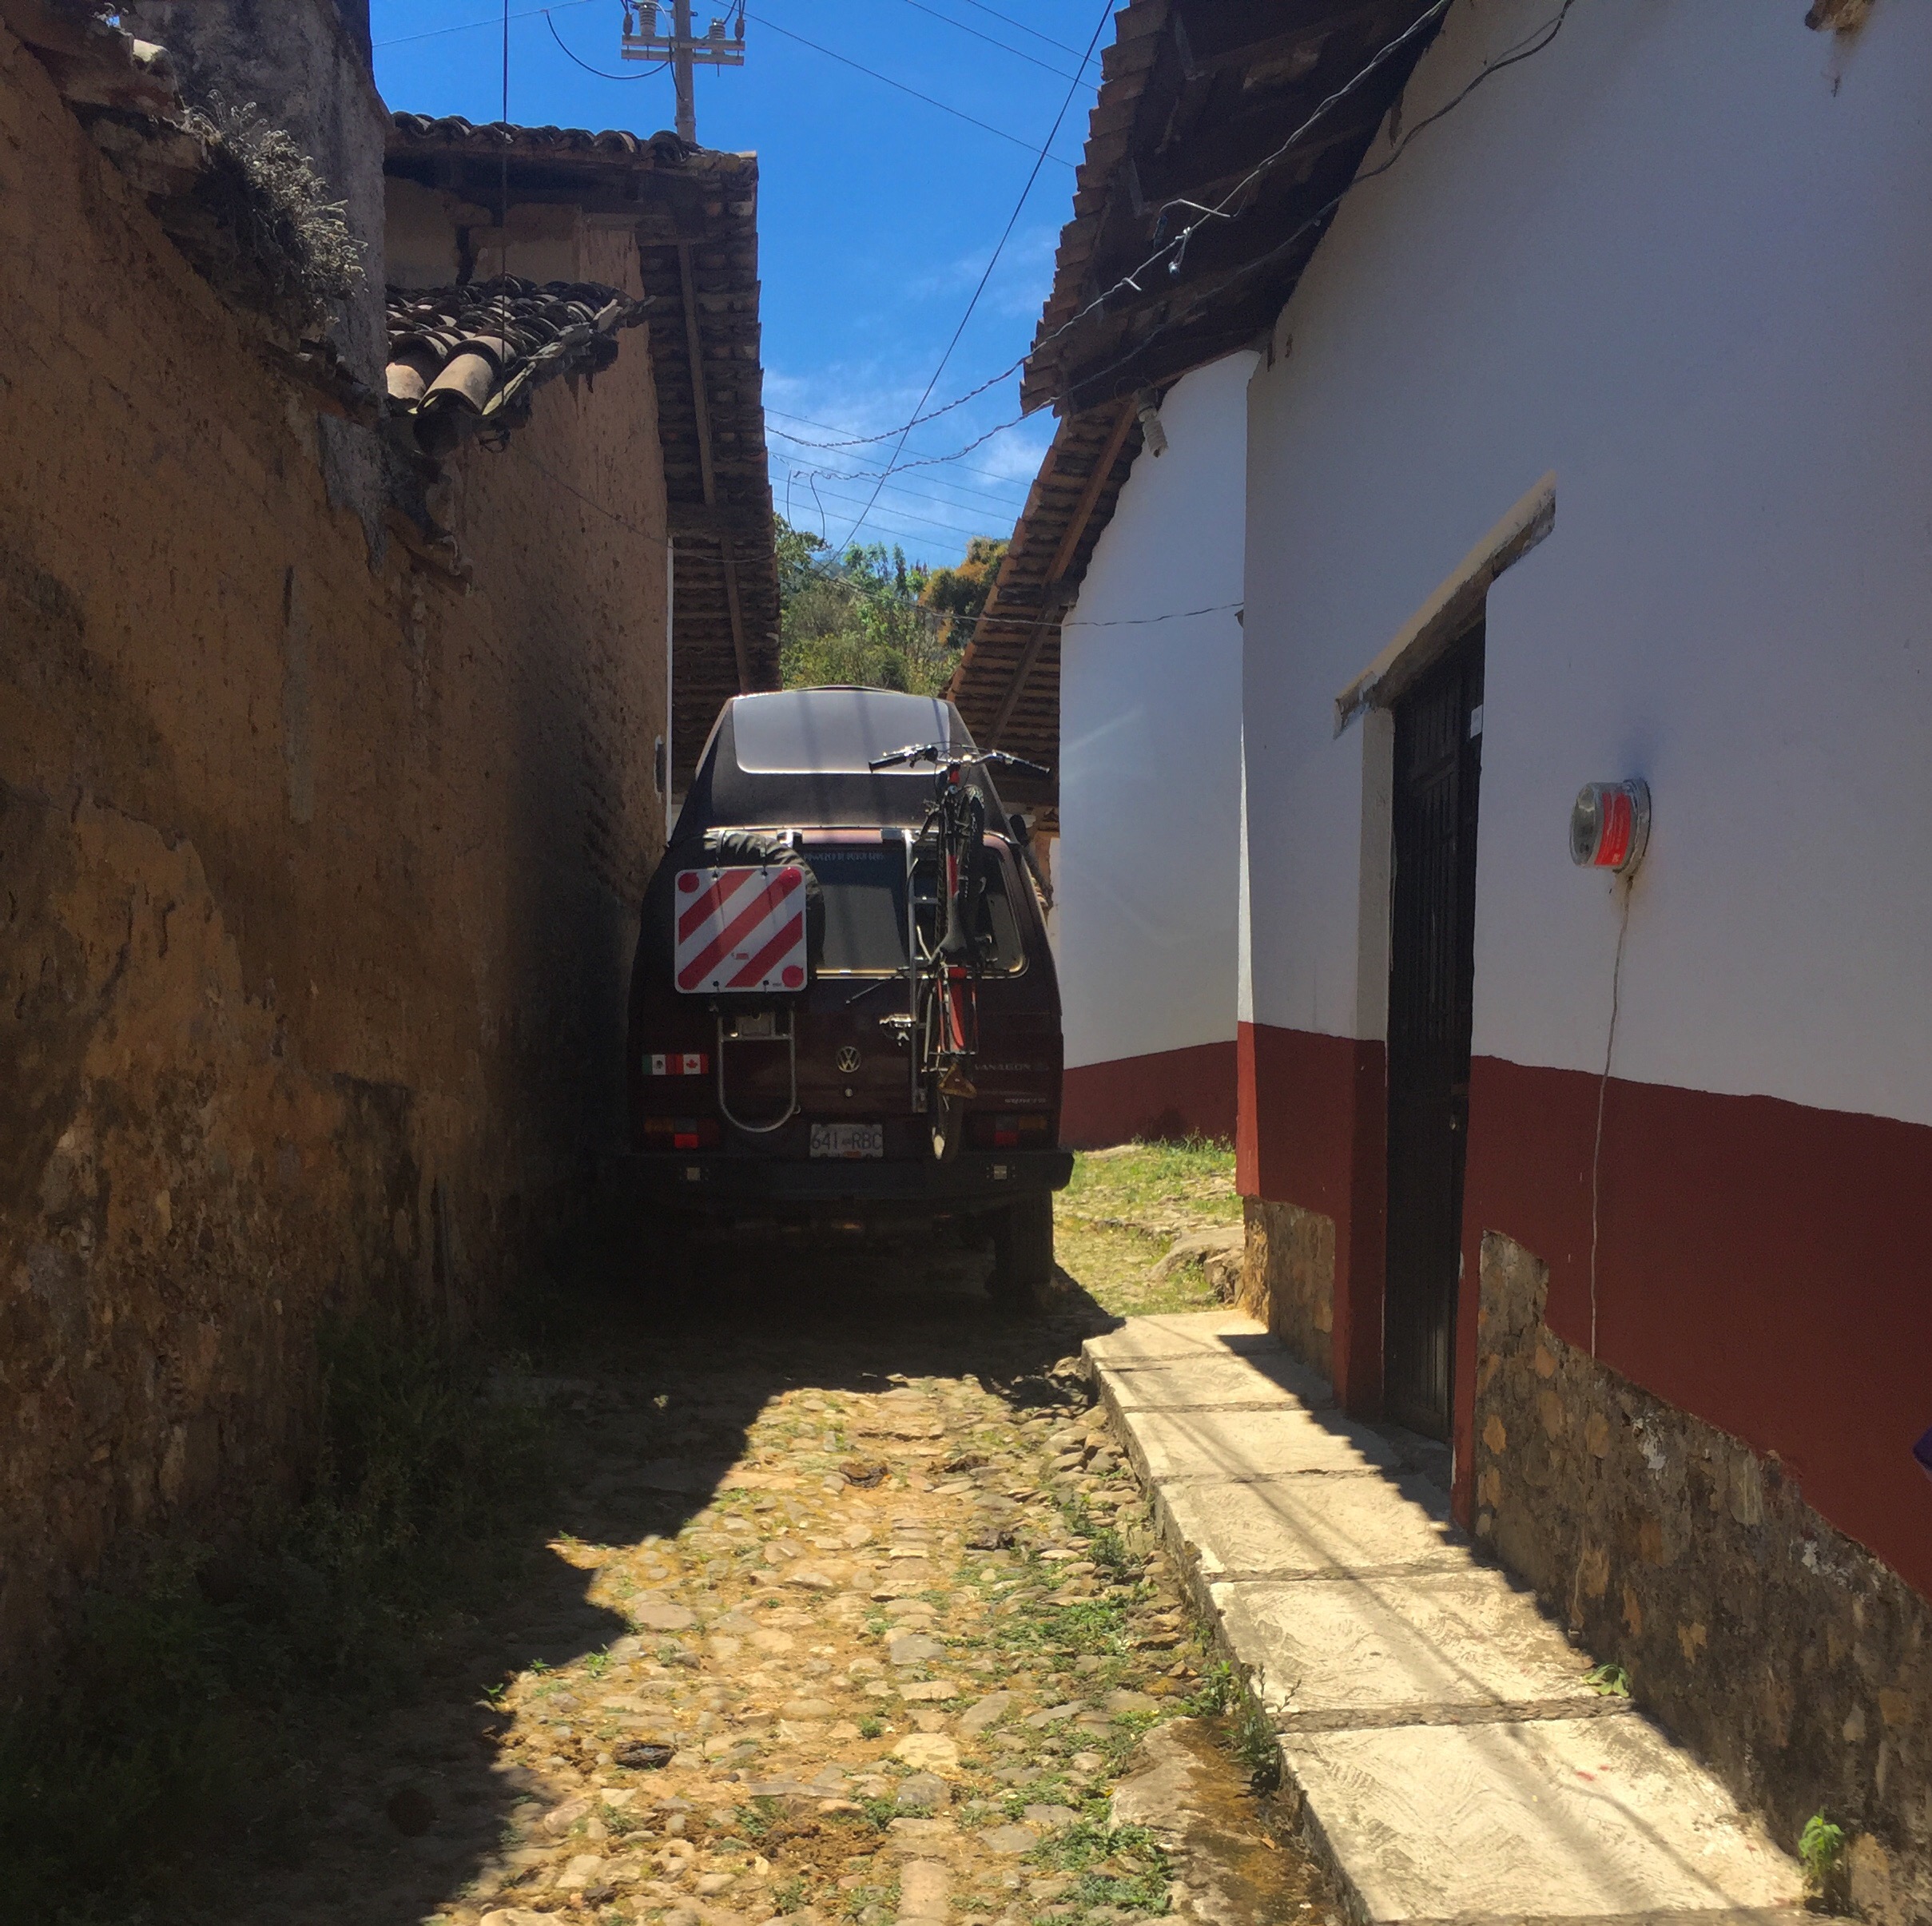
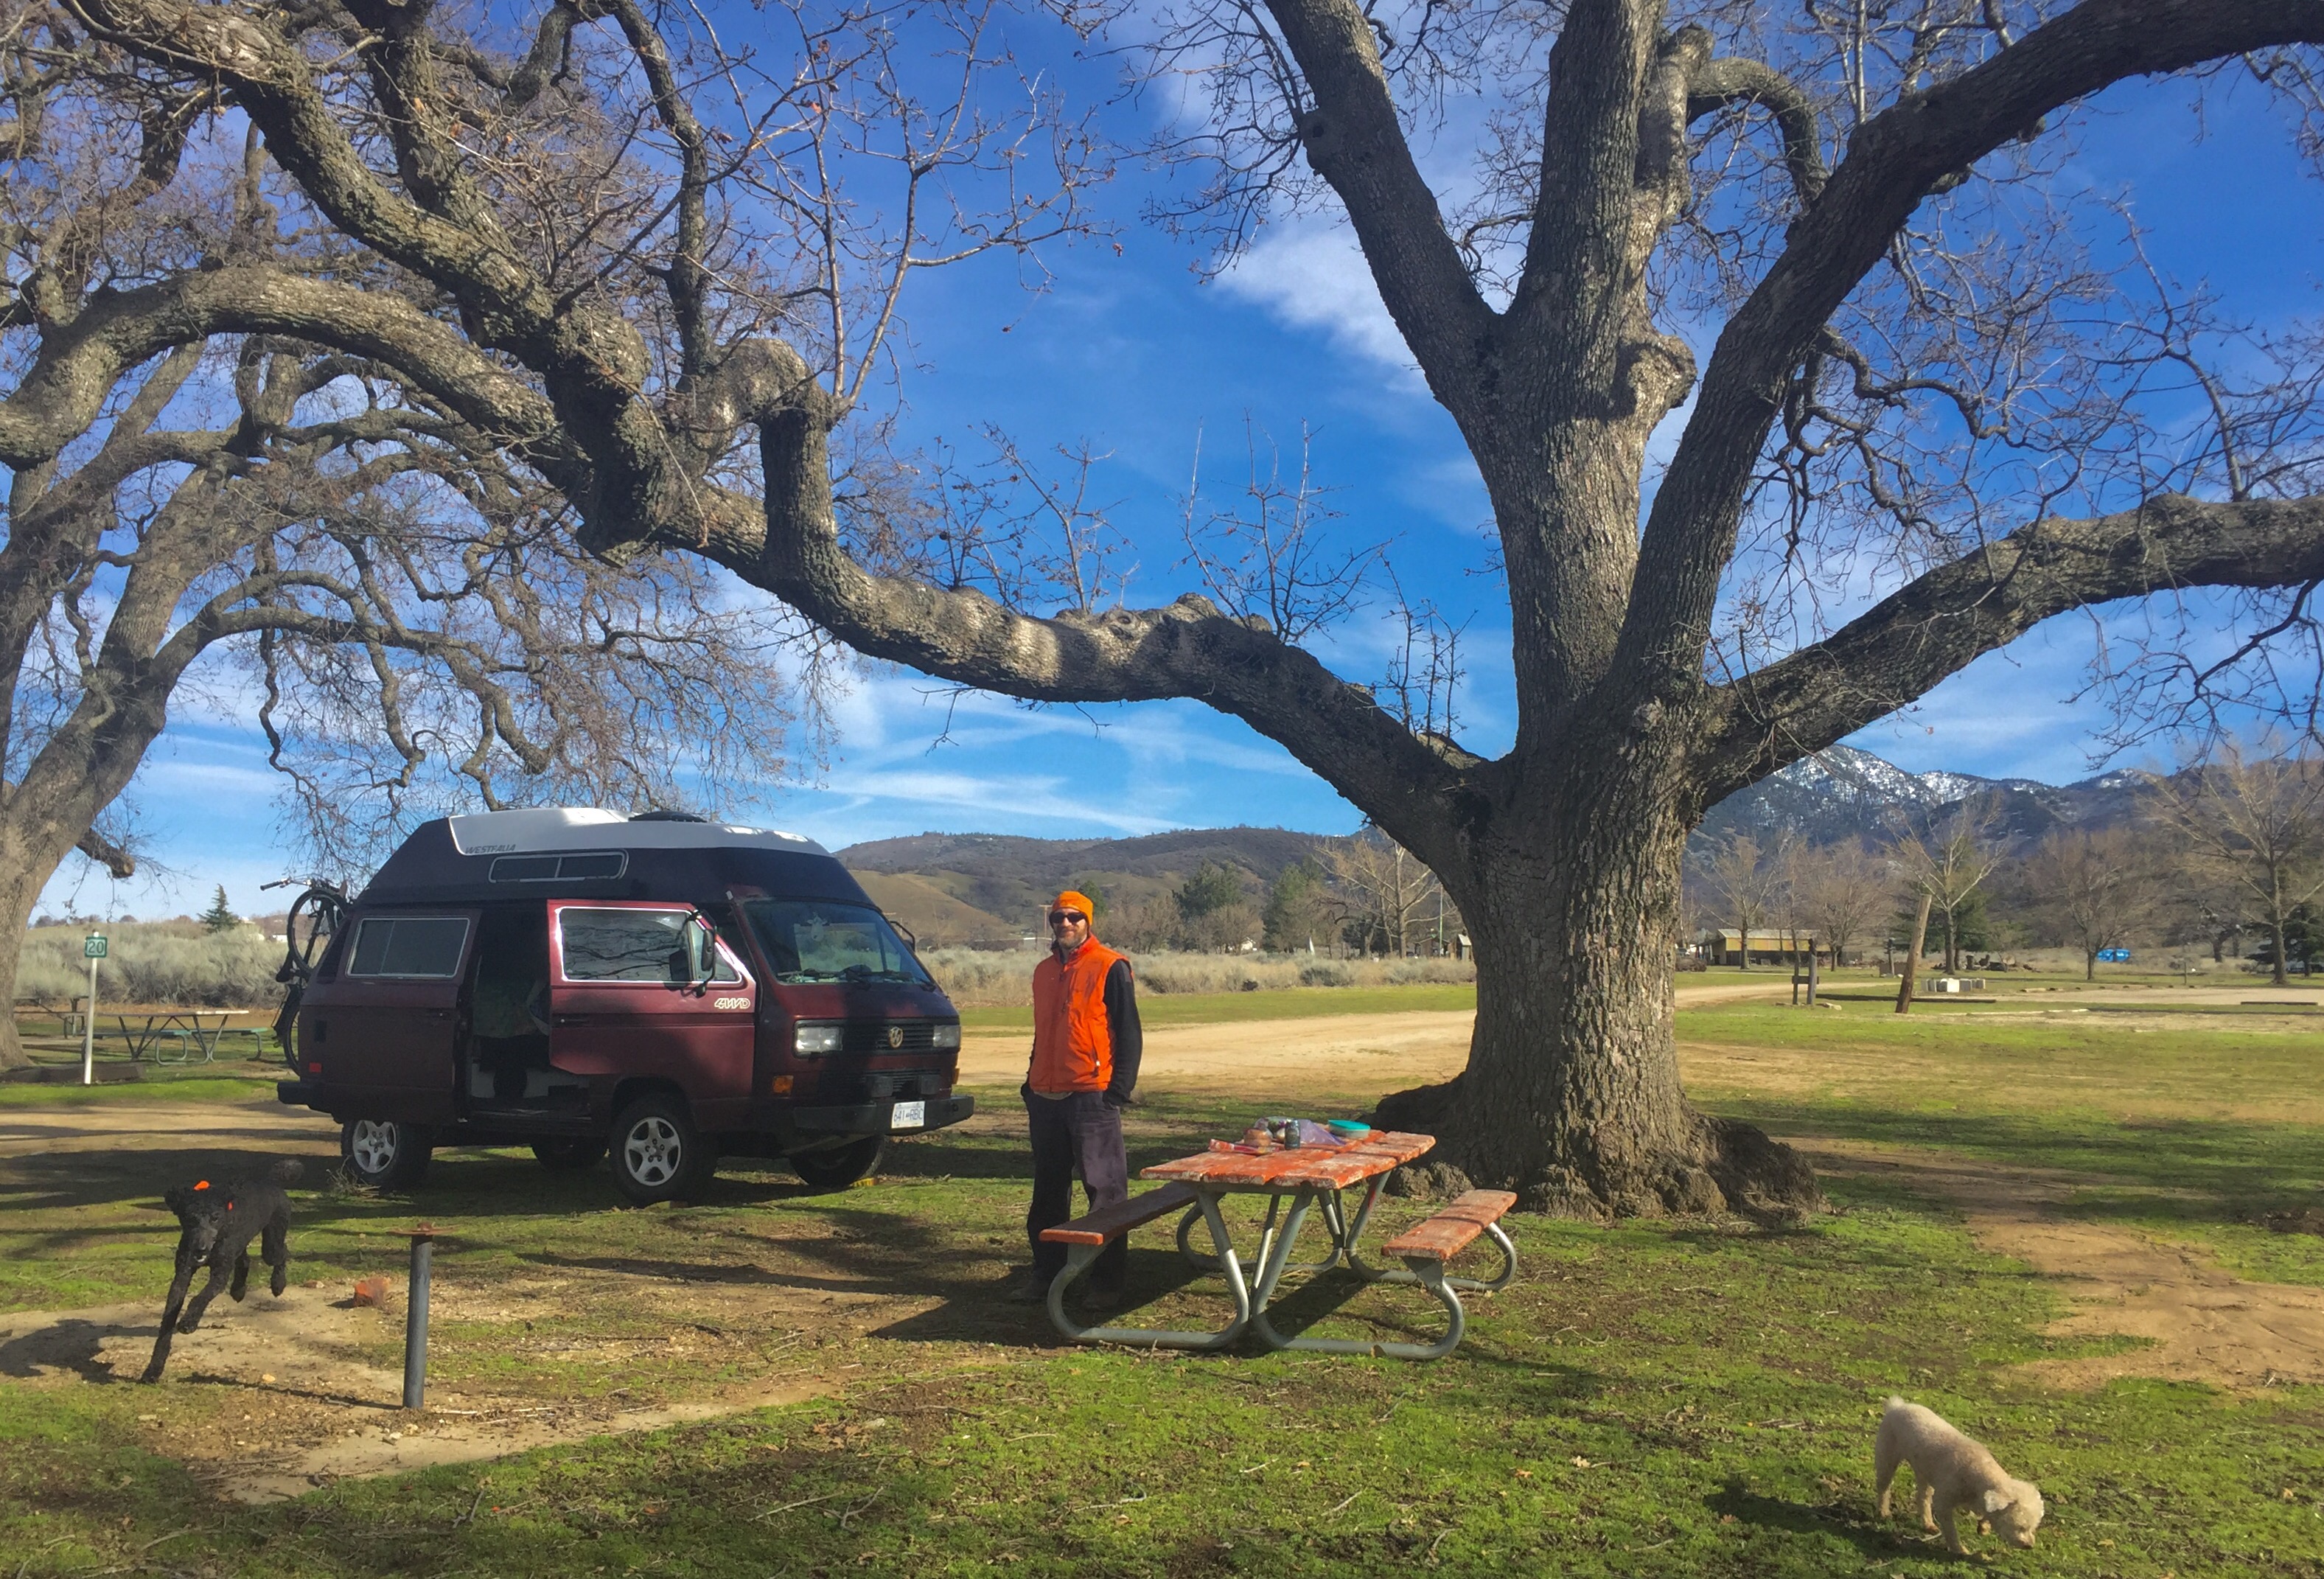
Vanagon – more hightop in Mexico
Some more dispatches from Simon in Mexico.

Vanagon – trivial little things
Posted by albell in vanagon, vanagon mods on March 25, 2017
Maybe I’m scrabbling for content. Content as in copy, not the state of peaceful happiness. In any case here’s some dross.
First up is a Syncro badge. It’s from the same 91 Passat Syncro that gave me one of the instrument clusters I posted about a few weeks back. Kinda nice little thing and it’s interesting that the date of manufacture is February 1990 and it’s marked made in West Germany. Wasn’t until August of that year that the two states officially merged. I find it so hard to believe that someone born then will be 27 this year.


Next are led lights for the front turn signal/running light. So many choices for this light, I ended up with this unit from Banggood. Supposed to be a “switchback” light, well that’s what I thought. I was expecting the running lights (the white led elements) to go out when the amber turn signal elements are powered. And if you read the reviews you’ll see that at least one buyer had a bulb that worked that way. But both of my bulbs don’t waltz to that tune. The white elements remain on while the amber elements flash.

On the van, the bulb in the holder, by switching the positions of the two power wires ( one the flasher signal and the other the running light power) I could decide if I wanted the white led elements to be the running or turn signal lights. Decided on amber led elements for running lights and the whites for turn signal. Hey they work pretty well but jeeze I wanted that “switchback” effect 🙂
And finally a preview of another silly project I’m working on. A while back I discovered a rear side marker light replacement for the stock vanagon unit. It’s a little narrower than the original but the length is okay and the screw holes are right on. Trouble is that it’s rated as 24 volt. So I ordered some cute little 12 to 24 volt boost converters. Well it turns out that the lights work fine on 12 volts, certainly bright enough to be used as is. But then I had an idea. How about if I tap into the rear turn signal power so that the side marker would light up brighter with the turn signal power. Simply put, the side marker gets 12 volts as usual, but the turn signal power goes through the boost converter. I set up a crude set up and it works out fine. In the video you’ll a spot light to provide some load for the regular flasher unit ( I have an electronic flasher unit installed in the van and that plays nice with the led front turn signals), and you might notice the two diodes in the circuit to stop power going the wrong way. I’ve got some aluminum guards to paint before I install this in the van. I’ll show you more later.
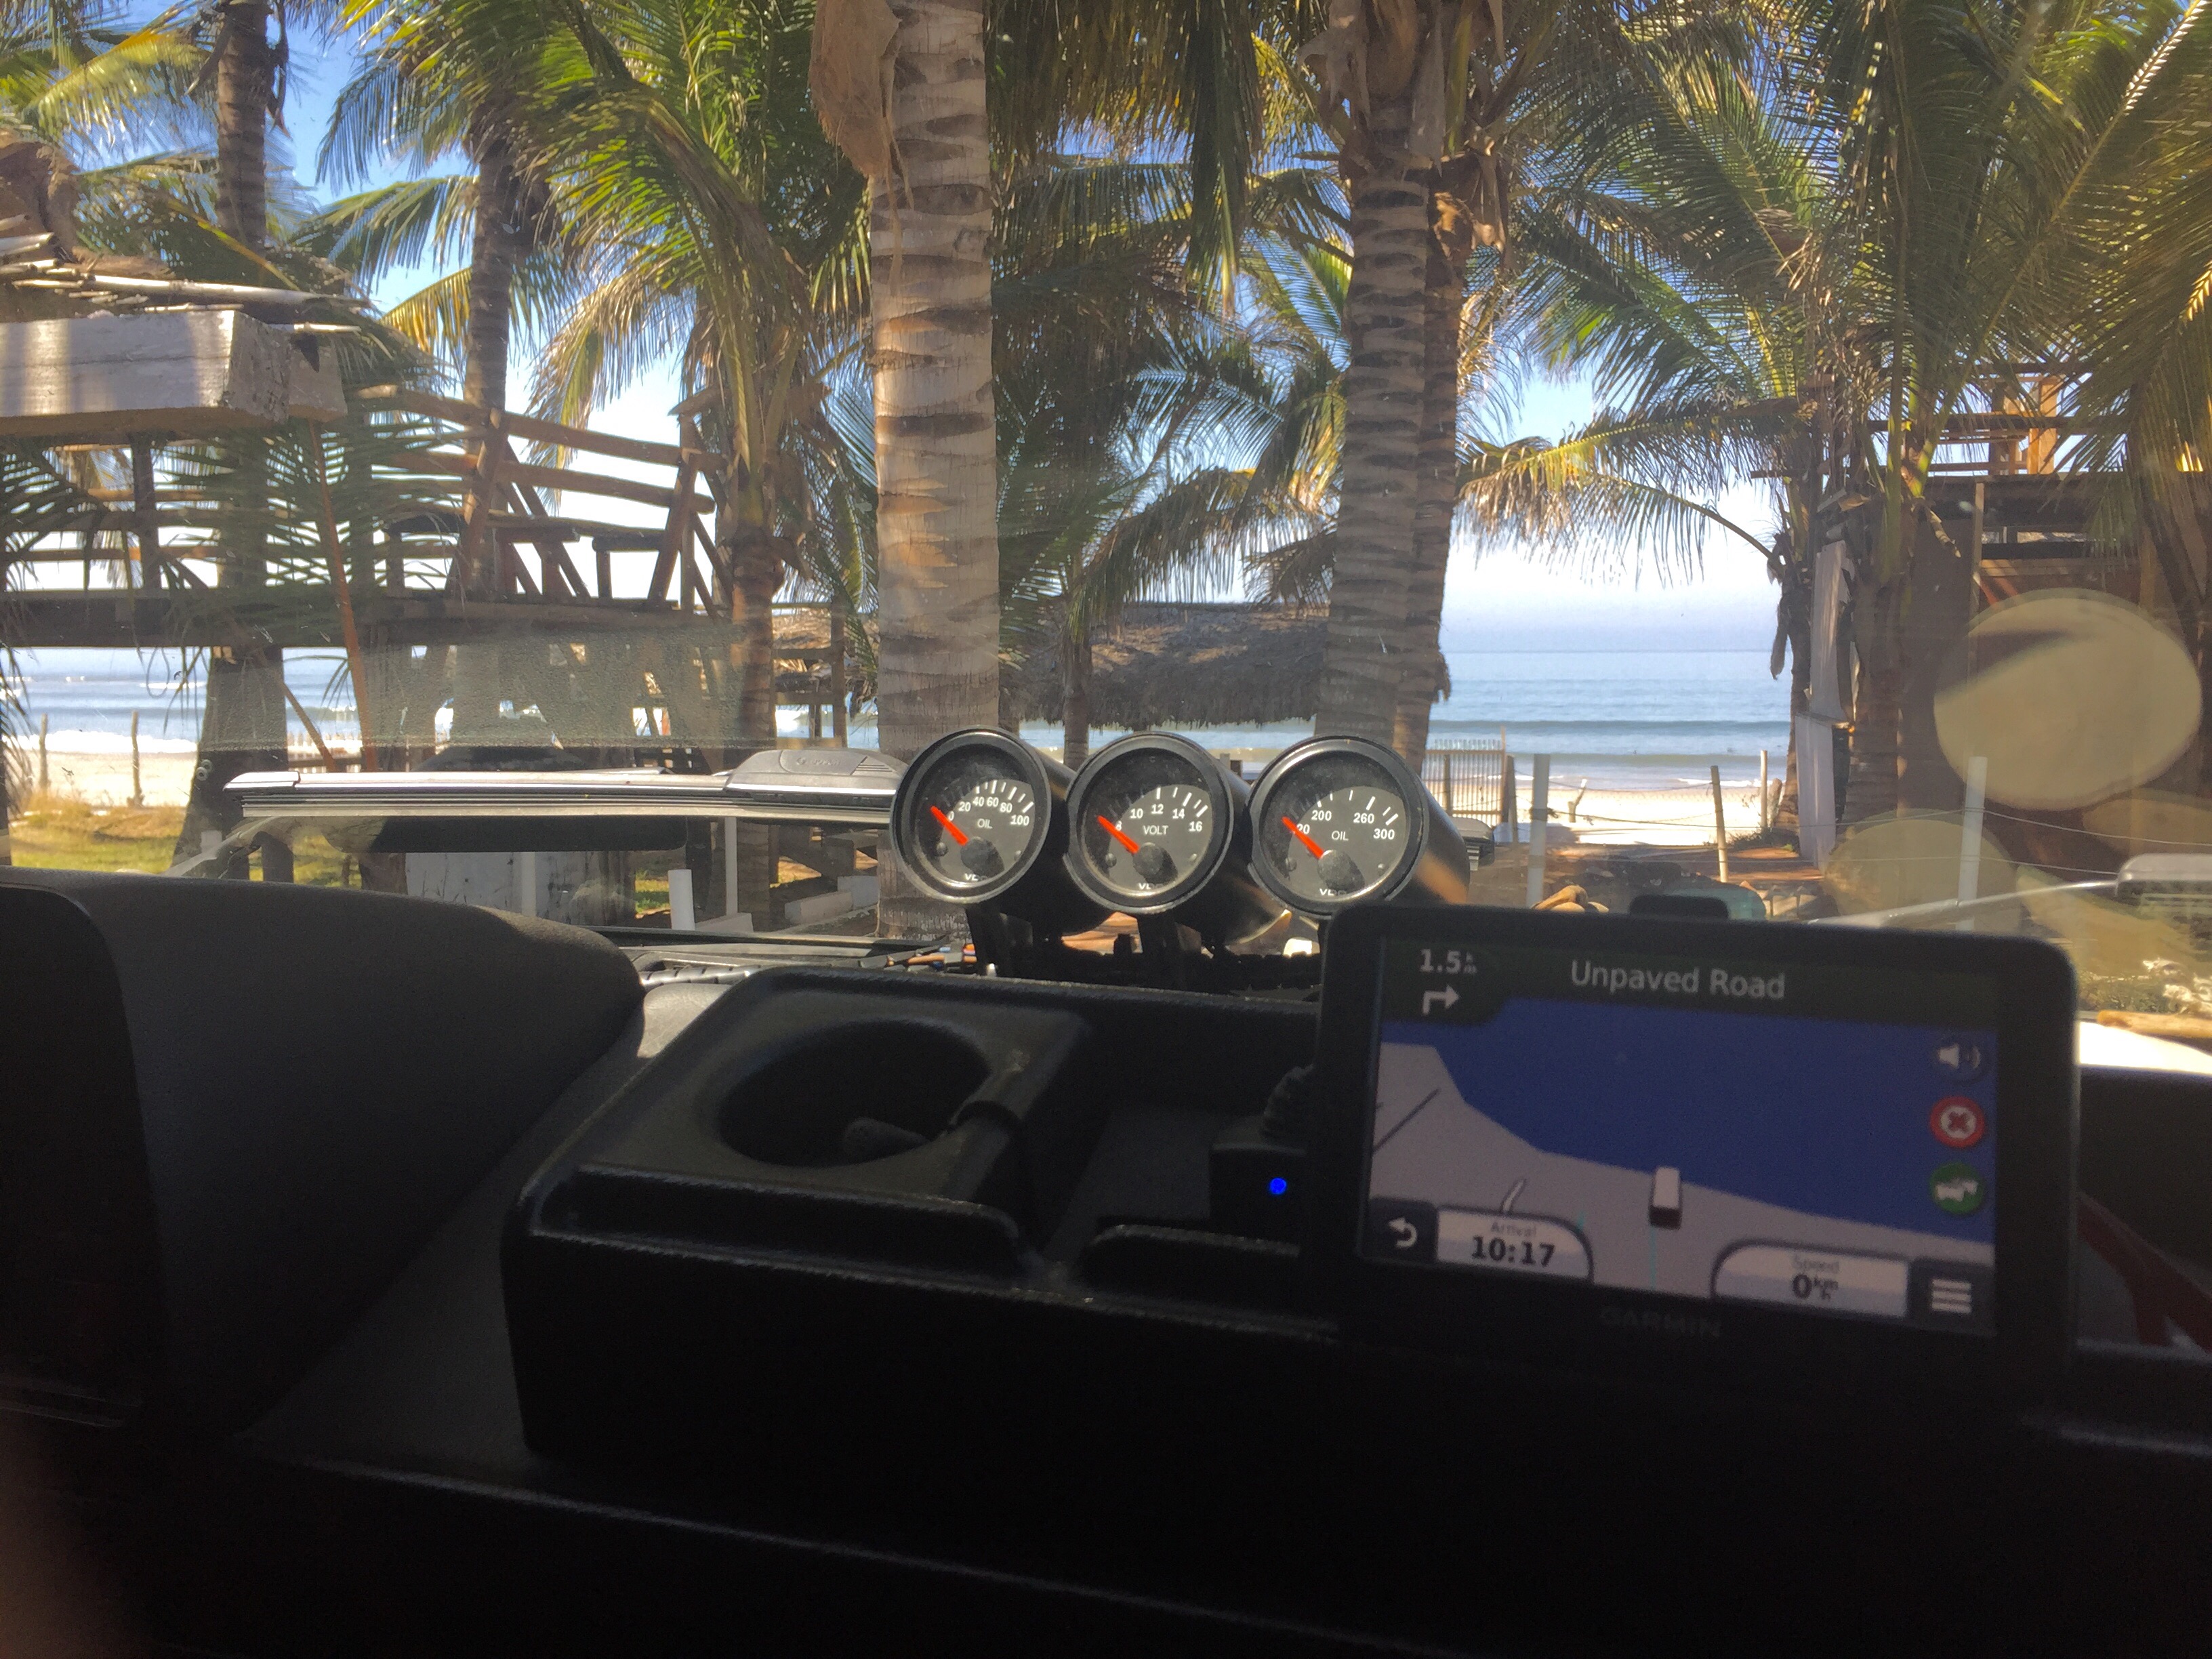
Vanagon – Syncro high top at the beach
Simon’s trip continues to taunt us northerners.


Vanagon – syncro high top on farm in Mexico
Simon continues south.

Vanagon – extinguisher holder
Posted by albell in vanagon, vanagon mods on March 12, 2017
It’s already March and only now do we get the first entry for the “Silliest Vanagon Mod of the Year Award”
I decided to relocate my fire extinguisher from behind the front seat to the stock westy location at the sliding door. Here’s an old pic of the behind the seat location.

It’s just a bit of pvc tubing mounted to the cabinet and really it worked quite well for years ( originally in my 82 westy and transferred to the syncro). But with the solar panel charge controller on the same cabinet face, making the connections to the portable panels was more awkward with the extinguisher there.
But the harebrain fairy must have visited me during the night, I ditched the pvc tube style mount and and went leather.

I’ve got a bunch of full grain leather off cuts, all different colours and none very large. So silly things like this use them up.
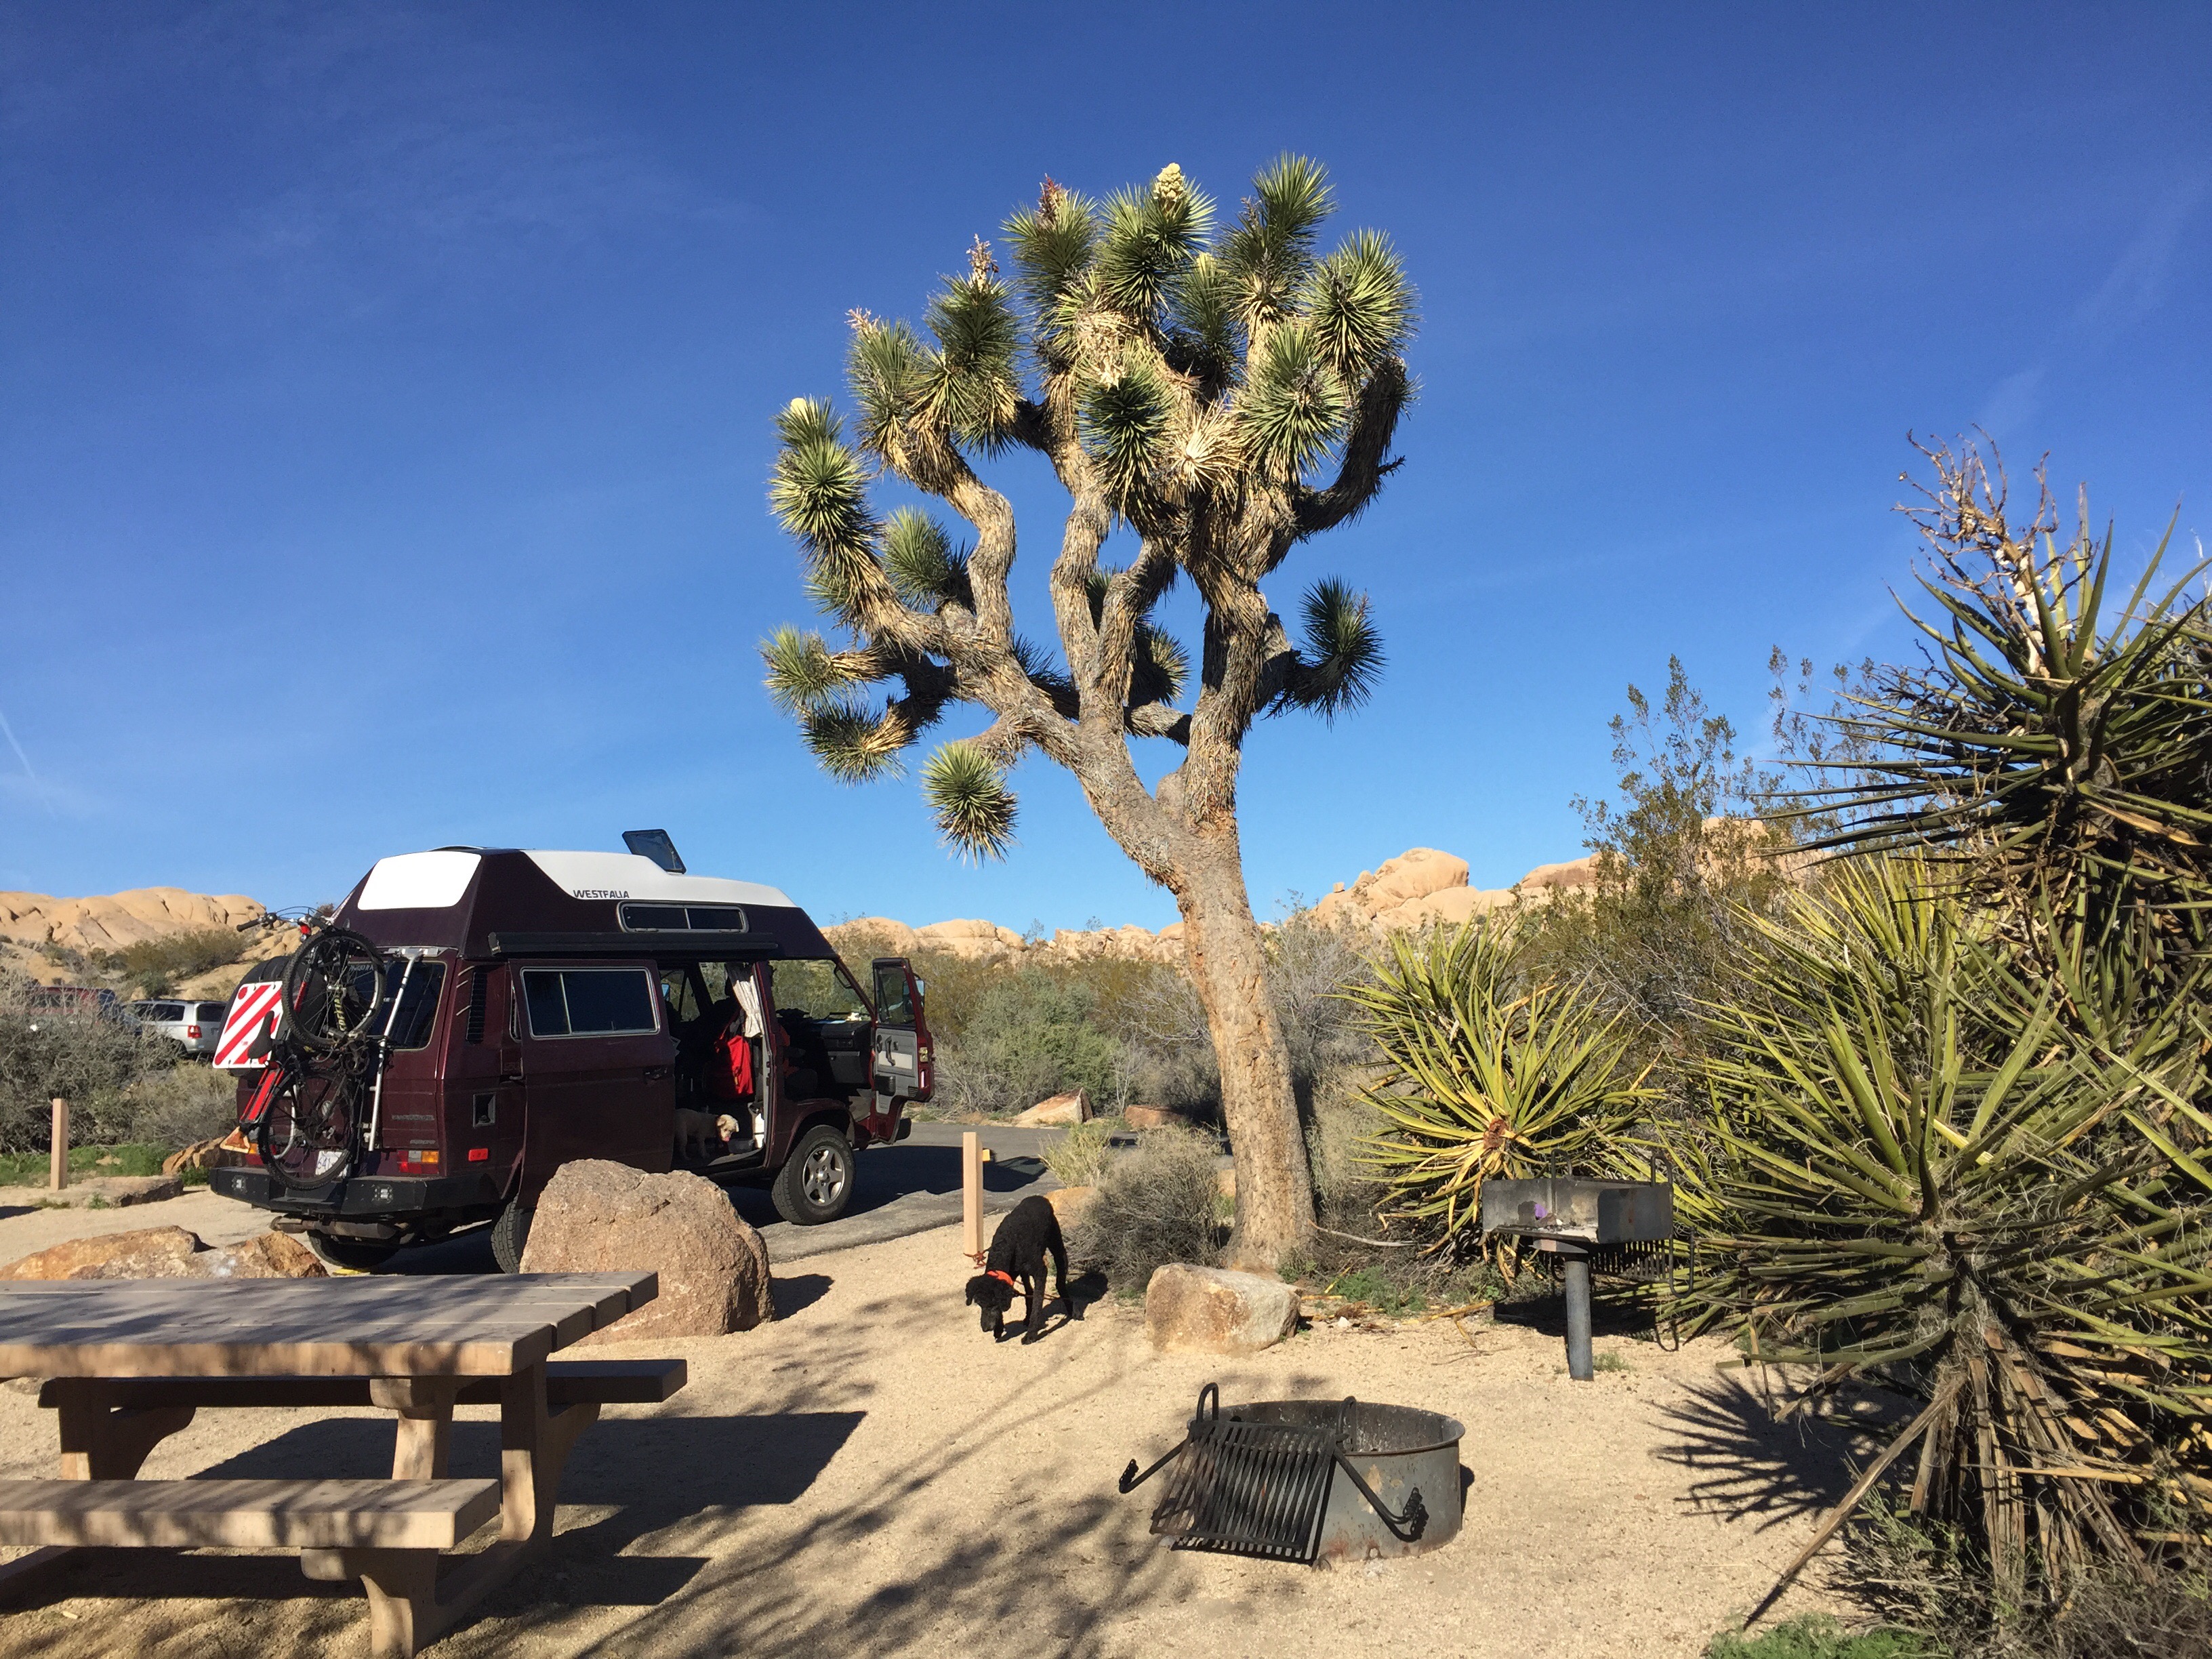
Vanagon – high top syncro at Joshua Tree
Simon is making his way south. Up here is has been sitting around 4C and rain, he’s hitting 37C and dry. The bugger 🙂
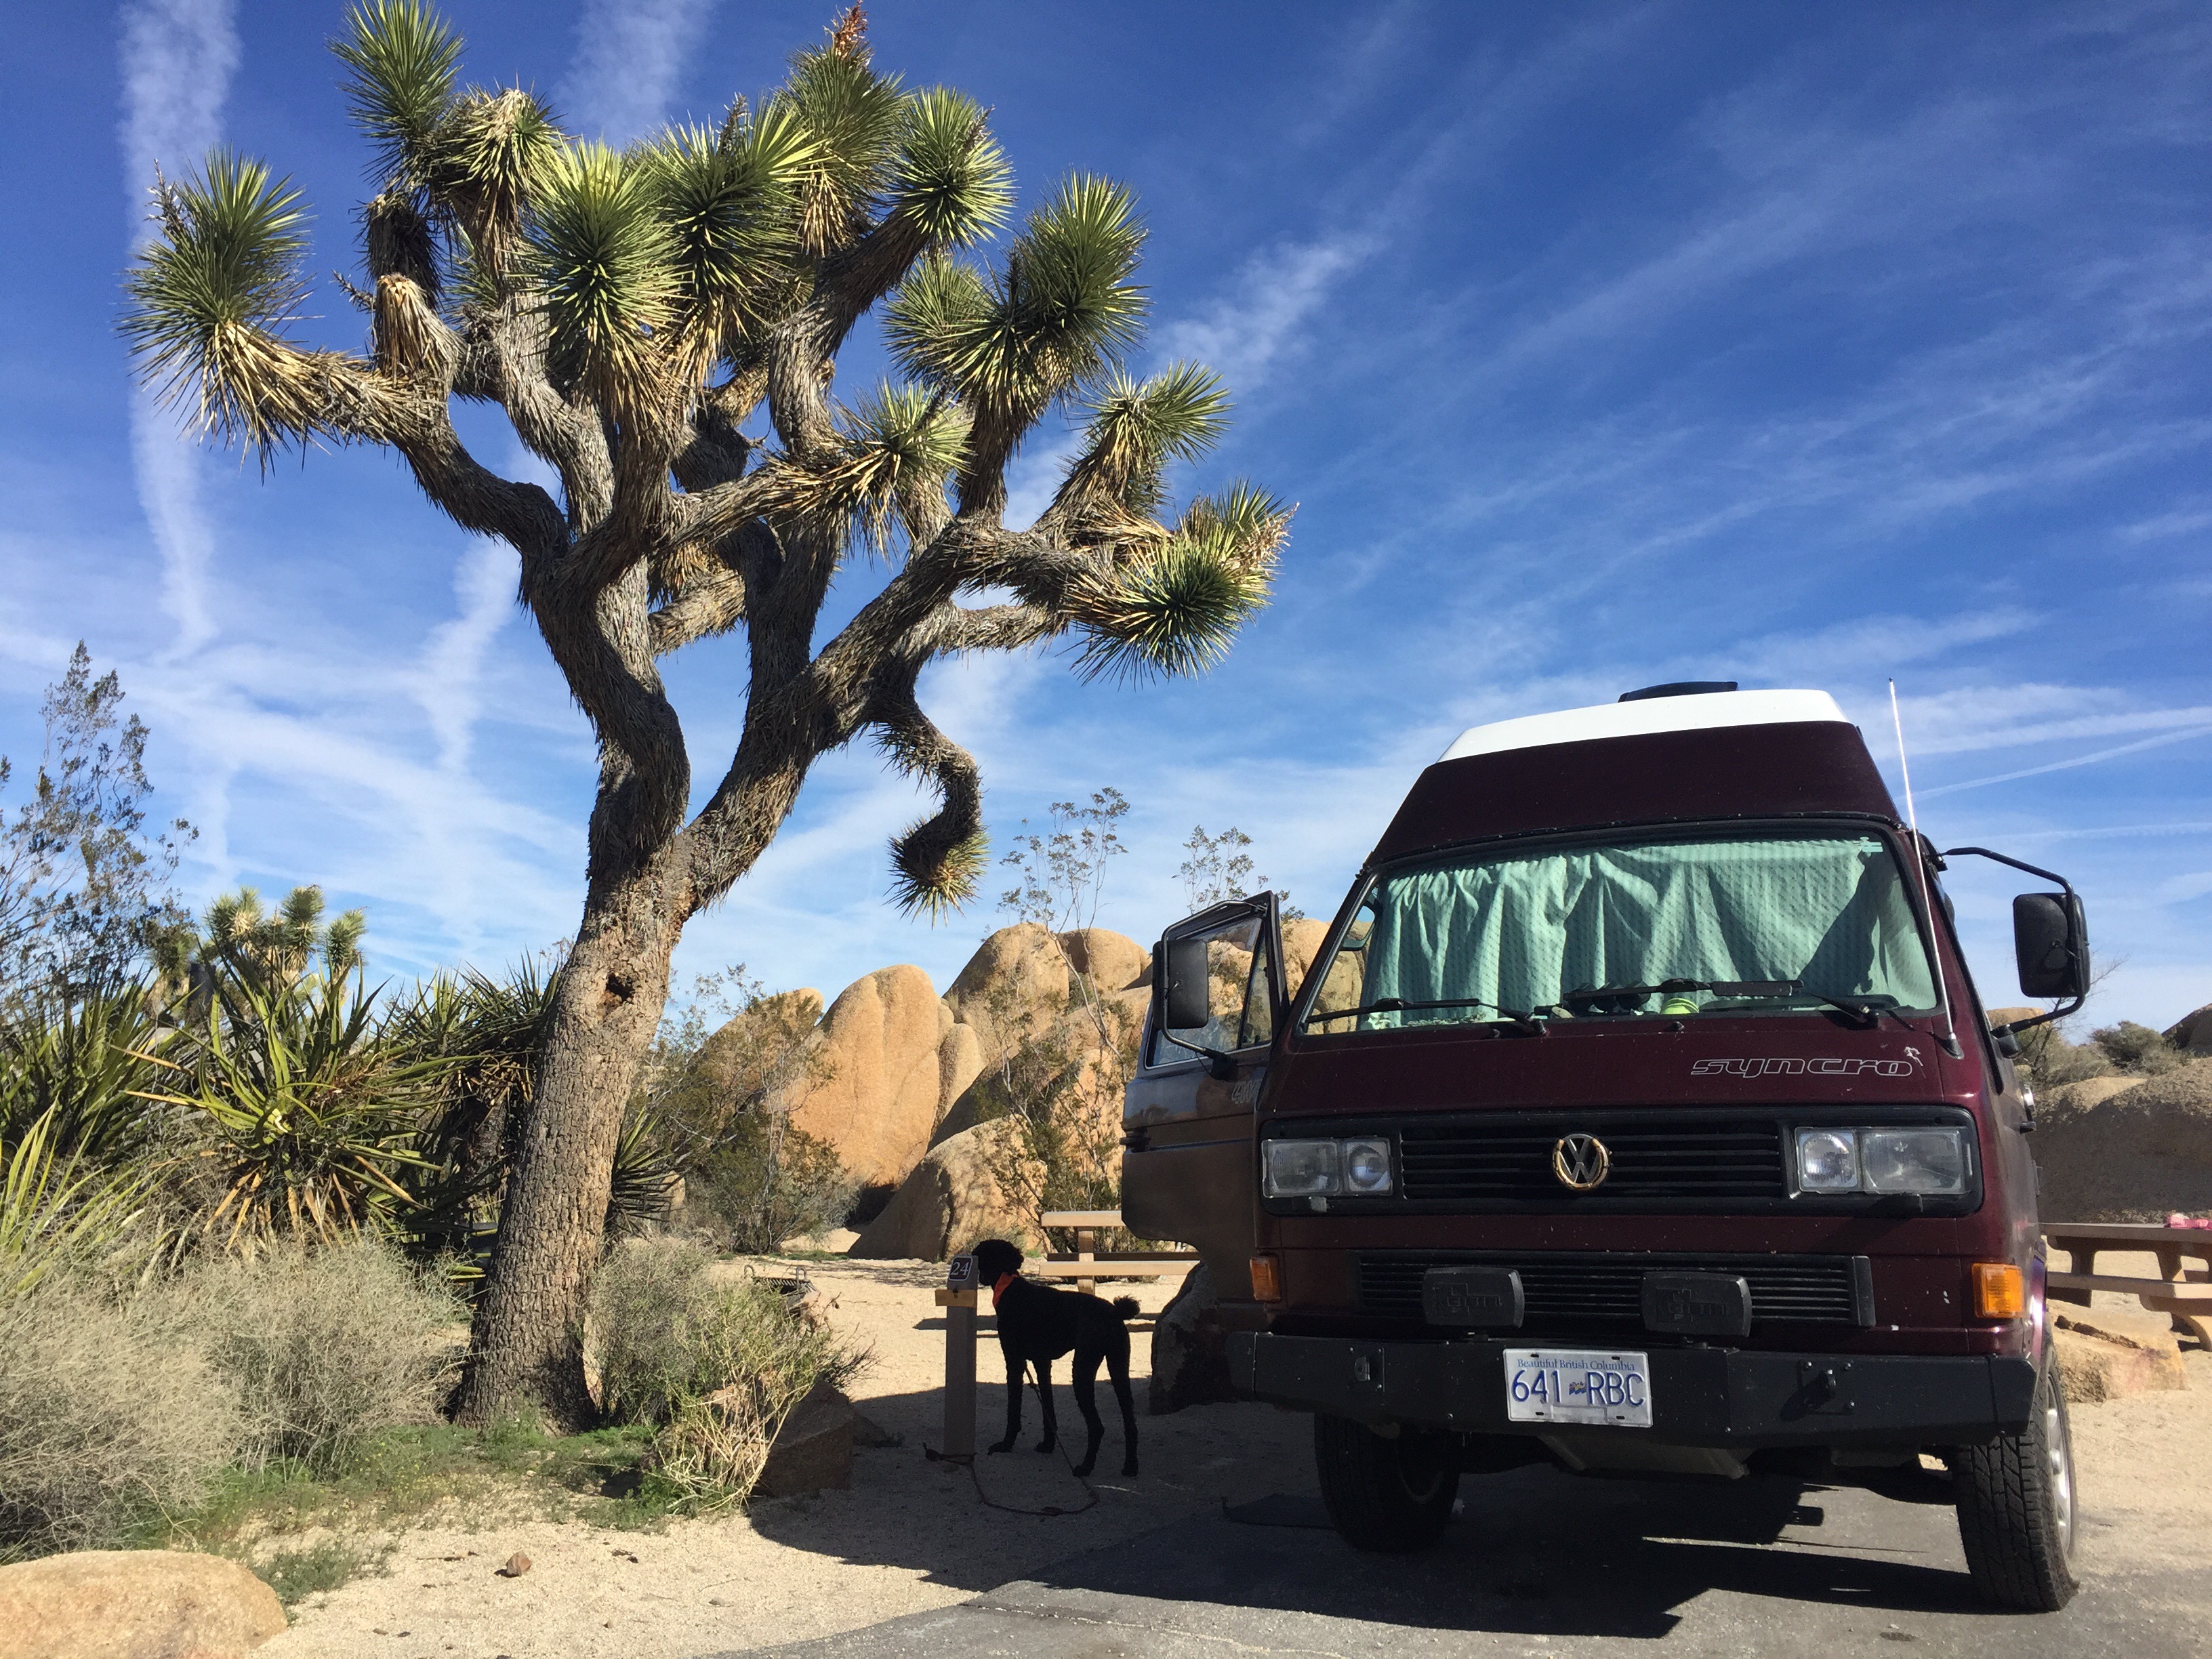
Check out that bike rack.


Vanagon – alternator remix and a real surprise
Posted by albell in vanagon, vanagon mods on March 5, 2017
Back in January I had to do an emergency bearing replacement on the old wbx alternator. The local NAPA store had the bearings in stock (no name bearings, sigh) and the job went fast and worked. While I had the alternator apart I cleaned up the commutator but I noticed the copper was getting very thin and probably wouldn’t last much longer. I don’t know how to replace the commutator, or even if it’s possible to do that at home.
Yesterday when I picked up the Passat gauge clusters at the wrecker yard I also grabbed a Bosch al34x alternator ( also from a Passat), suffering from a brain fart thinking it was a direct swap into the wbx. Of course it ain’t, the bodies are different.
The al34x is on the left, a broken ( severed wires from stator to diode pack )a parts wbx alternator on the right. Note the different mounting.


So today I tore the al34x apart and mounted its rotor, bearings, diode pack, and stator into the wbx housing. The biggest chore when working on alternators is the fekkin hard to loosen machine screws. The long ones that hold the body together and the short ones on the bearing retainer plate and the diode pack. I’ve seen both slot and Phillips head in these, either way you have to use all your guile to get them loose.
First the brush pack get pulled (you all know how to do that ) then the plastic on under the b+ and the “blue wire” (damn I forget the number designation ) terminal. The handy 1/4″ drive tool shown, I’ll talk about more later. And the pic shows that the alternator was a “premium ” rebuild. Premium, ha!

That end stripped.

The 1/4″ drive tool set I’m using has screwdriver bits.

And even being a cheap set the bit was up to the task of removing the long machine screws holding the housing together. That is after I used a regular screwedriver and hammer to give each machine screw a good rap. Then same rapping and grunt to remove screws from bearing retainer plate ( plate is internal but you have to remove the four screws before you can get housing apart).

After all that and some love with the soft hammer, the housing comes apart.

Then you pull the rotor out.

Well it looks like I struck out hoping that the commutator would be relatively fresh. It’s not, it’s more worn than I hoped. But that’s not the surprise mentioned in the blog post title. Remember this is a Bosch “premium” reman.

See it? The machine screw? It’s supposed to be in the hole just down and to the left, in the diode plate. I mean really, it came loose? Does this alternator actually work with that screw up there doing who knows what sort of mechanical and electrical mischief?
It’s bent.

Well I’m in so deep, time and money, so I might as well finish things. The rest of the diode pack screws were not easy to remove. Too late I’m telling them, you can’t make up for your weak buddy. You can move the stator around a bit, careful not to stress the copper wires, to get at the screws. Then pull the diode pack and stator out of that housing and pop it into the wbx housing.


If you’ve made it this far you’ll know that putting it all back together is just the reverse 🙂 just keep an eye on the alignment of the two parts of the housing.

And there we are, guts swapped. Maybe it works but too late in the day now to test it. Man, I can’t get over that loose screw.
Hey, the 1/4″ drive tool I used a lot on this job is a cheapo set I bought a couple of years ago at Princess Auto. If you’re Canadian you know what that store is. I found it on sale, I think under 20 bucks and I have to say I really like it. It’s actually very well made, the ratchet could be finer of course, but jeepers for the money it’s great.


Addendum March 6 2017
Both for my education and to clear up any incorrect terms used above (and a nod to david B.) I submit this cutaway labelling the parts in the alternator

Vanagon – anticipation of new wiper washer nozzles
Posted by albell in vanagon, vanagon mods on March 5, 2017
I’m on the list for a set of new wiper washer nozzles designed and built by Forrest Whitmore. His samba thread about the nozzles can be found here.
I don’t know of anyone who is really happy with the stock nozzles and the spray pattern they make. And over the years I’ve been less than happy with the washer pump performance. You sort of suspect some amount of voltage drop at the pump making the motor less than perky. I toyed with the idea of adding a new power feed and a relay but I got enough improvement by cleaning the contacts right at the washer switch up on the steering column.
Then the other week I was digging around the mess in the workshop and found a spare washer pump. So I says to myself, “go on, plumb it inline”.
Yeah but… if I was worried about voltage drop in the stock un-relayed circuit with one pump won’t having two pumps in that circuit be pushing things?
Yes.
But I did it anyway. Maybe I’ll put in a relay later, but for now I tapped the G10 terminal on the back of the fuse panel ( its hot when washer switch activated. It’s a feed for the headlight washer system, an option we didn’t get here in North America).
I simply cut the washer fluid tubing right behind the driver’s side headlamp, heated up the cut ends and slipped them over the inlet and outlet of the spare pump. Oh and luckily I had the plastic connector with pigtails so making the electrical connection to pump was easy.

That black boot ain’t quite pushed on enough in the pic below.

So how well does this work with the stock nozzles? You’ll think I’m exaggerating when I say it works twice as good. More volume and force ( it will shoot over the top of the luggage rack if not aimed right) and I’m going through fluid fast. Fast enough that I checked for leaks today. When I get the new nozzles I’ll post some vid comparing things etc.
Vanagon – my rotten cluster foil has made me mad
Frank G. did a very nice Passat cluster into vanagon housing conversion and it’s on the blog right here. I don’t know if I will try to follow him but maybe…
Notice the top cluster is in imperial measurements and the gauge faces are all in one piece. Needs overlays. But it’s an electronic speedo so getting the speedo cable to the cluster isn’t an issue ( just need a hall sender gizmo ). The bottom cluster is from a Passat syncro g60. Mechanical speedo which makes things interesting. Note the revs per kilometre number, 80 less than my stock syncro. Oh I don’t know what I’ll do, I bought them in a moment of weakness ( them and a spare alternator).


Vanagon – rude and crude pedal lock
Posted by albell in vanagon, vanagon mods on March 1, 2017
A late Xmas present made from 3/8″ X 1.5″ steel ( 3/8″ is admittedly overkill). Padlock goes through the hole in the removable bar.
The design is a direct copy of one I saw on the net ( I think made by a German vanagon owner). There are a few variations on the pedal lock theme, I chose this one as it seemed to be the simplest.


