Archive for June, 2017
Vanagon – almost foiled weekend trip
Finally, we were able to take off for a weekend trip to one of our favourite places. Weather was to be hot and dry. Packed up Saturday morning and headed out. Alternator light started to glow before we got out of town. Shoot, it came back to me that when I did an alternator overhaul this last winter I made a mental note to replace the brushes soon. Mental note got lost. Had a spare voltage regulator in the van (used, but brushes still workable) and swapped it in. That solved that but then the van started to run oddly. Idle would drop and engine die, ran a little rough. We headed to Simons house to use driveway and I poked and prodded connections etc. Moved the O2 sensor wire away from a spark plug wire. That’s all I could do. Headed back home and the van ran fine. Took the chance and turned around and continued trip. Engine ran well for the rest of the trip. Sooner I put in a new motor the better, it’s so frustrating to trouble shoot this old engine and wiring.
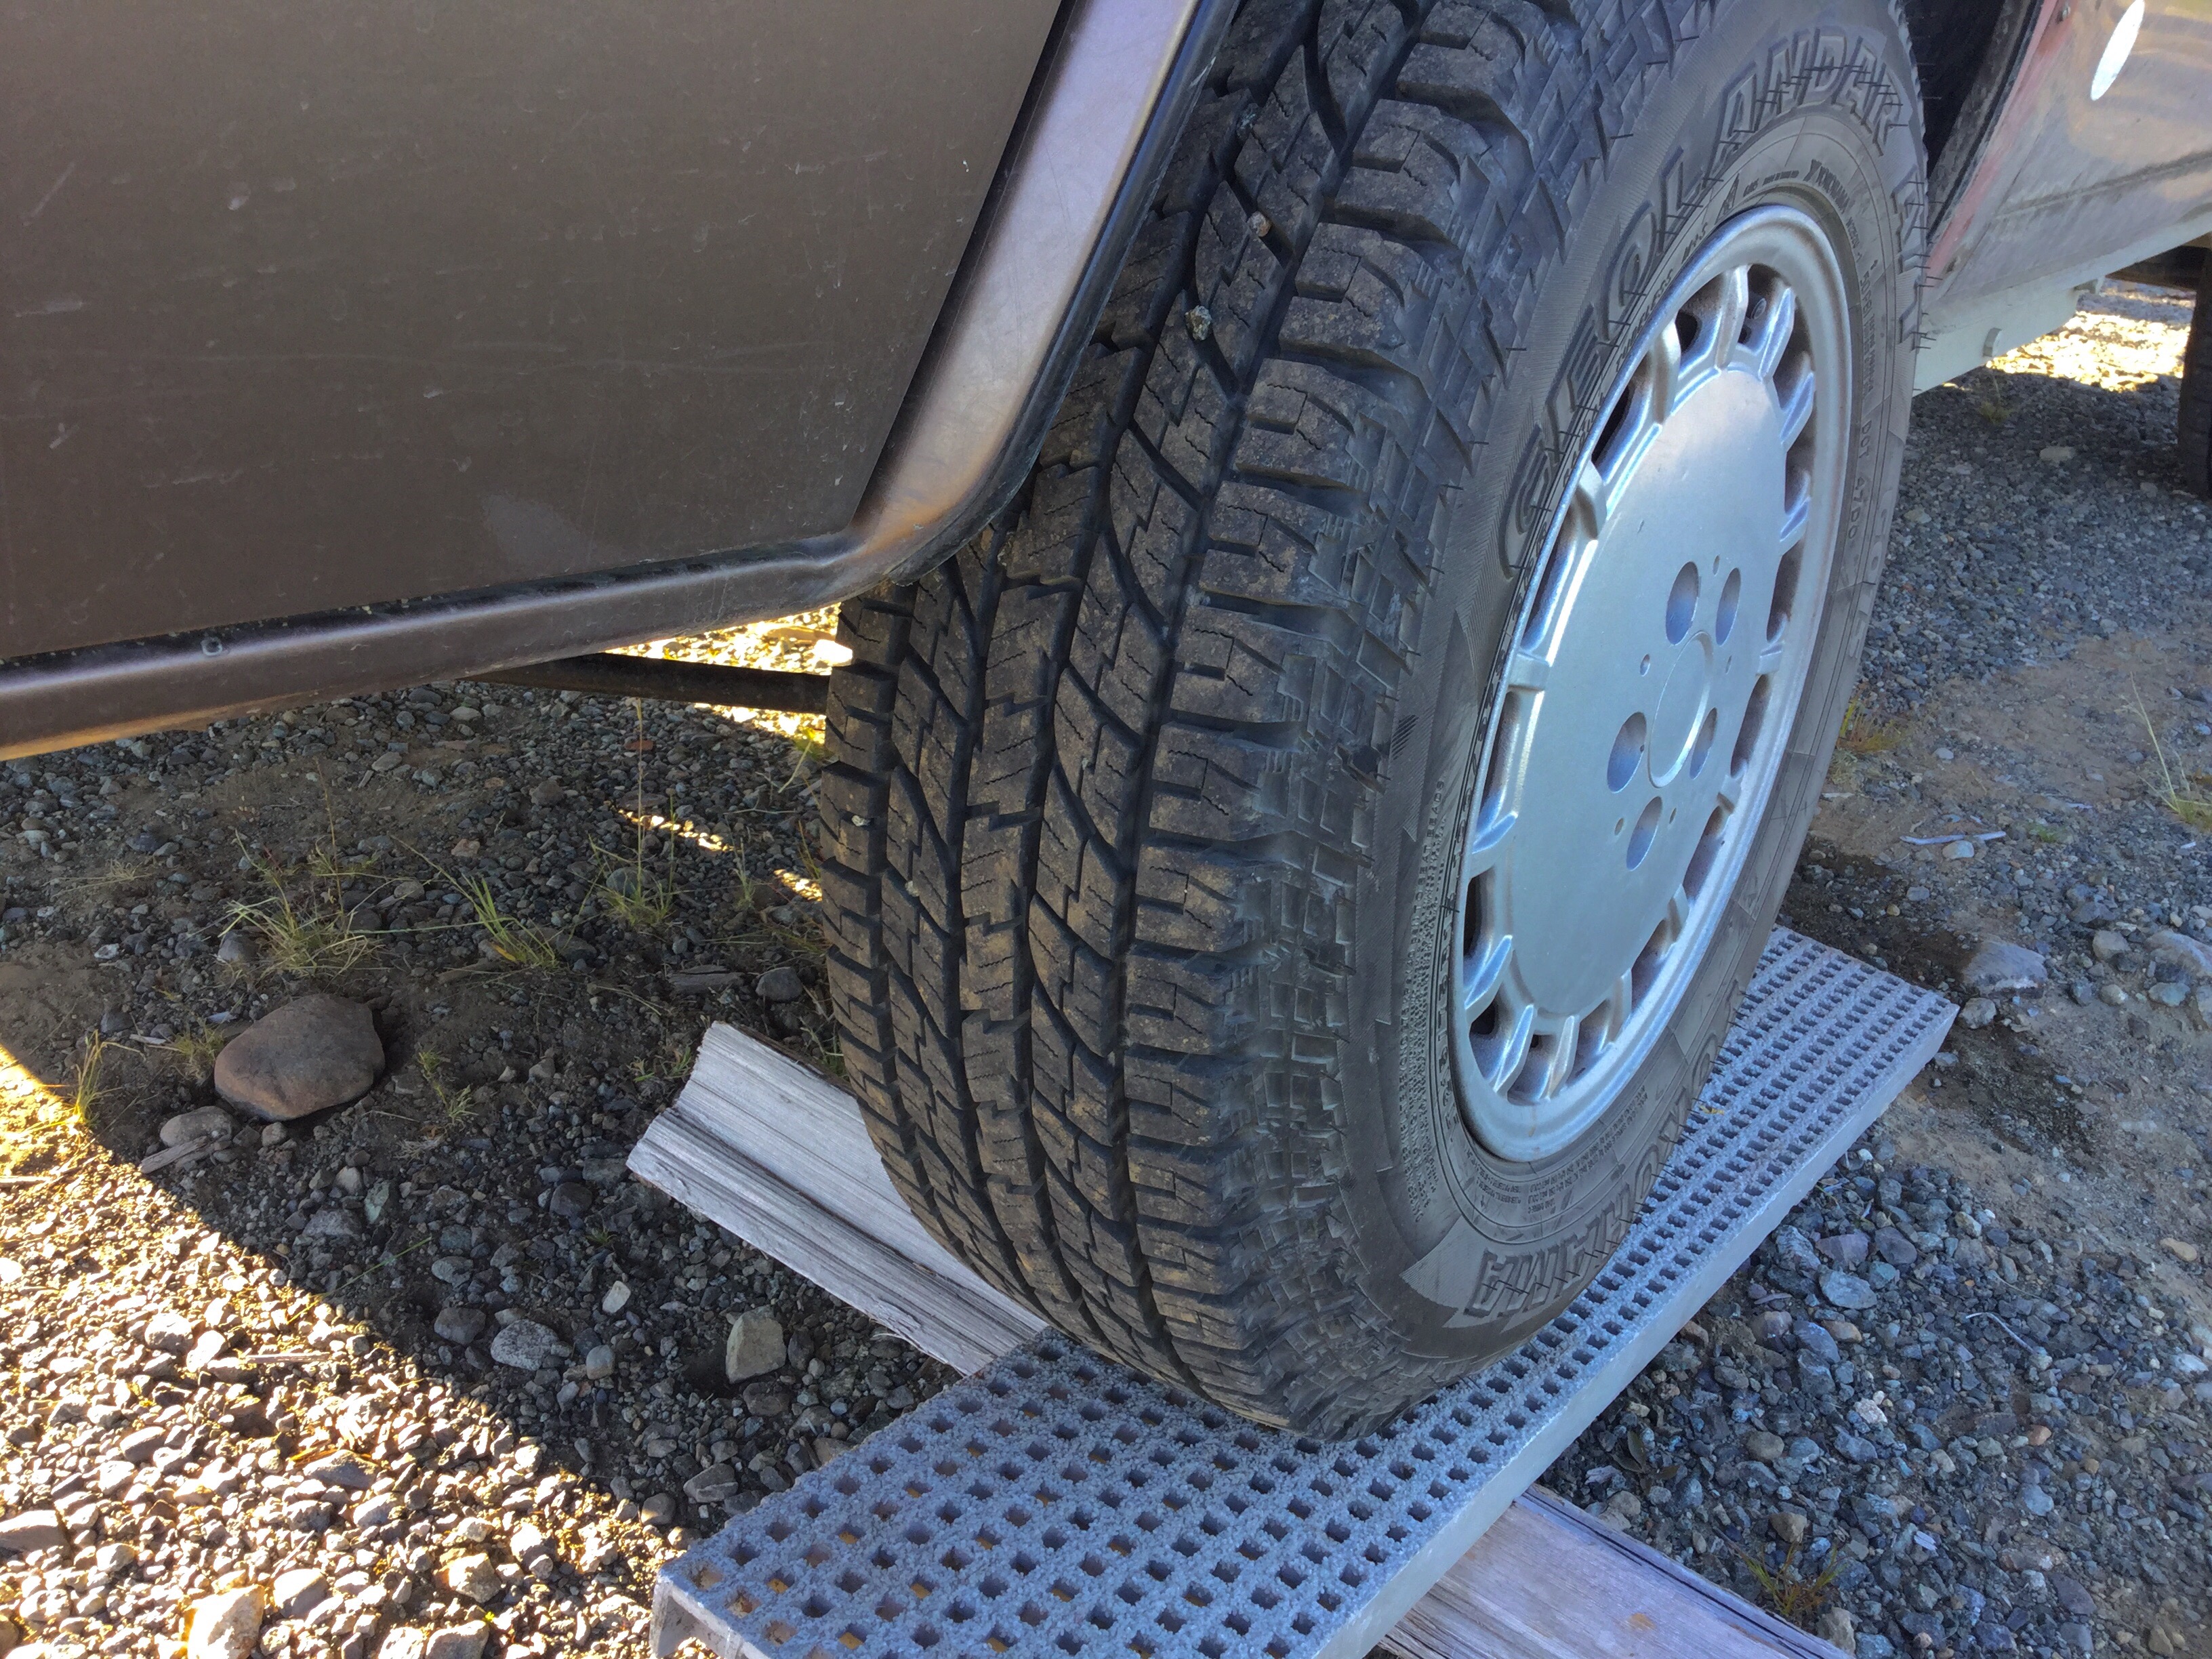
I bought new tires last week. I was running Yokohama Geolandar ats, 215/70 15. New ones were the replacements for the ats, the Geolander GO15. And I went for largest ( some say to much ) that you really should put on the van with stock motor, 215/75-15. Was expecting more of a performance hit than I actually felt. Yes, I did have to downshift on hills that previously I hadn’t needed to, but this was much more apparent on the pavement, not so much in the logging roads ( travelling much slower on those roads).
The ride quality of these new tires are very much better than the old ones. Yes, a little louder on the pavement but smoother ride and on rough roads they soak up the harsh bumps way better. Great grip on loose stuff, and I didn’t notice the lugs getting cut by sharp rocks.
Shade temps were hitting 30-32 C when the breeze dropped. Sun intense, no fog on the ocean ( oh that will come in July and August), just perfect.


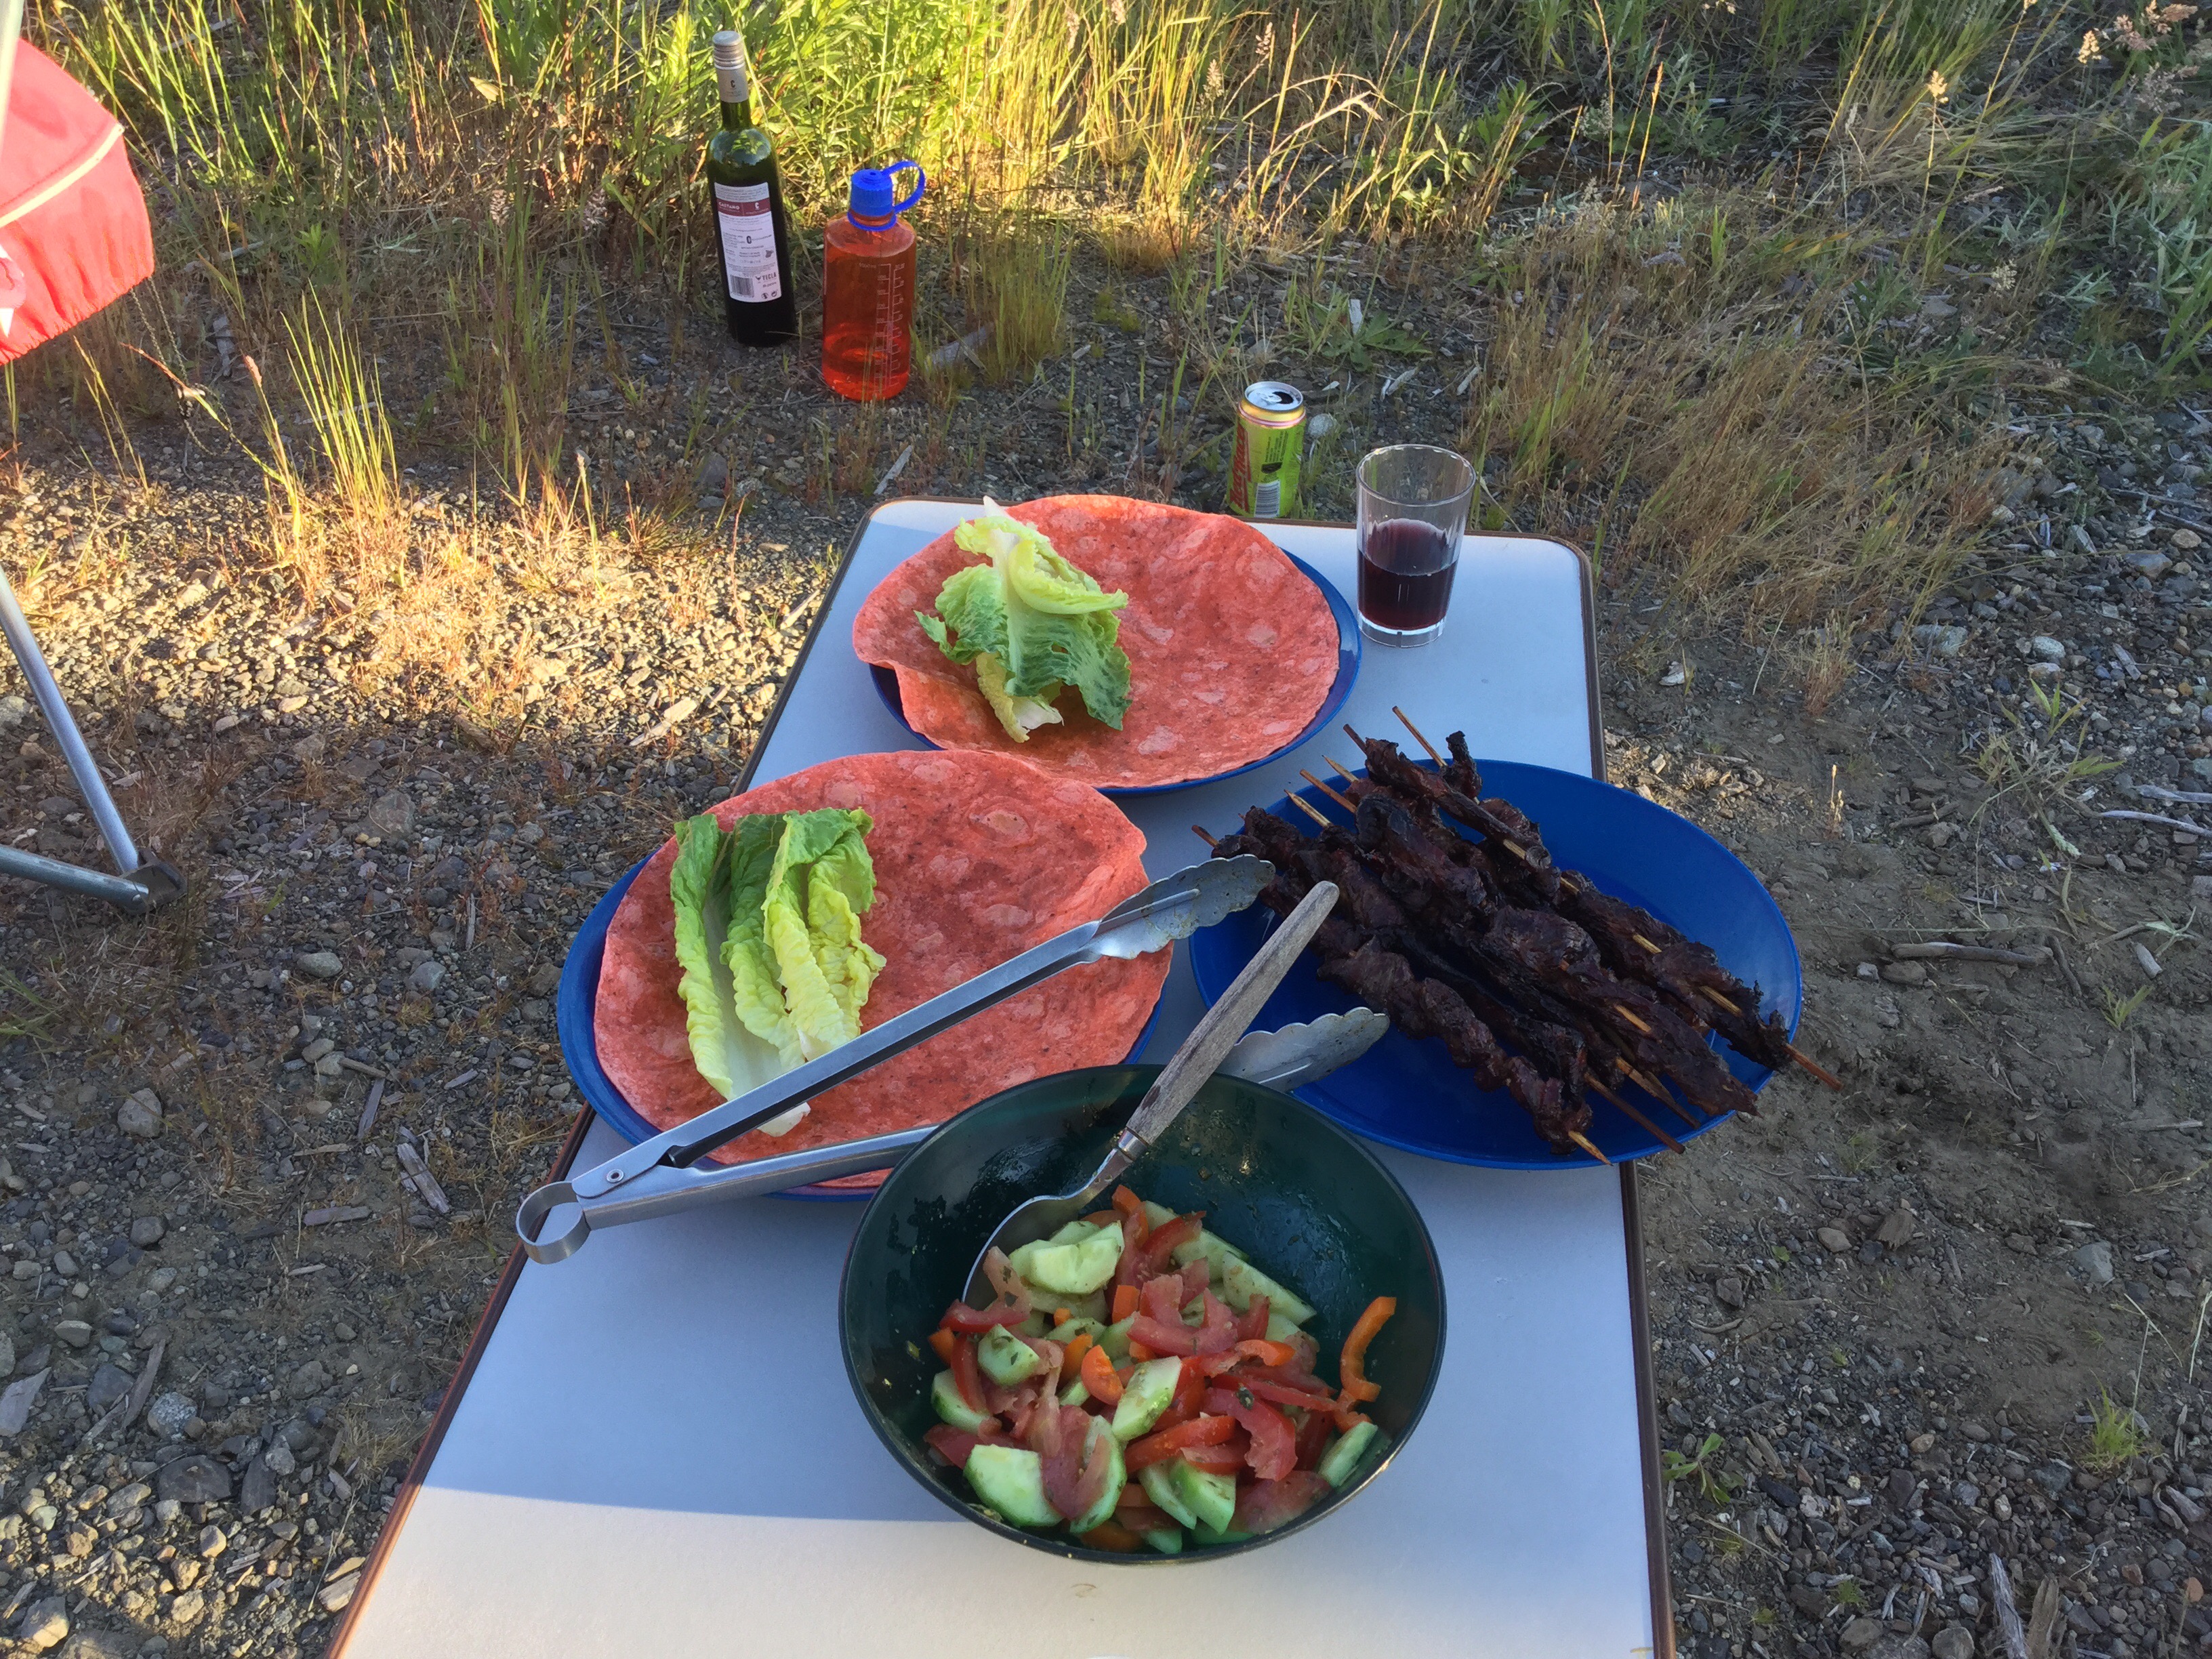
Brought the large westy table with us, and it works on the Swellegant™ table mod even better than the smaller table. I’m telling ya, it’s one of the best things I have ever invented.

Dinner was marinated thinly sliced skirt steak on skewers grilled on the Ecoque.

With salad and wrap.
Magnets holding a reflective tarp over part of the side of the van to give the fridge a fighting chance.

If you look towards the horizon, just to the left of that awning guy line, and if you could fly in that direction, the first land you’d encounter would be New Zealand. Amazing eh?

We pretty well just sat, read, drank, ate, enjoyed the view, looked at the marine traffic. Saw no bears, elk, deer. Nighthawks were there though, and a couple of rufous hummingbirds that really liked the red campchair.

Tent pegs – German WWII era, really?
Back in the 90’s I bought some tent pegs at a surplus store, it might have been Herbie’s Surplus in Williams Lake B.C. I thought they looked good and the particular design and overall shape blinded me to the fact that they were obviously cast. That’s cast aluminum, perhaps not the best material choice for tent pegs.
Right enough, I broke three of them in short order. Still have two undamaged examples but I never use them. Found them again when sorting out the (again army surplus) stuff sack I keep for cord, rope, clothes pegs, etc in the van. Still love the shape and thought that maybe I should cut up some 6061 aluminum angle to make rough copies.
Here is what I have left.

And the maker’s mark.

Not finished the copies yet, but I did do a search for the name “APAG” which was cast on the pegs. Try that yourself, the name plus tent peg. I got a few eBay listings, for example this one:


Of course i could be wrong, but the maker’s mark typeface sure doesn’t look like WWII era German. And if it was, would they be using precious aluminum for tent pegs?
Addendum: summer solstice 2017
Made my own two versions of the dubious German pegs. They might bend but I don’t think they will break quite as easily as the originals.

Vanagon – a couple of minor fridge mods
Posted by albell in vanagon, vanagon mods on June 19, 2017
Attention!!! Maybe some of these mods don’t work. Doing some tests now to confirm. Yes this is embarrassing 🙂
I’m going to try my best to not run down any rat holes in this post, for there are many when it comes to the fridge. I’ll try to stick to the mods that I recently made. Over this last winter I’ve had a couple of westy propane fridges in the workshop, in for some D&C ( that’s dusting and cleaning, not the other). With one of them, I tried out some ideas. First was to insulate the section of corrugated stainless exhaust pipe that really pumps out heat into the van. Just a couple of wraps of Fiberglas tape, exhaust pipe tape.
The next mod was a couple of aluminum plates clamped to the fridge cooling fins to help channel cooling air. I know others have made an enclosing shroud back there, I tried that about twenty years ago and I wasn’t very successful in getting a good fit. This time I reckoned that the plates would maybe do 80% of the job with 100% less effort.
In addition to the plates, I added a bank of three small, very quiet and low current draw, squirrel cage fans.
Here’s the test mule with the mods. At this time there was only one wrap of insulation on the exhaust pipe and I added a programable temperature controller and probe to control the bank of fans.


I bench tested this with propane, 120 V ac, and 12 V dc. I fiddled with a programable temp controller and finally decided that even though it was sort of fun to be able to adjust the fan set point and adjust the dead zone ( in effect, adjustable hysteresis) , it really wasn’t needed.
Also found that on propane, the exhaust pipe still gets hot. Not skin scorchingly hot as it was un-wrapped, but still a heat source. Decided to double wrap.
This weekend I duplicated the set up onto my own fridge. I had added a second fan to this fridge some time ago, and I had replaced the stock fan motor with a slightly larger unit. This was working ok, the second fan was fairly quite. Skirting round a tempting rat hole here when I say that I think the stock fan blade works as well as anything in that placement.


I removed that computer fan and installed the bank of three squirrel cage fans. The fans are wired in parallel to the stock fan. And added the plates.

Plates are held on by hooked ends, the straight ends threaded and nutted.

The fans are mounted to a bit of 1″ wide, 1/8″ thick aluminum. Little bit of a dog leg and screwed at one end, the other end cable tied to fridge tubing. It’s in there quite securely, no movement, no rattles.

Double wrap of insulation on the exhaust pipe.

I don’t think the insulation will have any adverse effect on the exhaust tubing. I think the stainless will take the additional heat.
A couple of tips on reinstalling the fridge. One thing I did some years ago was to re-thread the intake/exhaust flange for M4 bolts. The original sized holes had stripped out. The socket headed cap screws are nicer to use.

When you’re trying to line the fridge up to install the sheet metal screws inside the cupboards, a slim awl or a pin as shown is a great help.

And the propane connection to the fridge can be a little frustrating to attach. The line up might be off and the access is awkward. A short wrench is invaluable, this old family heirloom is what I use.

You know, I’m not an expert on these fridges but I’ve found that if all the components are working, the electrical connections good, and the combustion chamber ( and gas jet) is clean, then the fridge lights up easily. Believe me, I’ve struggled with the fridge at times, but I think those days are long gone.
Touch wood
Addendum, later that day…
Dgbeatty commented that I should look to the finned heat exchangers inside the fridge and re-do the thermal paste. That bugged me, I should have thought of that when I had the fridge out. I replied that I had tried to remove the fins years before but had no luck, they were stuck enough that I worried about breaking something. But I tried again and this time they came off.

That old thermal paste came off with WD40, then a rub with isopropyl alcohol.

Of course I don’t have a tub of thermal paste to re-apply, so I did what any redneck would do, I used anti-sieze. I don’t think that’s as daft as it seems. The MSDS for this anti-sieze states it contains 5-10% (by weight) aluminum powder.

And all back together. Replaced the the little CPU fan I had wired up to the top of the fins ( idea is to circulate the cold air, don’t use it that often) with one of the little squirrel cage fans. At the side of the fins. What the heck, it’s going to move some air.

Thanks Dgbeatty for getting me off my duff.
Vanagon – pop top seal replacement and new decals
Posted by albell in vanagon, vanagon mods on June 17, 2017
This is, and i know there are many strong contenders, the most boring post on this site. You’ve been warned.
It’s funny, I mean funny curious, how we get concerned by things that others think trivial. What I mean is that there are so many cosmetic repairs I have to do to my van but what I end up doing is something minor. This time it’s the pop top seal which, while not completely thrashed, was getting tired.
And the the other funny thing is that I don’t like how many of the replacement seals look. I’m not saying they don’t work well, it’s just that they have a vinyl look that bugs me.
Way back in 2001 or 2002, I replaced the stock pop top seal on my old 82 westy with a bulb seal that I found at a local RV store. It had a nice rubber look and had a generous sized bulb and edge grabbing part. I kept that seal when I used the 82 westy parts to camperized my syncro tin top. The luggage seal was the original VW seal and I kept that ragged thing going with glue repairs.
But it was time to freshen things up and I found a replacement bulb seal. It’s a heavy duty seal that I discovered being used at a local boat company. It’s not cheap, and i had to buy more than needed.
From left to right, an unused portion of the old seal that was left over from the 2001 install, the used old seal, and the new seal.
Right away you can see the new seal has white grippers and a slightly deeper gripping portion. Also has that inside lip that really doesn’t have any effect in the pop top install.

Side views.


My lord this is boring. Ok, So i bought new bulb seal and I put it on the pop top. Also used the seal on the luggage rack and it worked out just fine. That heavy bulb seal sat down nicely. Left the seal a little short at the rear to let water drain. Maybe I’ll need to cut a channel in the bulb at the front corners for more drainage, we’ll see.
There is one issue with this type of bulb seal on the pop top and I noticed it with the old seal. And that is there is a bit of a ledge between the seal and the pop top that collects dirt. What I might do is run a small bead of clear silicone caulk along the edge.


And the decals had really not weathered well. I don’t have one of those rubber wheels that you use with an electric drill to remove decals so I was thinking it was going to be a chore getting them off. But turned out that a plastic scraper and heat did the deed in a jiffy.

Bit of a tell left after a wipe down with isopropyl alcohol.

New decal, which btw are 3M reflective black, going on.

Looks ok, but I’m pants at this sort of thing, never seem to get the decal just right ( you’ll see that with the rear decal)


One last boring pic. The van is a daily driver and this is the wet coast of Canada and that combo means lichen on the pop top. Scrubbed the top and the interlux brightside on part poly urethane paint I used 7 years ago ( and only one coat, cheap me) cleaned up surprisingly well.

Vanagon – the aluminum obsession continues – sliding door card
Posted by albell in vanagon, vanagon mods on June 16, 2017
It wasn’t my first choice of materials, but it was given to me by Thomas and I had to use it. 2024-T5 aluminum is hard to weld as I found out with another project. That project might get some air here. I just jumped into it and didn’t pay any heed to the letters printed on the stock, I thought I was just having a bad day at welding. It’s also not happy being bent, snappingly not happy.
So I had a couple of good sized bits of 0.063″ (1.6mm) 2024 that I really couldn’t readily use. Except… my sliding door card had been mangled by the previous owner and although liked the stock vinyl and cloth cover I hated that it was warped and tattered especially at the rear end.
I got that red mist in my eyes and made a replacement card from the aluminum. Yeah I know, it’s not the best stuff for this application. It’s cold, it’s thinner than the stock cards, it’s harder to fab, and I will have to cover with some sort of fabric. Oh speaking of the fabric cover I’m intruiged by this stuff from Seattle fabrics, the link here. I’d stick on a thin layer of open cell foam before the fabric. But we’ll see what I can find, don’t worry it will be covered and slightly insulated.
I just laid the old door card on the metal stock and traced the outline. I popped in holes the same size as stock thinking that maybe the stock clips would hold, but as it turned out they wouldn’t. The aluminum was just too springy to pop conform to the curve of the door without pulling the clips. That meant I had to slightly enlarge the clip holes in the door to accept some 1/4-20 riv-nuts. And then I used 1/4-20 flat head stainless screws and finish washers to attach the panel. And boy oh boy, screwing the door card on is so much more secure than those plastic clips.
The pics follow 🙂
Stock cut with protective plastic film still on.

Yeah, hand cut so the wobblies show.

A bit of a “hall of mirrors” effect in the van. Maybe keeping it uncovered will make the inside of the van seem larger.

Vanagon – westy kitchen unit score
Answered local buy and sell ad and met up with ex-vanagon owner Warren. Really nice guy selling some left over parts including a later model westy kitchen unit ( the type that has the lower front end and different lid), a rear heater, home made pressure bleeder for brakes, and various other little bits and bobs. The kitchen unit does not have the stove parts nor the fridge. The space where the fridge went has some shelves installed.
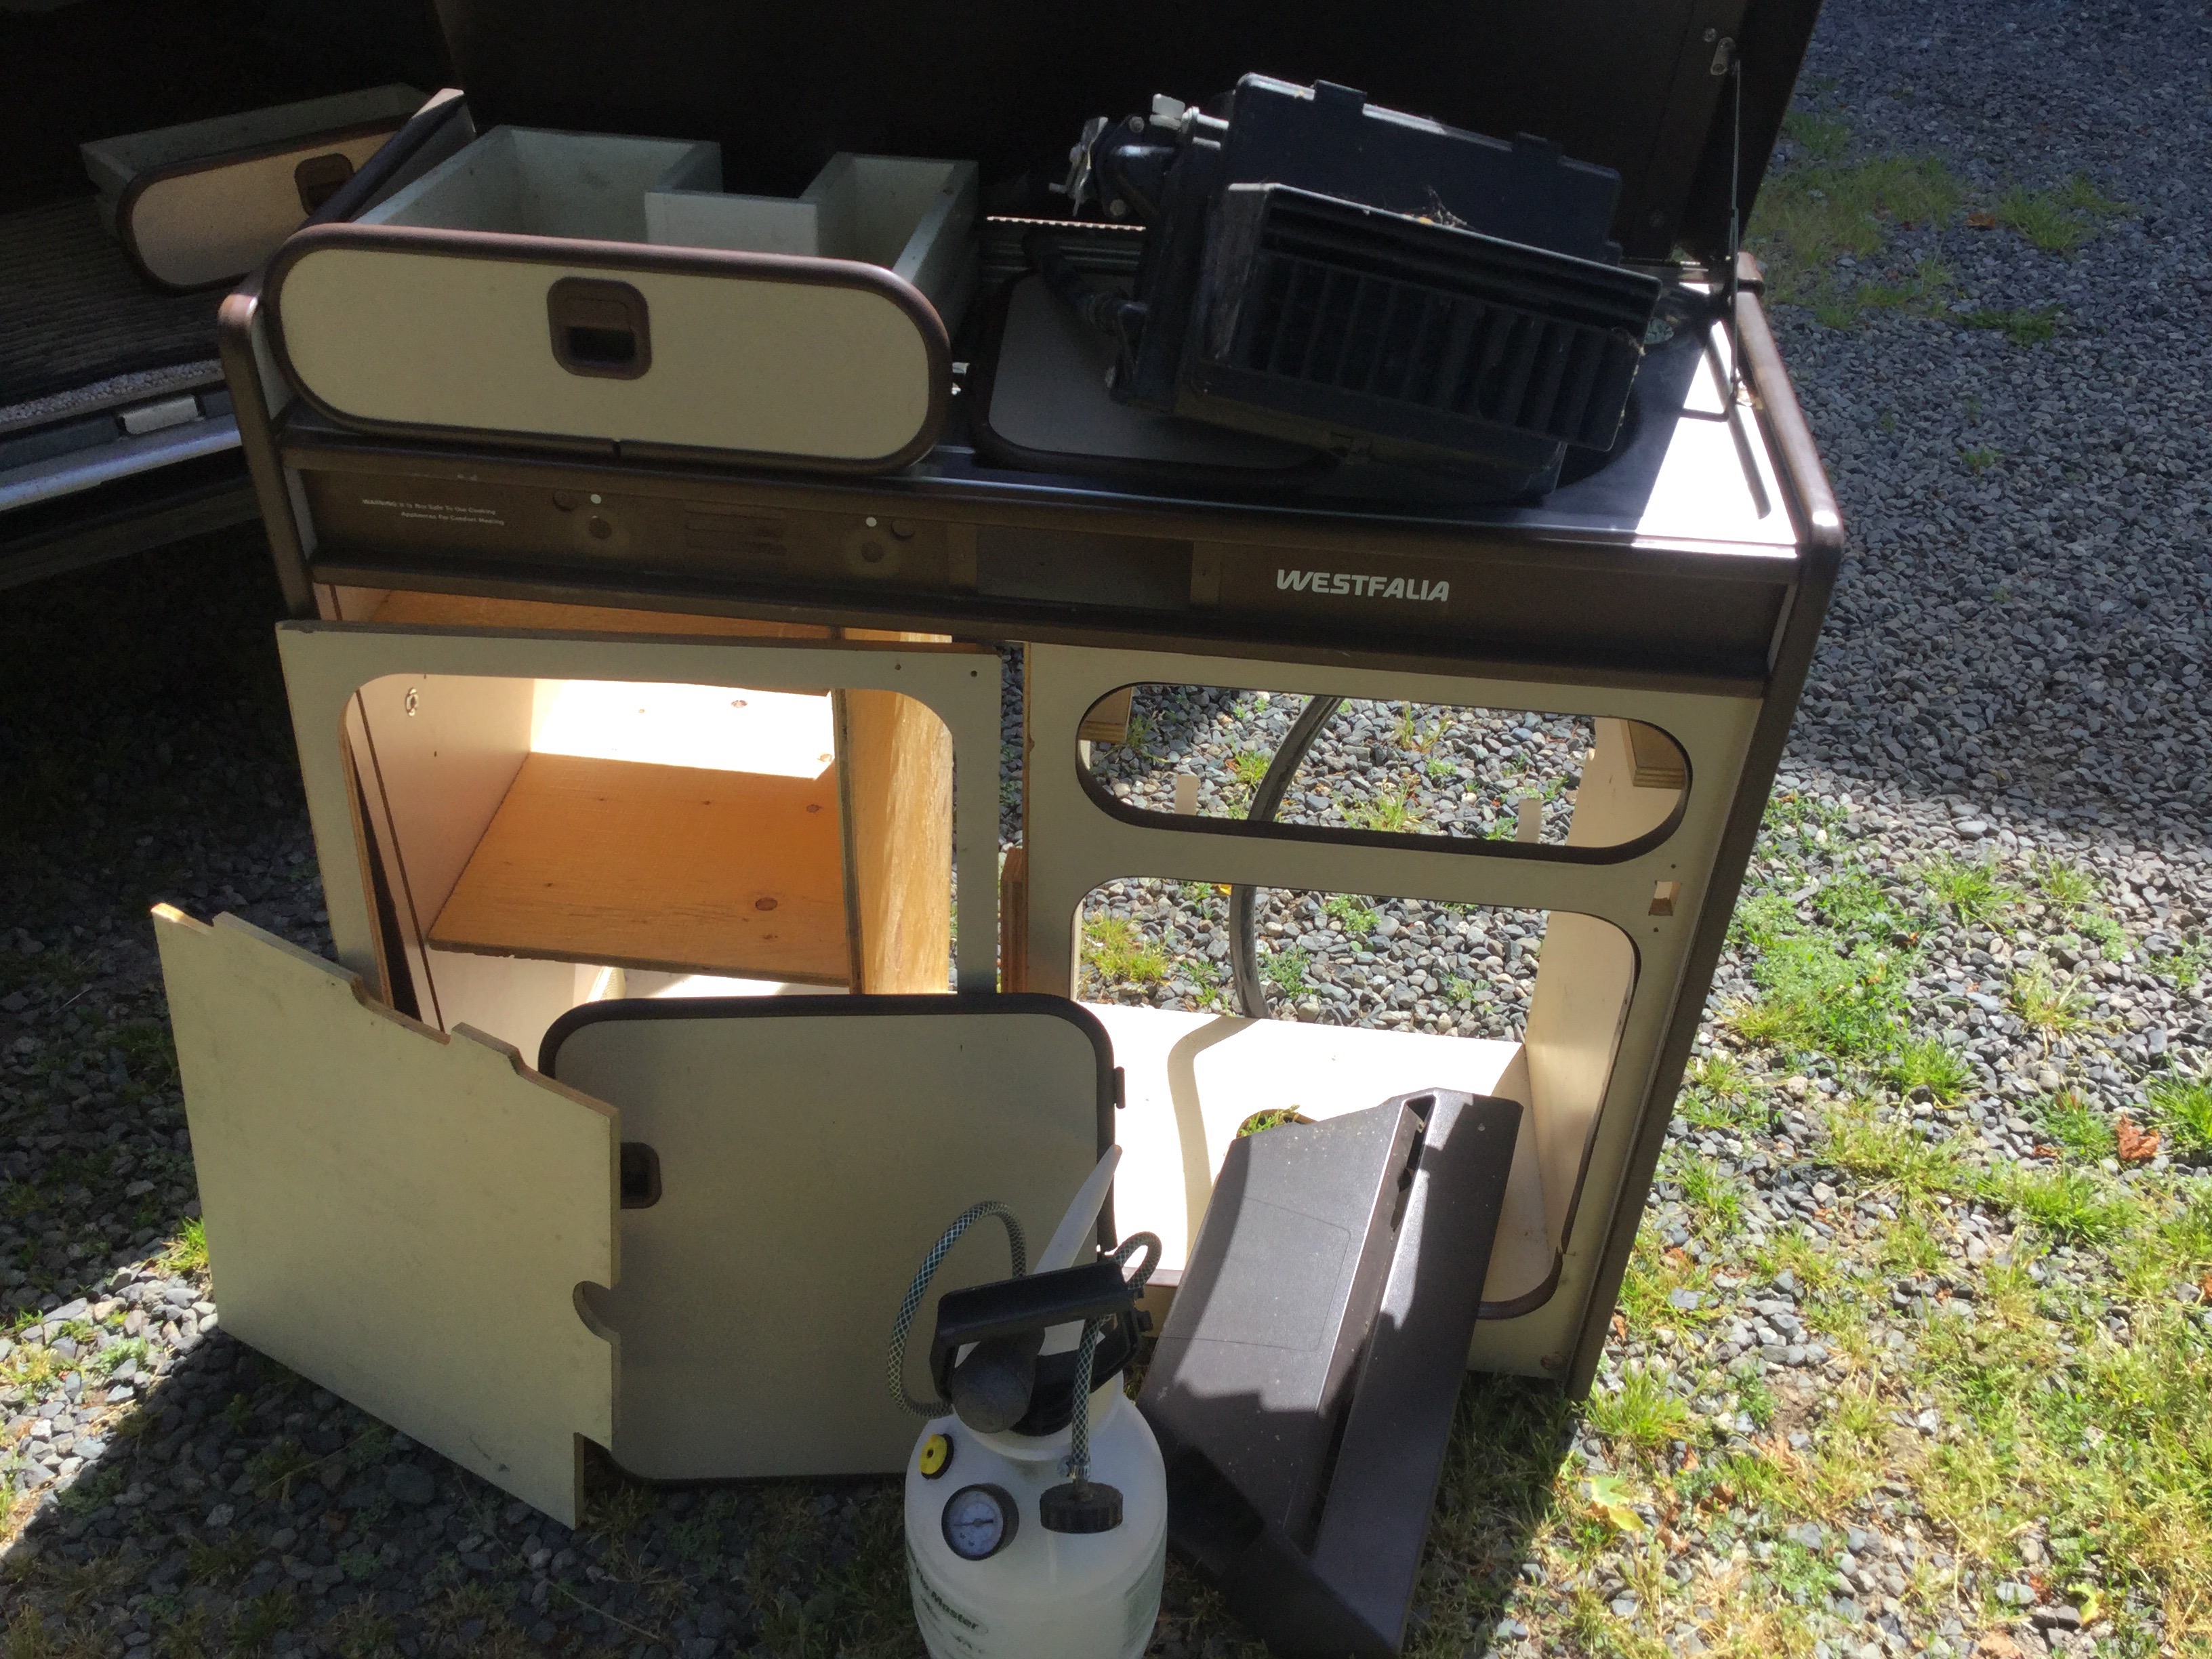
The later style kitchen unit allows the driver seat back to recline a little more. I’d like to incorporate that into my earlier style unit but that mod will have to wait. But right away I could use the larger capacity drawer.
Early vs later drawer.
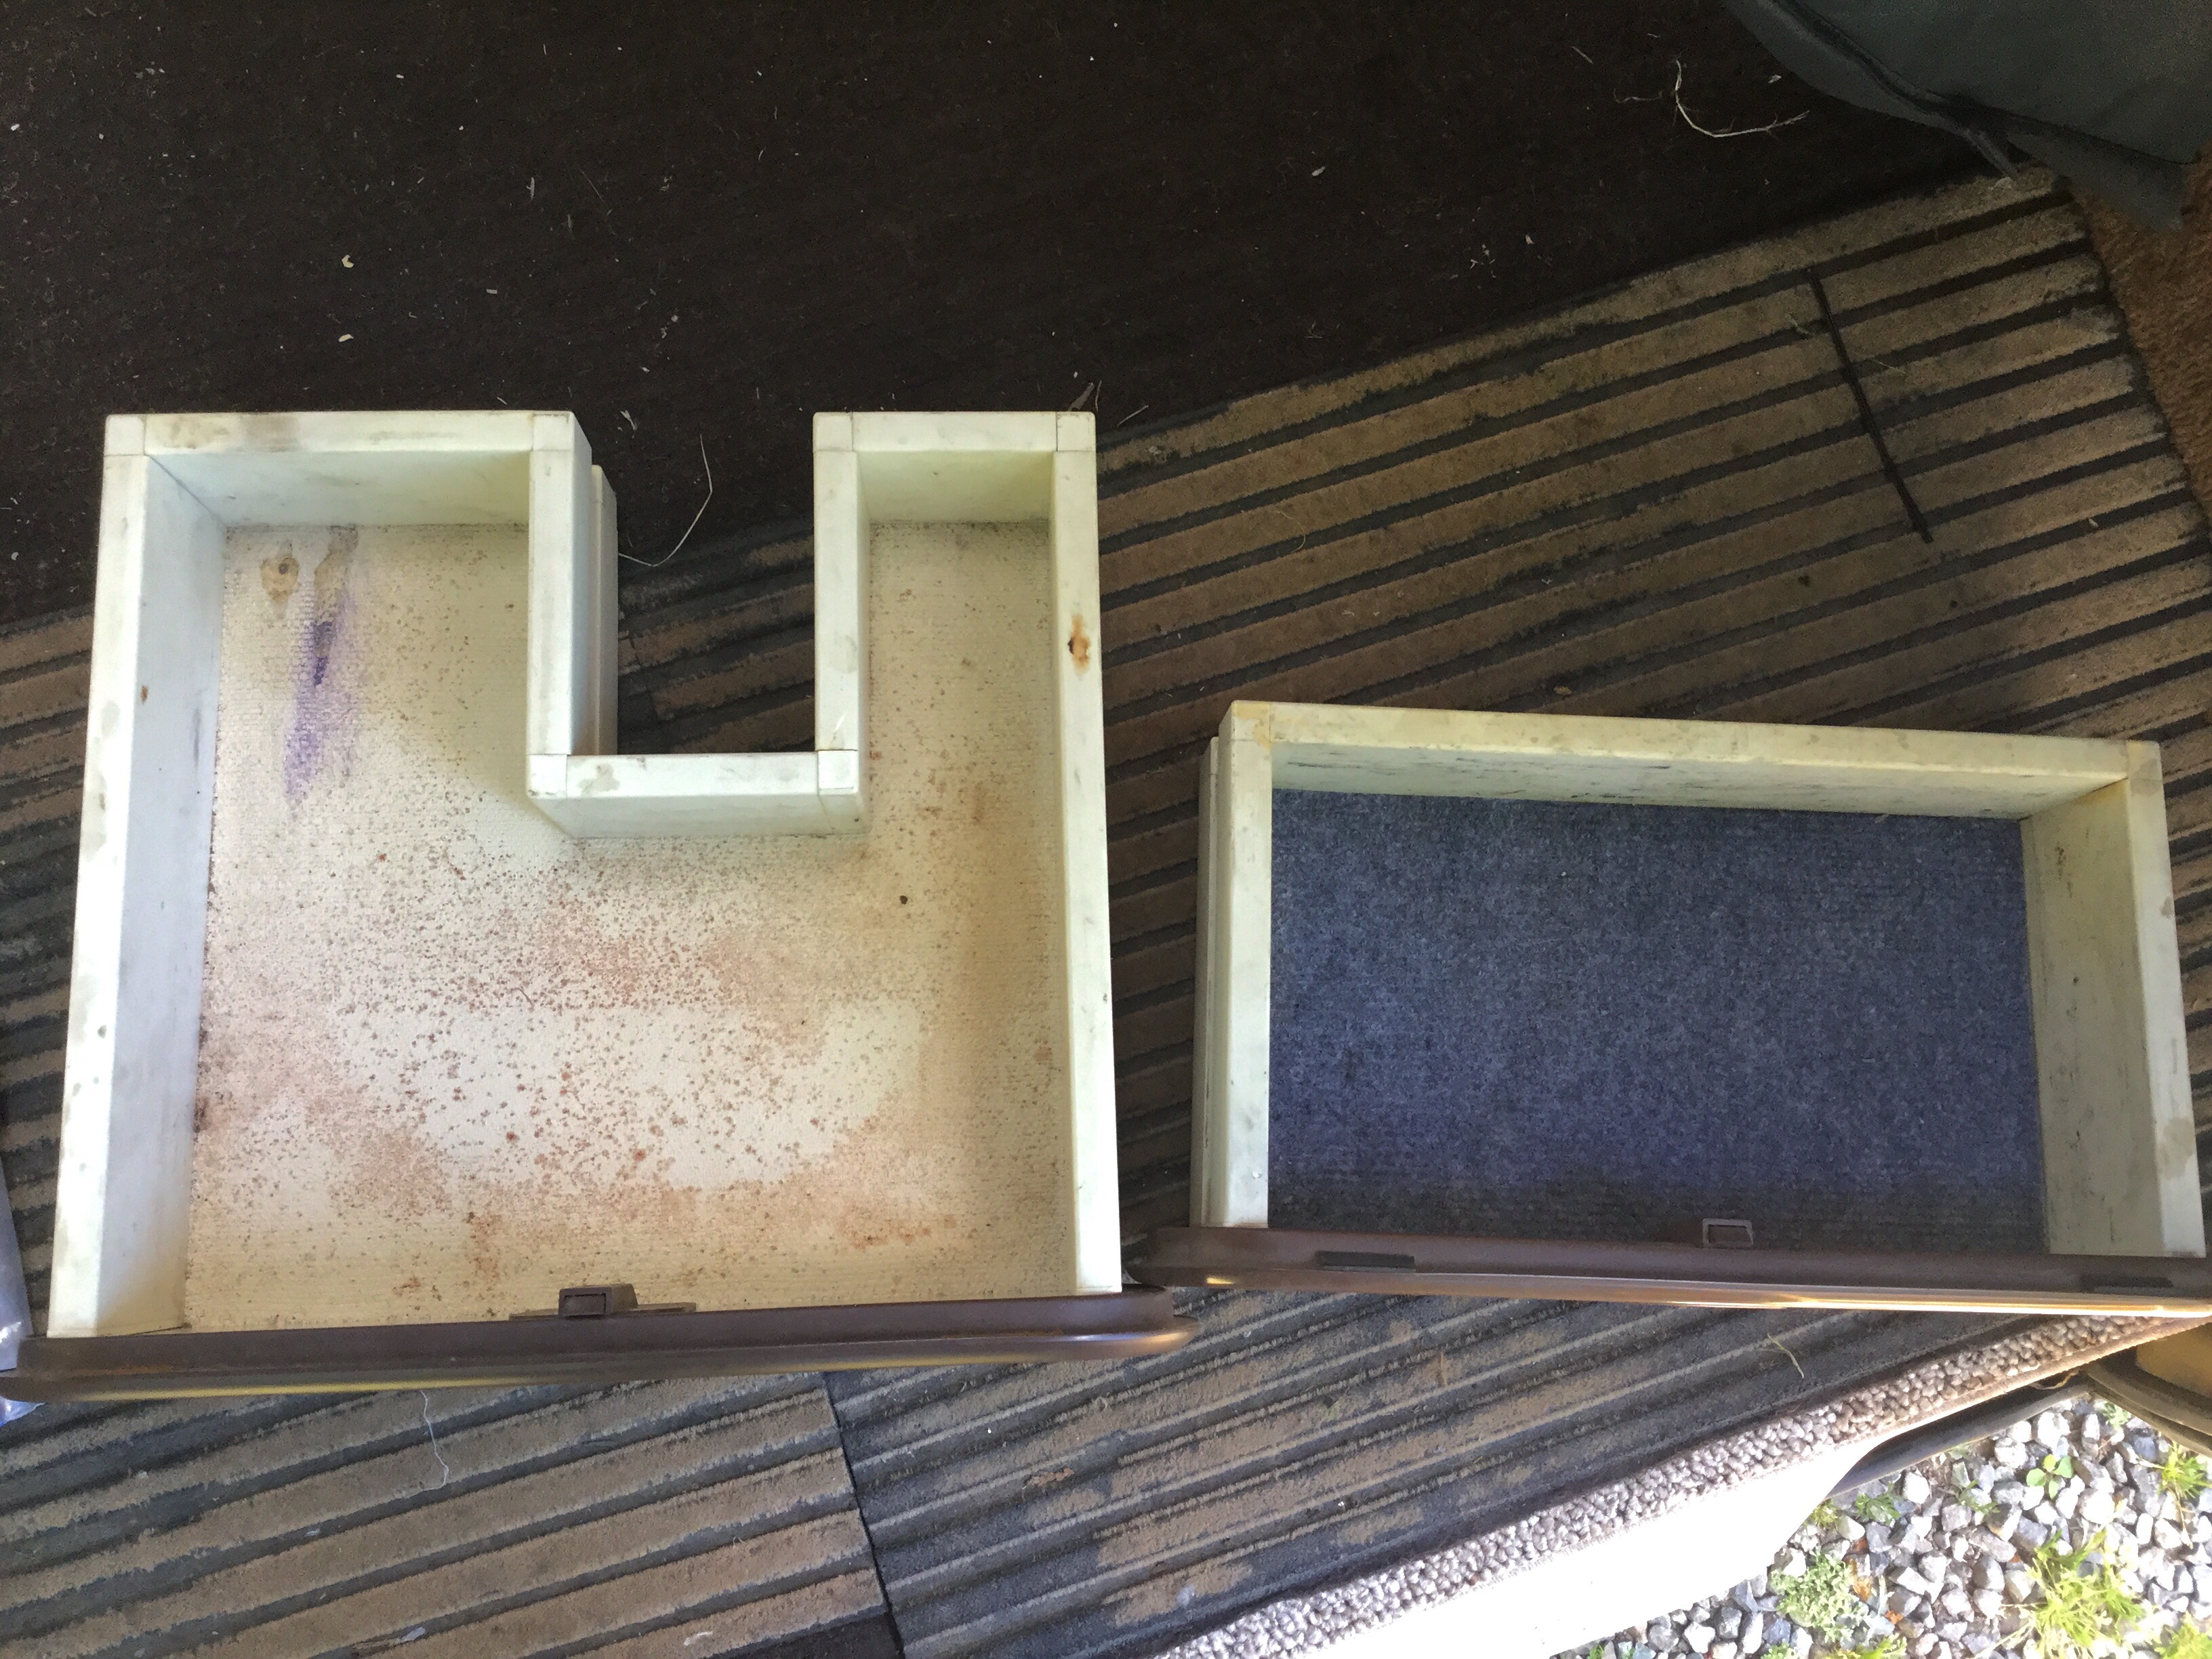
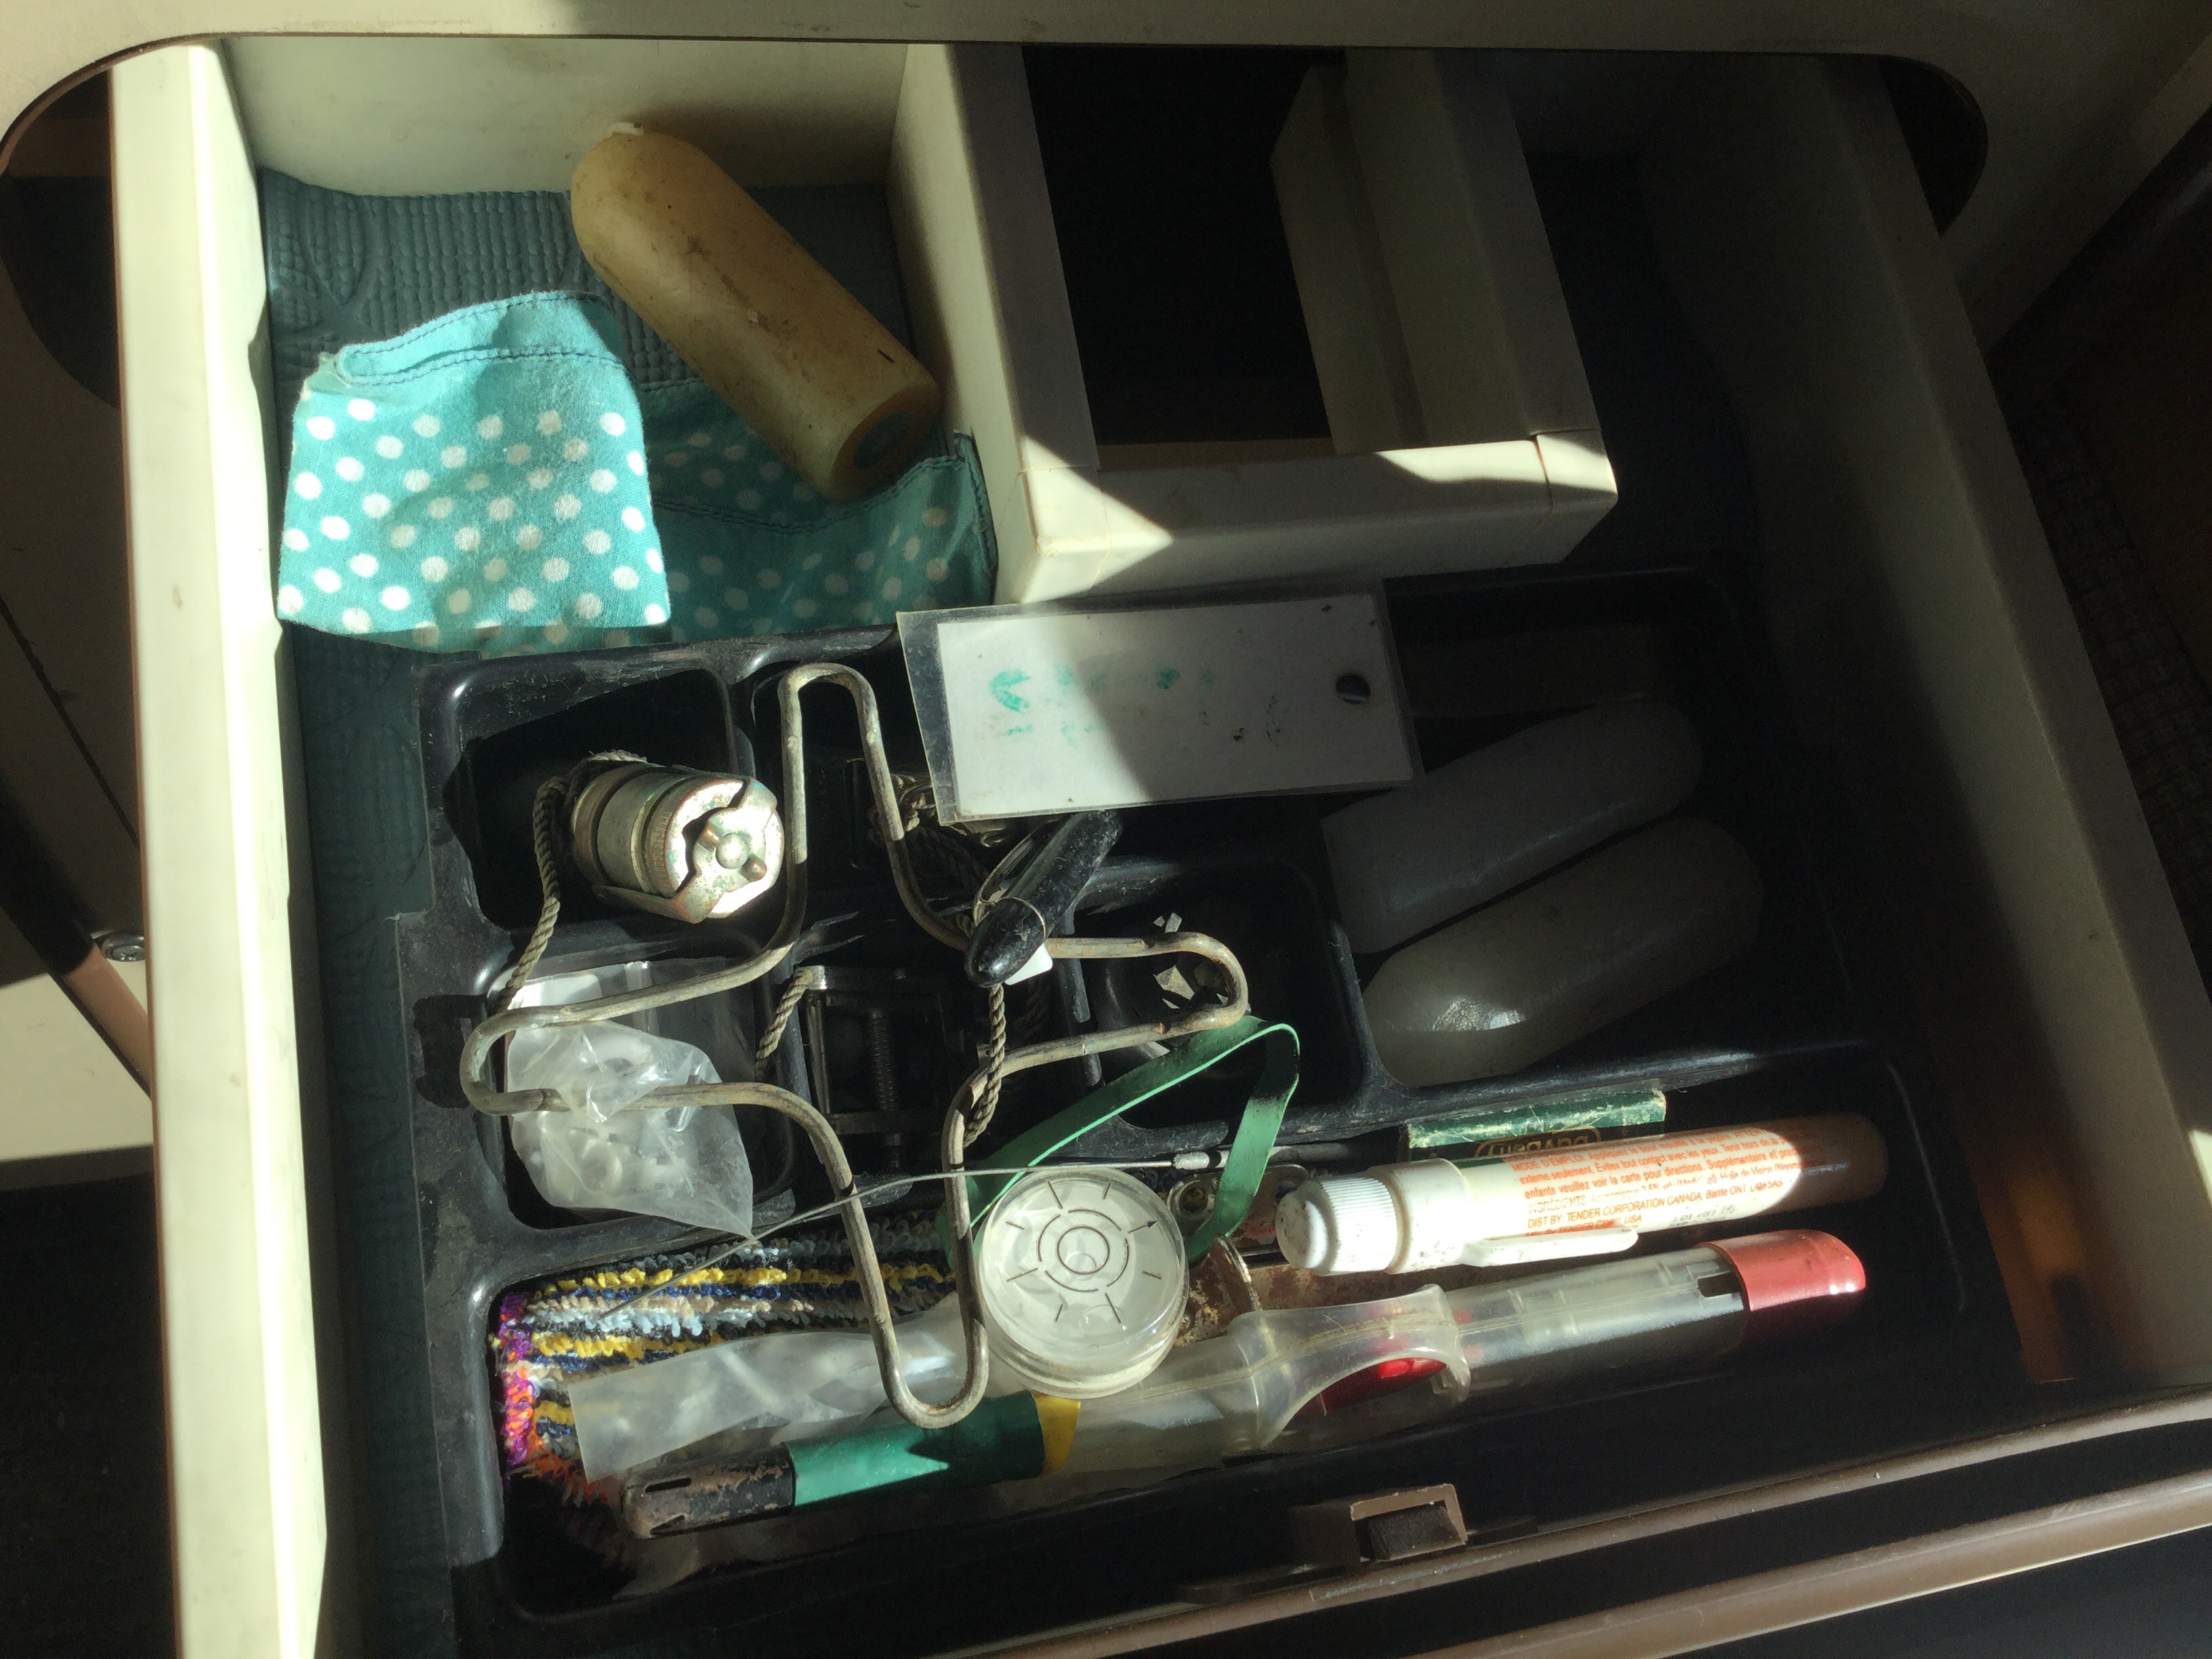
More room but still being used as junk drawer.
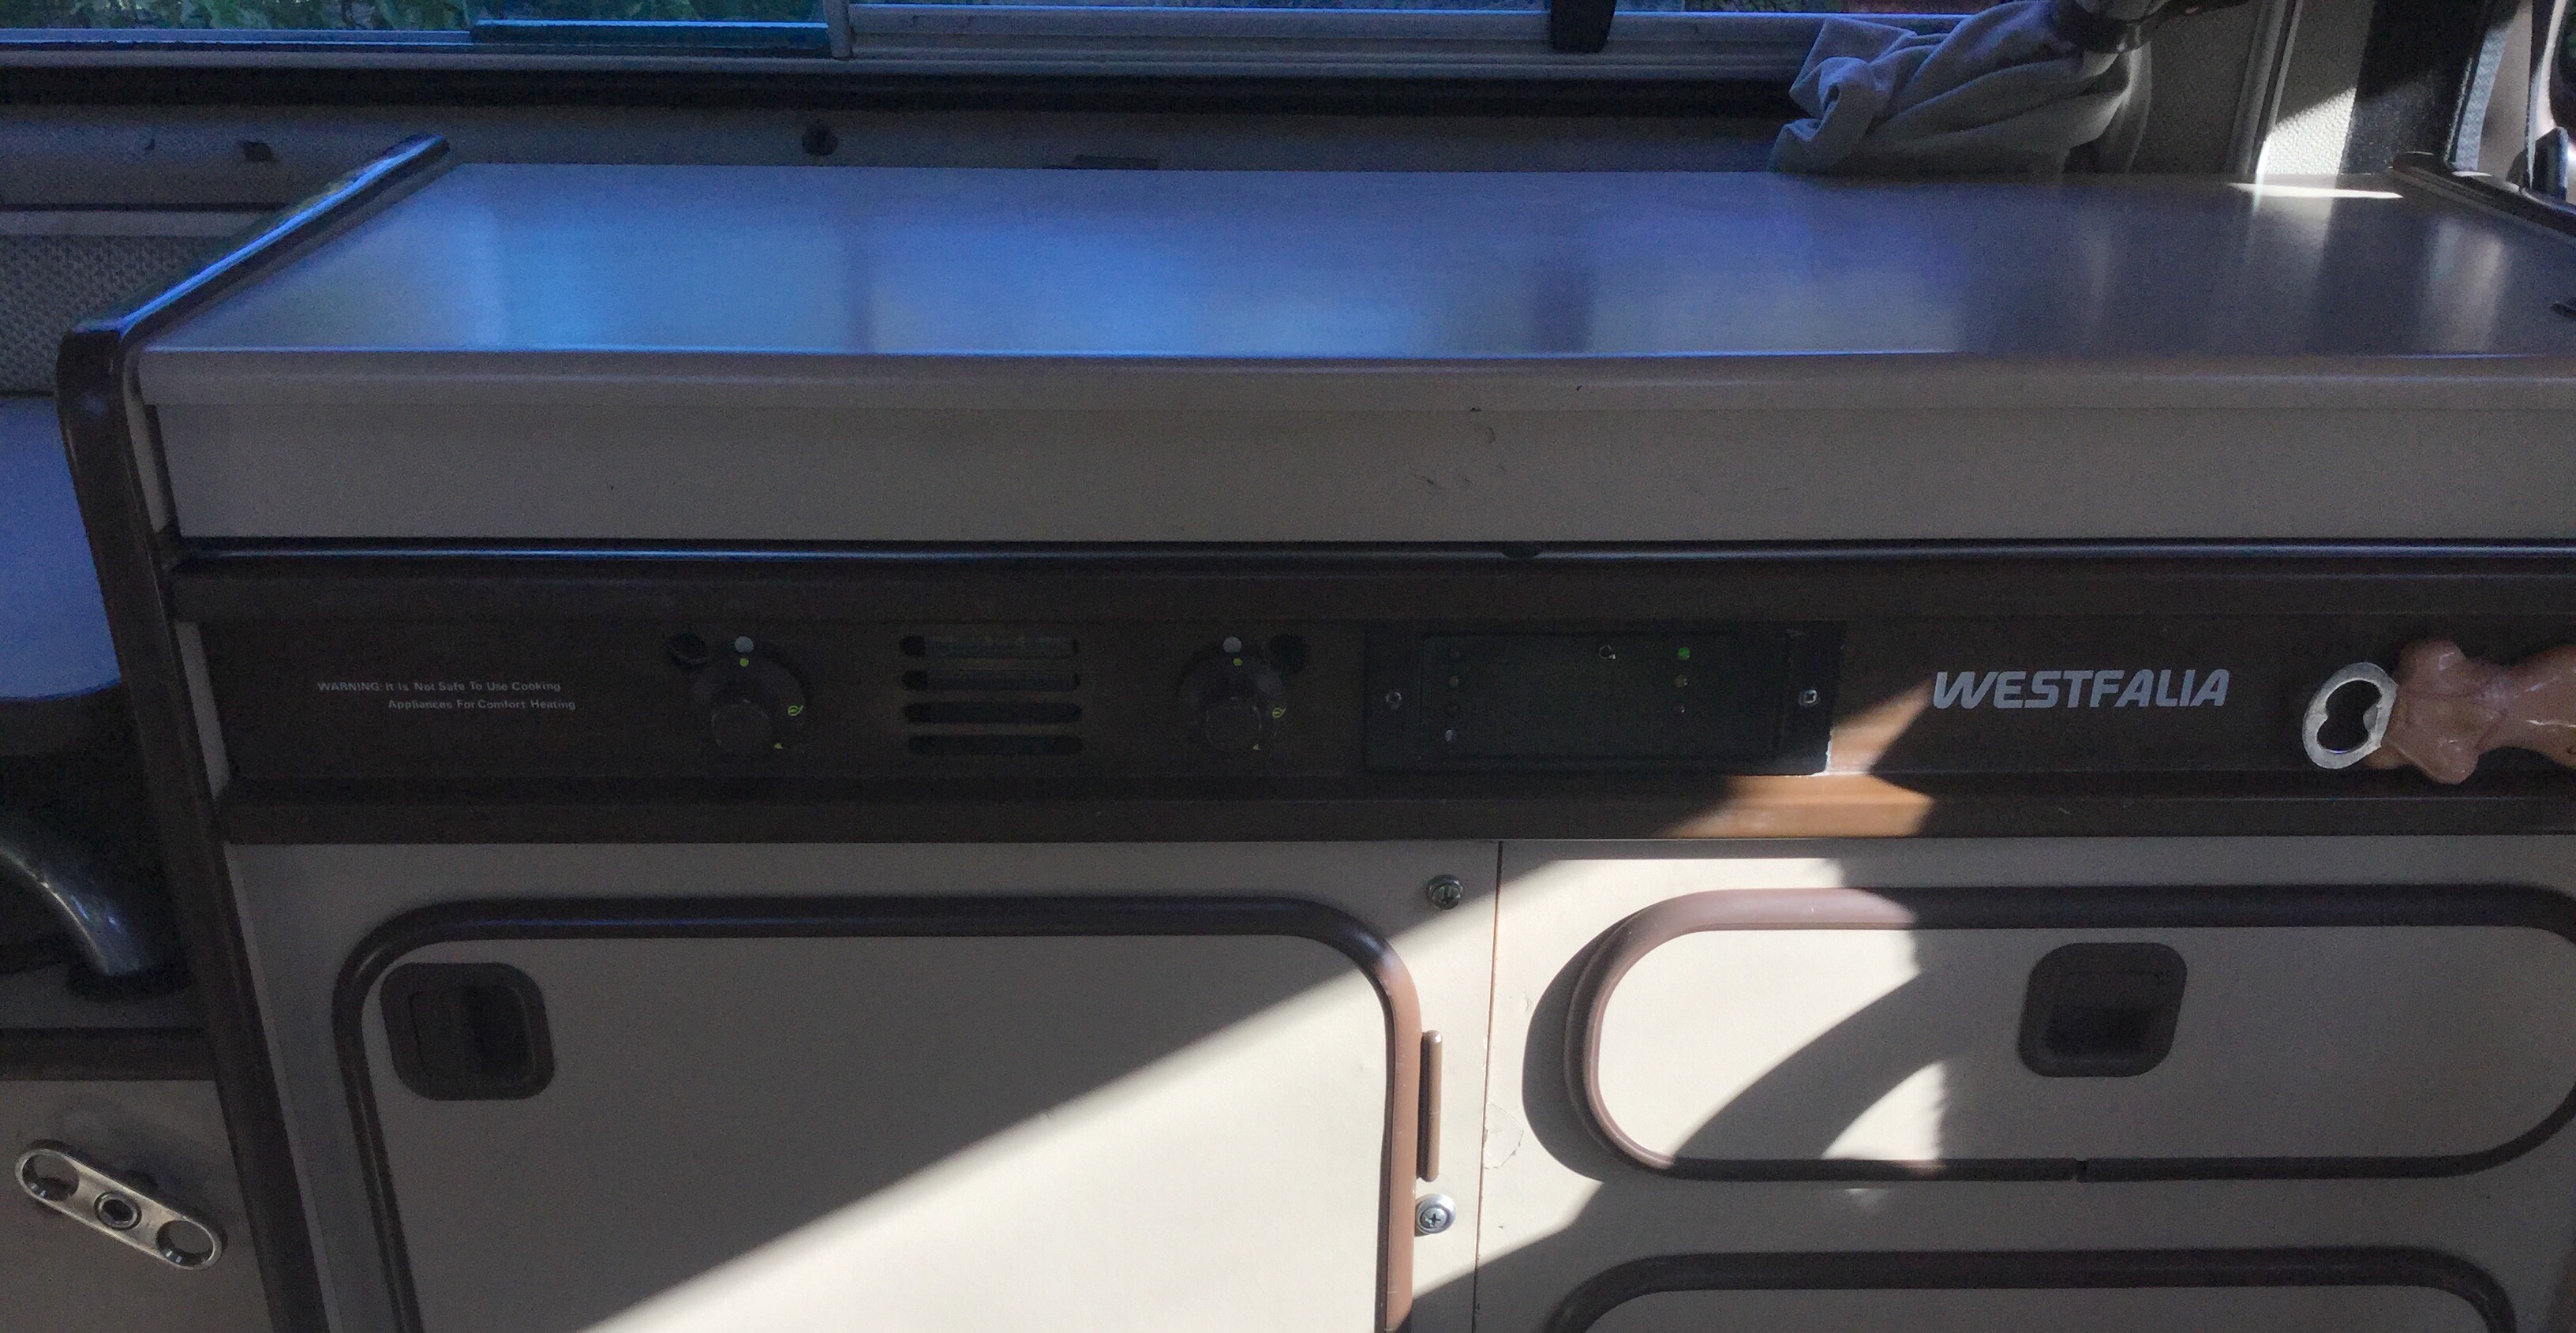
The faceplate wasn’t perfect but much much better than the one I had. So it got swapped in. But still using my black painted indicator panel. I think I’m remembering correctly, krylon espresso satin brown is a close match.
Vanagon – Semi hi top pop top in Mexico
Interating vanagin and Dutch couple Simon met during his recent Mexico trip. I don’t have many details, but I think it’s a Reimo top (and limited edition ) diesel, twin fuel tanks, syncro. I bet a few of you out there know this couple.

Multiple dope slaps for shooting this video in portrait mode, but still very much worth a look.
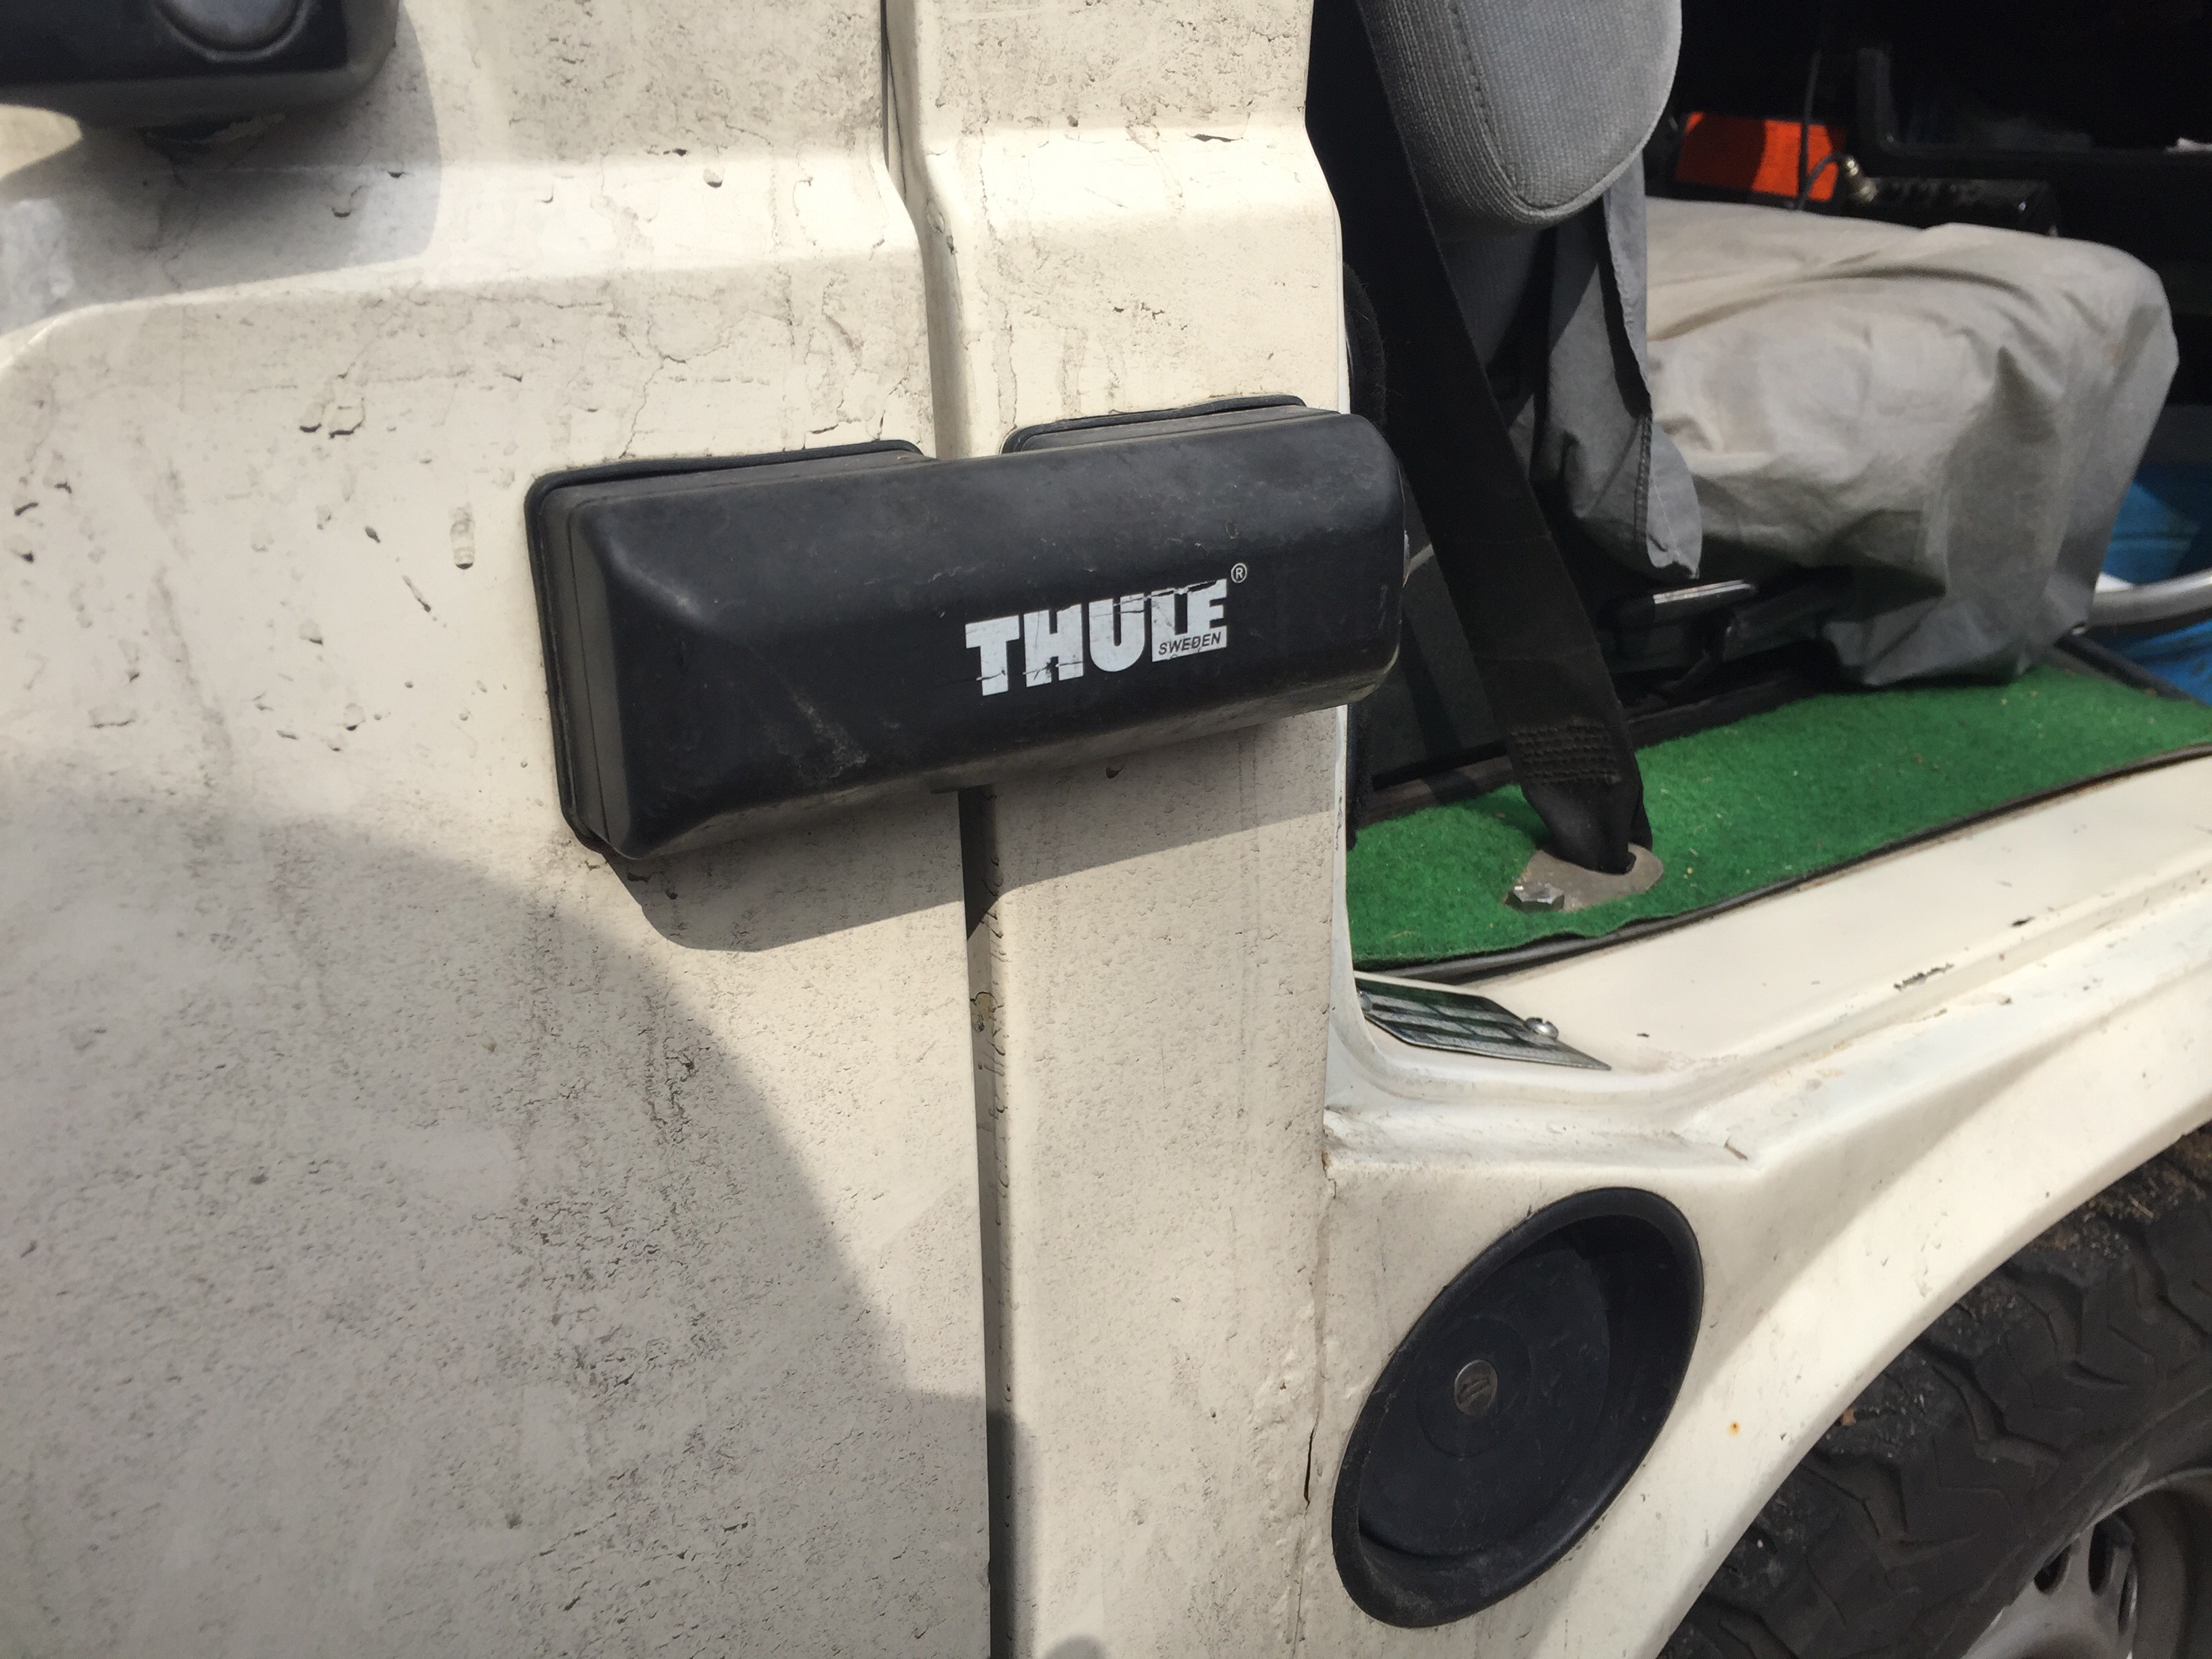
Oh and yes, that’s a Thule van door lock on the sliding door.