Ive been doing little work on my neighbour’s ’85 Doka recently. It was originally white but he did a quick paint job which I think looks very good. The colour scheme works well. He also lowered it and put on some 18″ wheels.
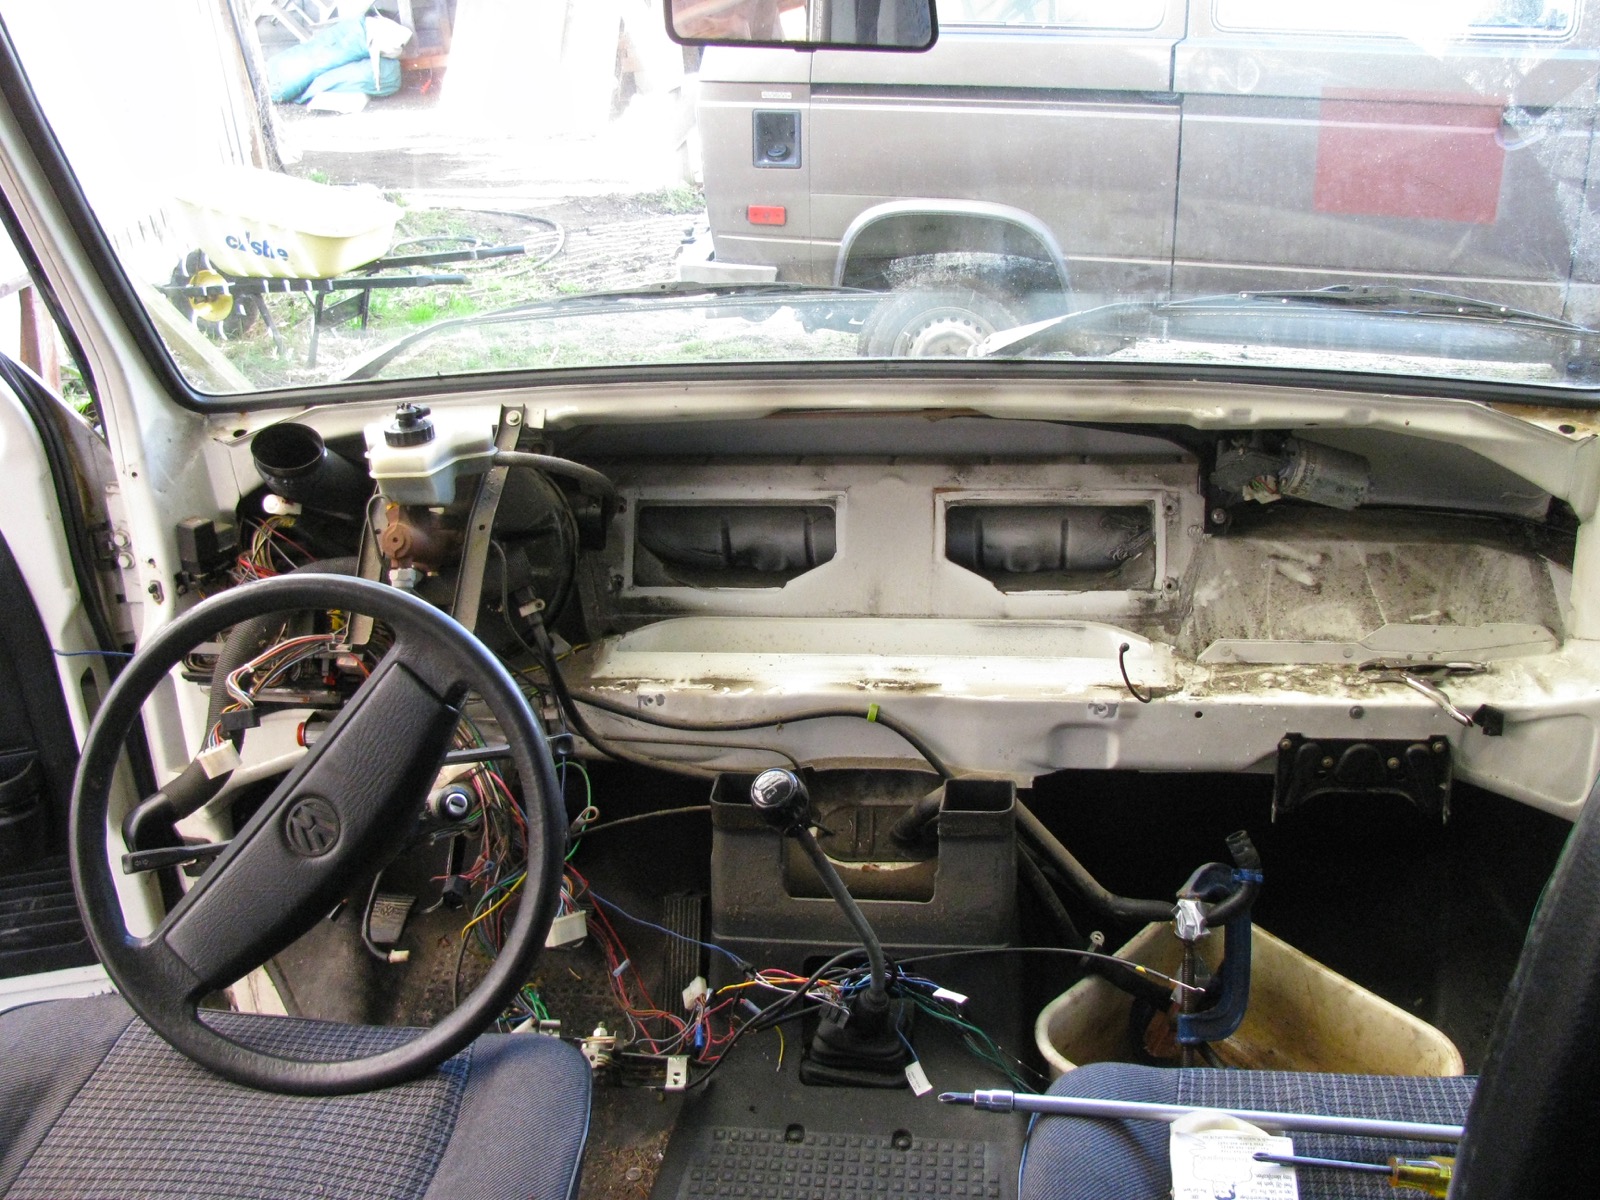
I pulled the dash and heater box to replace the motor and re-foam the heater box flaps. I don’t think the dash had been removed before but it all went easily, even the heater box bolts that go through the front body wall and are exposed behind the grill. Often those bolts get rusty and are a bear to remove.
The heater core was filthy but no leaks.
As a replacement blower motor I used a Vanagon A/C blower. The housing is identical and it fits in perfectly. The actual motor has, to my eyes at least, an improved end bearing/bushing. not as exposed as the stock motor. I added a little lube and then JB welded a bottle cap to cover. Kinda hillbilly, but it stuck on there well.
The other difference with the A/C motor are the electrical connections, but it is easy enough to splice it in. I know in the pic, the wiring looks a little sloppy.
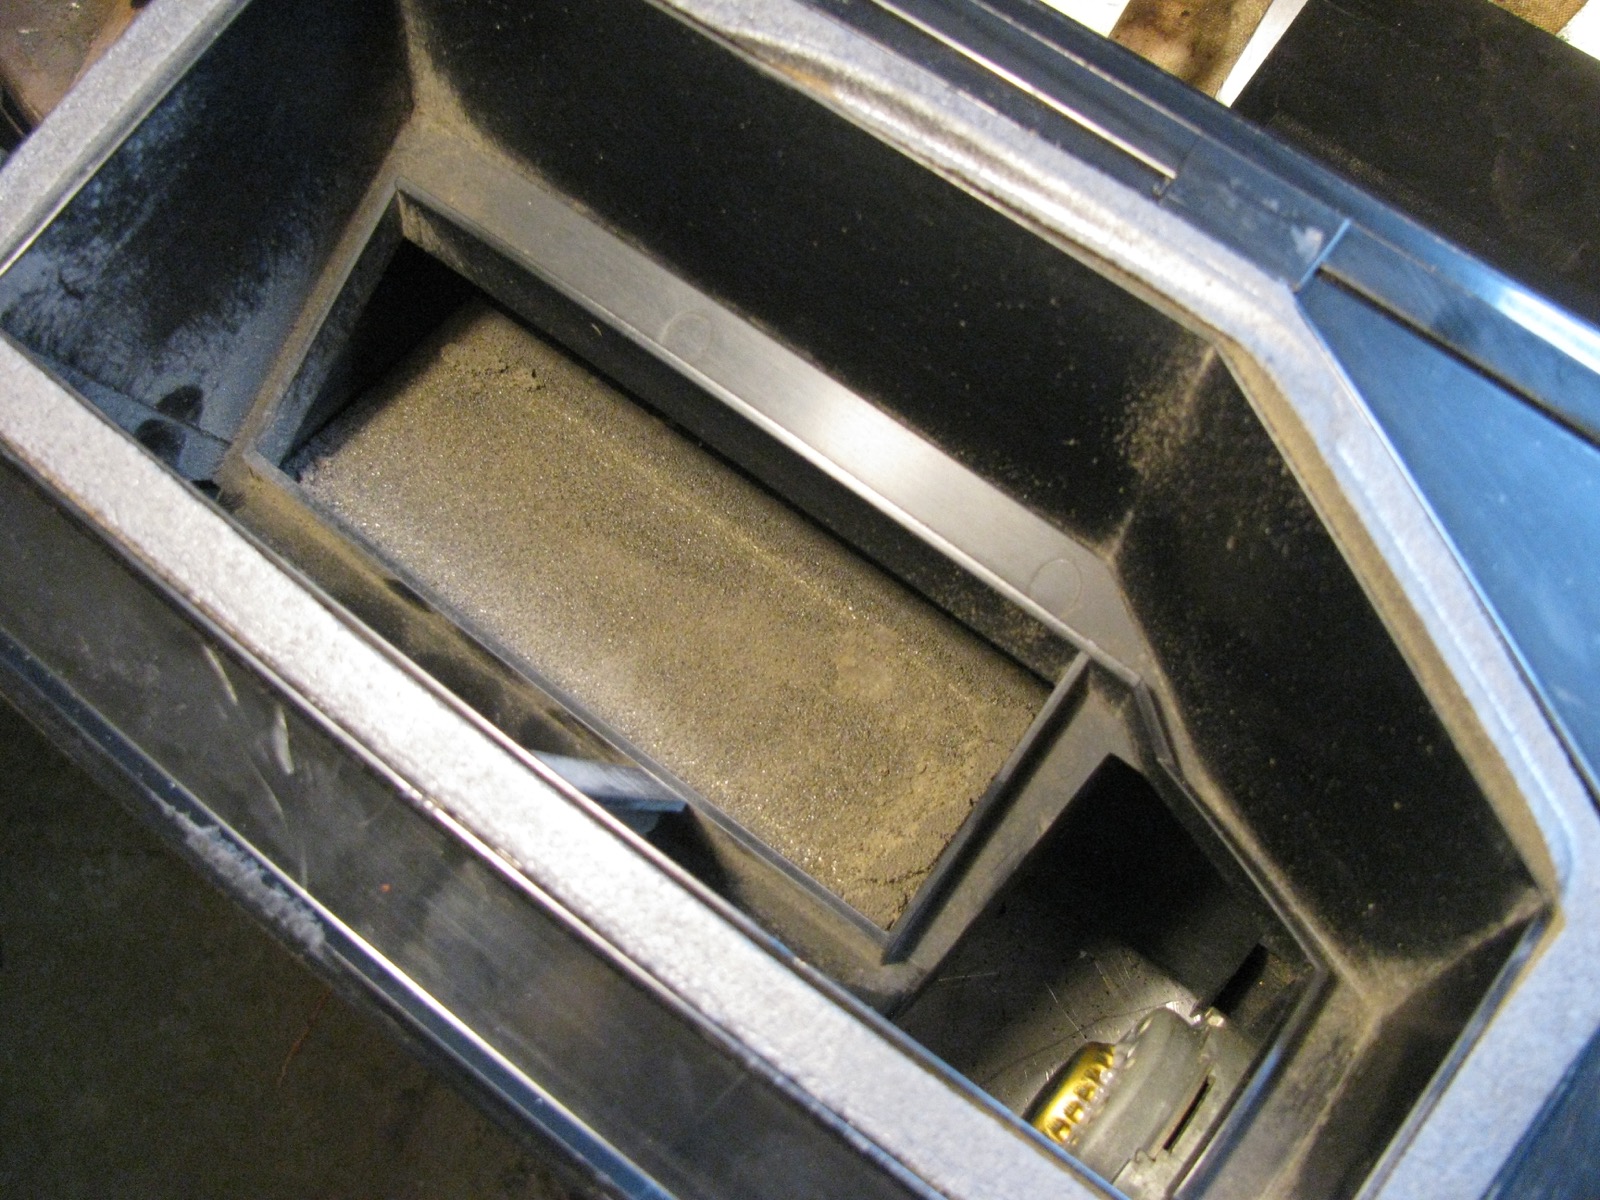
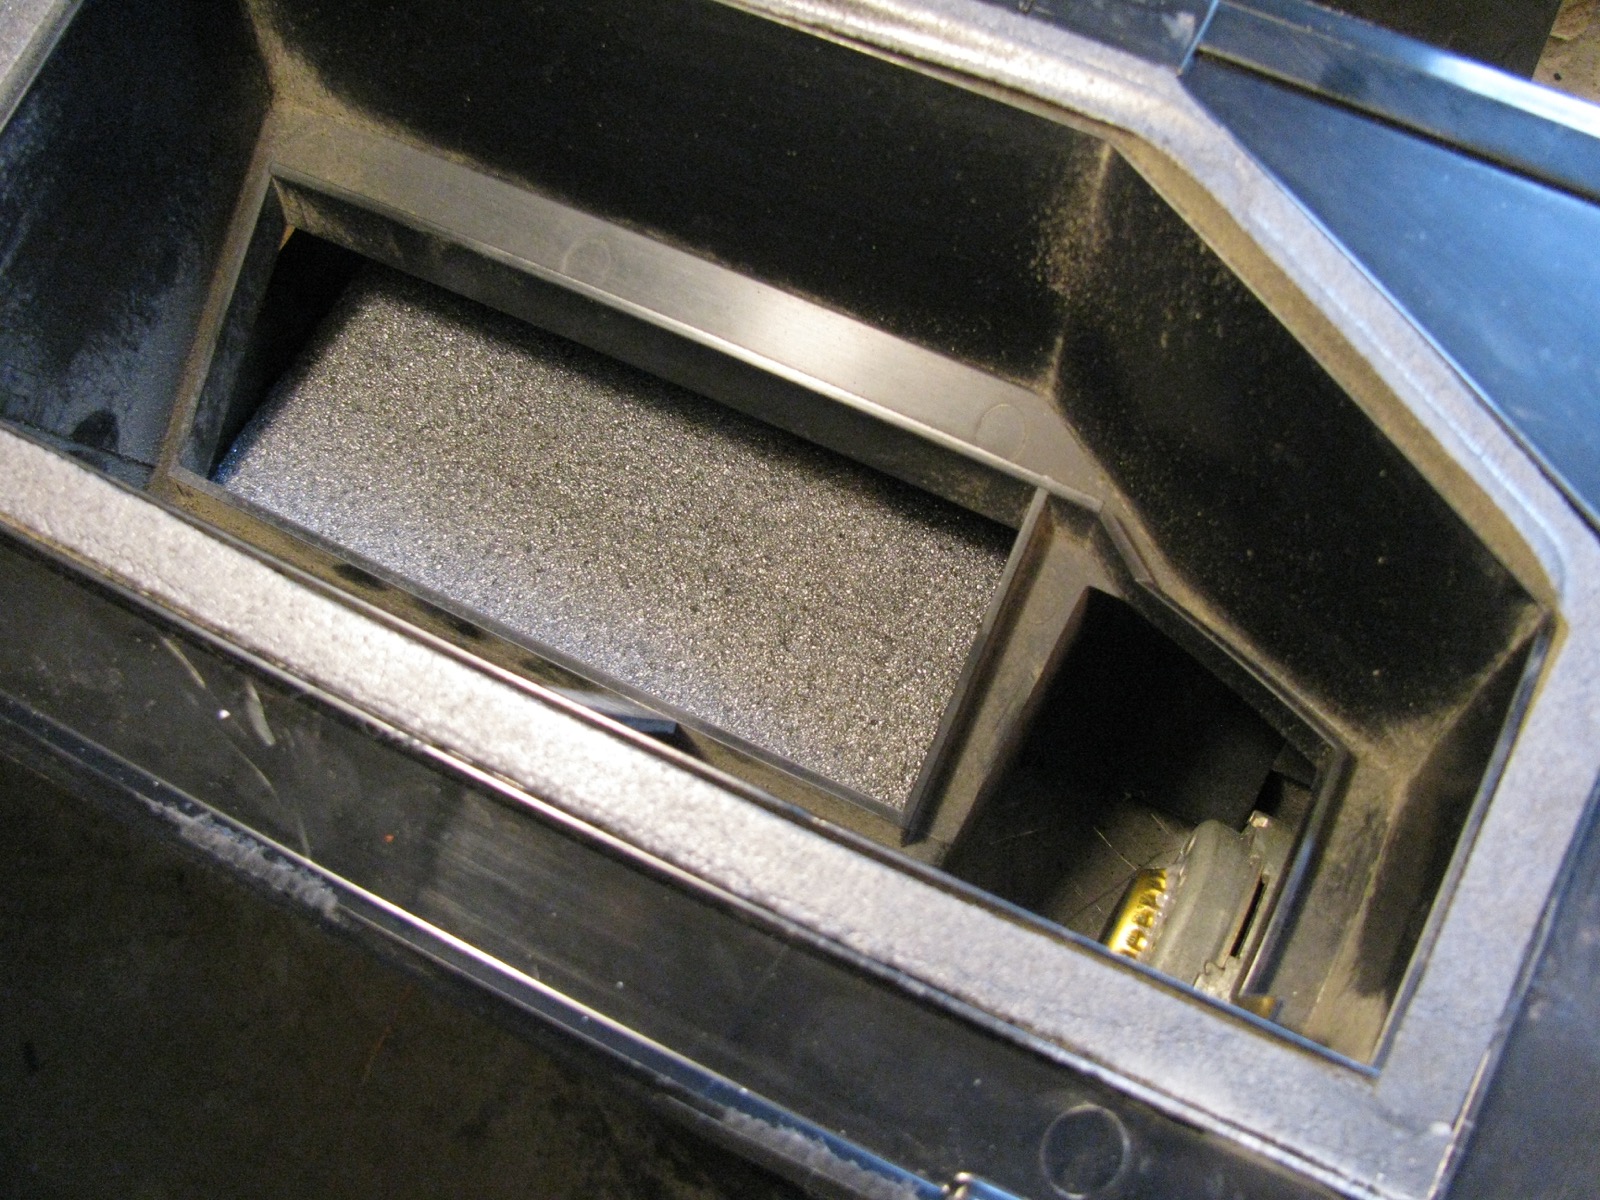
As expected, the foam on the heater box was pretty well all degraded. For a replacement I used truck canopy foam tape found at local RV store. Its open cell foam with a clear plastic face on one side and adhesive on the other. The important thing, well I think so, with the foam is that it should be very compliant. The flaps have to be able to close with little effort. The plastic face on this particular tape reduced that compliance, but I discovered the face could be peeled off. On some of the flaps its a bit tricky to get the sticky backed foam in place, but you can remove one of the flap sets to make that easier. Oh, forgot to say, the heater box had not been touched before this so I had to cut off the tabs that are plastic welded together along the split seam. This time I used an angle grinder with a 60 grit flap wheel (blending disk) to grind the tabs off. That worked the best of all the methods I’ve tried over the years. There were a few metal clips on the seam, strange that wasn’t the full compliment to use when fitting the blower back together. But I had some in my parts stash.
But you’re not reading this, I hope, for a blow by blow description of the heater box R&R.


Old motor in the right, A/C on the left.

A/C motor, note end bushing.

And the old blower. It is tempting to say the end bushing is more exposed.

And the bottle cap glued on 🙂

Foam tape with the plastic faced peeled off.


Dash back in place. Stereo had unit still out, the PO had done a really poor job of wiring, I had to come back a week later and redo do all of it.

