About a month ago i replaced a few bushings on the front suspension of my ’86 syncro. They were they sway bar to body bushings, the sway bar drop link to control arm bushings, and the steering rack bushings. I replaced them with Whiteline polyurethane bushing from Chris at T3 Technique. I can whole heartedly endorse Chris for his great customer service and products.
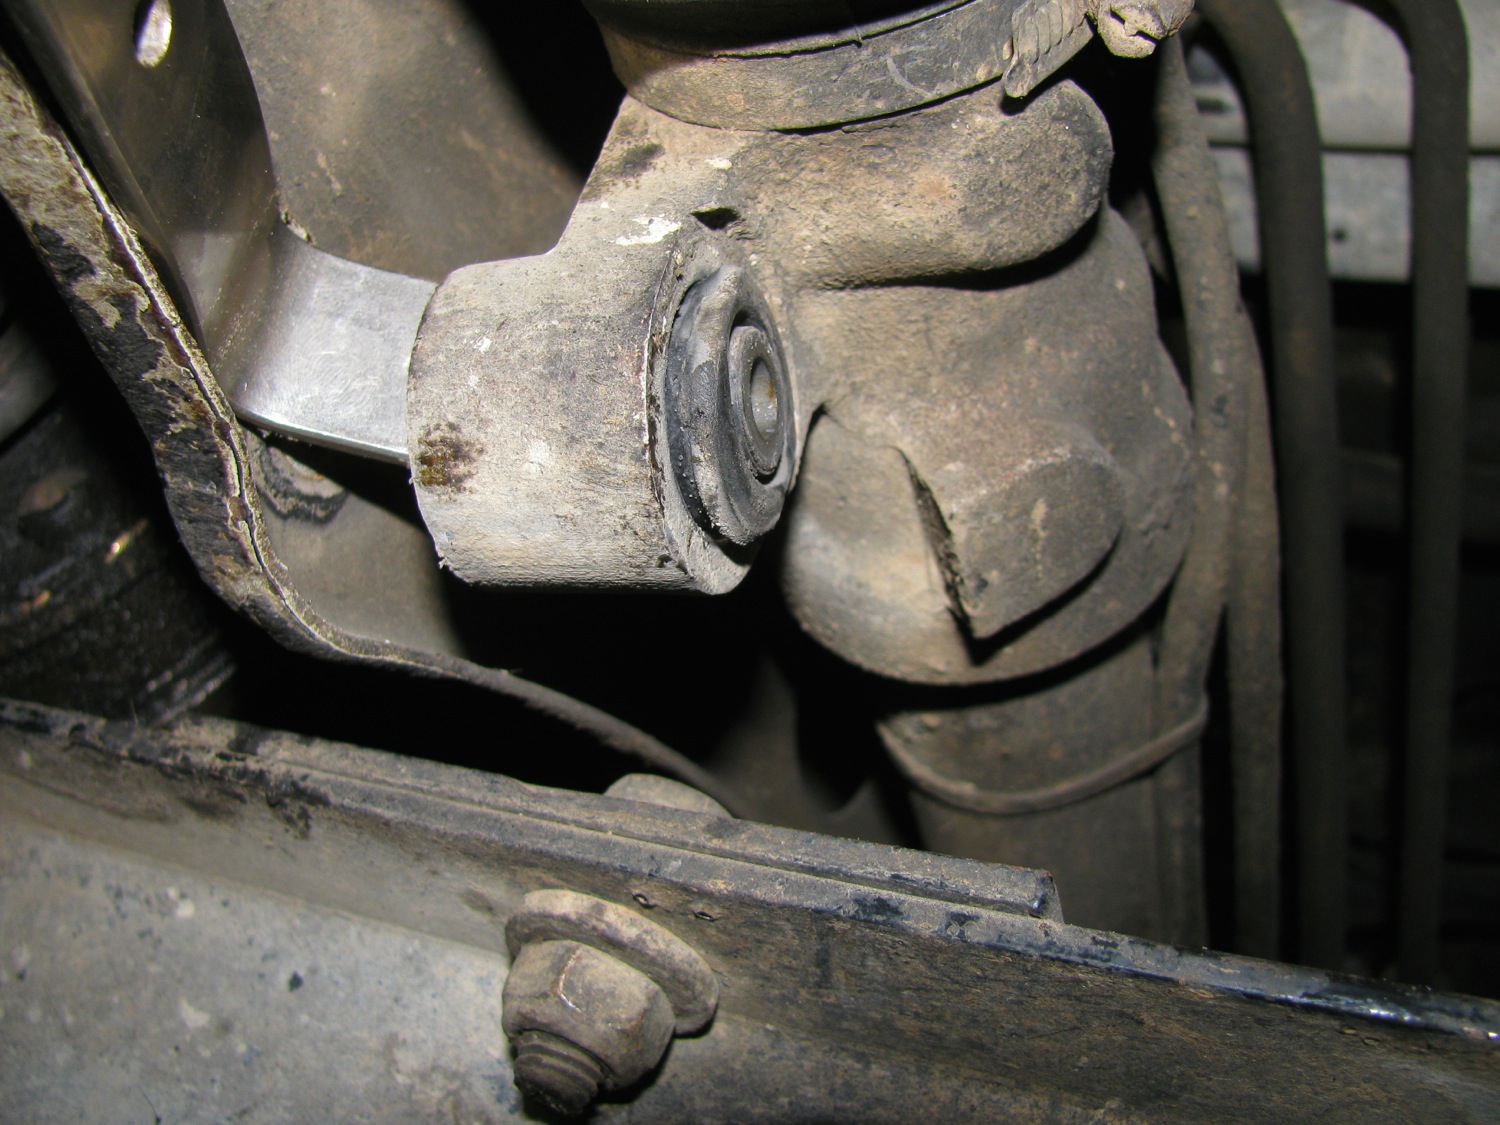
So first the easiest, the sway bar to body mount bushings. Here is a pic of the one of the original rubber bushings.
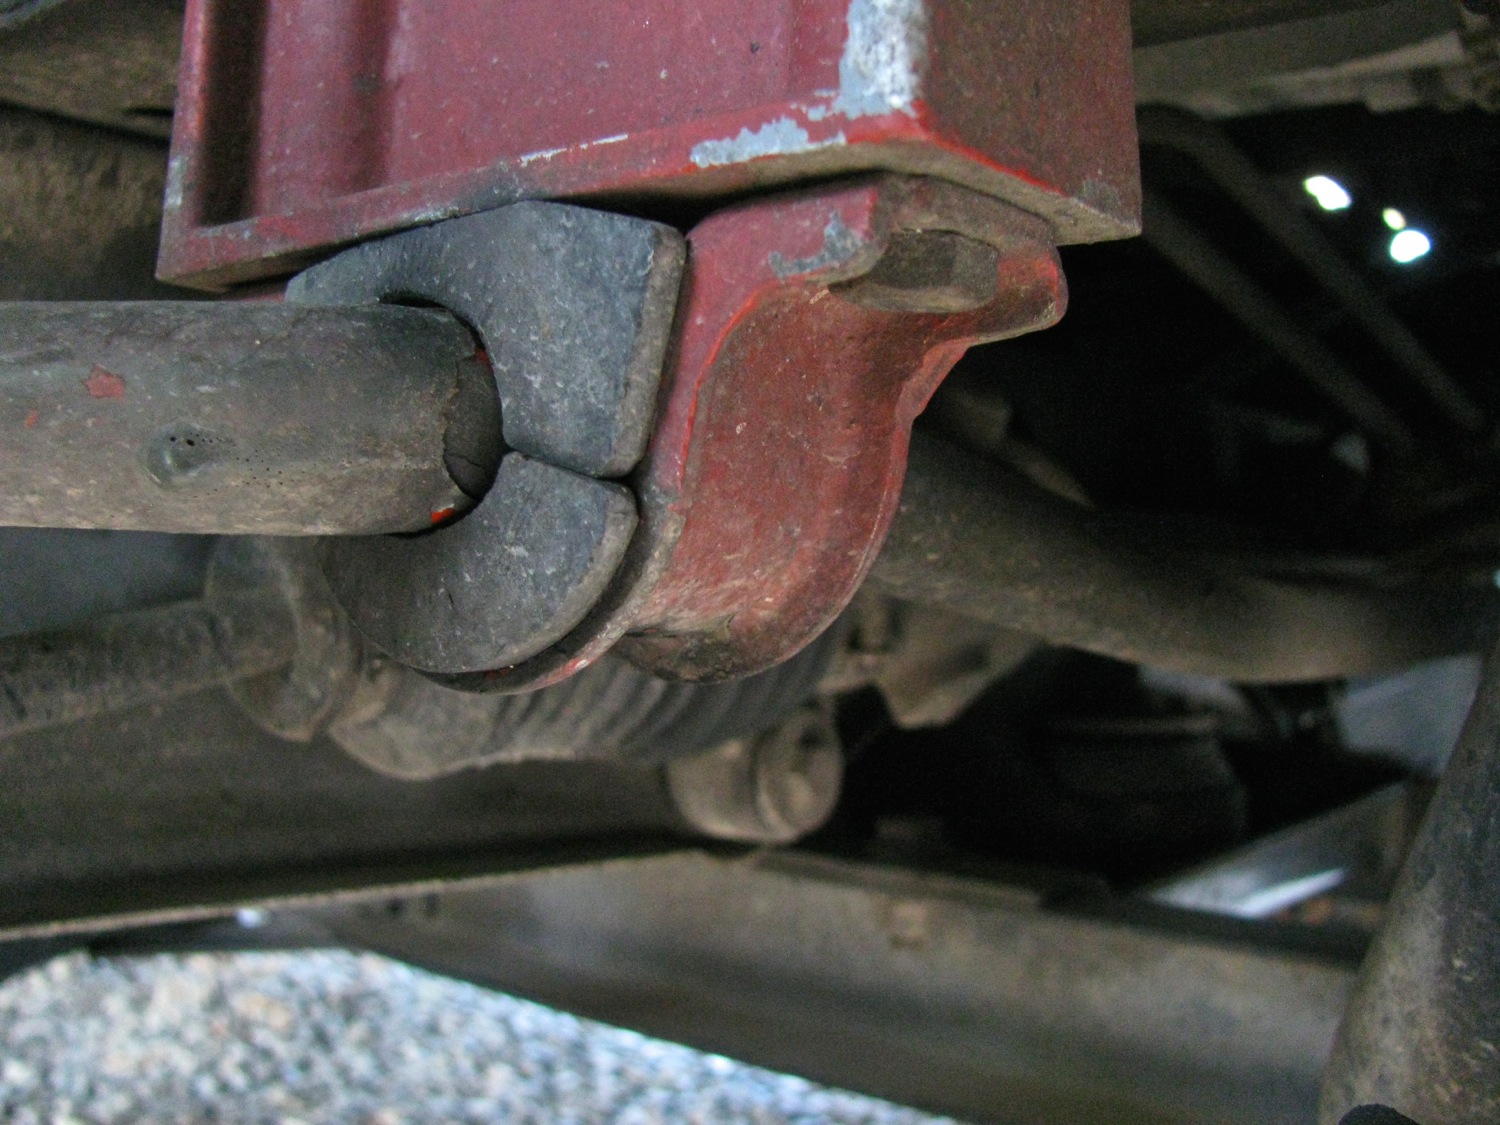
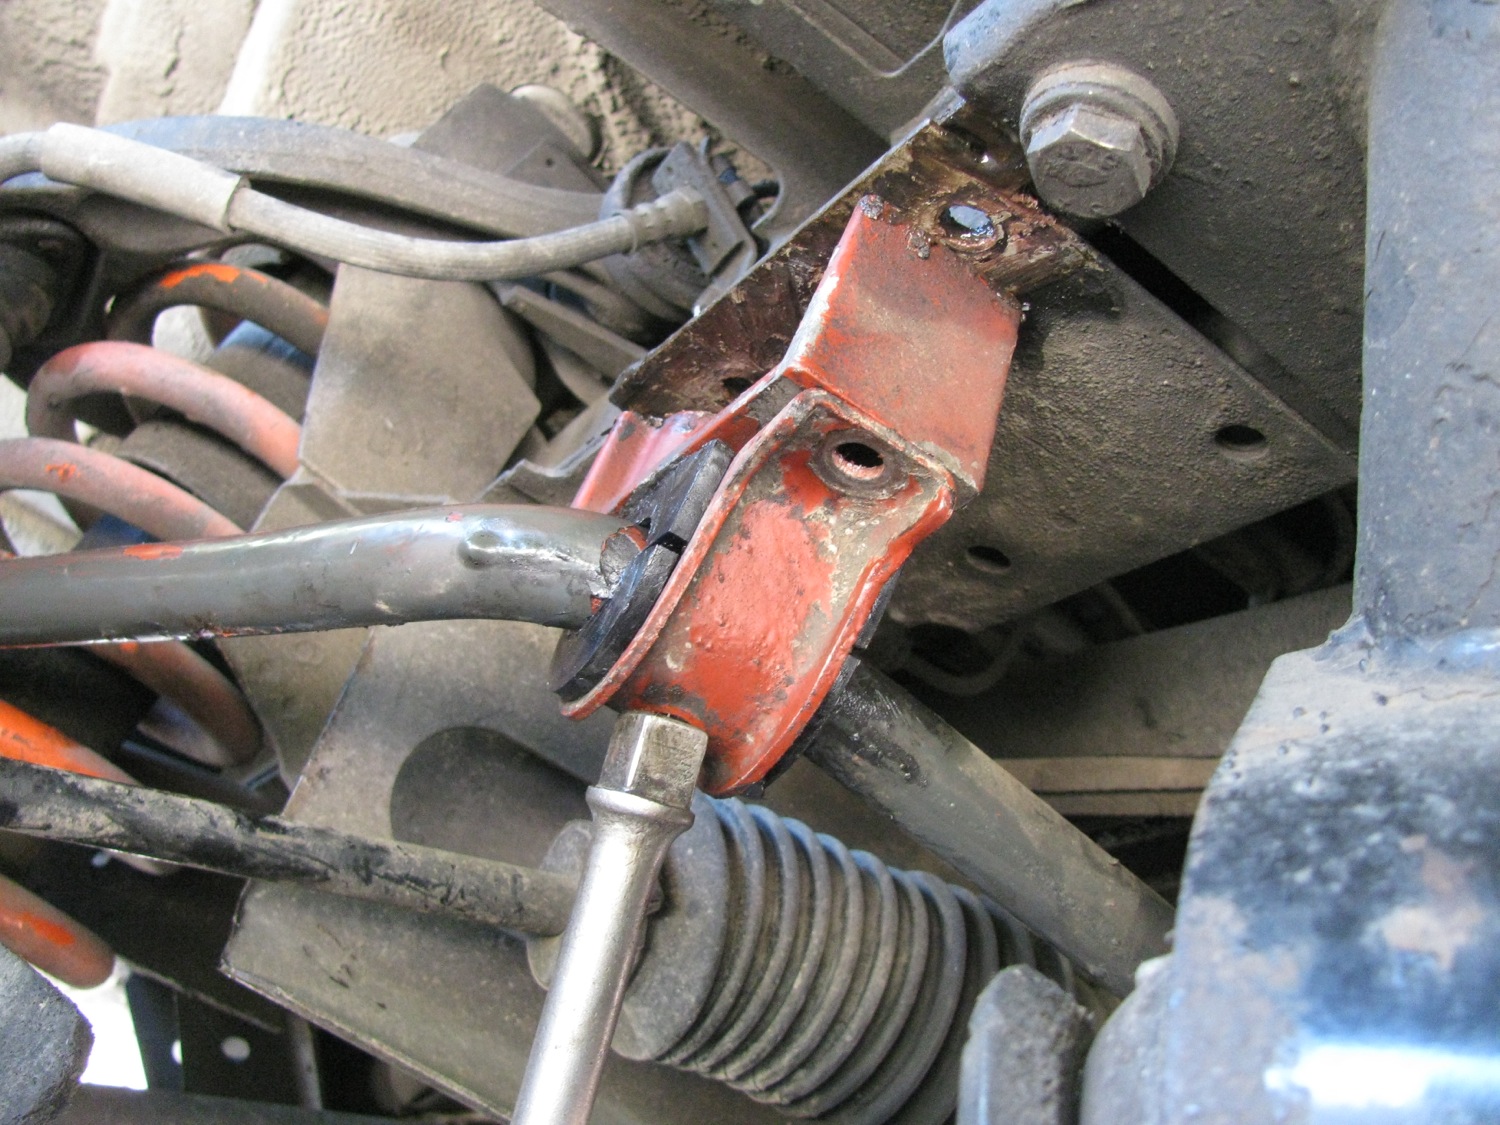
A couple of 13 mm head nuts and bolts and the mounting bracket comes off. Note the spacer used in the syncro bracket.
New bushing comes in pairs, and with a sachet of grease. Grease is important in polyU bushings. They do have a reputation that they squeak, so you must grease them up with s low wash out grease. T3 techniques sells a couple of greases, and I bought one of them, Accrolube. I didn’t know when i ordered that the Whiteline bushing come with their own grease. So you might see in the pics that i have used both the black grease from Whiteline, and the blue Accrolube. Note that the Whiteline package has instructions on where to apply the grease, important for bushings that undergo twisting motions.

Pretty easy install.
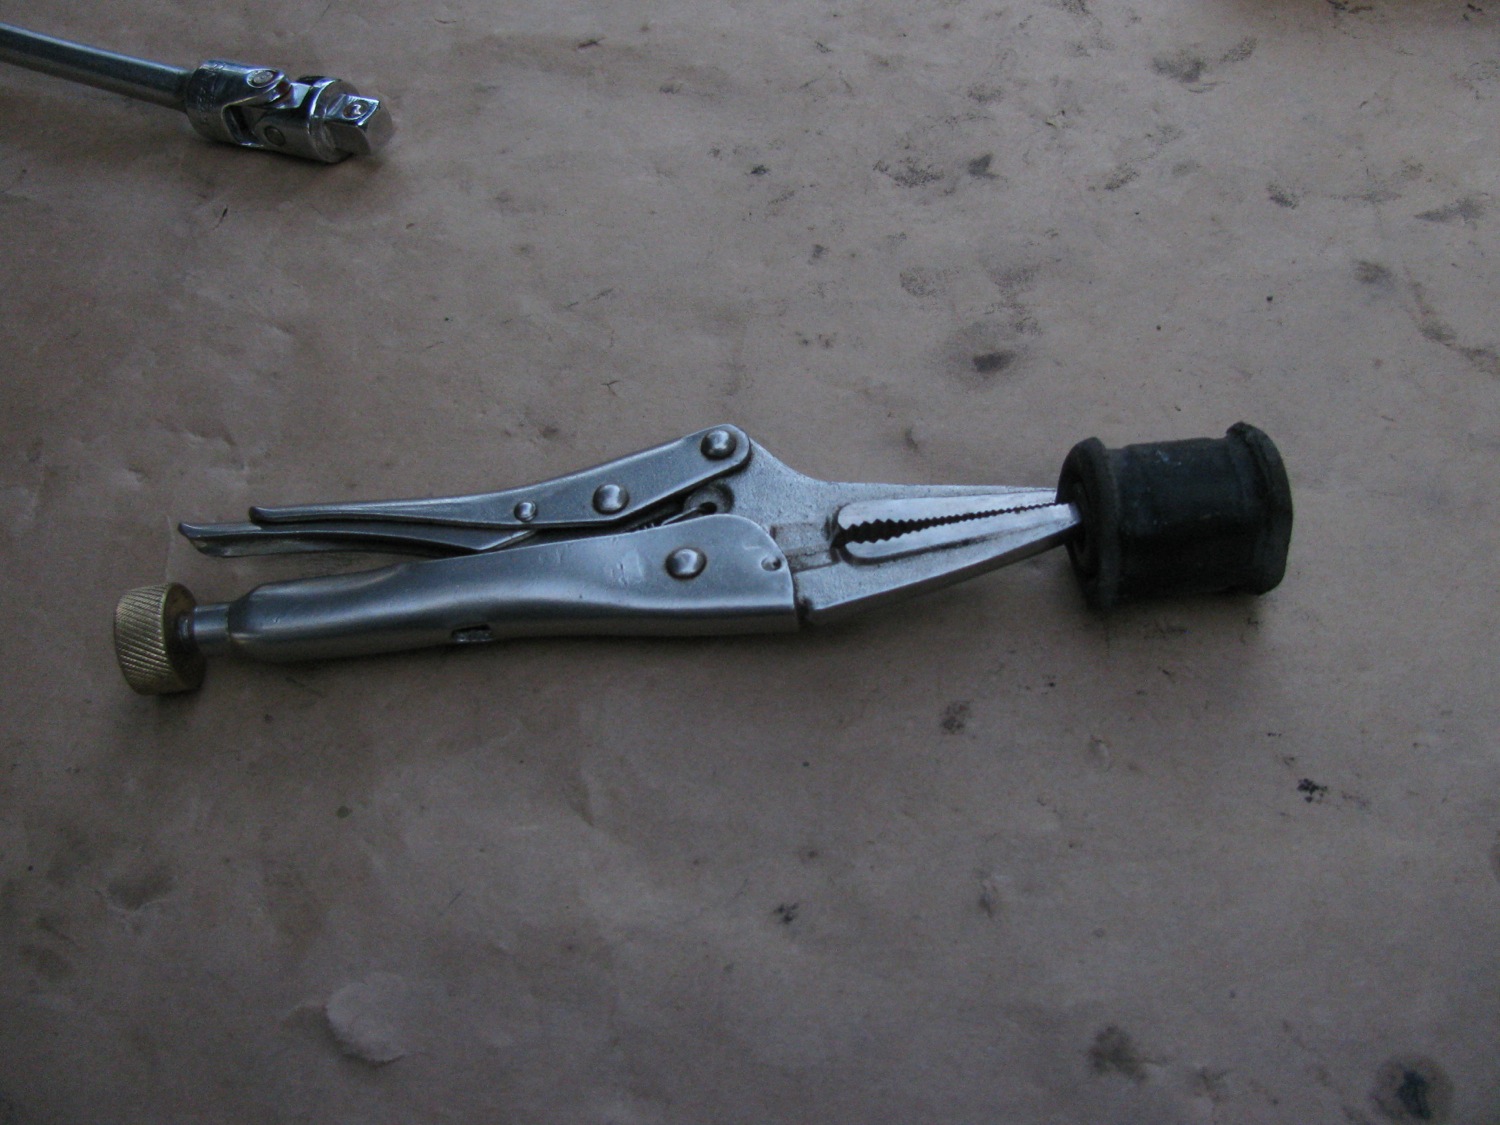
Next up are the drop link end bushings. You can read all about what I had done to the drop links a few years ago here and here
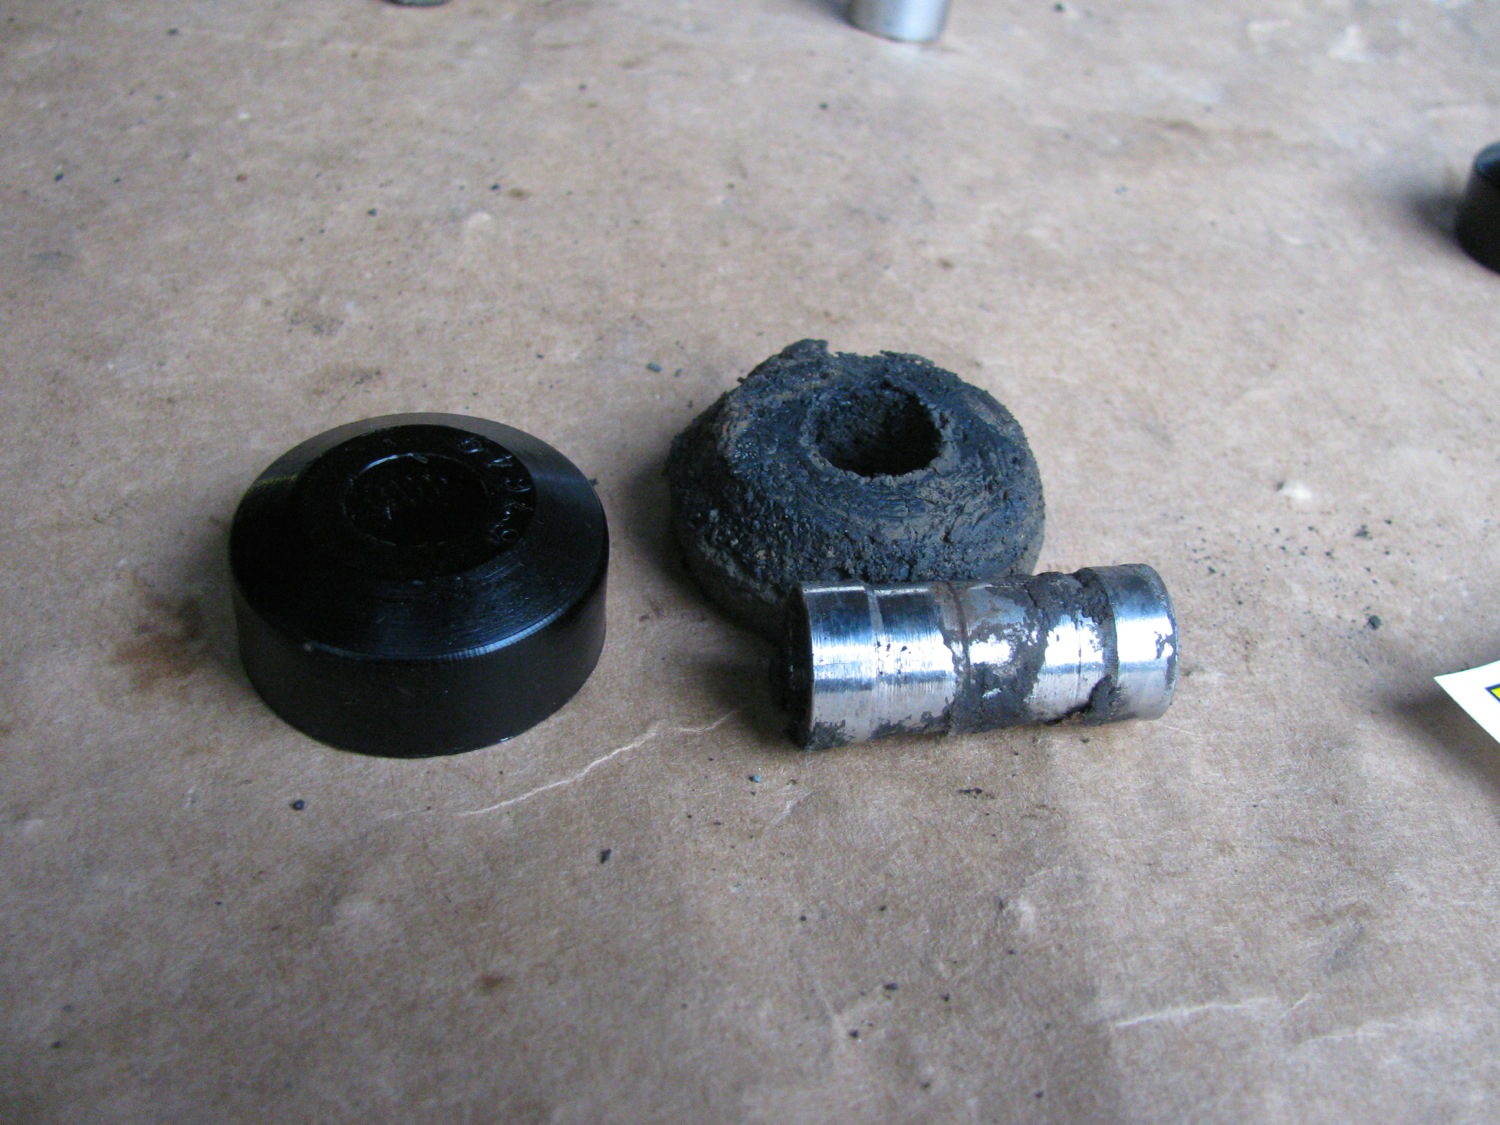
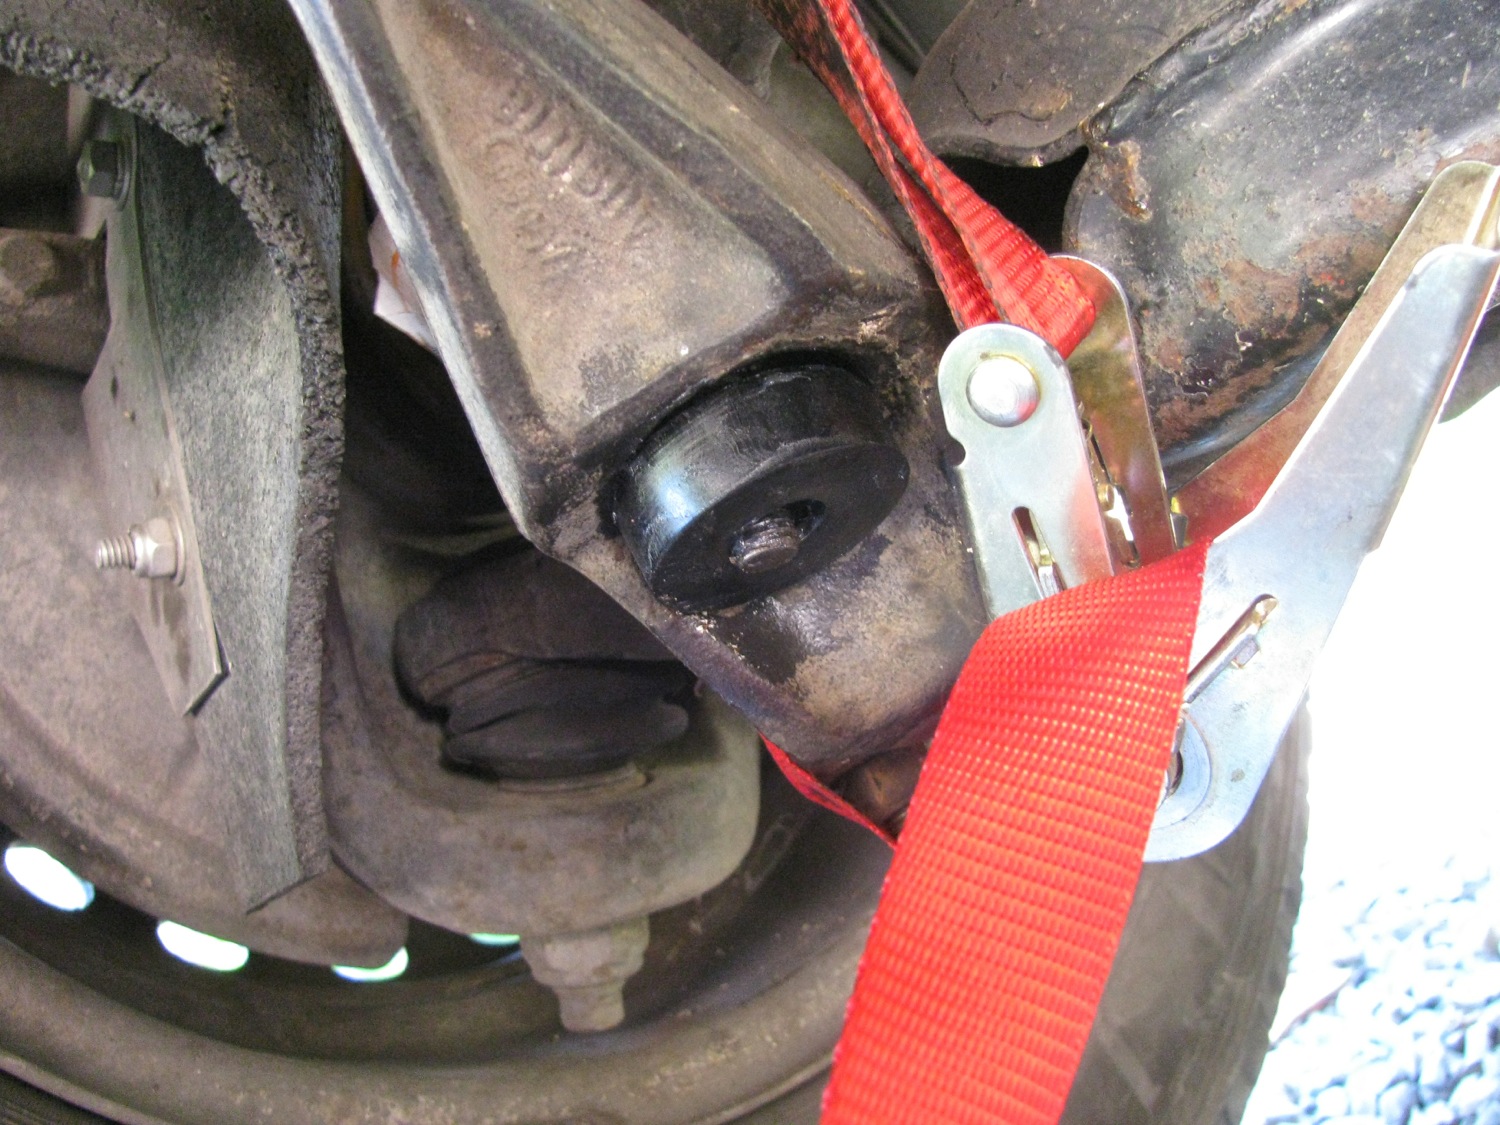
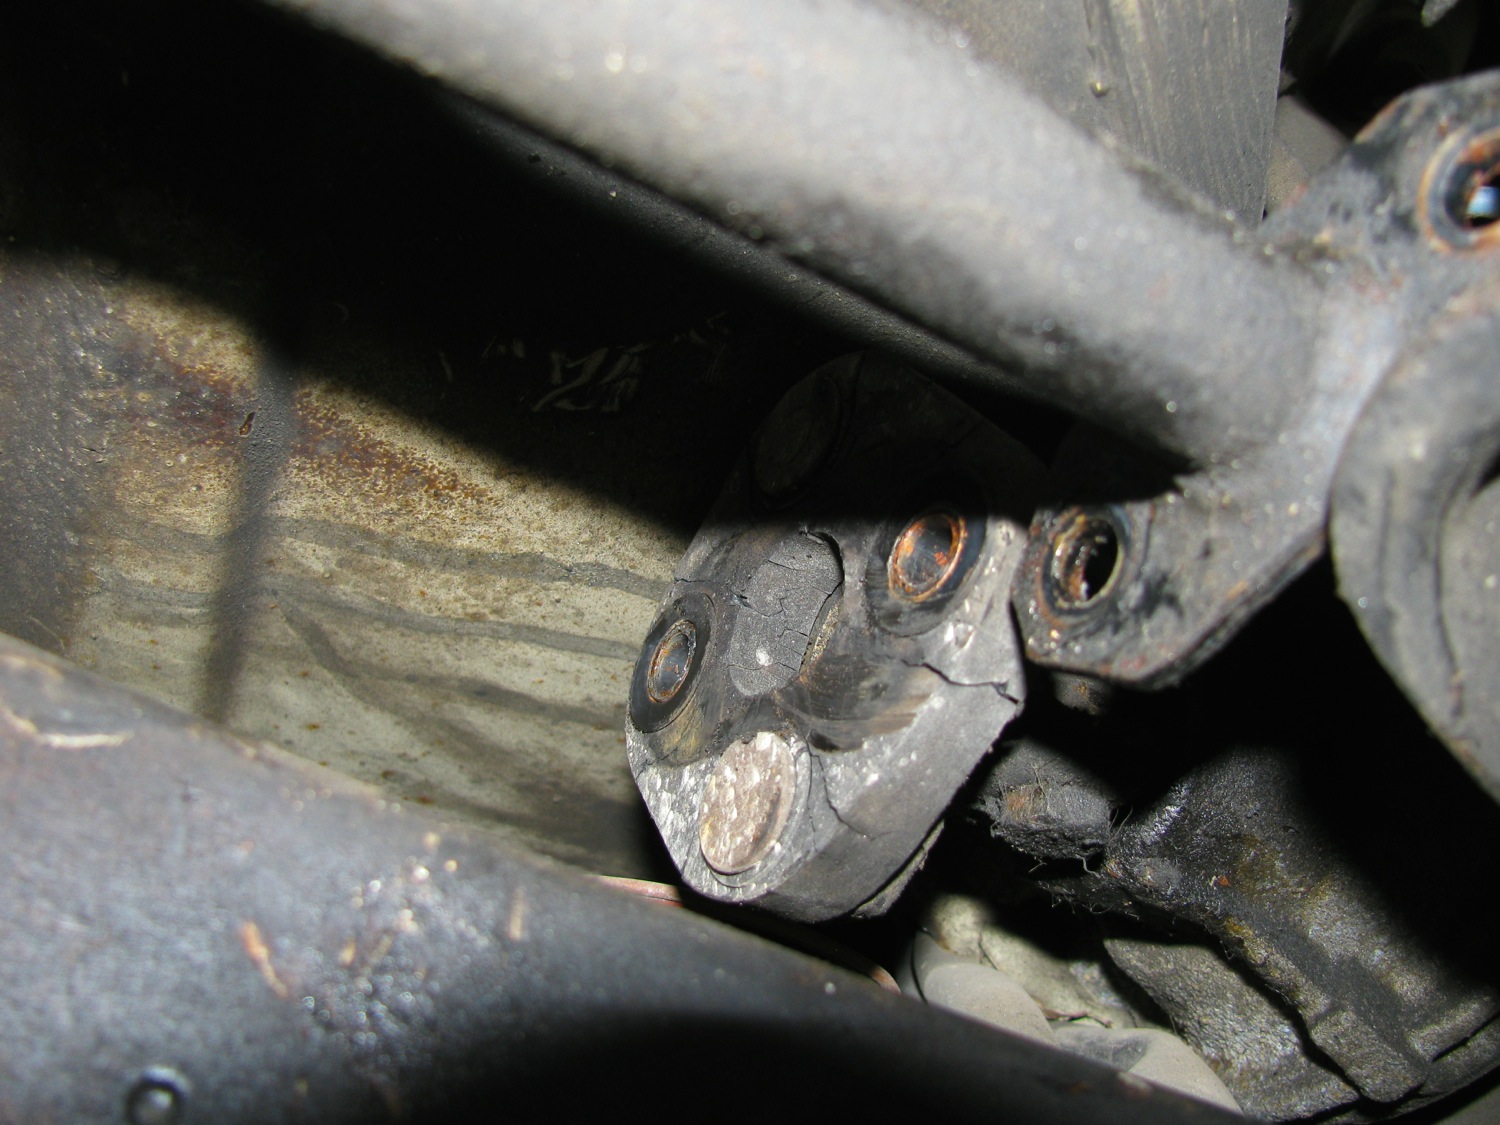
So far all the work has been done with van on the ground, but after I removed the nut at the end of the drop link I jacked the van up so that the drop link pulled up and out of the lower control arm. Be careful or course, block the van, support it etc etc. the drop link will come up out of the hole and then you can pull the sleeve and the topside bushing off. Look at that old bushing, that old home made bushing 🙂

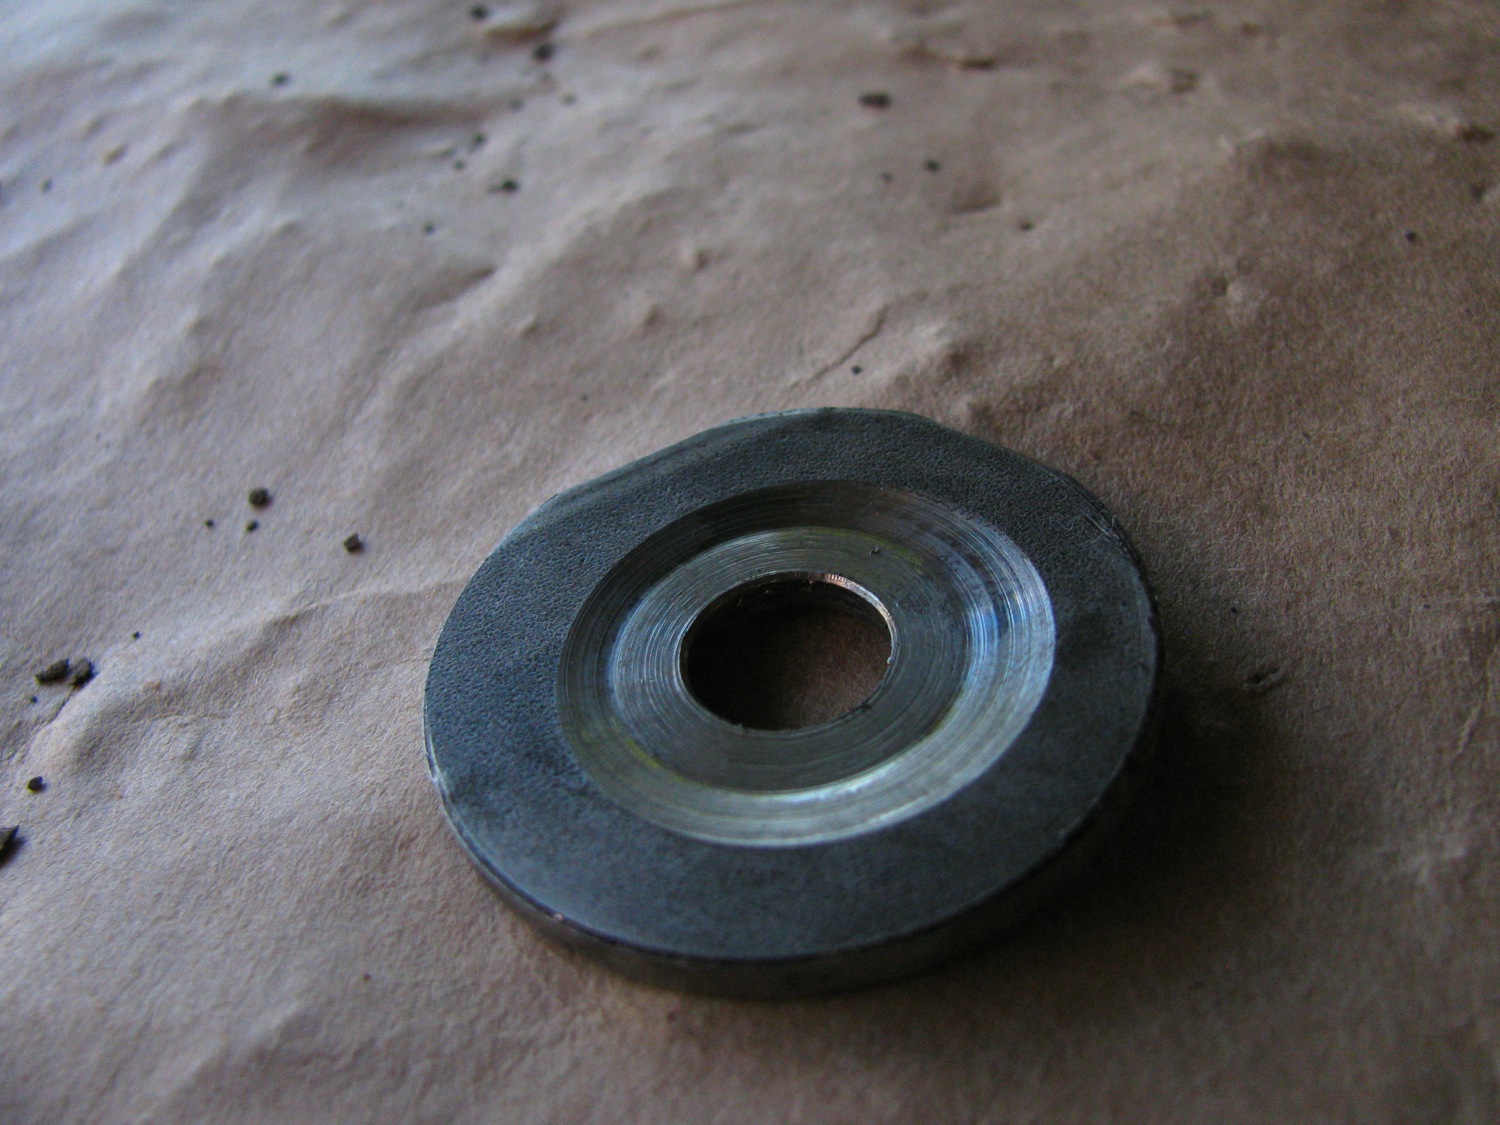
The homemade sleeve is holding up fine. Interesting grease residue marks in the middle, showing the edges of the bushings? also note the shape of the new bushing. It is flat one one side, domed on the other. The domed side goes into the control arm recess, the flat side faces the dished washer. The flat side really should be slightly domed or at least bevelled, I think. Chris agrees. I modified the bushings on the other side, ground a bevel on them, but of course didn’t take a pic. I think the bevel roughly matching the curve of the dished washer would allow a little more articulation in the joint.
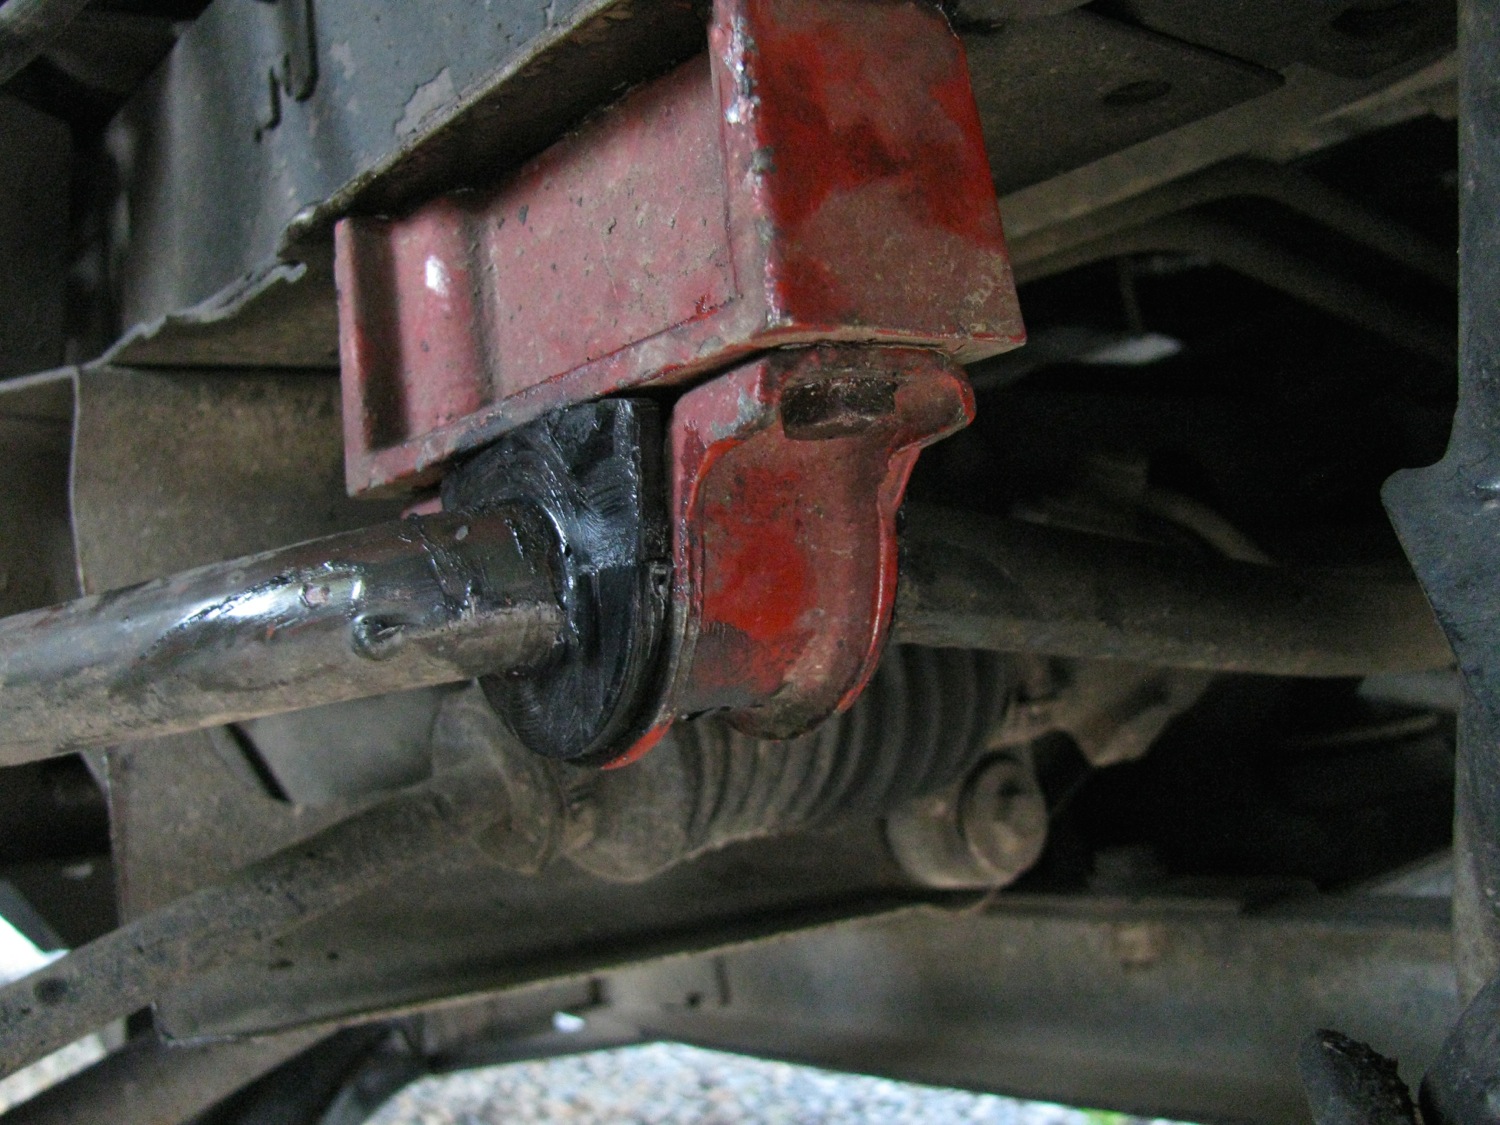
Now the install of the new bushings. Dished washer on the drop link first, convex side facing bushing, then a bushing with sleeve installed in it and the drop link inserted in the control arm. van lowered off the blocks so the drop link is pushed in the control arm. but the new bushing is tight and not much of the other end sticks out. So even with van fully lowered, wheel on the ground, not enough drop link is exposed to get the other bushing installed.

So i rigged up a ratchet strap and pulled the drop link down. Also disconnected the sway bar to body bracket. Even then it was a bear to get the lower bushing installed.
I certainly couldn’t get my dished washer installed so I pulled the bushing in as tight i could with a plain flat washer and the nut. I would do the nut up tight then remove it, put on the dished washer and try the nut…. just wouldn’t catch the threads. My home made stainless washer was too thick.
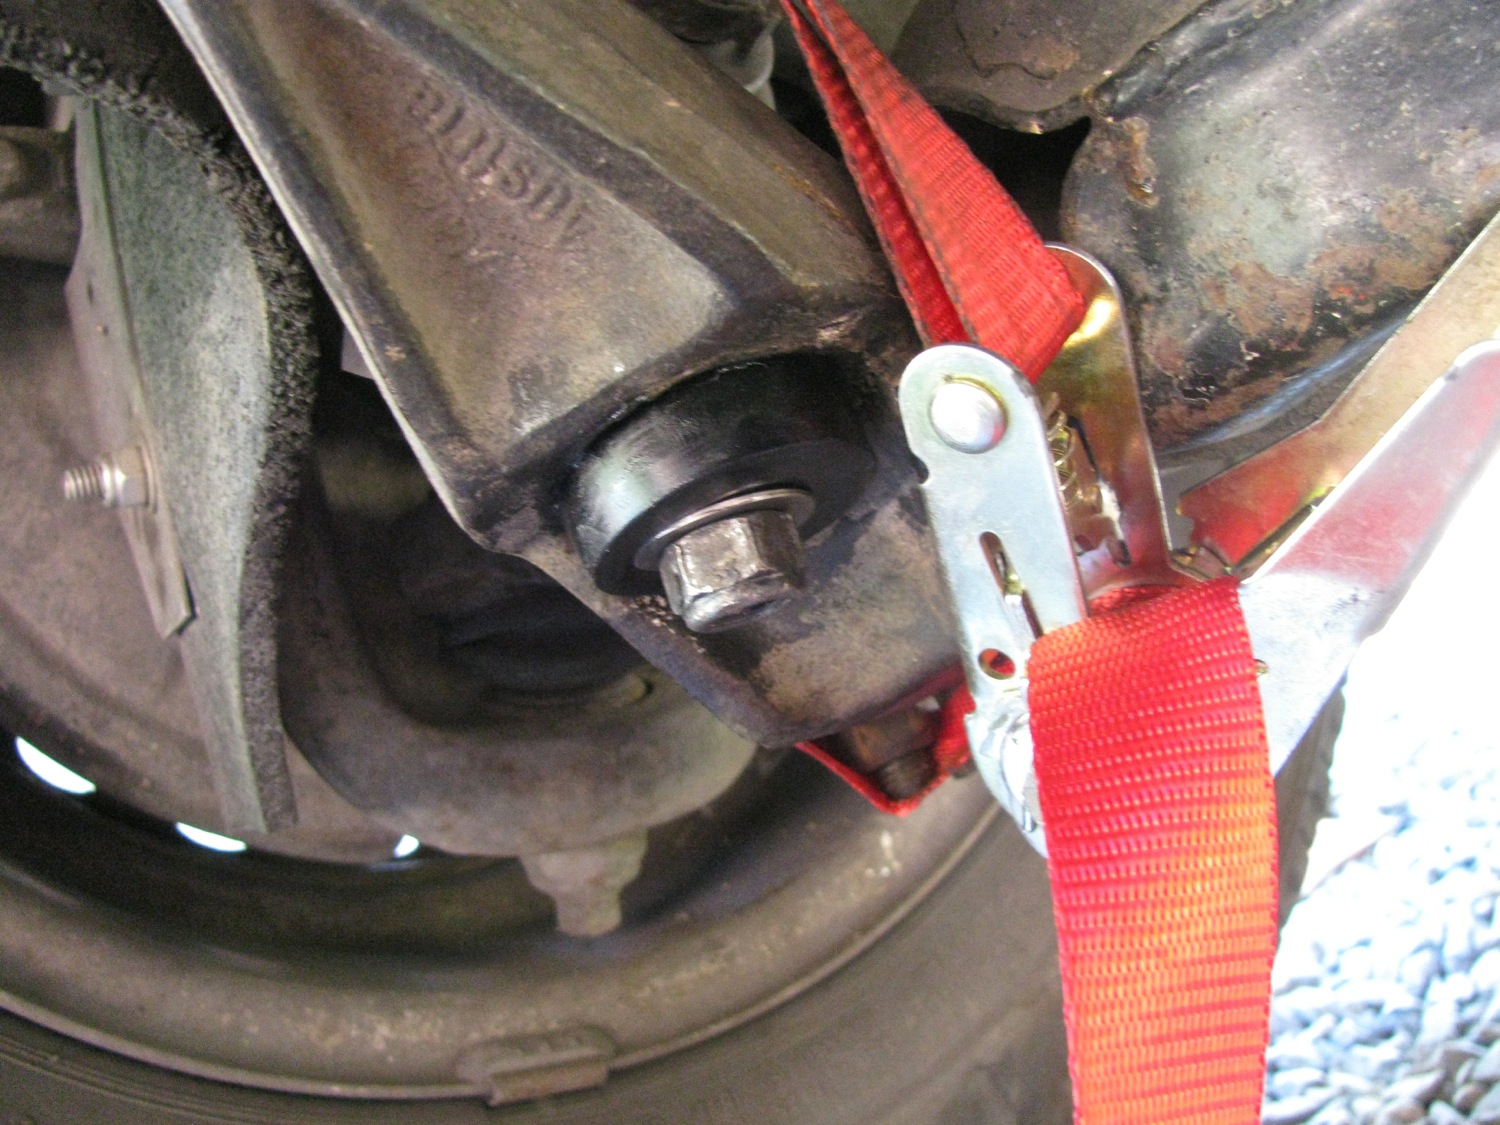
So i turned a recess in the washer and after a bit of a struggle and a lot of cursing, i got the washer and nut on. The other side was a tad easier with the modified bushing. But this part of the job took me a couple of hours.
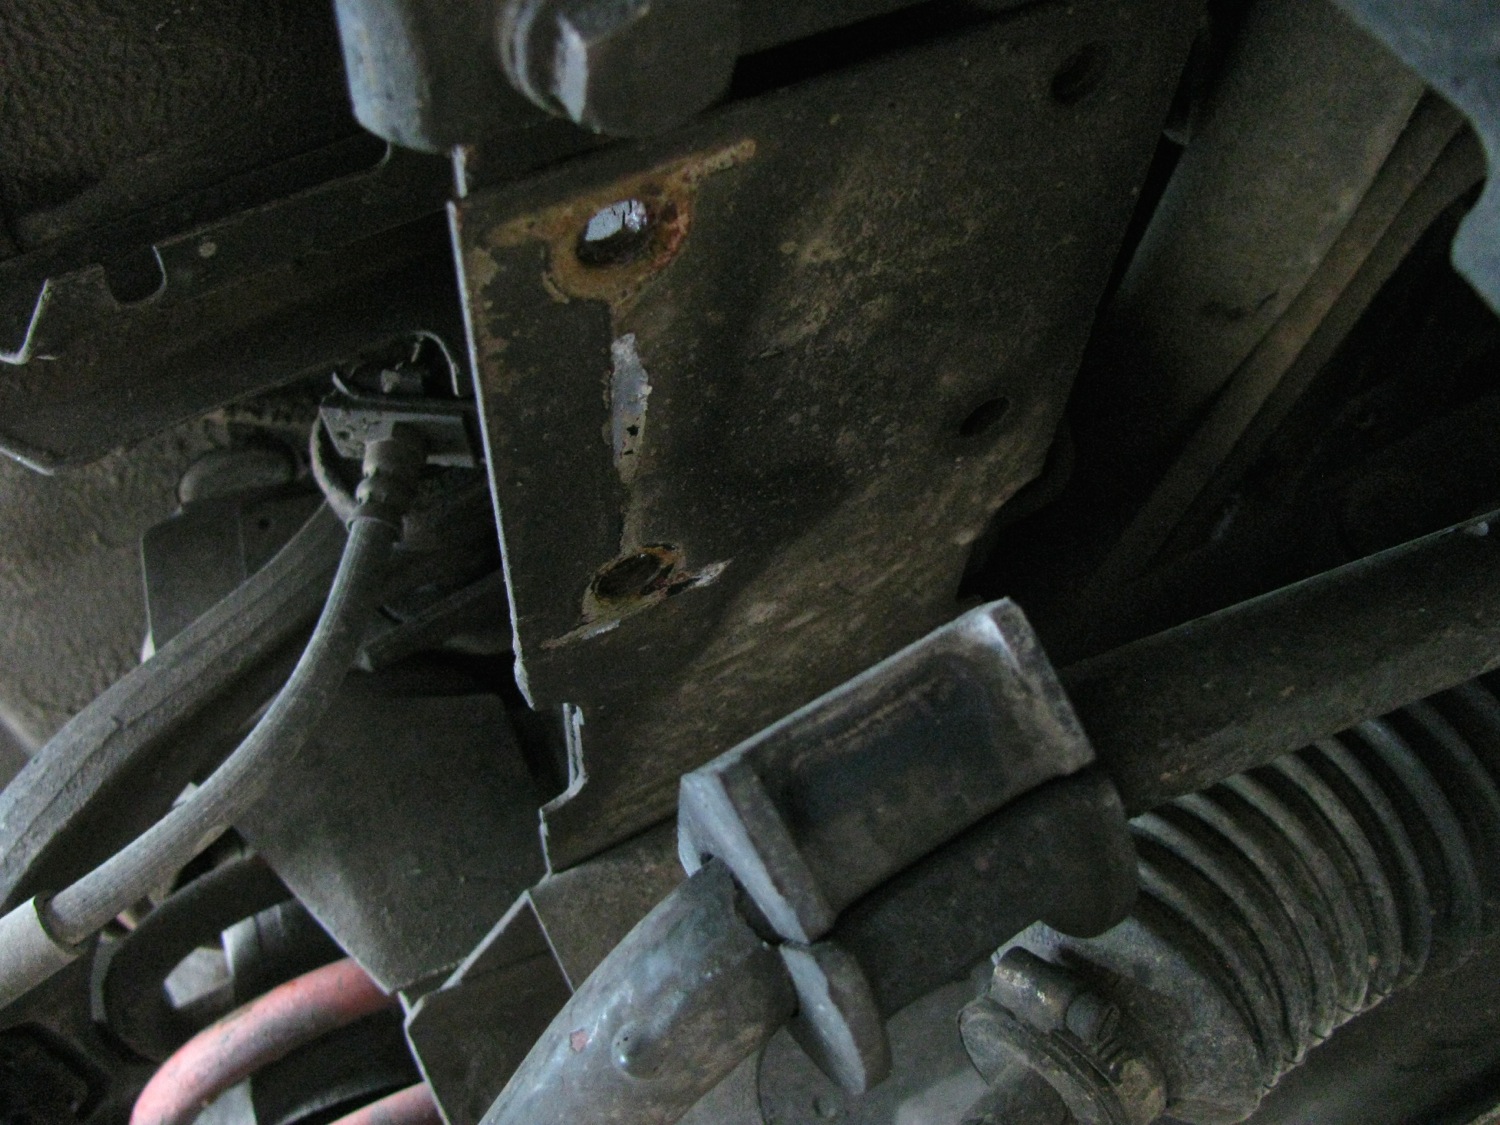
Now on to the steering rack bushings. There are four of them, upper and lower, left and right. Here you can see the lower on the right hand side. The bolt goes throughout the bushing and frame member and there is a stover type nut on the end. I would advise you to soak the nut side with penetrating oil a couple of days before you do this job, there is a fair bit of exposed thread on the bolt and they can be rusty.
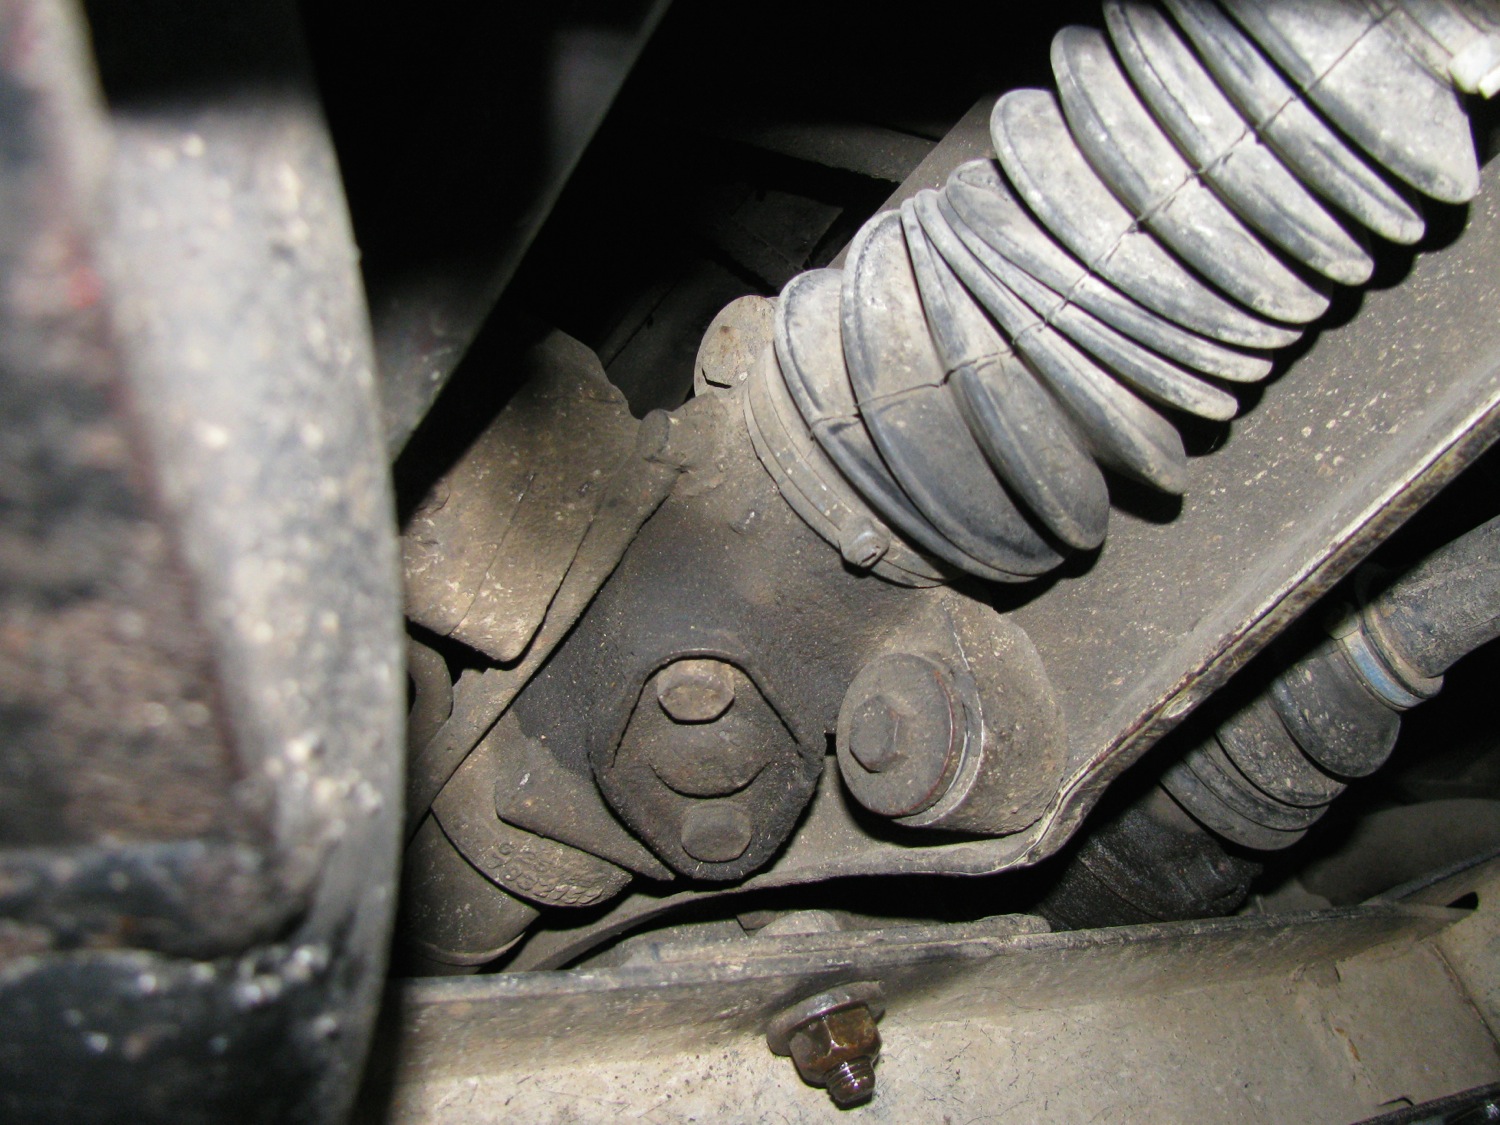
I started by loosening all four bolts, but not all the way. Then had at the lower left side bushing. I removed that bolt, oh careful, there is s slim washer under the nut. The with a slim small pry bar i pushed the bushing out from behind. Remarkably it came out quite easily. On a couple i grabbed the bushing with needle nosed vice grips to ease its passage.

They seem to be in pretty good shape.

The new bushings are two piece with supplied sleeve.

Pretty easy to install. I did one at a time but didn’t tighten up until all installed.

Yeah, supervisor was checking in.
Now on the driver’s side the steering rod (from steering gear box to steering rack) prevents the steering rack from being pried forward enough to both pry out the old bushings and install the new bushings. I disconnected the coupling at the forward end of the rod and loosened the slimed coupling at the u-joint in the rod. It was only later, looking at the pics did I notice the cracks in the rubber coupling, sheesh, another thing to replace.

Wrench access on the driver’s side is a bit restricted, so it take a little longer. But these bushing took less time to install than the drop link bushings.
So the verdict? I could really notice the steering response improvement, especially at highway speeds. I’d recommend the rack bushings even if your existing bushings are in good shape.

#1 by famillysyncrojerome on October 6, 2014 - 11:54 am
I followed you advice Alistair and replaced those steering rack bushing as I had powerflex bushing in the garage for a while but since the rack was new when I bought the van, I didn’t bother. Same as you, I should replace the steering rubber coupling…..
At the same time, I switched to my small winter tires (as we plan to do a trip to BC this weekend and I don’t want to get a ticket…) and put back the drive shaft.
Result: not sure how was the wind, but the van has more of a “rail” feeling right now, it is awsome.
I am even surprised as my old bushing were looking even better than yours…..
Have a nice day.
Jerome
#2 by albell on October 6, 2014 - 7:03 pm
Jerome,
So you did notice a difference? It’s good to get another opinion on the bushings. I notice the improvement at hwy speeds.
Cheers
Ab
>
#3 by giuguar on August 13, 2022 - 2:26 am
Hi Albell, thanks for sharing this post, very instructive. I’m going to replace all bushes and damping rings on my 2WD (still original ones down there…) and I would like to understand what kind of difference in terms of comfort I might have with polyuretane ones compared with classic rubber ones. Can you give some advice? Cheers, Giulio.
#4 by albell on August 13, 2022 - 10:55 am
Hi,
To be honest, I think the stock rubber bushings good for most places, except the steering rack to frame bushes. Was there I noticed the biggest change, tighter feeling steering…. You know on Hwy with crosswind. For the rest, kinda hard to recall diff. One downside to polybushes is the chance that they squeak. Yeah the right grease is important, and so far mine are quiet. But I have heard of complaints by some who have installed.
Ab