But before the heater box work, I had to drill out the two broken heater box mounting bolts. I’m not an expert on this, and believe me I seldom have a good time doing this job.
The pedal assembly is still out of the van so I had much better access to the broken bolts. Sometimes I grind the stub of the bolt flat so I can pop a good centre punch mark, not this time though.

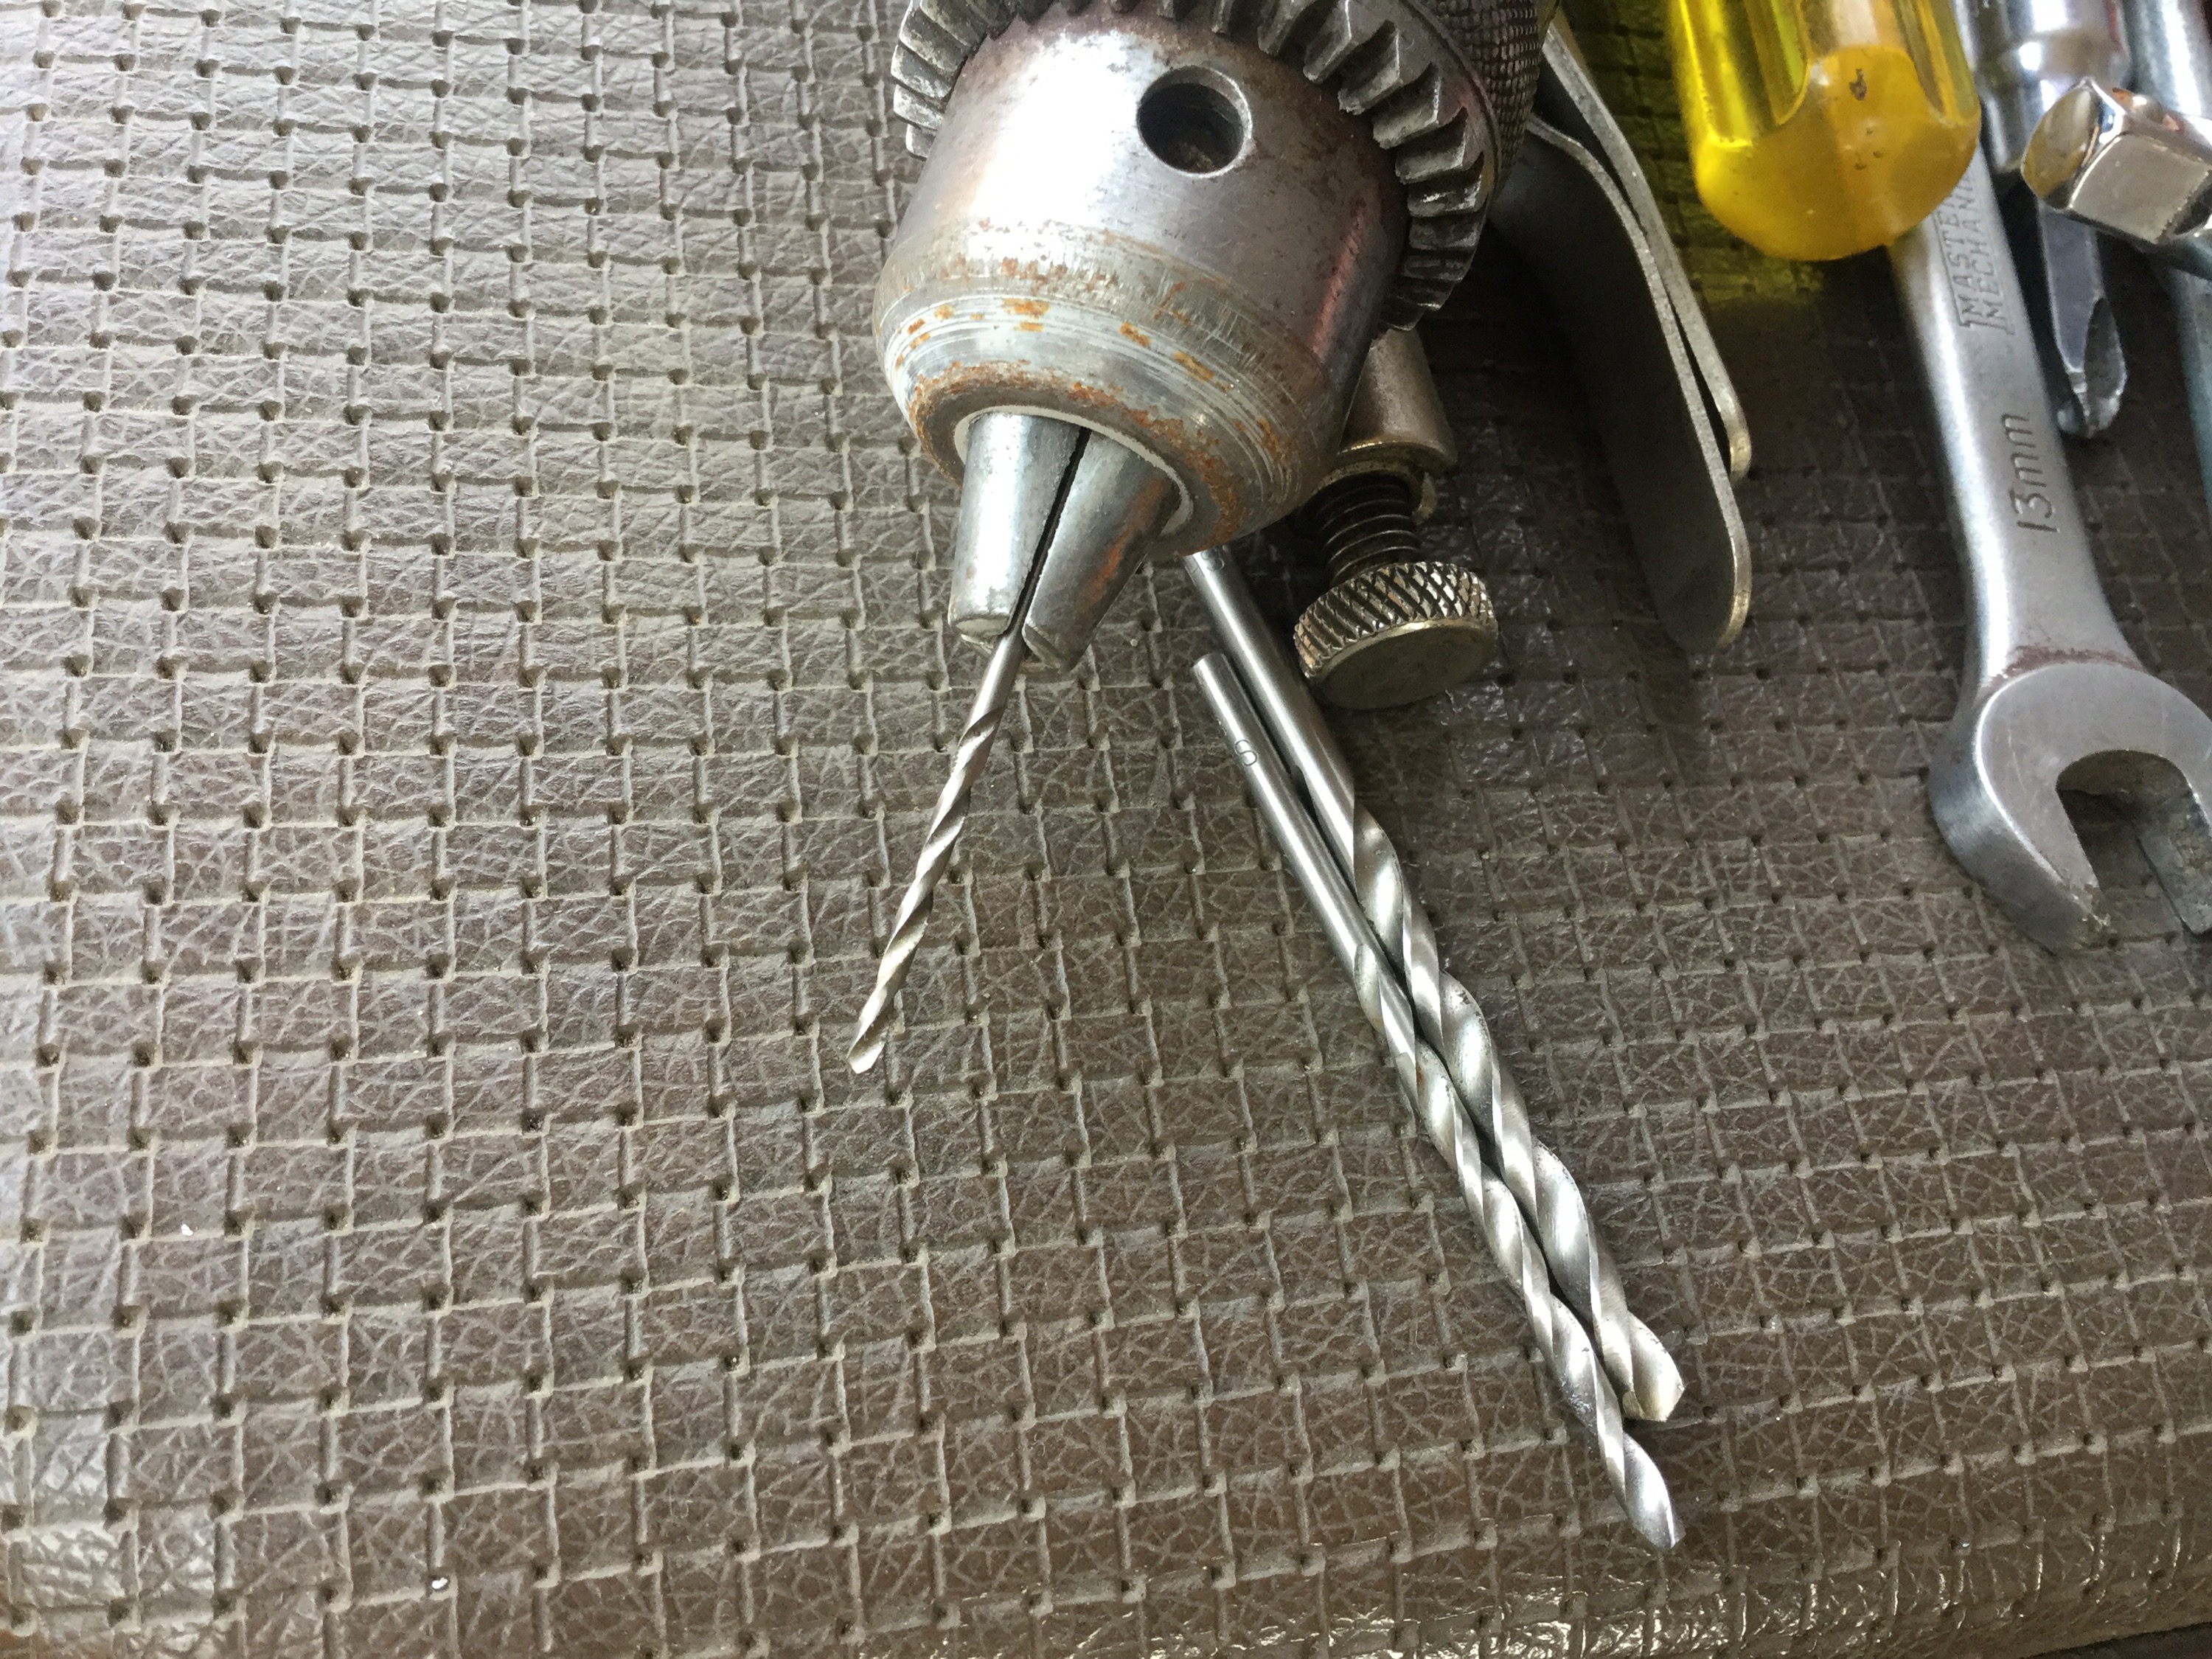
I’m pretty close to the centre of the bolt. The bolt stub is not centred in the middle of the sheet metal. When I am hand drilling ( as opposed to using the milling machine and having the work held firmly) I like to enlarge the centre punch mark with a small drill bit. No need to drill deep. The small drill easily finds the centre mark. Then I drill with a larger bit, right through. Finally I use a bit just slightly smaller than the bolt diameter, in this case it’s a 6mm bolt and the largest bit in the is pic is 7/32″, or 5.6mm.
There it is. Some of the bolt still clinging to the hole. I poked around the edges with and awl and I got the remains out. At this point I would use a tap to chase the threads, but I had taken my metric taps to work…
So I used one of this self tapping 6mm bolts, actually one from the pop top hinge to body connection. I had a couple of spares. 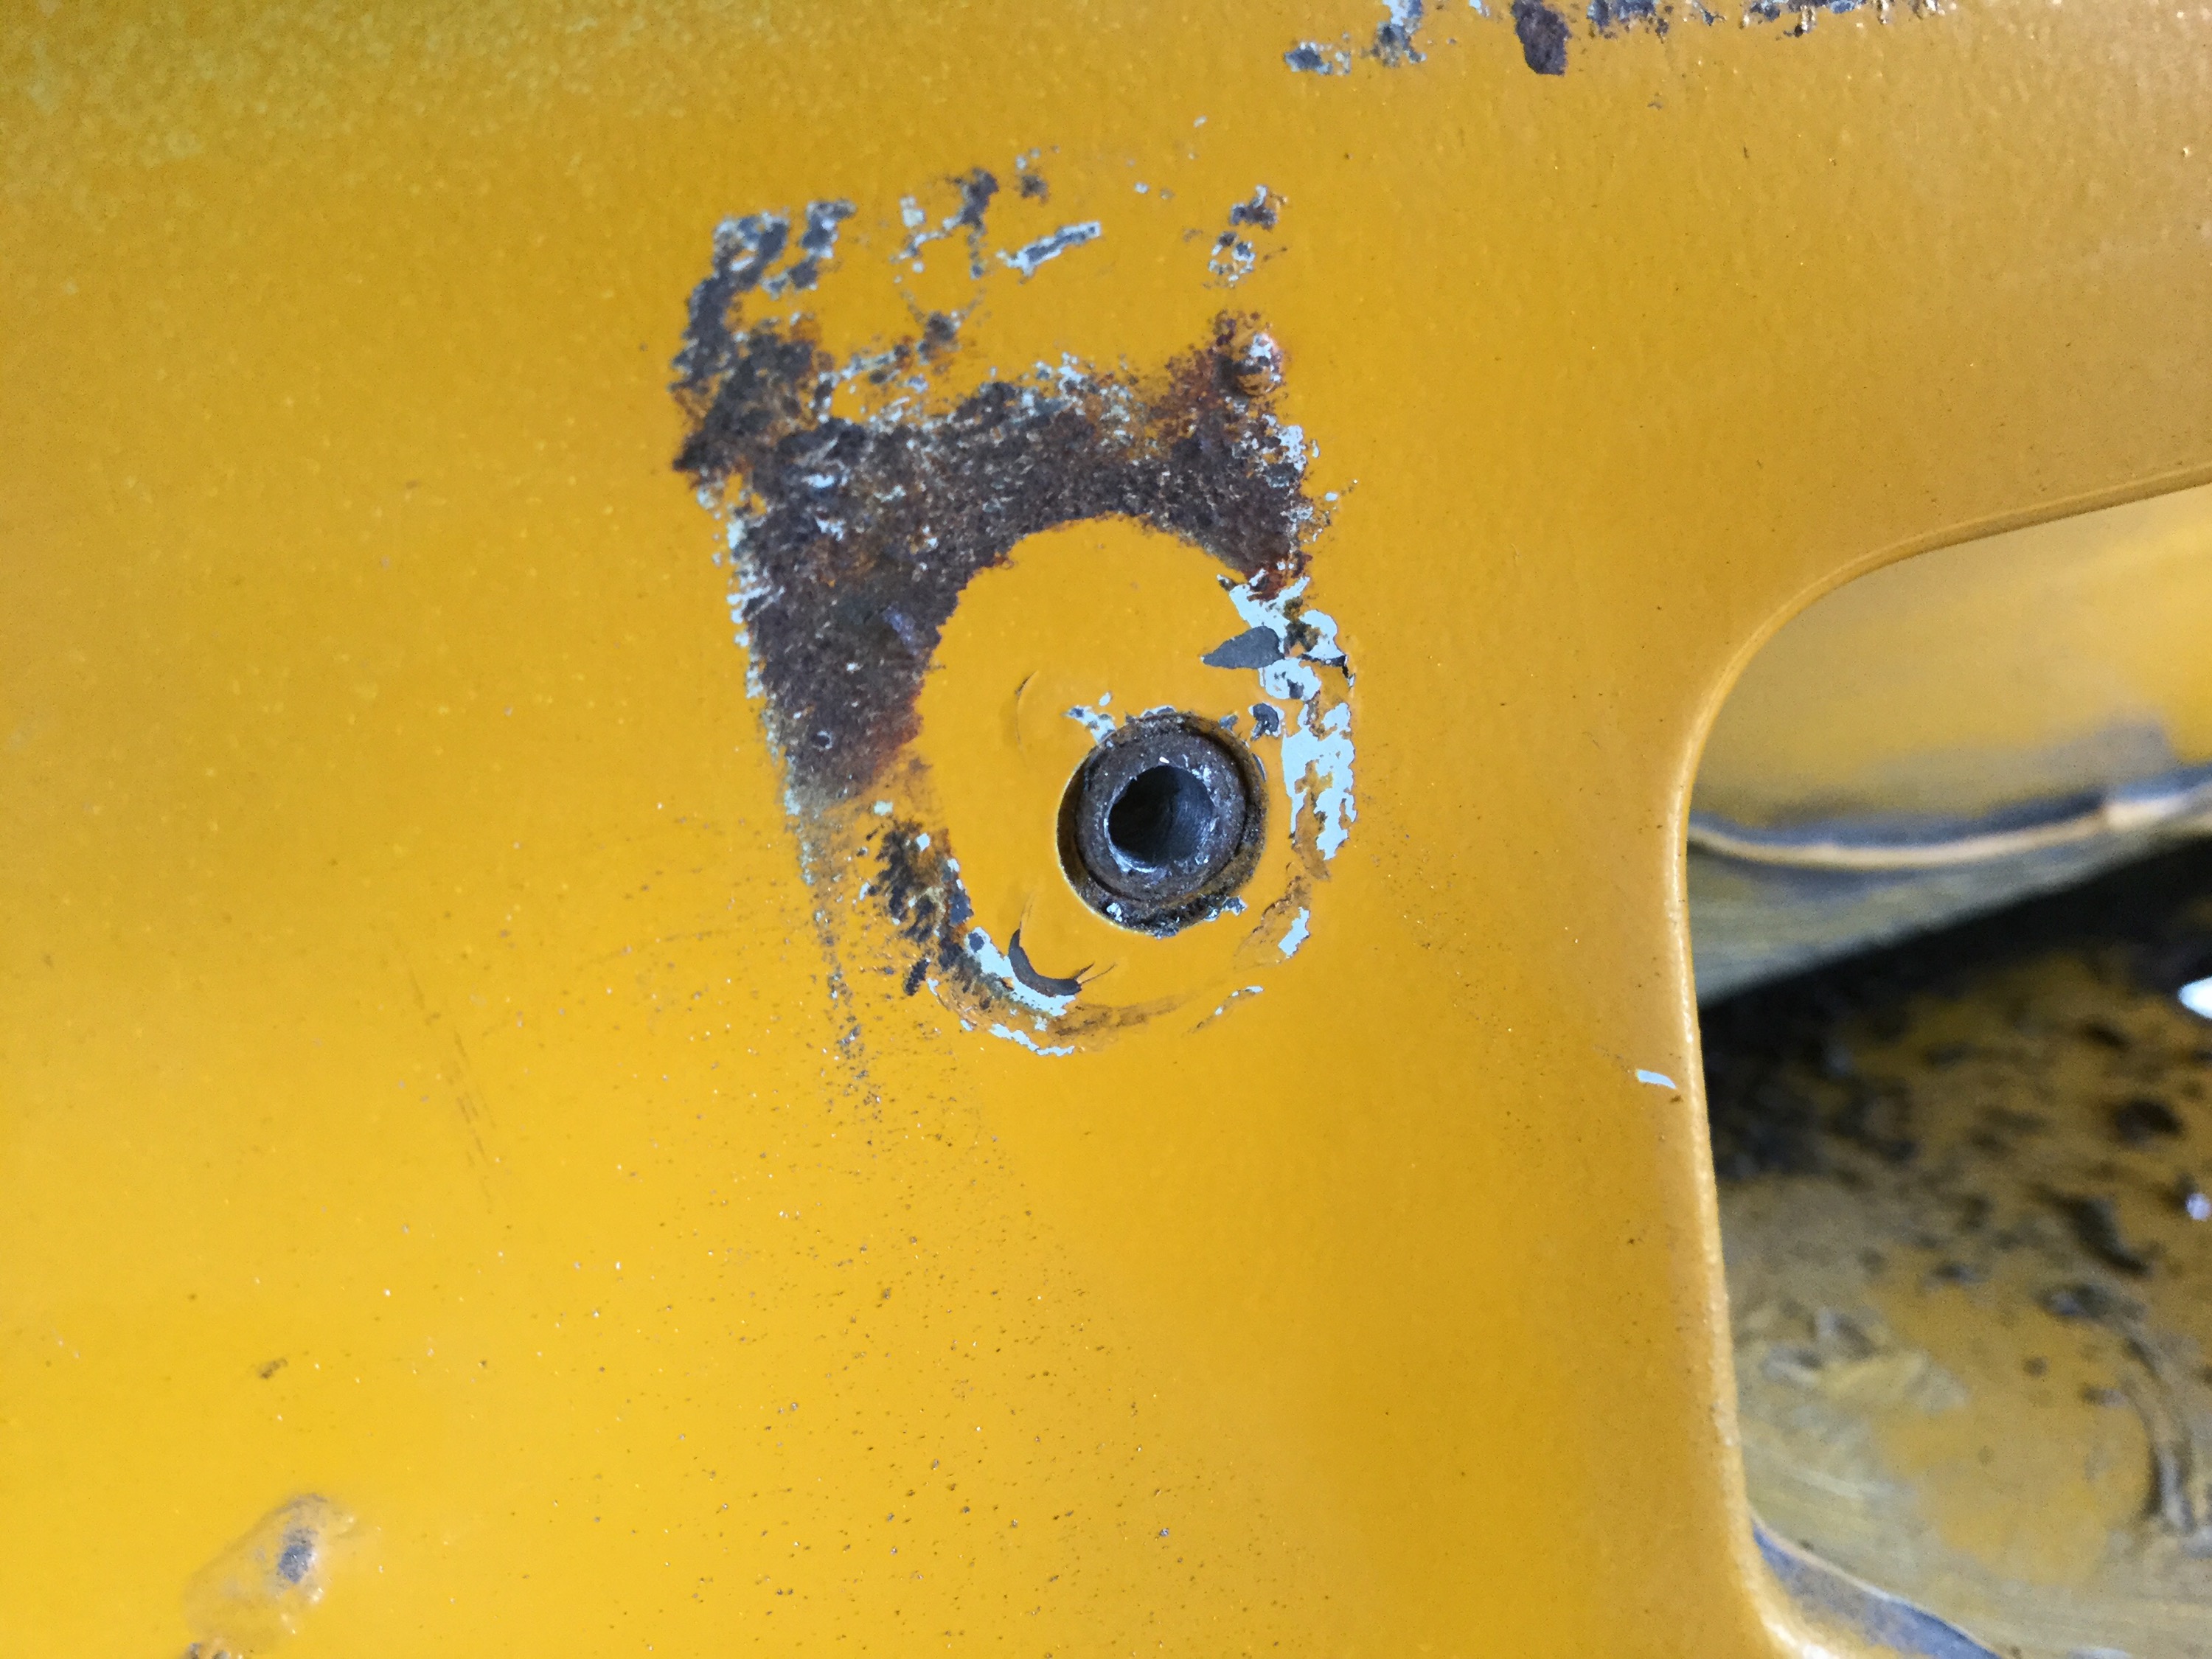
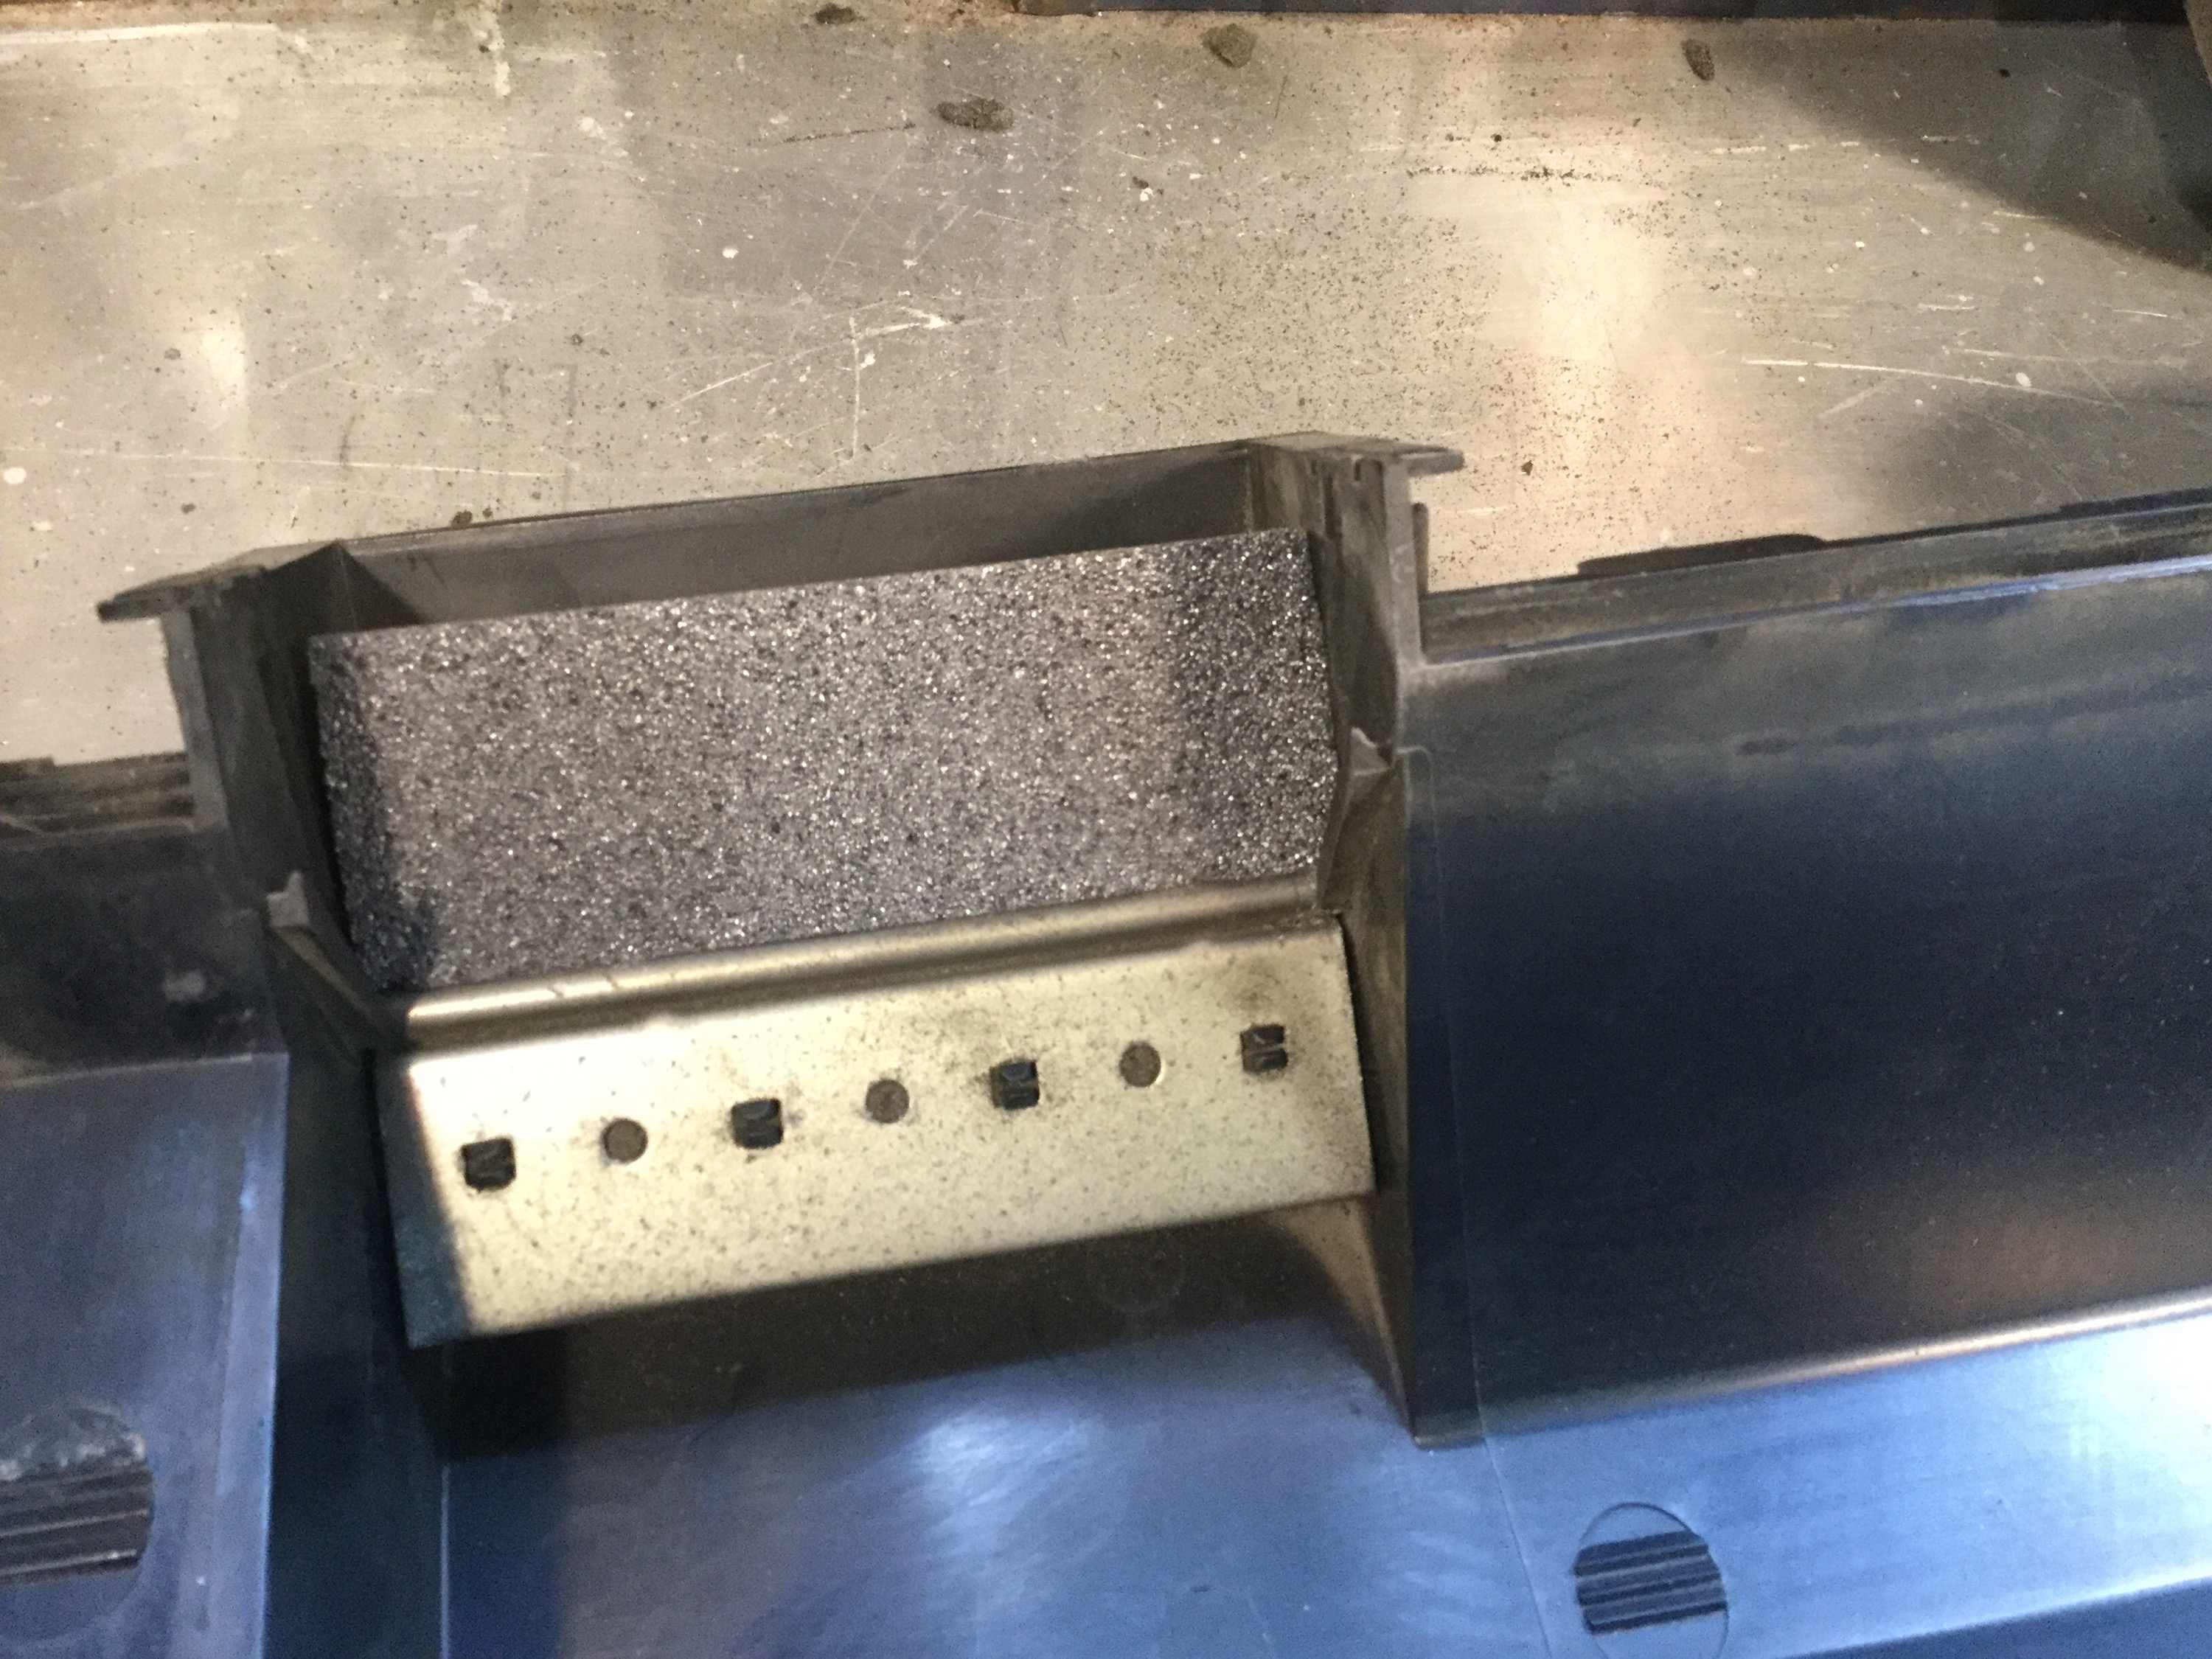
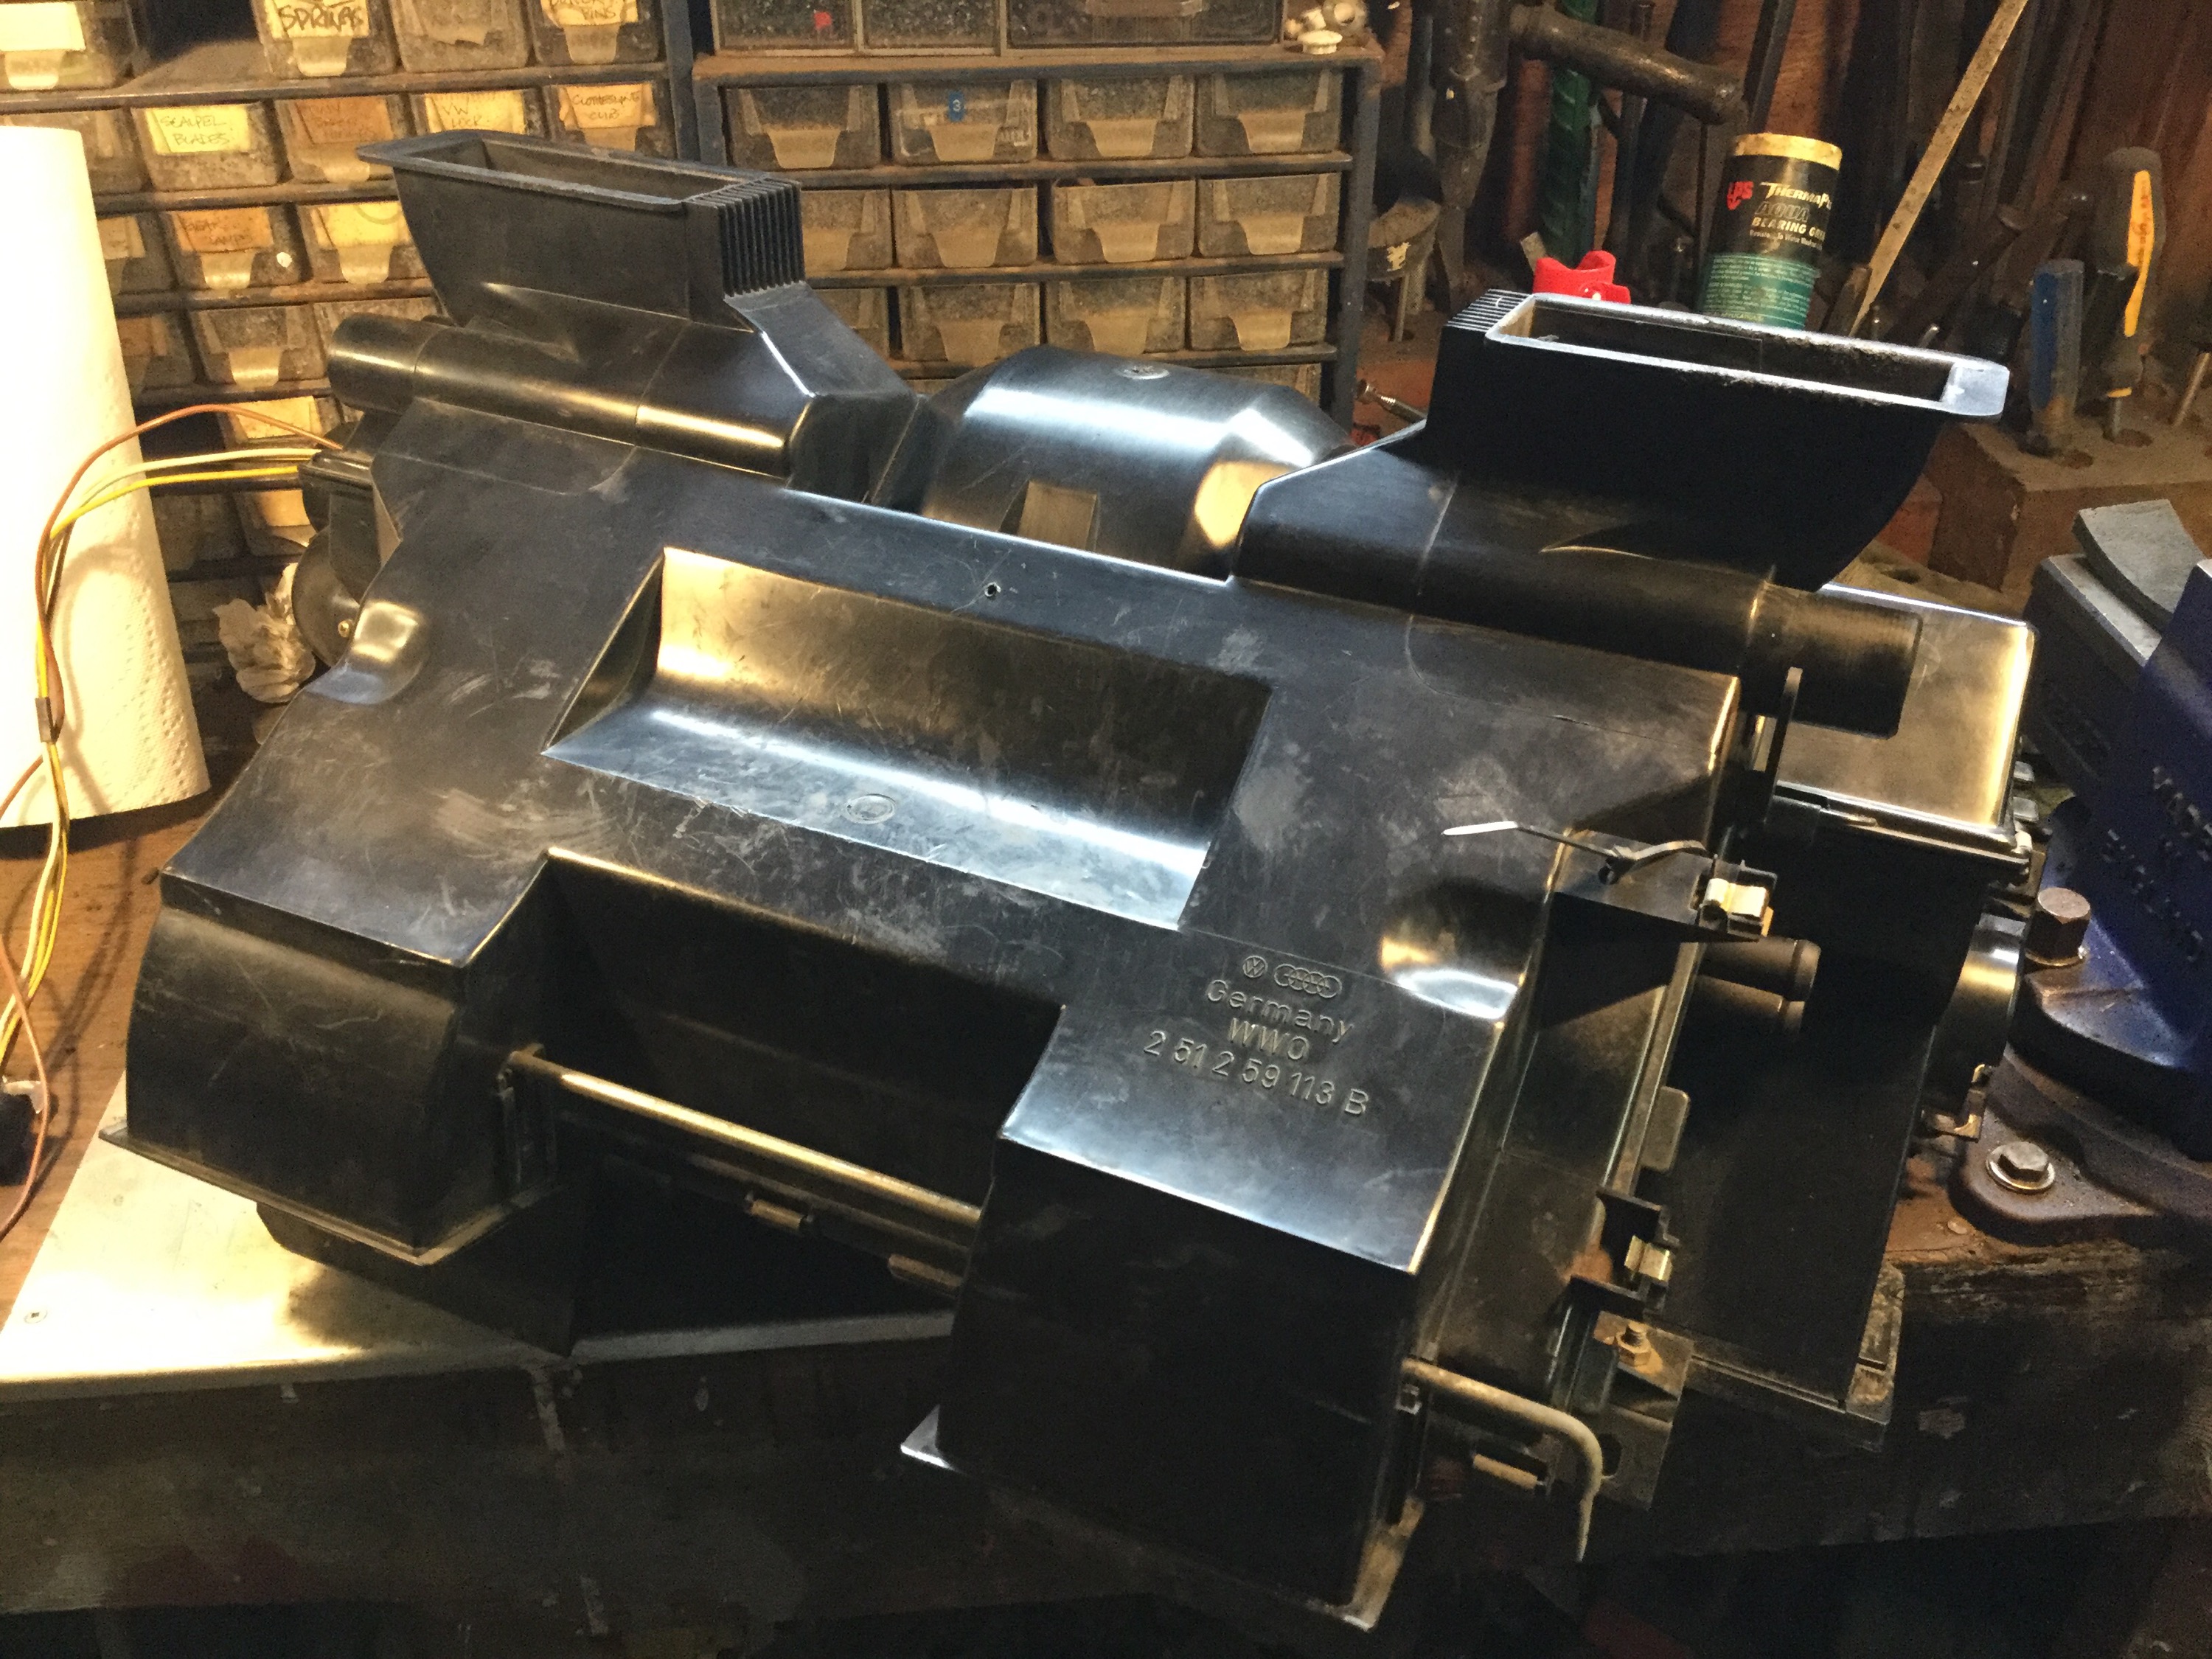
Now on to the heater box. Recall that I had split the box earlier. I washed the heater core and gave the internals a one hour soak with CLR brand rust and lime remover ( lactic acid, gluconic acid, and a surfactant). I started the refoaming on the upper half of the box.
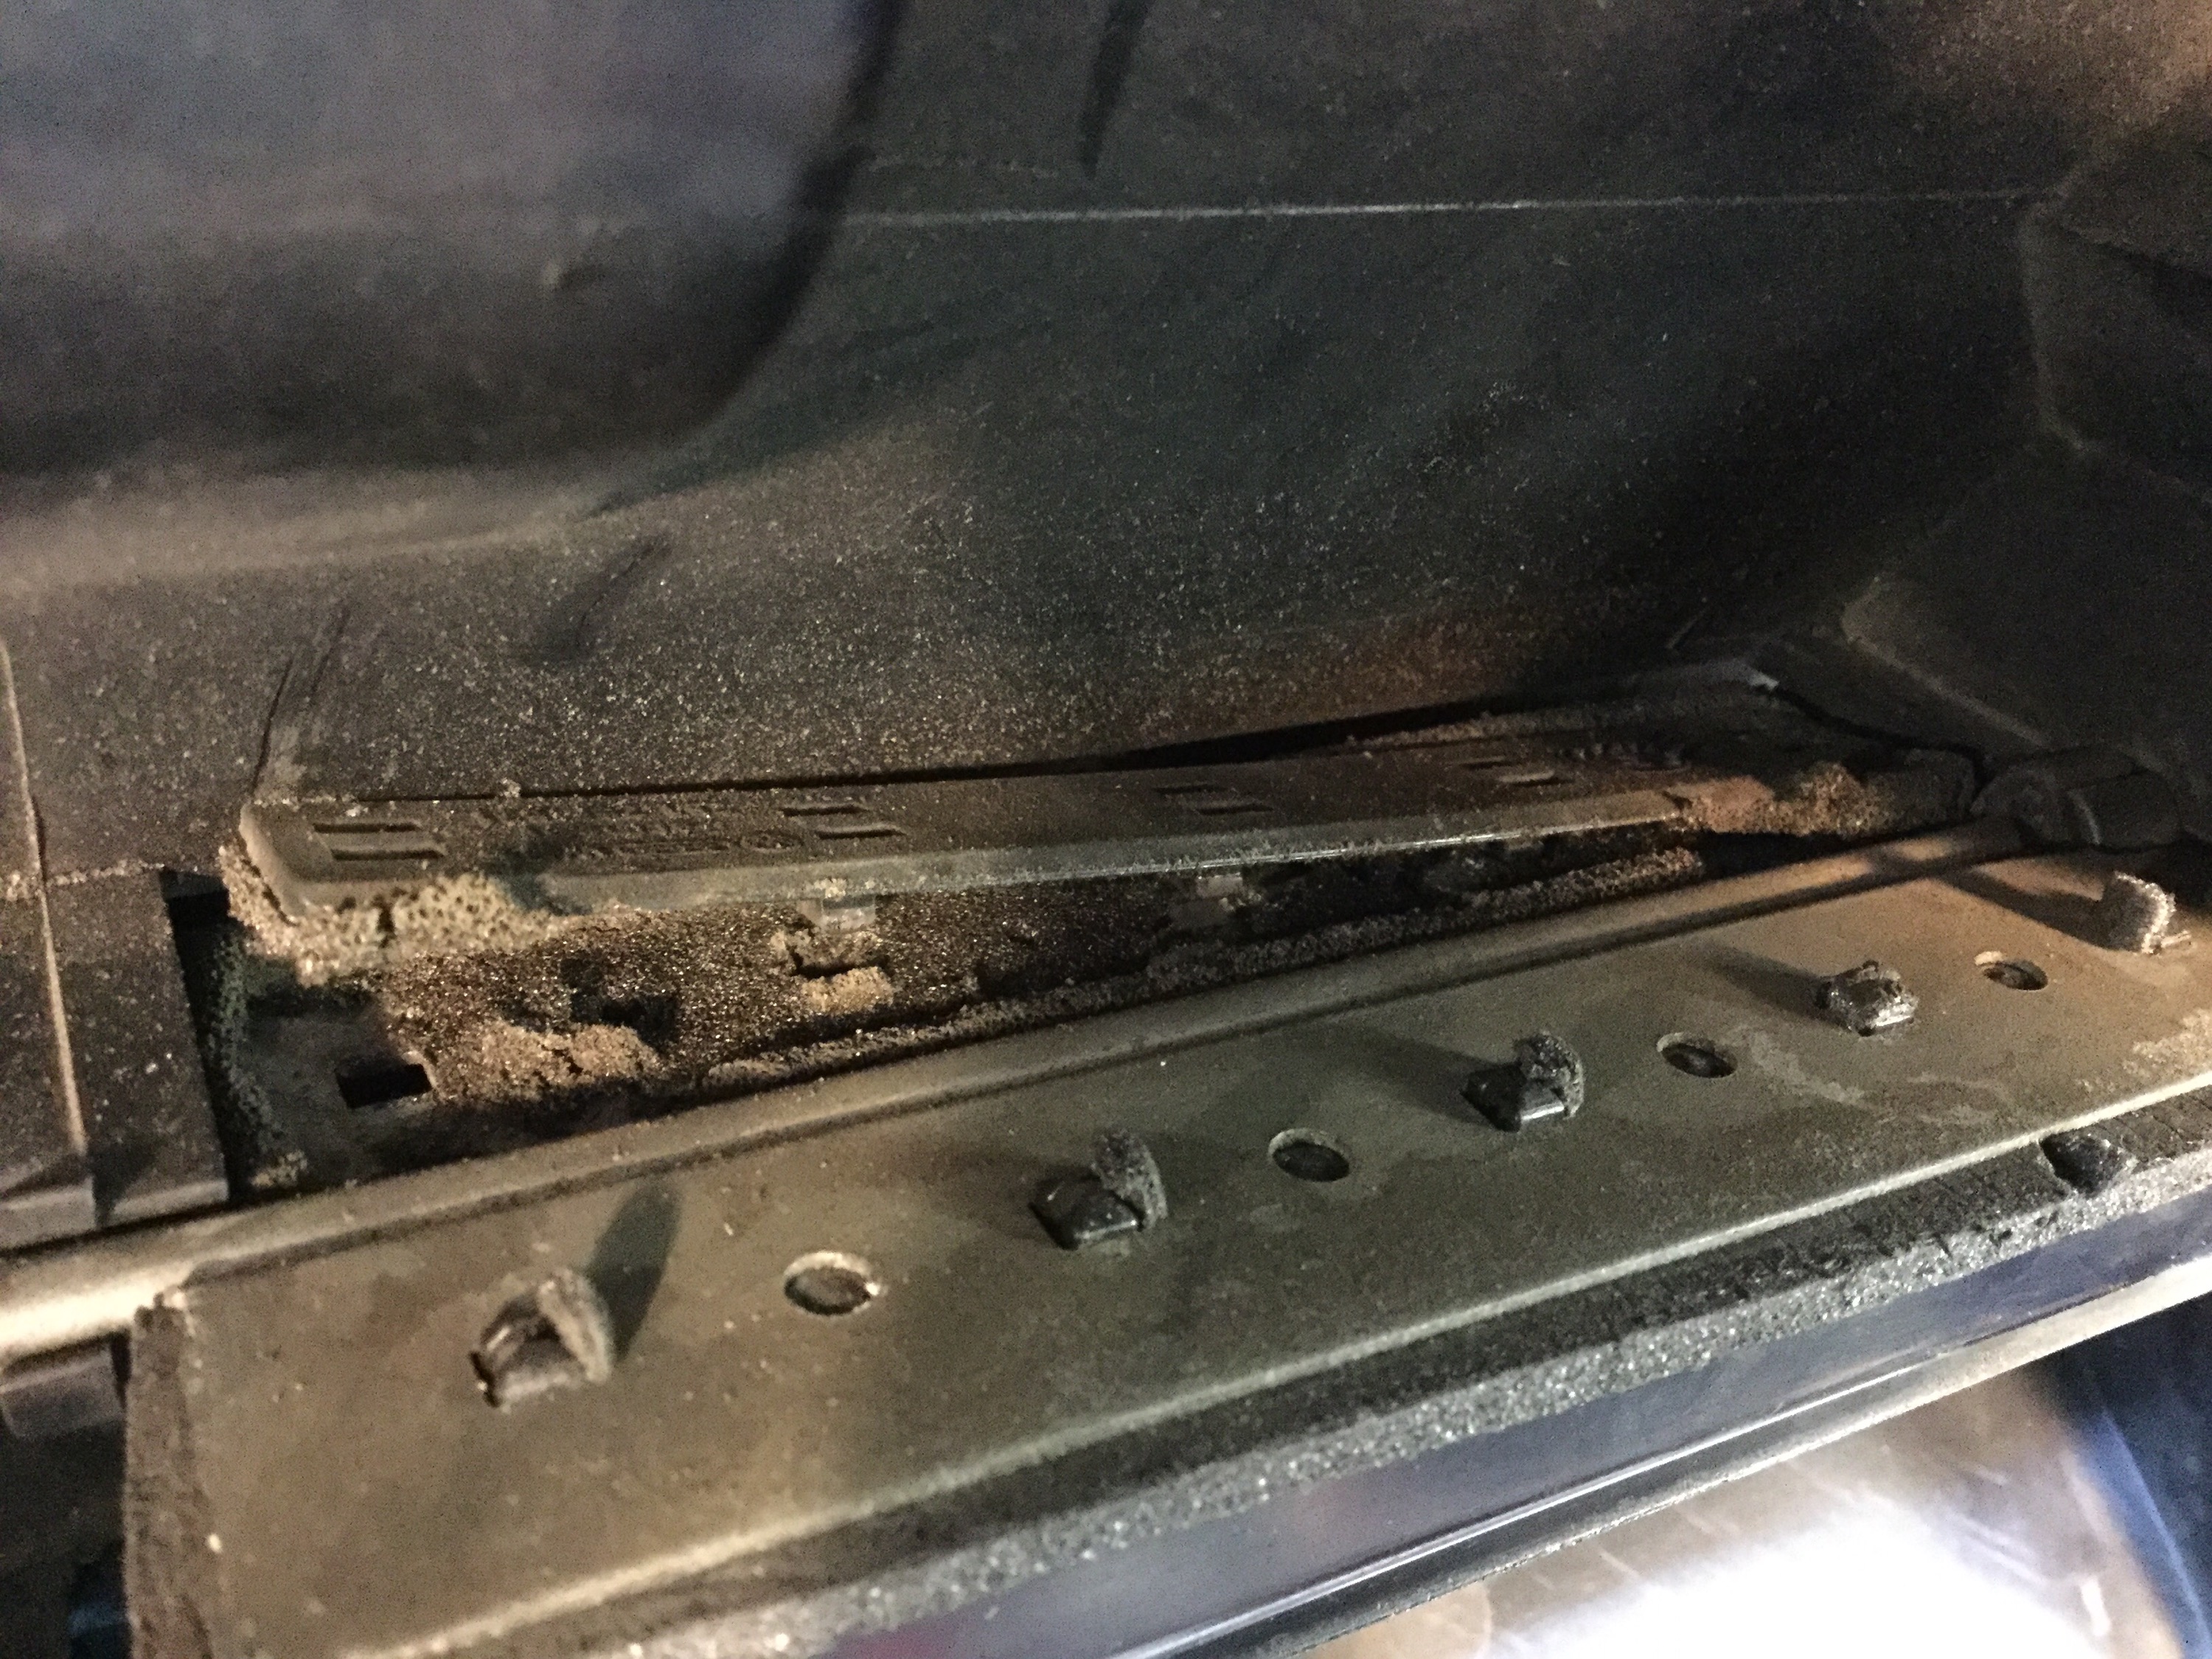
The factory foam is pretty well gone. You can see how it is held, sandwiched between a plastic bit and the actual flap.


The foam I used to replace the rotten stuff is 38mm wide, 5mm thick adhesive backed open cell foam. It has a shiny plastic face which can, and was, peeled off. I got this foam at a local RV store. Oh and it has and adhesive backing which helps hold it in place when the plastic part is press back into place. It’s important to use a very compliant foam. You want the flaps to seal with little effort. If the foam is too stiff then the heater control lever and cable system isn’t really able to close the flaps fully.
New foam in place, plastic part not I’m place yet.
And here the plastic is in place. You can push the plastic part on, the little tabs will poke through the soft foam.
I cut the foam just large enough to fit the opening, if you do this job you’ll see just how big to cut. 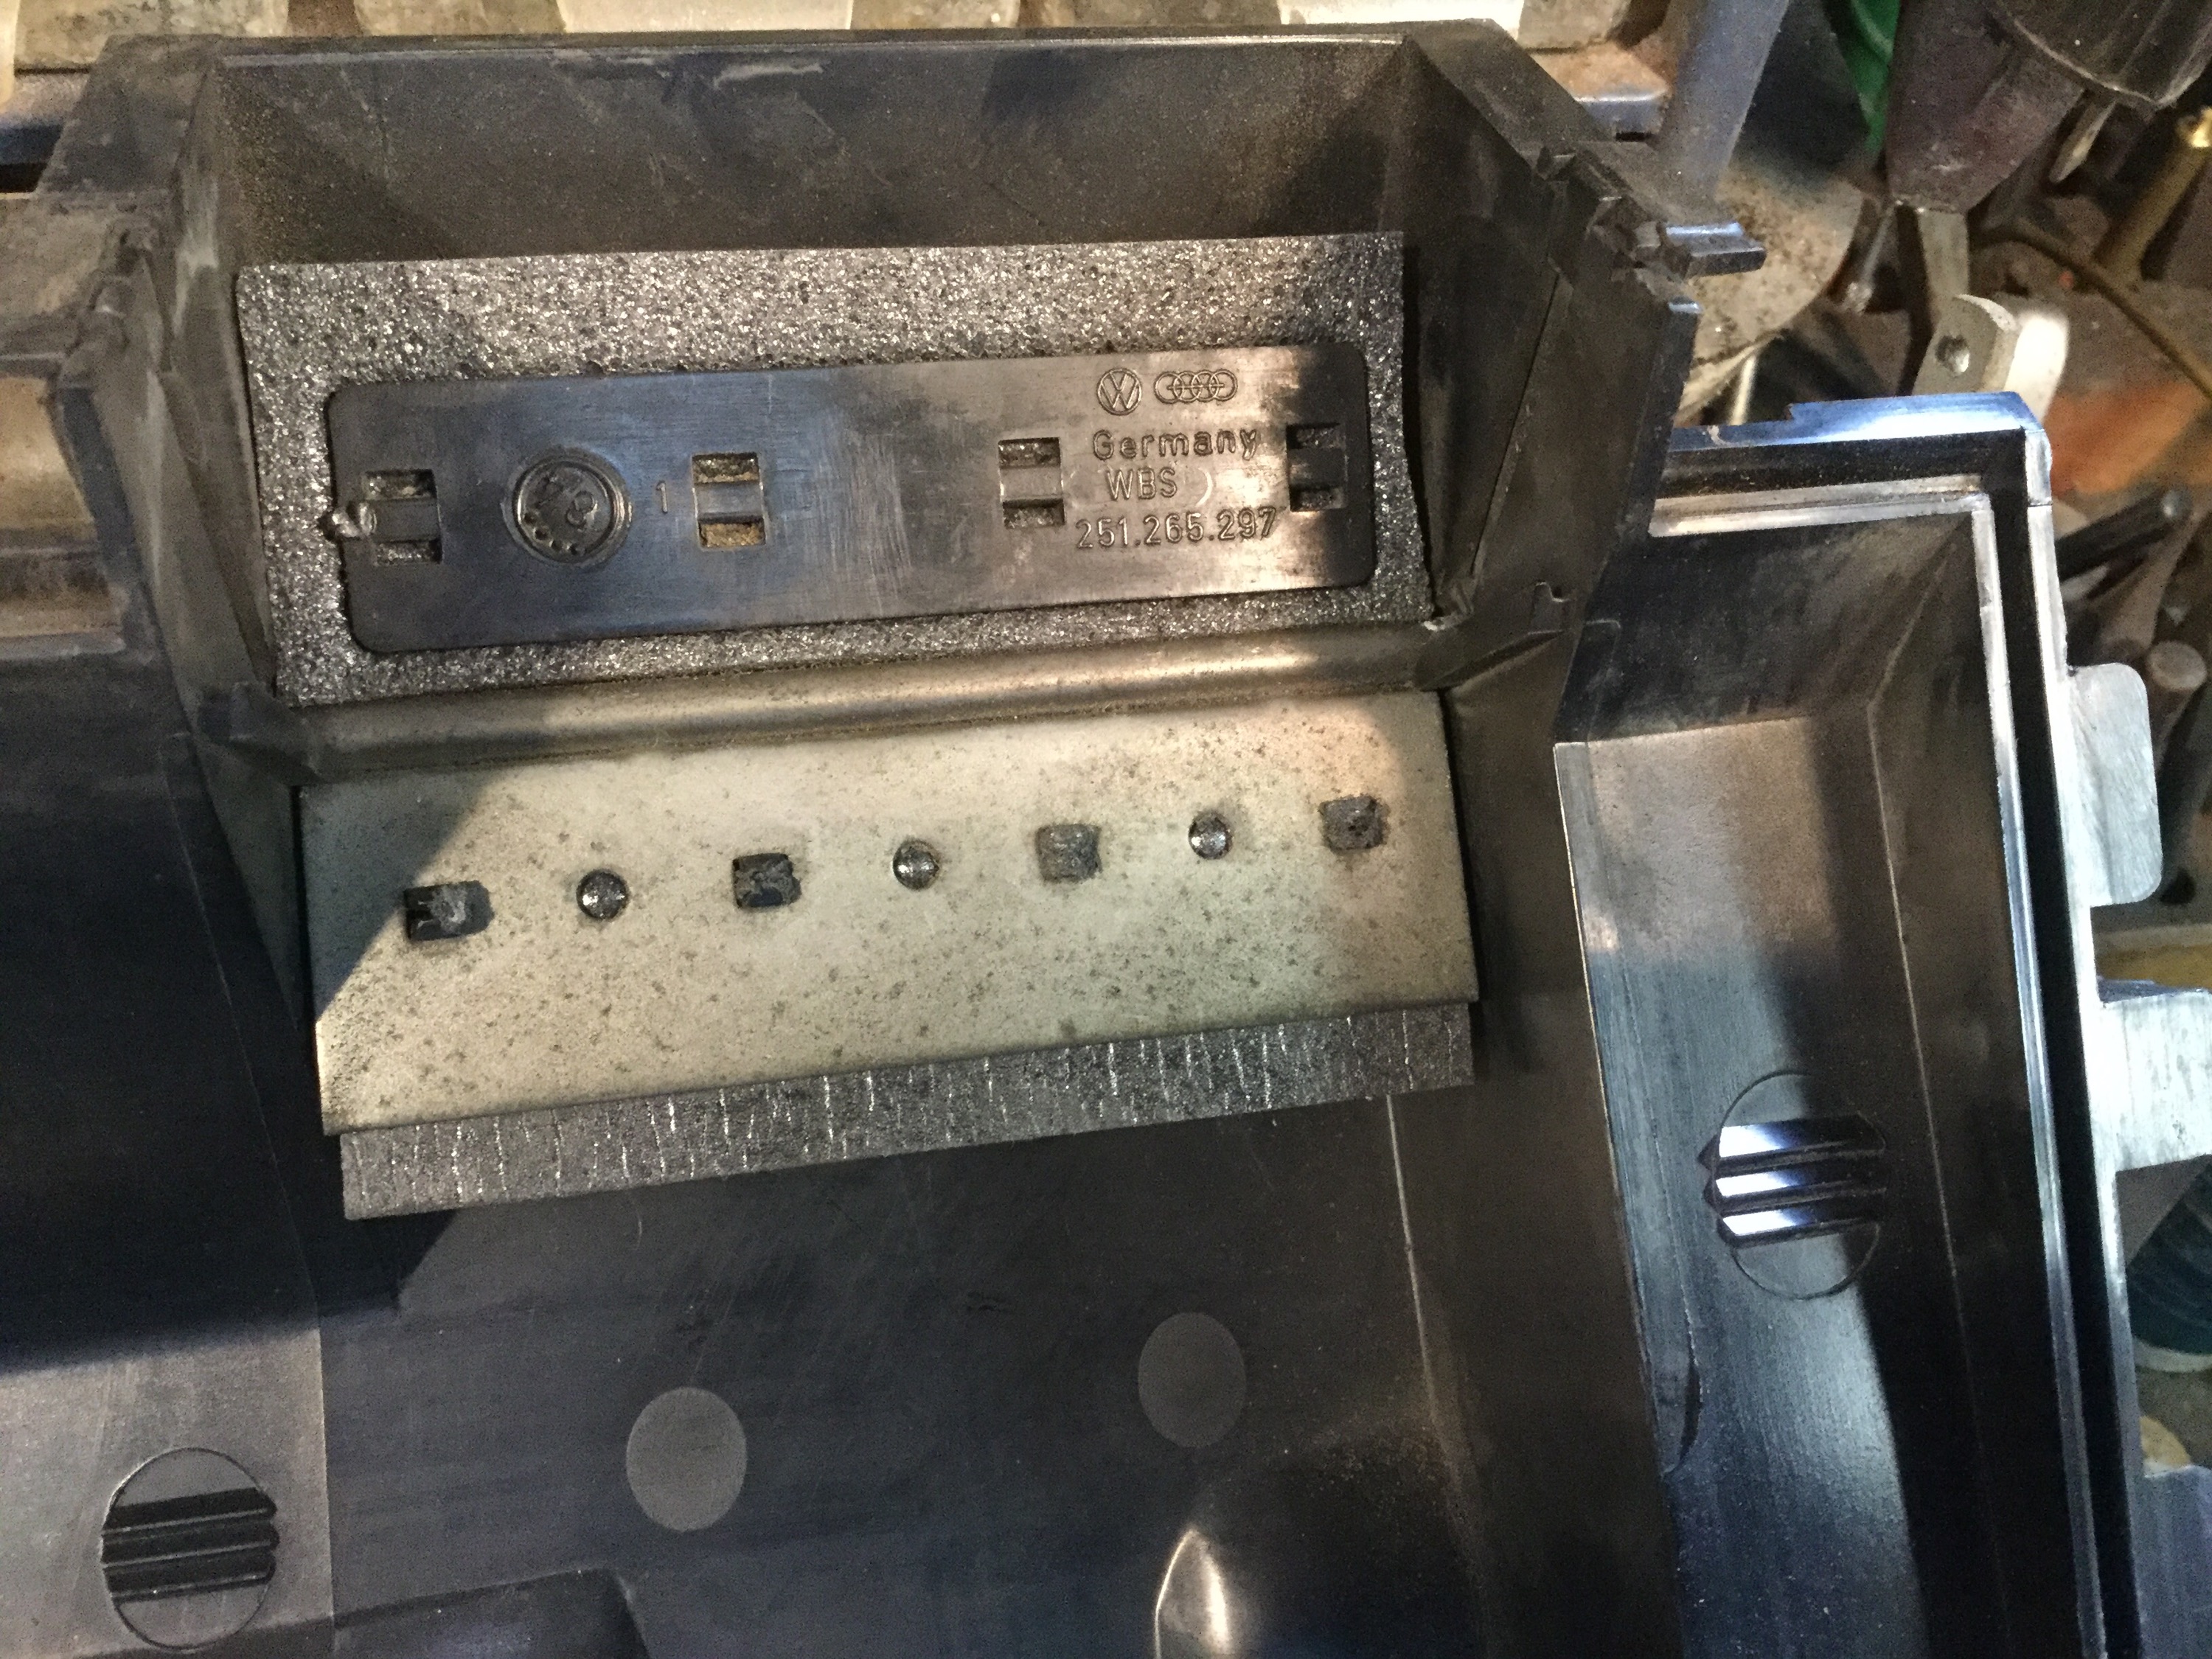
All the other flaps are similar. There are a few different heater boxes used in the vanagon, but the the refoaming principal remains the same.

On this box the passive flaps located on the blower and core side, didn’t have a plastic retaining plate. The foam was glued to the flap. I removed as much of the crumbling foam I could, and then was he the flap with 99% isopropanol. Then I played a heat gun on the flaps and noticed that the residual glue in the flaps became sticky again. I like that, it will add to the stick of the self adhesive foam.


You see how I had to us two strips on these flaps, and I didn’t quite get them aligned perfectly. The foam tape grabbed the flap. But who will see? Too late.
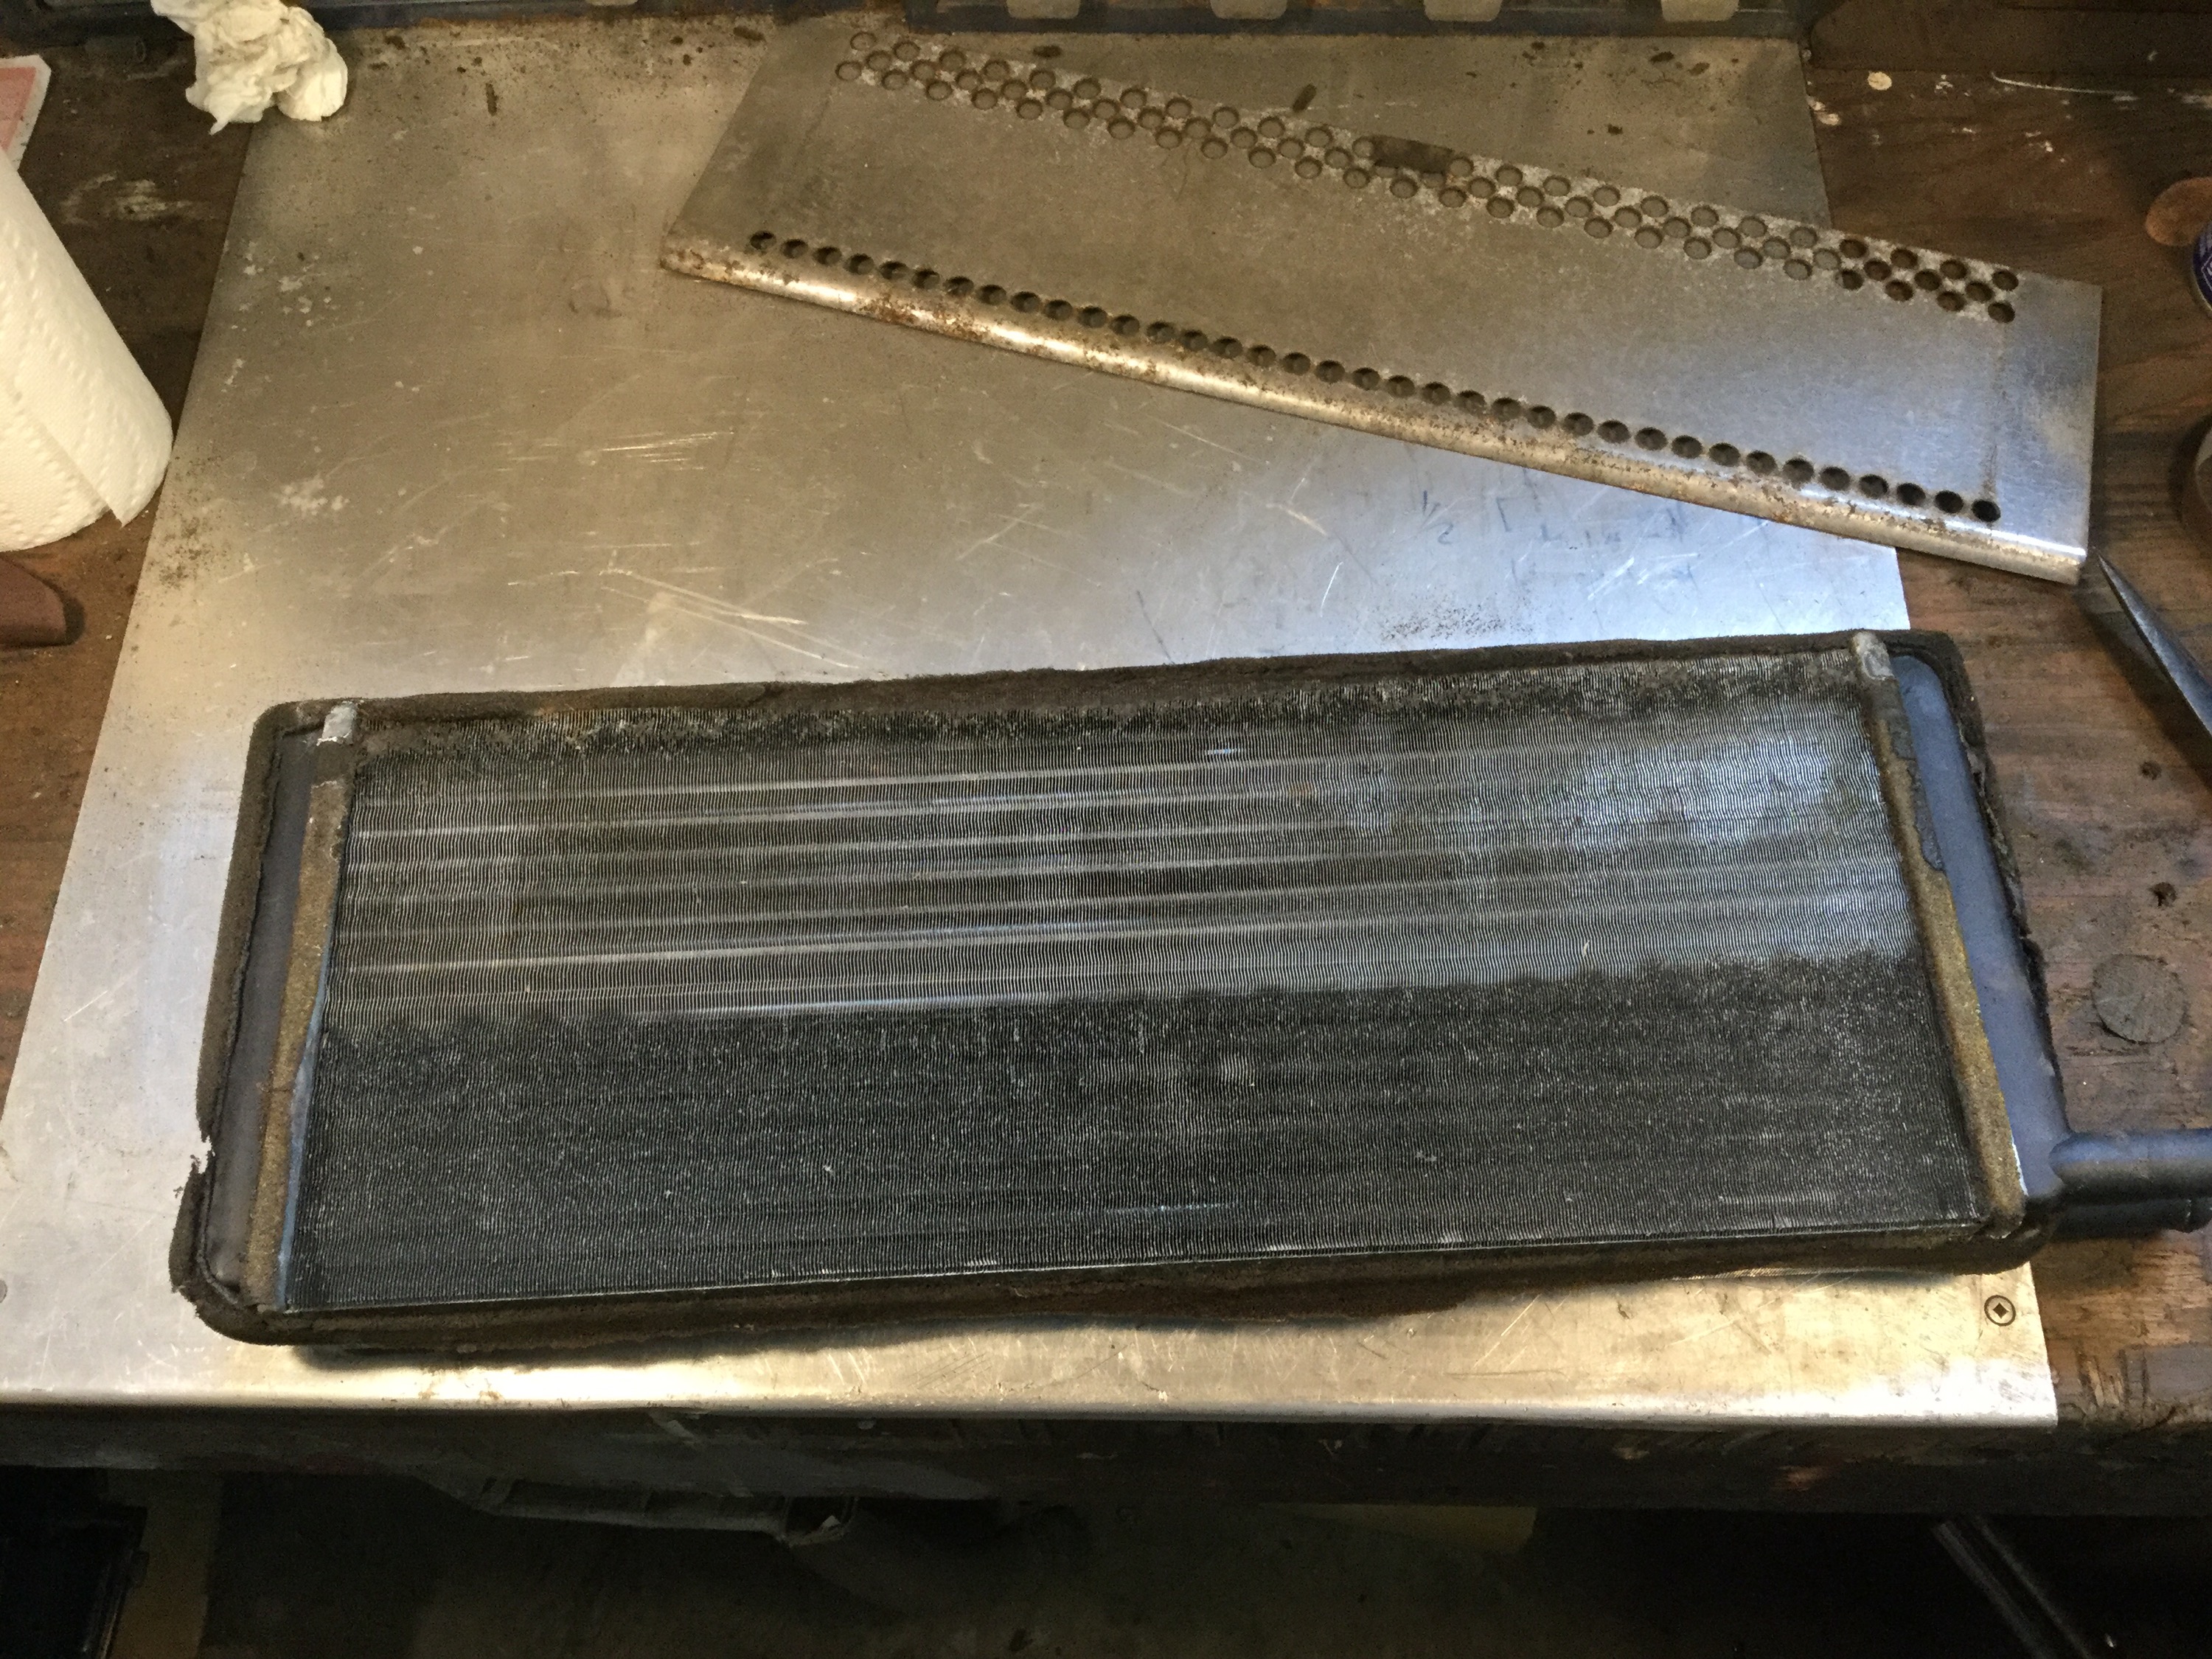
The heater core has a bit of foam around the sides and ends to seal it into its place. The old foam was, like the rest of the foam in the box, rotten. And I couldn’t get rid of the black on the core.

I used a good used fan, cleaned and lubed. Then finally the box went back into the van.

Phew!

#1 by Simon on November 22, 2015 - 8:34 pm
Nicely done!