As I’m now using geological time scale in describing the progress on my rear bumper build, this latest update comes very quickly after the back up light install.
I needed to make a latch that would secure the swing away carrier tightly, but yet be reasonable easy and quick to use. I tried four designs, my designs, conclusively crappy designs. This, my fifth attempt would be my last, next stop would be buying a de staco type draw latch.
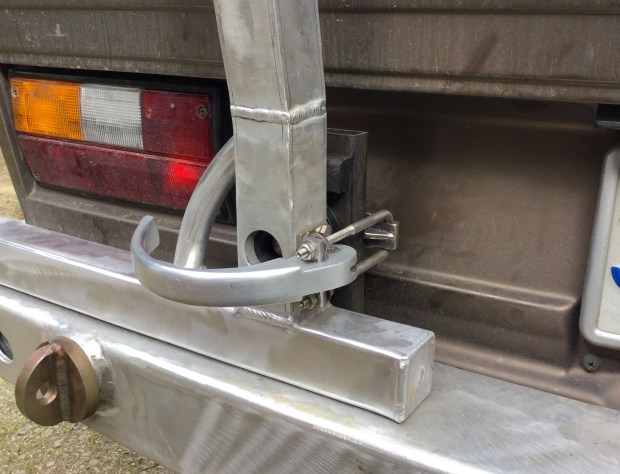
I still had the Delrin cone and socket arrangement that was for my first design. The cone and socket does work well to locate the arm to the steel back stop that is welded to the bumper subframe. So I kept that and made a draw latch.
Reinventing the wheel.
But I learned a bit while doing it. It’s interesting how the effective lever arm changes on an offset hole draw mechanism like this. The pivot points, effective distance, changes from about 3/4″ when draw hole ninety degrees from the pivot to zero when draw pivot are inline. This gives great mechanical advantage when closing the latch, and the over centre part helps keep the latch closed.
I occurs to me that describing all this is a bit of a mug’s game. Maybe some of you think that I should have bought a latch and be done with it, a very valid point. Some of you are probably not very interested in some damn latch – just show the finished project, an equally valid point. And some might think I’m boasting about making the darned thing. It’s that last suggestion that bothers me.
You could make the case that writing any kind of blog is a tad egotistical. But believe me, the best thing about writing this kind of blog is finding out that you might have helped or at least nudged someone in the right direction.
Ok, enough blether.
I made the handle from 1″ thick aluminum. Part of some offcuts from the water jet guy. Had a nice curve and I continued the curve ti make the working end. Drilled holes for the pivots, slotted the end for the fixed pIvot ( that attached to a little bracket that was made from some 1/8″ thick stainless, mounted to the carrier with 1/4-20 bolts, helicoil inserts in the carrier).
I turned and milled a bit of stainless to hold the bail ( the moving pivot) and the bail is a bit of 5/16″ stainless rod that I bent into a U shape and threaded the ends.
I used some 1/8″ stainless plate and 1/4″ rod to make the little catch on the backstop that hooks onto the bail.
I was worried that there wouldn’t be enough give in the mechanism, so I stuck in some hard rubber washers under the nuts on the bail. You can see them in the first two pics. I found that there was enough flex in the backstop latch that the washers weren’t needed.
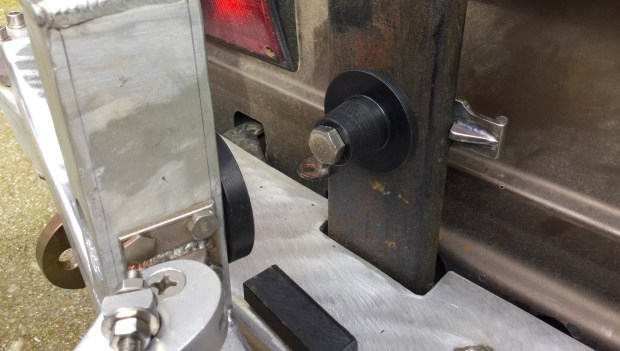
Ok, the handle and fixed pivot.


And mounted on the bumper. 
See how I have to use some spacers to match the thIckness of the cone and socket bases to give the upright of the carrier a bigger surface to pull against? I’ll try and make a nicer version of the spacers, maybe one piece.
I have to make a plug for that hole. Also a fair bit of grinding and sanding to be done before painting. But hey, I’m making some headway.
Oh, and I have yet to weld on some sort of tab thing on the end of the handle so I can pin it to that curved tube as a safety or even a lock.

#1 by Pz on April 4, 2015 - 11:43 am
Very good looking… AB
Fits the overall design better than a De staco…
Pz
#2 by oldfussbudget on April 4, 2015 - 4:21 pm
Strewth, that is bloody beautiful, mate.
#3 by albell on April 4, 2015 - 5:28 pm
Thanks David,
Most of the curve was there I n the offcut bit I used. There is probably a better suited curve for the application but how much carving of 1″ thick aluminum doe one really want to do? 🙂
Cheers
Ab
>