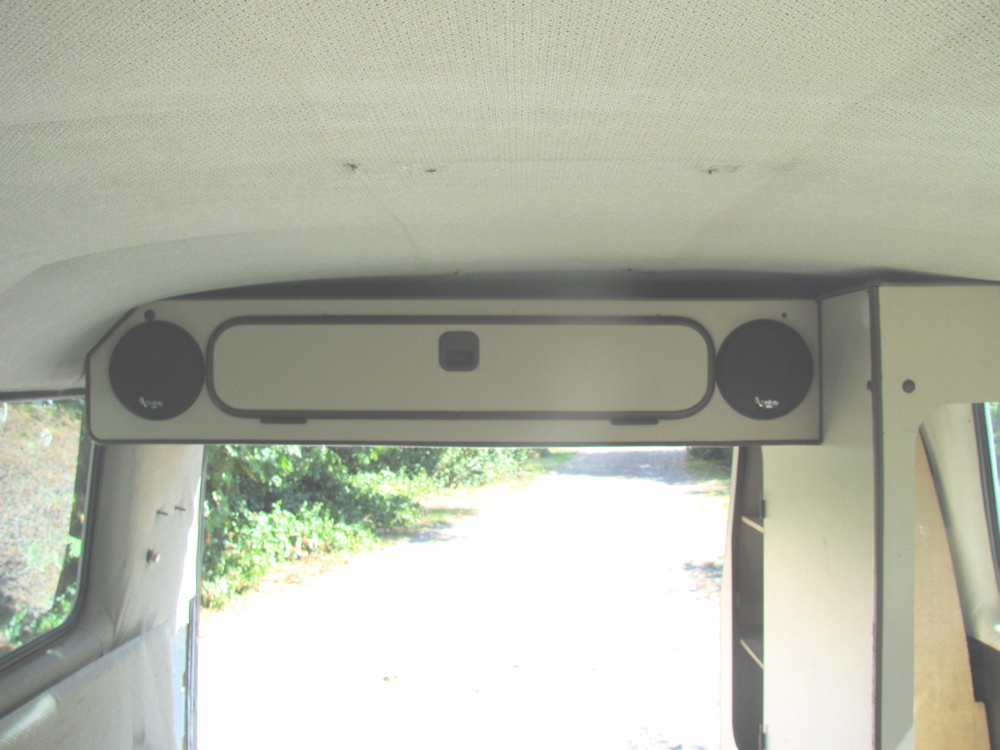
With the way I am camperising my Syncro, ie just cutting sunroof sized hole, it means that there is no flat ceiling where the rear overhead cabinet goes. In the regular Westy, the flat ceiling is the plywood upped bunk surface, and the rear overhead cabinet bolts securely up to it as well as being bolted at the side to the wardrobe.
Having a headliner covered curved steel roof back there makes it a little harder for me to install the cabinet, and because the ceiling is not flat, my cabinet will have a space between it and ceiling. The Westfali Mosaik kit solved this problem by having a curved front face on the cabinet to match the curve of the ceiling, and uses rod like hangers to mount the cabinet to the van. Here is a diagram.

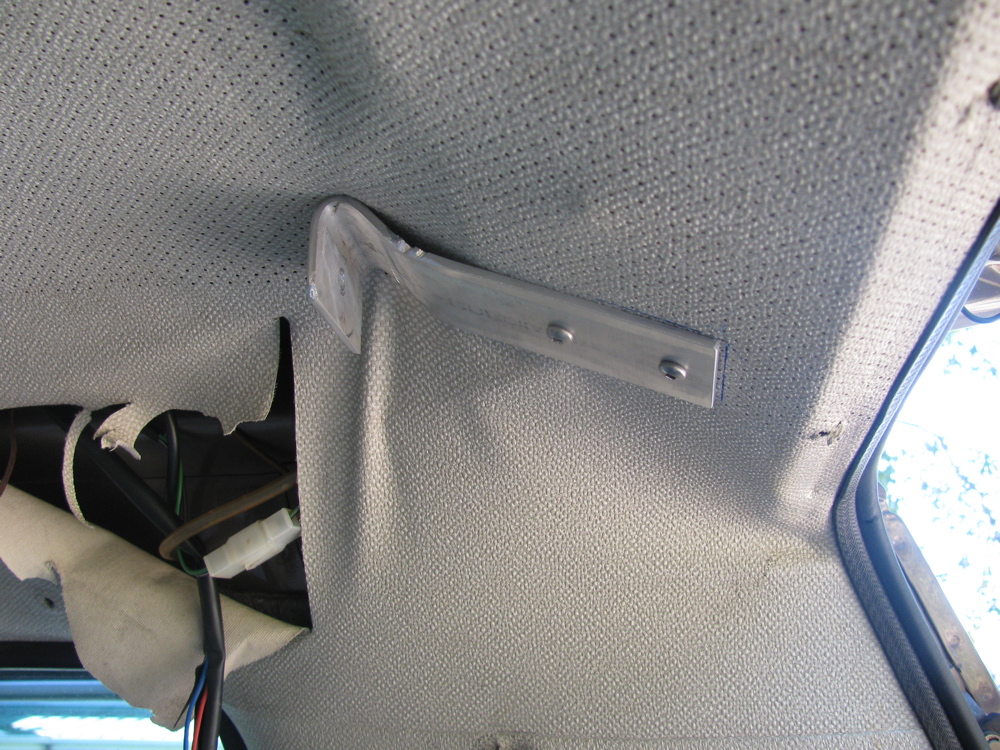
But, like and idiot, I couldn’t find the diagram above when I went to install the cabinet. I fussed over how to mount it securely – it was held on the wardrobe side by two bolts into top of wardrobe, but the other end was unsupported. I solved that partially by making a rather feeble bracket at the rear, right hand side. Its made from a ratty scrap bit of aluminium which had a tight bend in it, close enough to the angle needed. It was very awkward to fit and did not fully support that end of the cabinet.
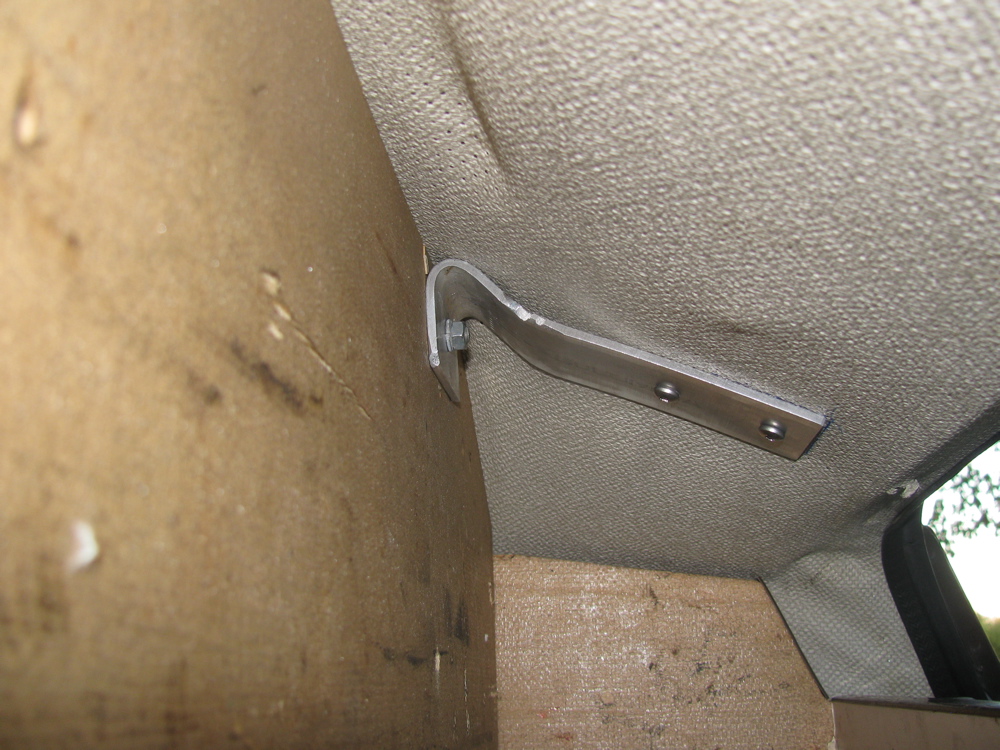
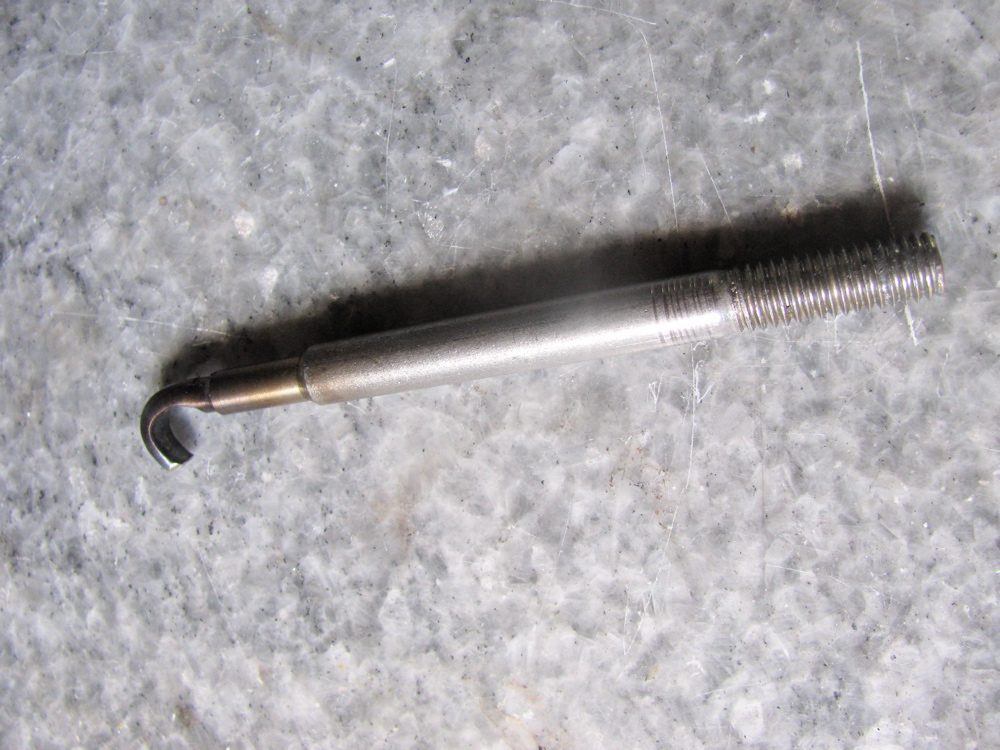
Later I found the diagram and made a hanger from a 3/8″ stainless bolt, and one of the brackets used in the rear AC electronics. The hanger hooks up and onto the box section reinforcing part of where the wall meets the roof. I may have to adjust things a little, I detect a slight misalignment, but all in all this worked well, the cabinet its fully supported.